Despite being in limited supply at launch, many have gotten their hands on the latest Apple Watch Series 7. And much like the initial impressions of the iPhone 13, there are many that may think the Series 7 is worth of a “Series 6S” moniker instead. However, there are definitely enough changes under the hood to warrant the upgrade, even if you’re coming from last year’s excellent Series 6. If you’re someone who just picked up the Apple Watch Series 7, here are the first things you should do.
In order to take full advantage of the different features offered by using an Apple Watch, such as paying from your wrist or unlocking your Mac, you’ll need to use a passcode. During the initial setup process, you are prompted to create one, but if you bypass that just to get on with setting you new Apple Watch up, we recommend going back and turning the passcode on.
Open the Settings app on your Apple Watch.
Tap the My Watch tab in the bottom toolbar.
Scroll down and tap Passcode.
Tap Turn Passcode On.
Enter the four-digit passcode that you want to use to unlock the Watch.
Now, you’ll be able to do things like being able to leave your phone in your pocket if you want to pay at the gas station. Plus, you’ll be able to even unlock your iPhone while wearing a mask, as the Watch acts as an authentication device for your iPhone.
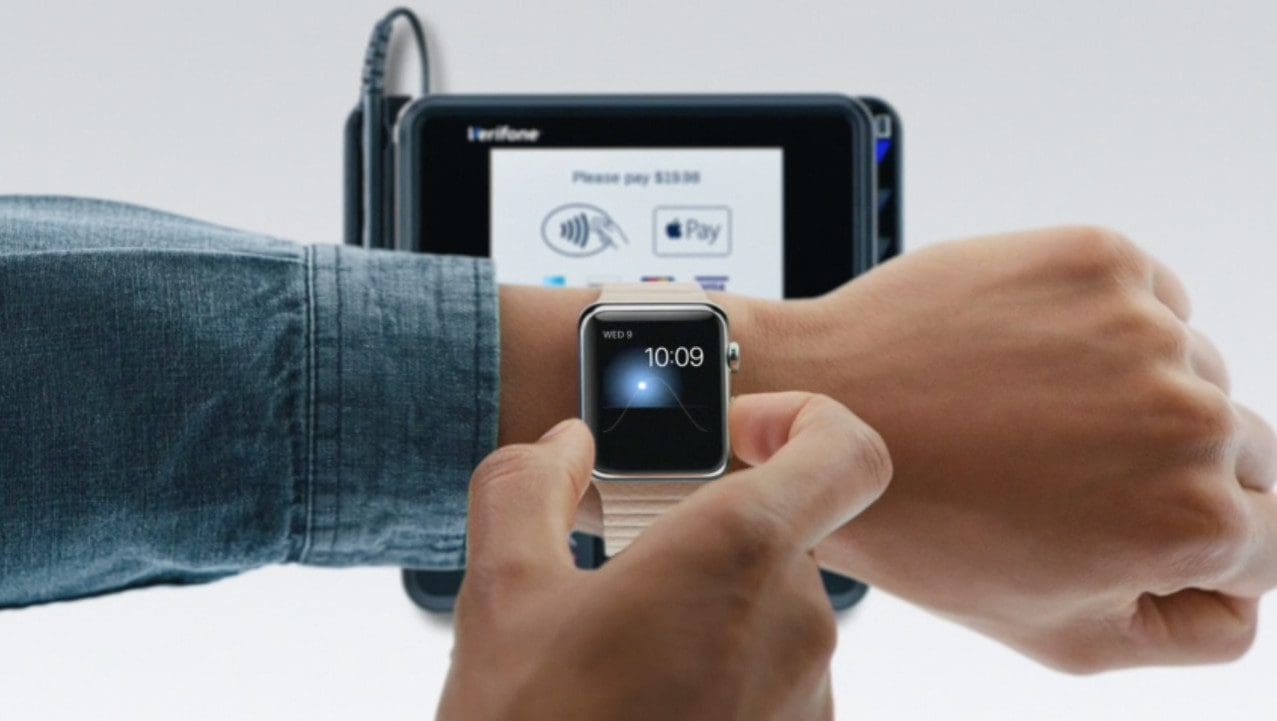
Set up Apple Pay
The Apple Wallet app has come a long way from its inception. It’s become an invaluable tool for anyone who leaves their phone at home, but needs to stop by the store for a drink while out on a run. Or, if you have your hands full, you can just tap it to the terminal and pay easier and faster than ever. But in order to take advantage, you’ll first need to set up Apple Wallet on the Apple Watch.
Open the Watch app on your iPhone.
Tap the My Watch tab in the bottom toolbar.
Scroll down and tap Wallet & Apple Pay.
Add any additional cards that you want to use with your Apple Watch.
Under Transaction Defaults, provide the following information:
Default Card
Shipping Address
Email
Phone
After you’ve finished setting up Apple Wallet on your Watch, just double-tap the Side Button (below the crown) in order to activate the Wallet app. Then, tap your Watch to the terminal, and you’ll never have to take out your actual wallet or iPhone.
Enable Fall Detection
Back when the Apple Watch Series 4 was announced, Apple introduced fall detection. This is available on all models starting with the Watch SE, and is of course, available on the new Apple Watch Series 7. However, and perhaps surprisingly, this feature is not enabled by default. Luckily, it’s pretty easy to get set up, so here’s how you can enable fall detection.
Open the Settings app on your Apple Watch.
Scroll down and tap SOS.
Select Fall Detection.
Tap the toggle next to Fall Detection to enable it.
Once enabled, fall detection gives you 30 seconds to respond to an alert on your Watch before it will contact emergency services. When the call has connected, your Watch will play an audio message letting you know that you’ve taken a hard fall, while also sharing your location. Then, your emergency contacts will be contacted, letting them also know that you’ve taken a fall.
Unlock your iPhone with your Apple Watch
When Apple introduced iOS 14.5 last year, arguably the biggest feature to come is the ability to unlock iPhone with Apple Watch. This is something that has been requested for some time now. However, it’s only been amplified after iPhone owners across the globe have needed to wear masks in public.
Before diving into how you can unlock iPhone with Apple Watch, there are a few pre-requisites to be aware of. These are the other requirements in order for this to work:
iPhone X or later
Apple Watch Series 3 or later
Compatible iPhone running iOS 14.5 or later
Apple Watch running watchOS 7.4 or later
With that out of the way, here’s how to unlock your iPhone with the Apple Watch:
From your iPhone, open the Settings app.
Select Face ID & Passcode.
Enter your passcode.
Scroll down and tap the toggle next to the name of your Apple Watch.
This is found under the Unlock with Apple Watch setting.
When your iPhone detects that you are wearing a mask, your Watch will vibrate, along with showing a notification that the unlock procedure has been completed.
Unlock your Mac with your Apple Watch
A handy feature for Apple Watch wearers that own Macs is using it to unlock your Mac (auto-unlock) and for folks using macOS Catalina and above, unlock your apps so you don’t need to enter a passcode! Instead, use your Apple Watch to authenticate passwords or approve app installations on your Mac with just a double-tap on your Apple Watch’s Side button–that’s it.
Here’s how to enable the feature, but you’ll need to be signed into the same Apple ID on both your Mac and Apple Watch in order for this to work.
Open System Preferences on your Mac.
Click Security & Privacy.
Under General, tick the check box next to Use your Apple Watch to unlock apps and your Mac.
Once you have gotten everything started up, you’ll be able to wake your Mac and approve app requests easier than ever. For waking your Mac, just walk (or sit down) near it, and press any keyboard key. Or, you can simply open the display lid, if you are using a MacBook or MacBook Pro.
When it comes time for your Mac to require an app request approval, there’s nothing that you will have to do with your Mac. Instead, the Apple Watch will vibrate to get your attention, and then you’ll see a prompt to Double Click to Approve. Double-click the Side Button and the request will immediately be granted on your Mac.
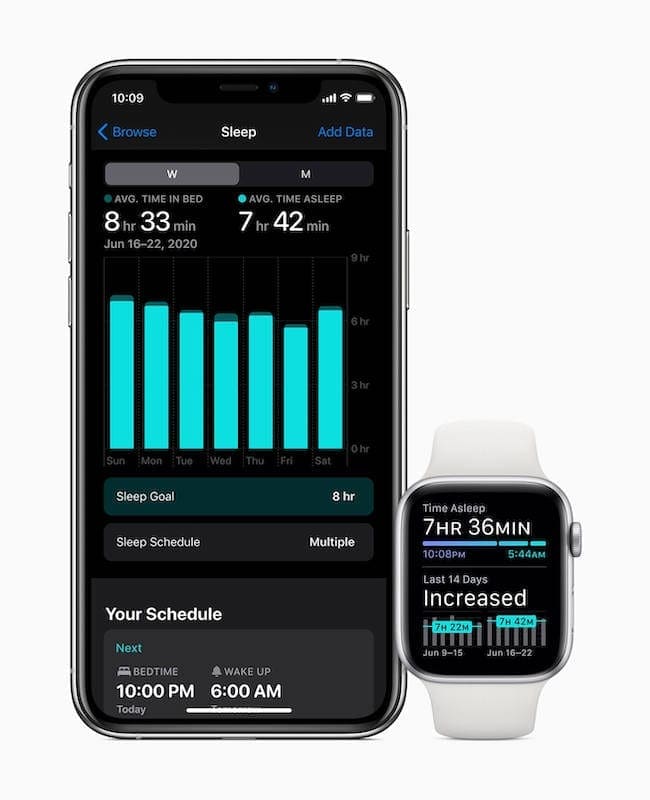
Track your sleep
With the release of watchOS 7, Apple introduced built-in sleep tracking capabilities for your Apple Watch. Using the Sleep app on your iPhone, you can set Sleep Goals and a Sleep Schedule. Then, a “Wind Down” screen will appear when it’s time to unwind for the day and get ready for bed. Once activated, your Apple Watch and iPhone automatically turn on Do Not Disturb and darkens the screen.
From your Apple Watch, open the Settings app.
Scroll down and tap Sleep.
Follow the on-screen steps to enable Sleep Tracking and Charging Reminders.
Once enabled, the next morning you are woken up by either a silent haptic alarm or gentle sounds. The Watch will give you a breakdown of the day, including remaining battery life and an overview of how you slept.
And for those who have a tendency to not charge your watch enough to last through the night will be notified if your battery is too low. The reminder will appear so that you can charge your Watch before heading to bed.
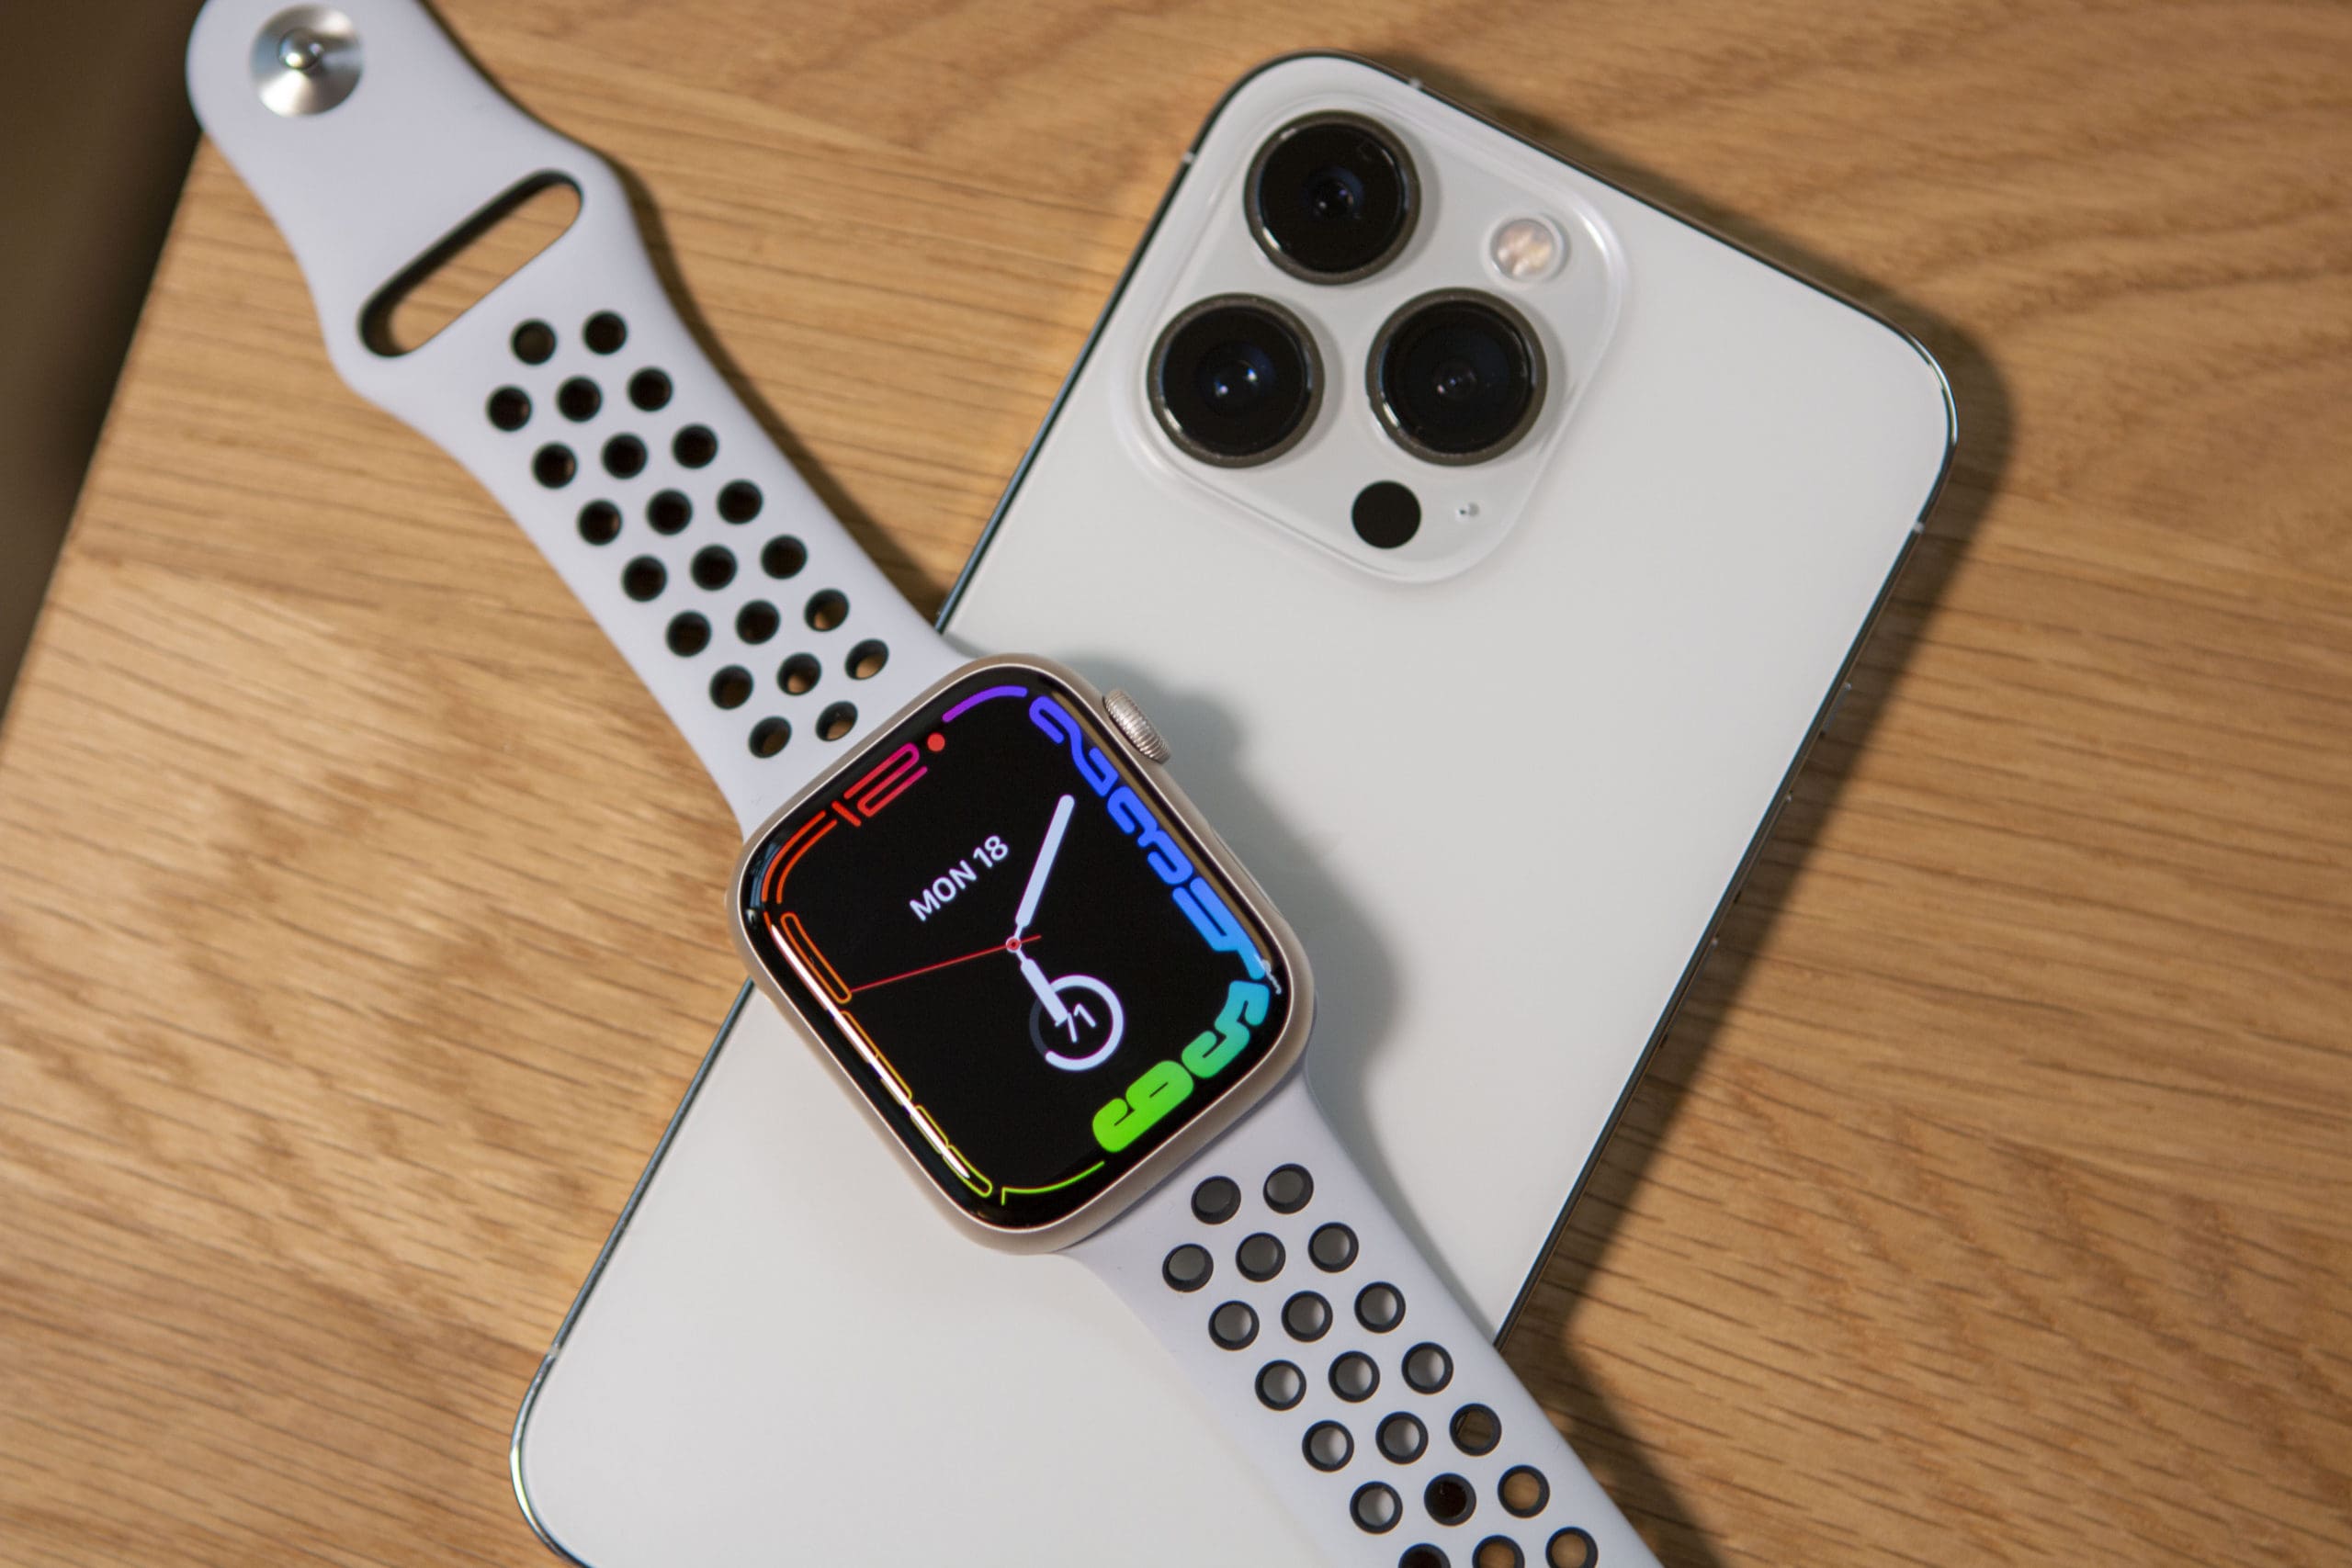
Use the all-new Portraits Watch Face
During the watchOS 8 announcement, Apple confirmed that the Photos watch face is the most popular option up to this point. To build on the popularity, watchOS 8 introduces a new Portraits watch face which uses a dynamic multi-layered effect. And here’s how you can use it on the Apple Watch Series 7:
Open the Watch app on your iPhone.
Tap Face Gallery in the bottom toolbar.
Under New Watch Faces, scroll to the left until you see Portraits.
Under Content, tap Choose Photos….
Select the Photo(s) from your library to use as a watch face.
Under Style, select the clock style that you wish to use.
Under Complications, select the Top and Bottom complications you want to view.
Tap the Add button in the top right corner under the name.
With the larger display, this means that whatever picture you select will be easier to see than before, which is simply fantastic if you want to be cheered up every time you lift your wrist to look at your Apple Watch.
Andrew Myrick is a freelance writer based on the East Coast of the US. He enjoys everything to do with technology, including tablets, smartphones, and everything in between. Perhaps his favorite past-time is having a never-ending supply of different keyboards and gaming handhelds that end up collecting more dust than the consoles that are being emulated.


Write a Comment