Screen sharing is one of the most basic collaboration tools you might have gotten used to. However, Mac users often encounter permission-related challenges that prevent screen sharing from working properly. Teams itself can encounter various issues when you try to enable screen sharing.
Getting Teams screen sharing to work on MacBook requires proper system permission configuration, which differs significantly from Windows due to macOS security features.
Setting Up Permissions for Sharing Screen on Teams on Mac
Before you can share your screen in Microsoft Teams, you must configure several system permissions, including the “Screen Recording” permission from the Privacy settings.
Step 1. Click on the Apple logo in the top-left corner and choose “System Settings.”
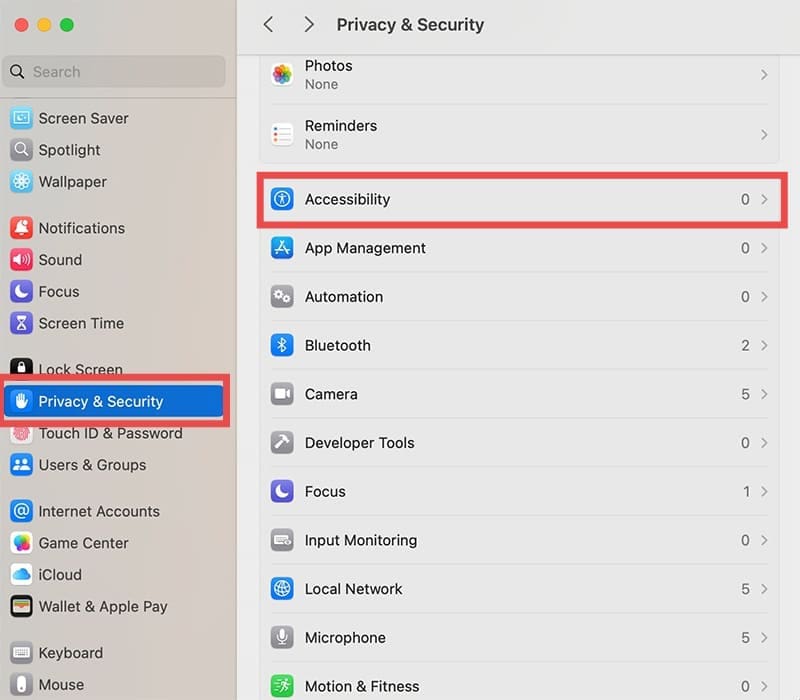
Step 2. Select “Privacy & Security.”
Step 3. Switch to the “Privacy” tab.
Step 4. Locate and click the padlock icon from the bottom-left corner (which allows you to make changes on older Macs). Enter your username and password to bypass the settings lock.
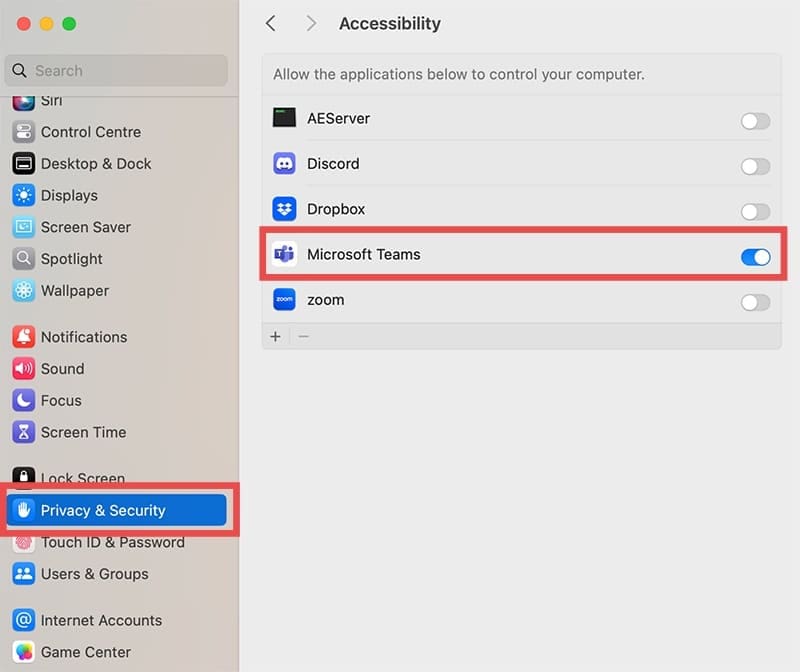
Step 5. Select the “Accessibility” tab from the left-hand navigational menu, then check the Microsoft Teams checkbox on the right. If you don’t find Teams on the list, click the Plus (+) icon and add it.
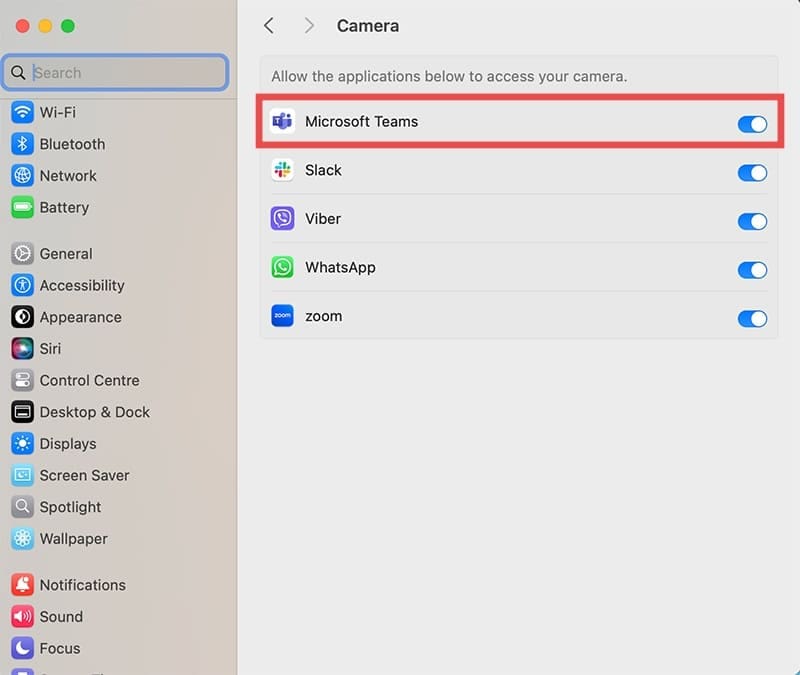
Step 6. Go to the “Camera” section from the left menu and tick the Microsoft Teams checkbox.
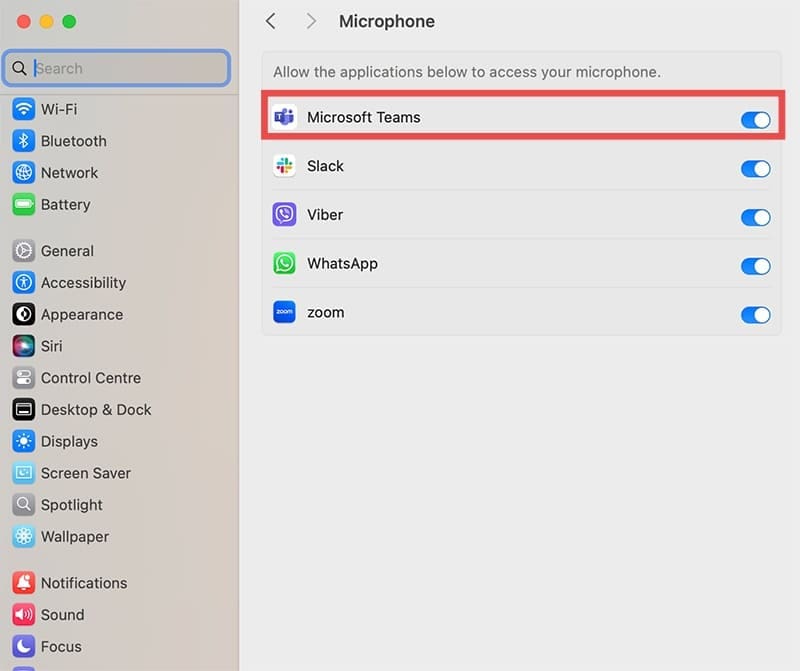
Step 7. Select the “Microphone” tab and check “Microsoft Teams.”
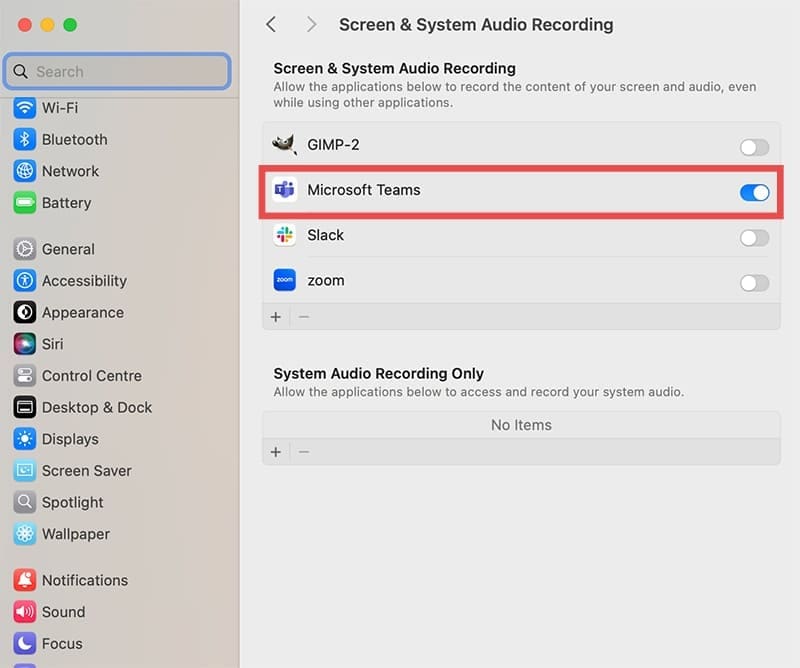
Step 8. Go to the “Screen & System Audio Recording” permissions tab and include Microsoft Teams in the list.
Step 9. Close the settings and restart Teams.
How to Screenshare on Teams on Mac
Once permissions are configured, sharing your screen during a Teams meeting is straightforward.
Step 1. Join or start a Microsoft Teams meeting in the app.
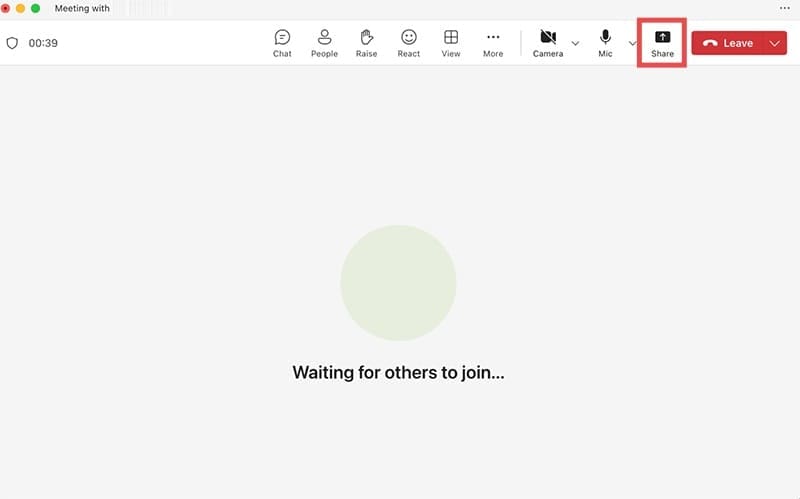
Step 2. The Share button is in the top right corner of the meeting window and looks like a screen icon. Click on it to start setting up sharing.
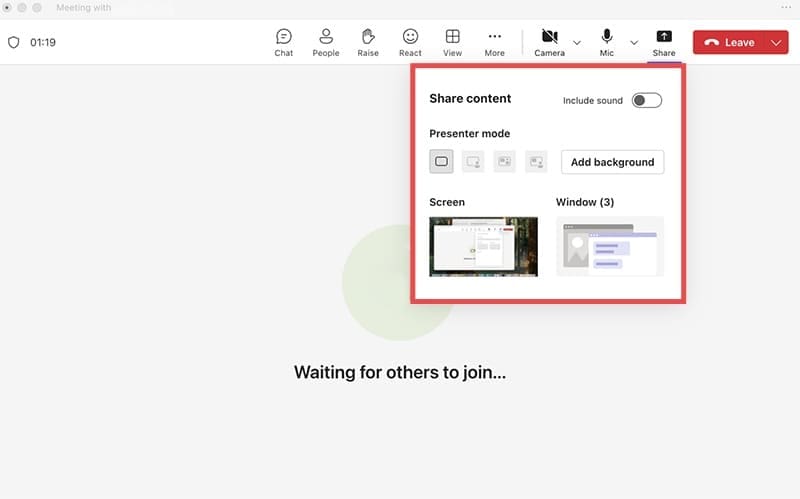
Step 3. Click on the “Share content” button to open the sharing menu.
Step 4. Choose one of the following sharing options:
Screen – shares your entire desktop and all open applications
Window – shares a specific application or window
PowerPoint – opens a PowerPoint presentation directly
Whiteboard – uses a collaborative whiteboard instead of your screen
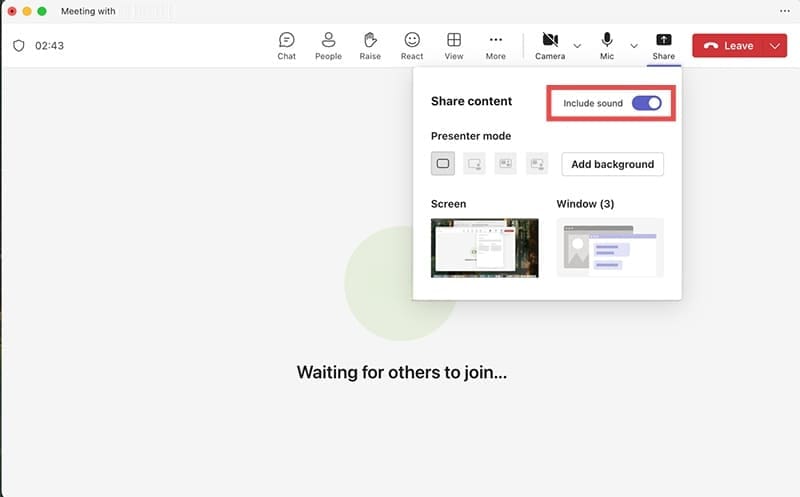
Step 5. If you want to include audio from your computer (including system sounds or music), toggle on the “Include sound” switch.
Step 6. Click “Share” to begin broadcasting your selected content to meeting participants.
Step 7. When done, click “Stop sharing” to end the screen share session.
Troubleshooting Common Issues
Screen Sharing Button Missing or Grayed Out
Sharing screen on Teams on Mac might be disabled if the app detects you have a weak or inconsistent network. Alternatively, your permissions might not be set up properly.
Permission Errors After macOS Updates
If Microsoft Teams is available on the list of applications, toggle the permissions off, then turn them back on. You may also need to give the app permissions for “System Recording” and “System Audio Recording.”
Teams Crashes During Screen Sharing
If Teams becomes unresponsive during screen sharing, force quit the application using “Cmd + Option + Esc” and rejoin the meeting. This often resolves temporary performance issues.
Poor Screen Sharing Quality
You can improve performance by sharing individual system windows (programs) instead of the full screen, as well as removing sound sharing. This reduces bandwidth requirements.
Audio Not Sharing
Ensure the “Include computer sound” option is enabled before starting screen sharing. Note that some audio applications may require additional permissions in System Preferences.
In some cases, you may need to update your system, force update the Teams app, or restart the Mac to try and resolve temporary issues. Alternatively, you can use Teams in your browser. This will slightly degrade your screen share’s quality but will allow you to share permissions from the browser instead of the app.
As an avid gamer, I’ve run into my fair share of error codes and weird faults that have forced me to find fixes to problems I never anticipated. That gave me a passion for sharing those fixes with others so we can all game without feeling like our hardware is rebelling against us.


Write a Comment