The Mac, known for its sleek design and robust performance, is not traditionally considered a gaming platform. This is primarily due to the limited availability of popular game titles, many of which are designed for Windows. However, Mac users are not entirely out of options.
There are several methods to play Windows games on a Mac, but today, we’ll be focusing on a new feature coming to macOS Sonoma known as the Game Porting Toolkit. This article will guide you through the various ways to enjoy your favorite Windows games on macOS.
Install macOS Sonoma
Before you can start playing Windows games on Mac, you’ll first want to download and install the macOS Sonoma beta. This is due to the fact that some of the other steps that we need to follow in this guide require Sonoma to be installed, as the tools don’t currently work on previous iterations of macOS.
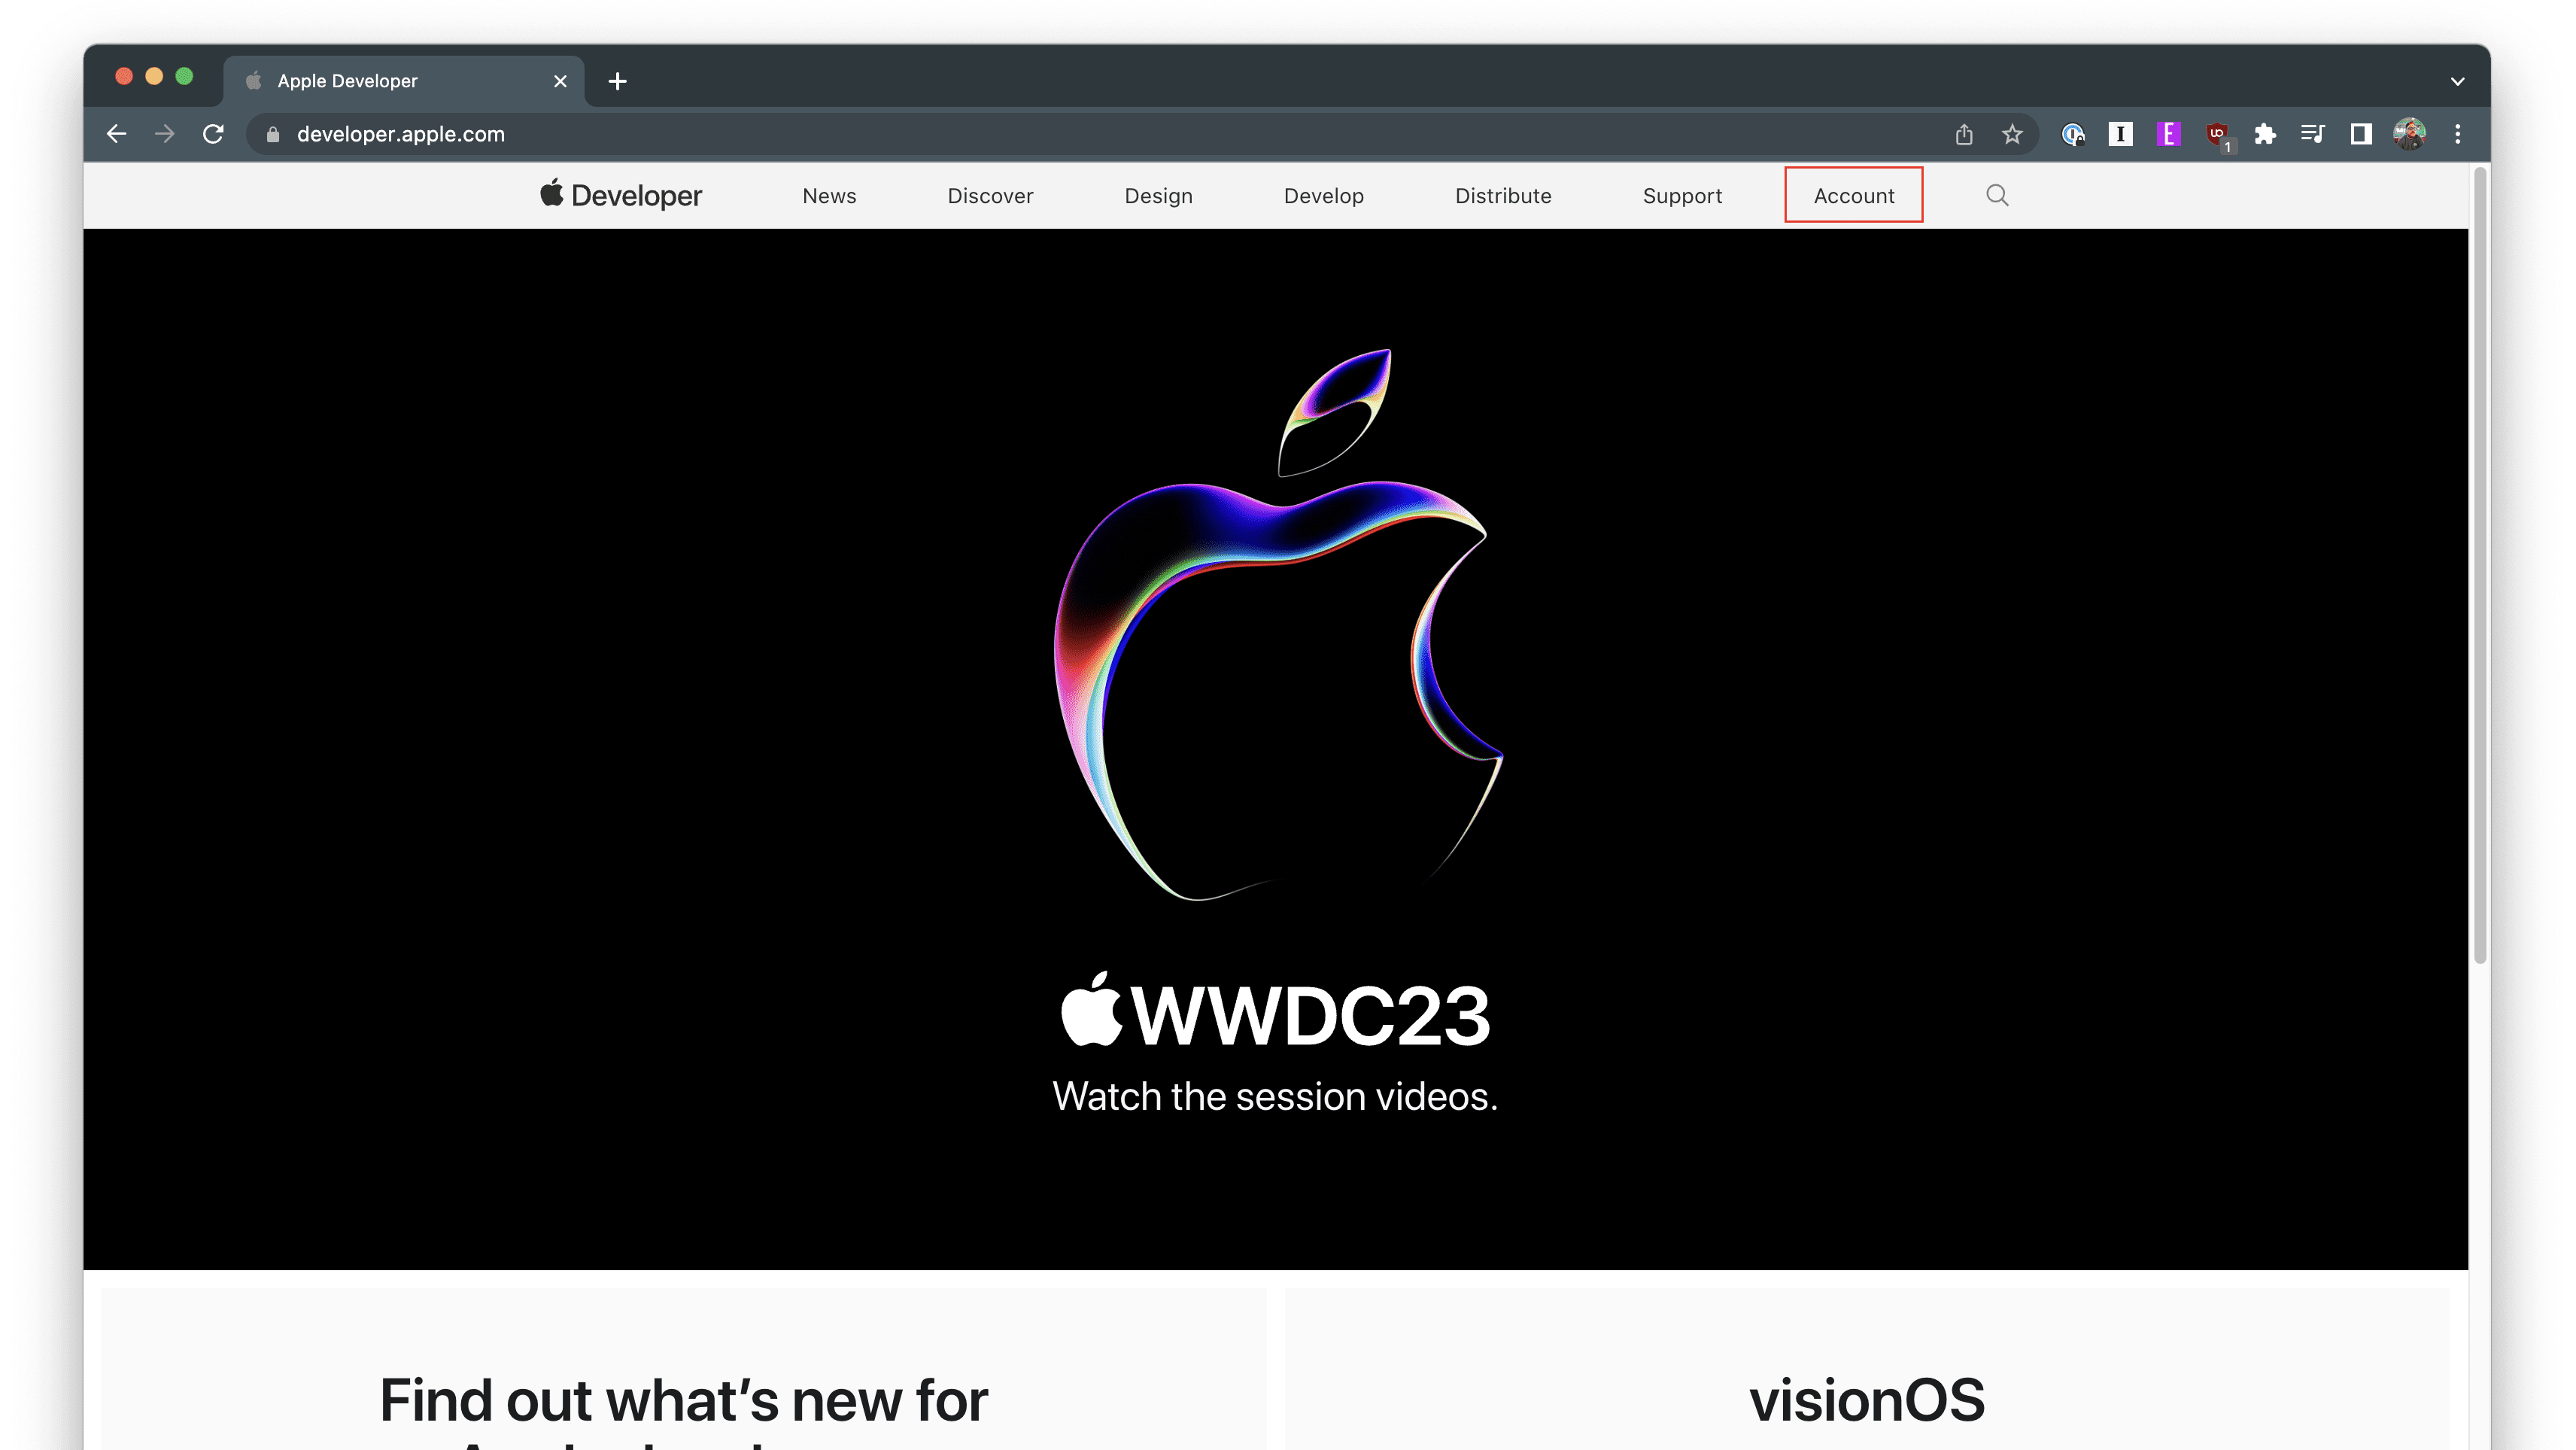
Open Safari, or your web browser of choice, on your Mac.
Click the Developer button in the top right corner.
Sign in with your Apple ID.
Read through and accept the Apple Developer Agreement.
Close your web browser and restart your Mac.
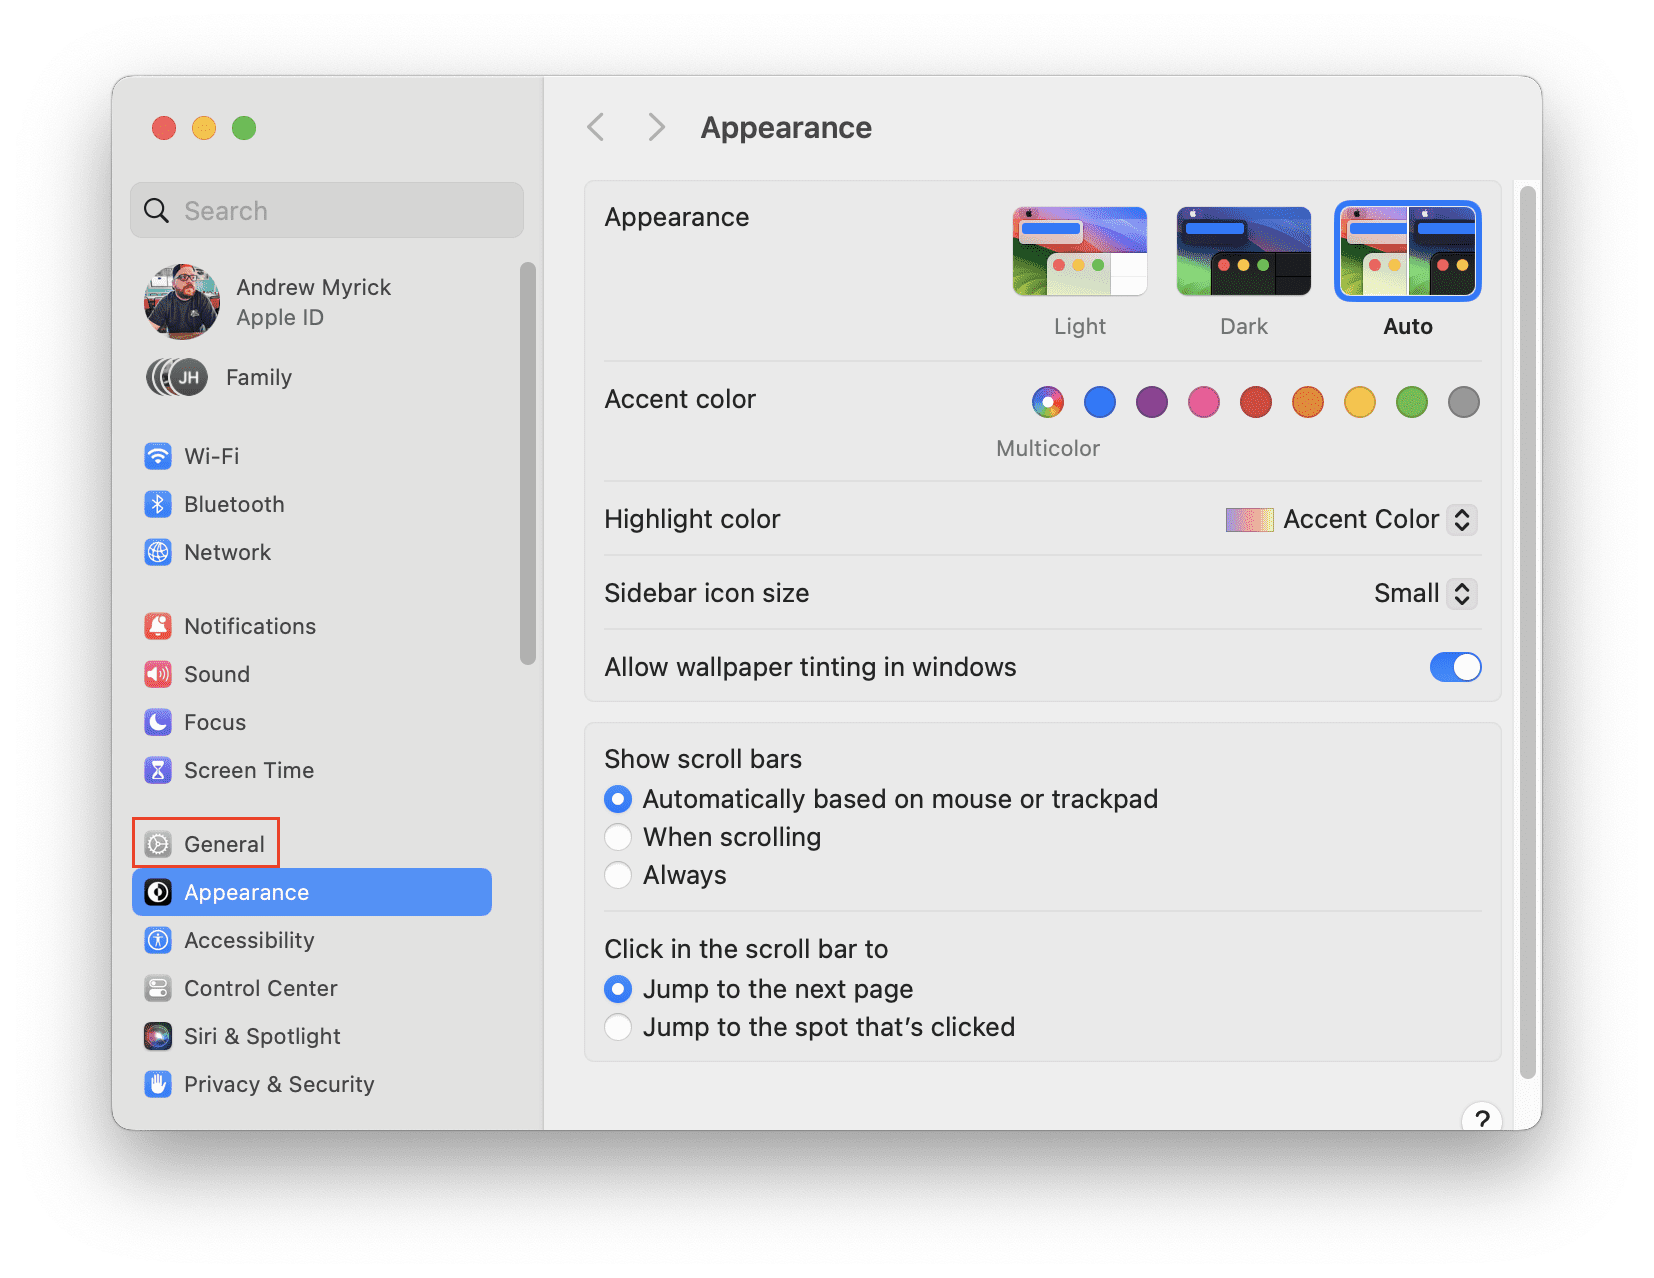
After your Mac is finished restarting, open the System Settings app.
Click General in the sidebar on the left.
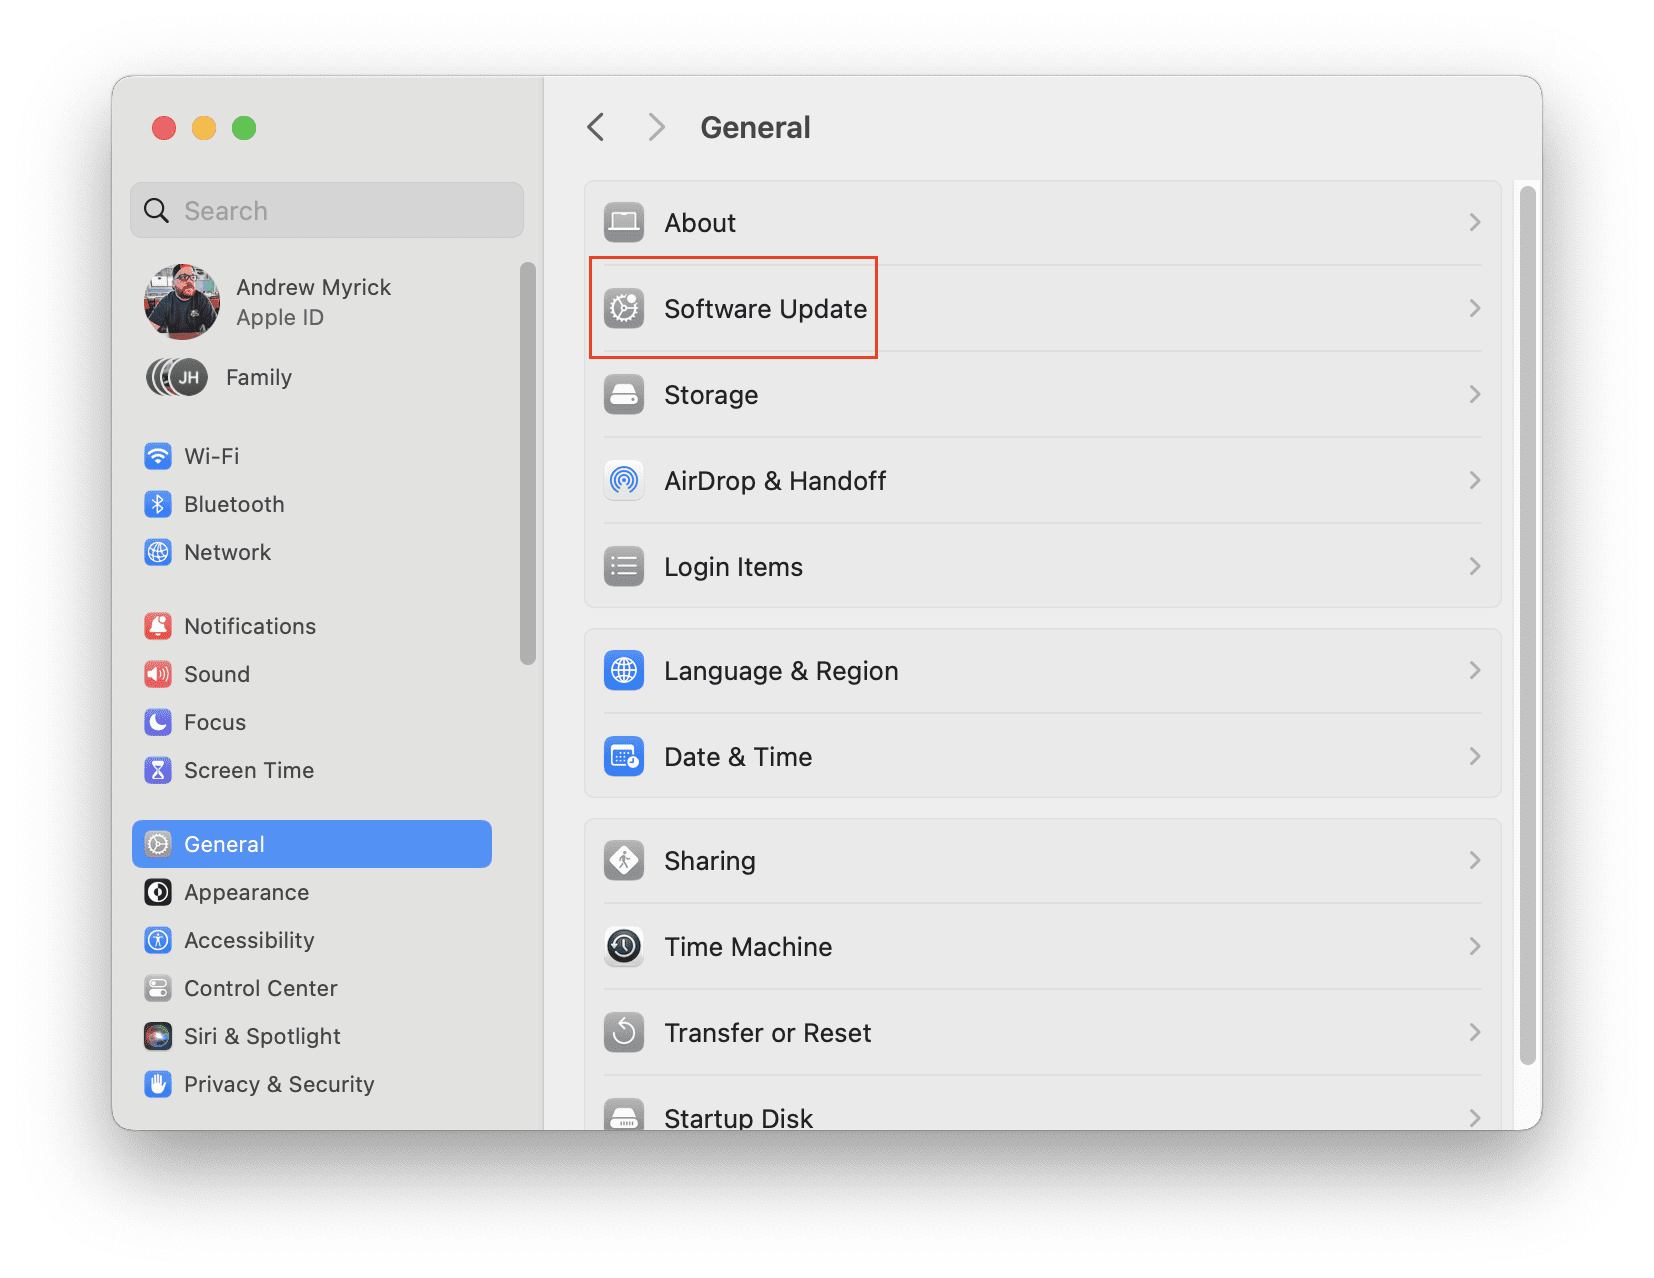
On the right side of the window, click Software Update.
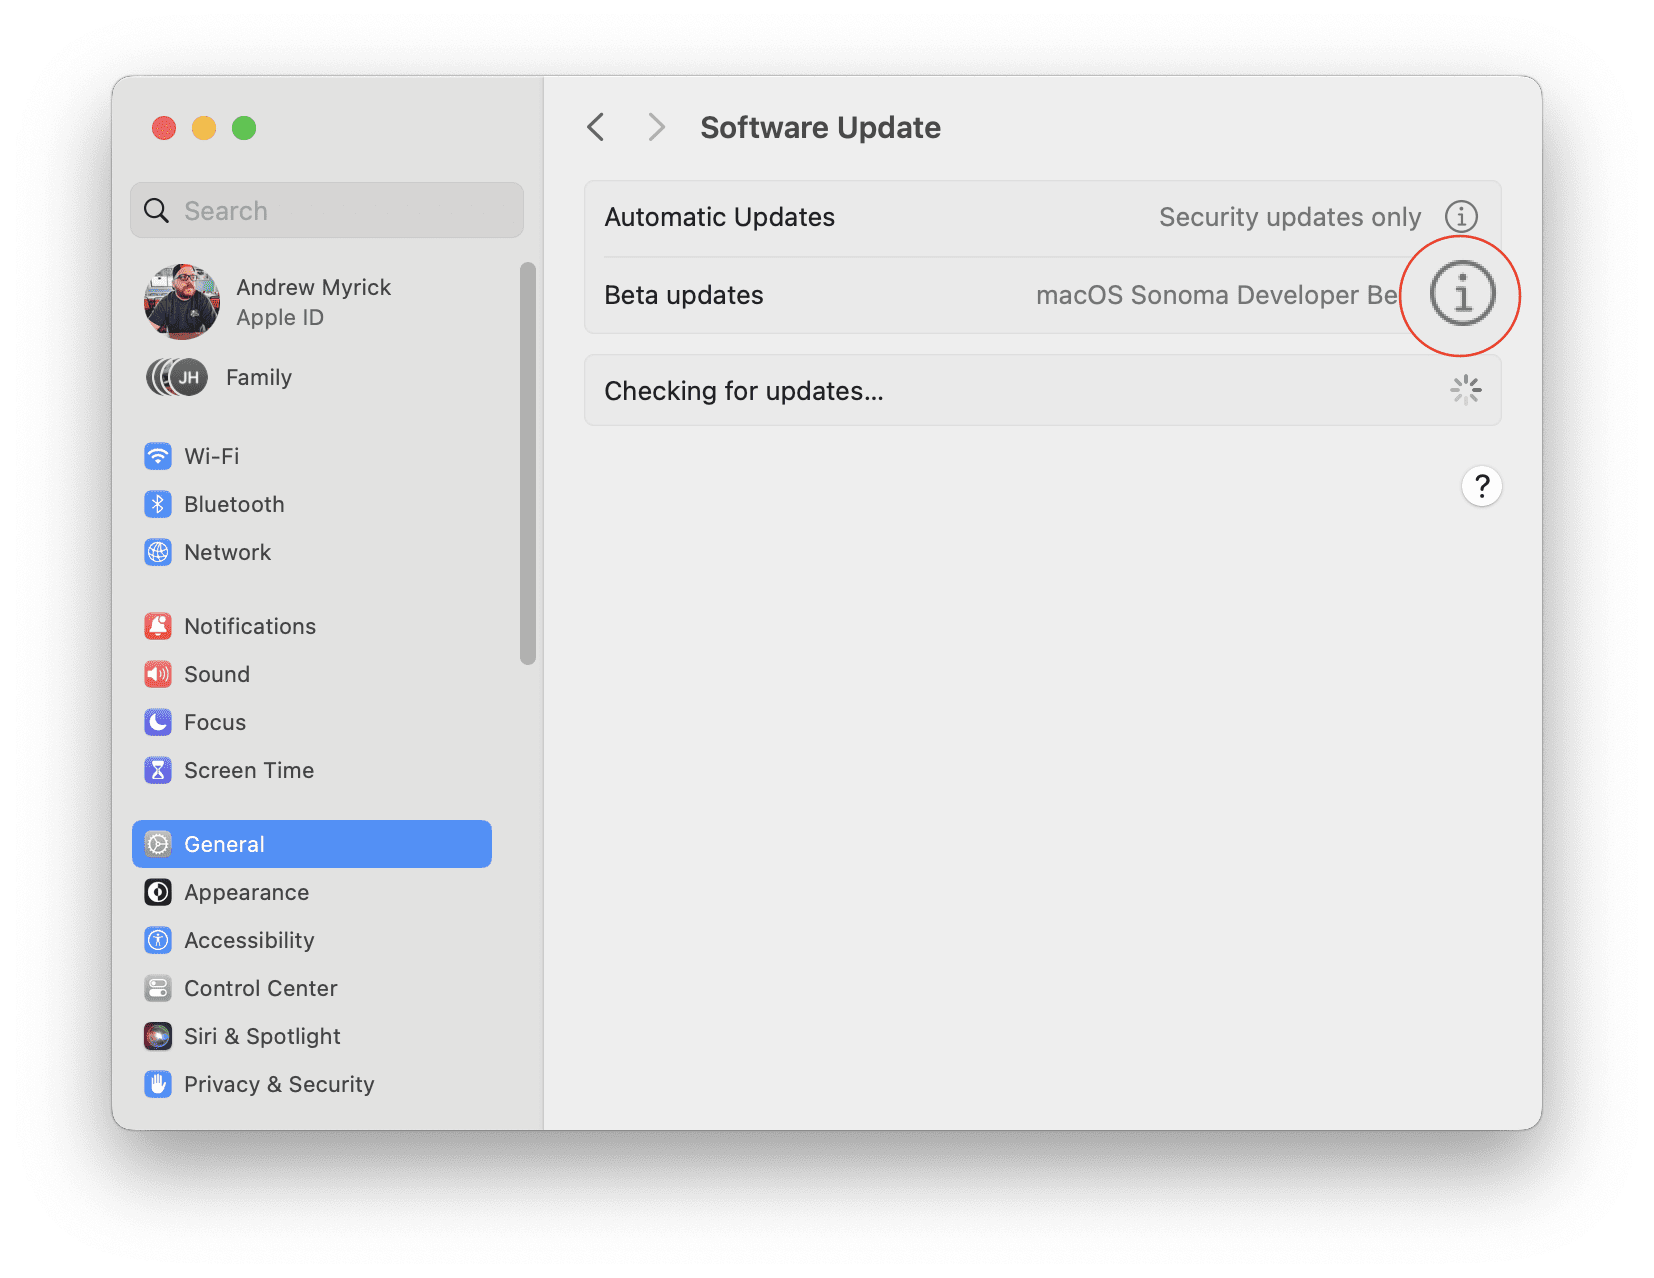
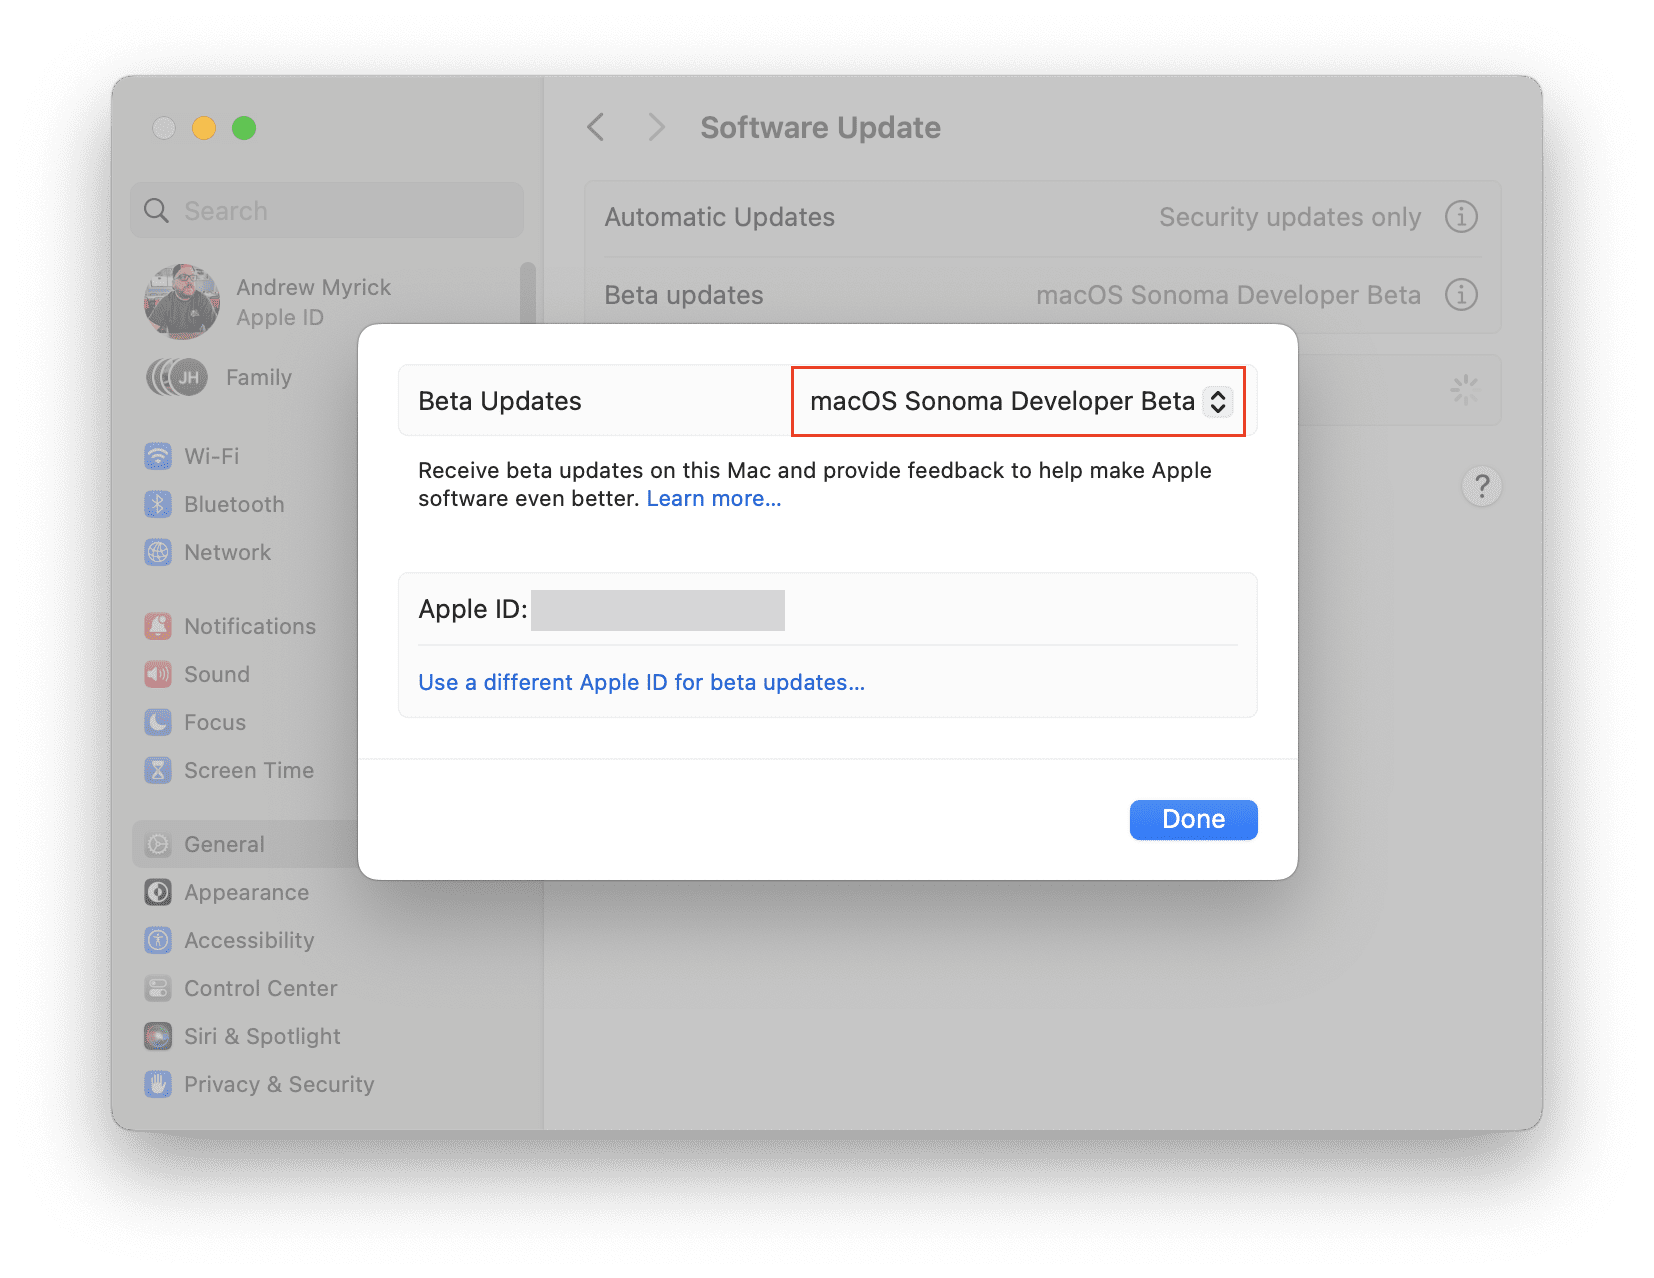
Click the Info button next to Beta updates.
From the window that appears, click the drop-down menu next to Beta Updates.
Select macOS Sonoma Developer Beta from the list of options.
Click the Done button in the bottom right corner.
Close and reopen the System Settings app.
Navigate back to the System Update section.
Wait for a moment while your Mac searches for an available update.
After a few moments, you should see an Updates Available section.
Click the Update Now button.
Wait for your Mac to finish downloading the update.
When prompted, restart your Mac to complete the installation of macOS Sonoma.
Regardless of which model of the Mac you are using to install macOS Sonoma, the process will likely take a while. With this in mind, make sure that your Mac is connected to power for the entire installation process, so you don’t end up losing everything and find yourself needing to restore from a back up.
Download the Game Porting Toolkit
Apple’s Game Porting Toolkit is a development tool that simplifies the process of porting Windows games to Mac for developers. It’s a part of Apple’s Metal API, providing developers with access to hardware-accelerated graphics features on Macs. The Game Porting Toolkit enhances the functionality of an existing open-source project named Wine, which enables Windows apps, including games, to operate on Unix-like operating systems.
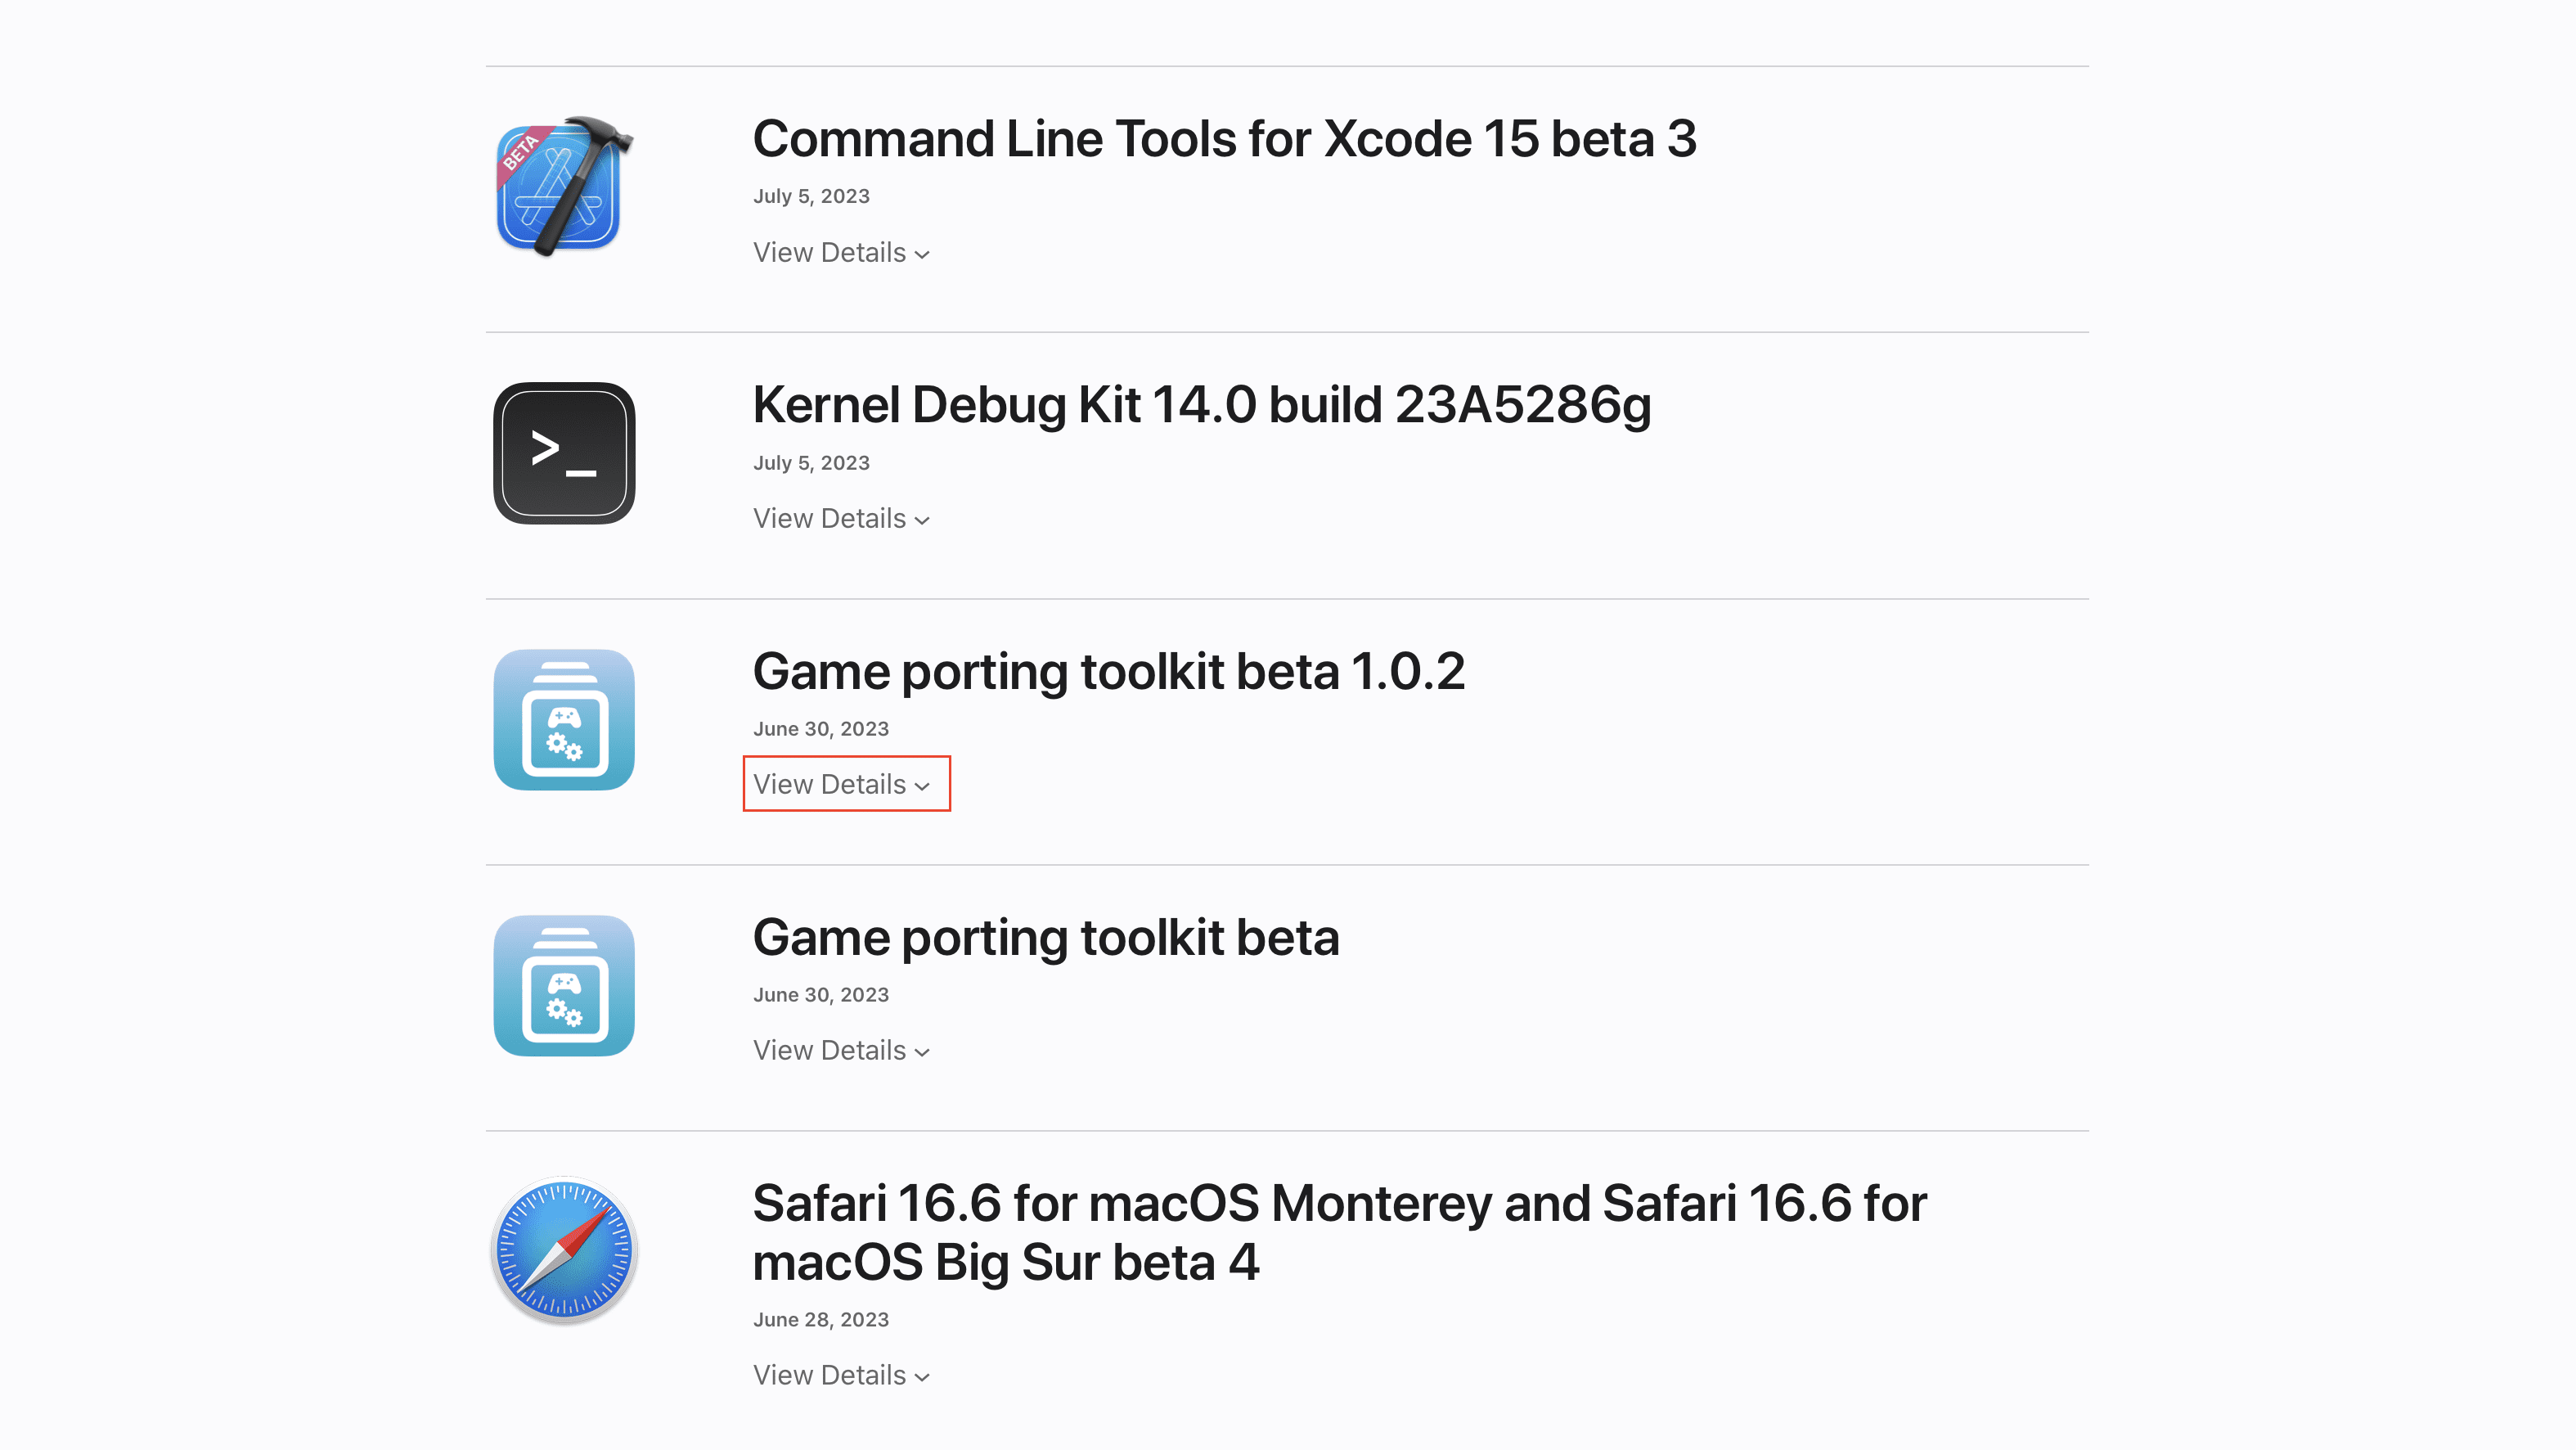
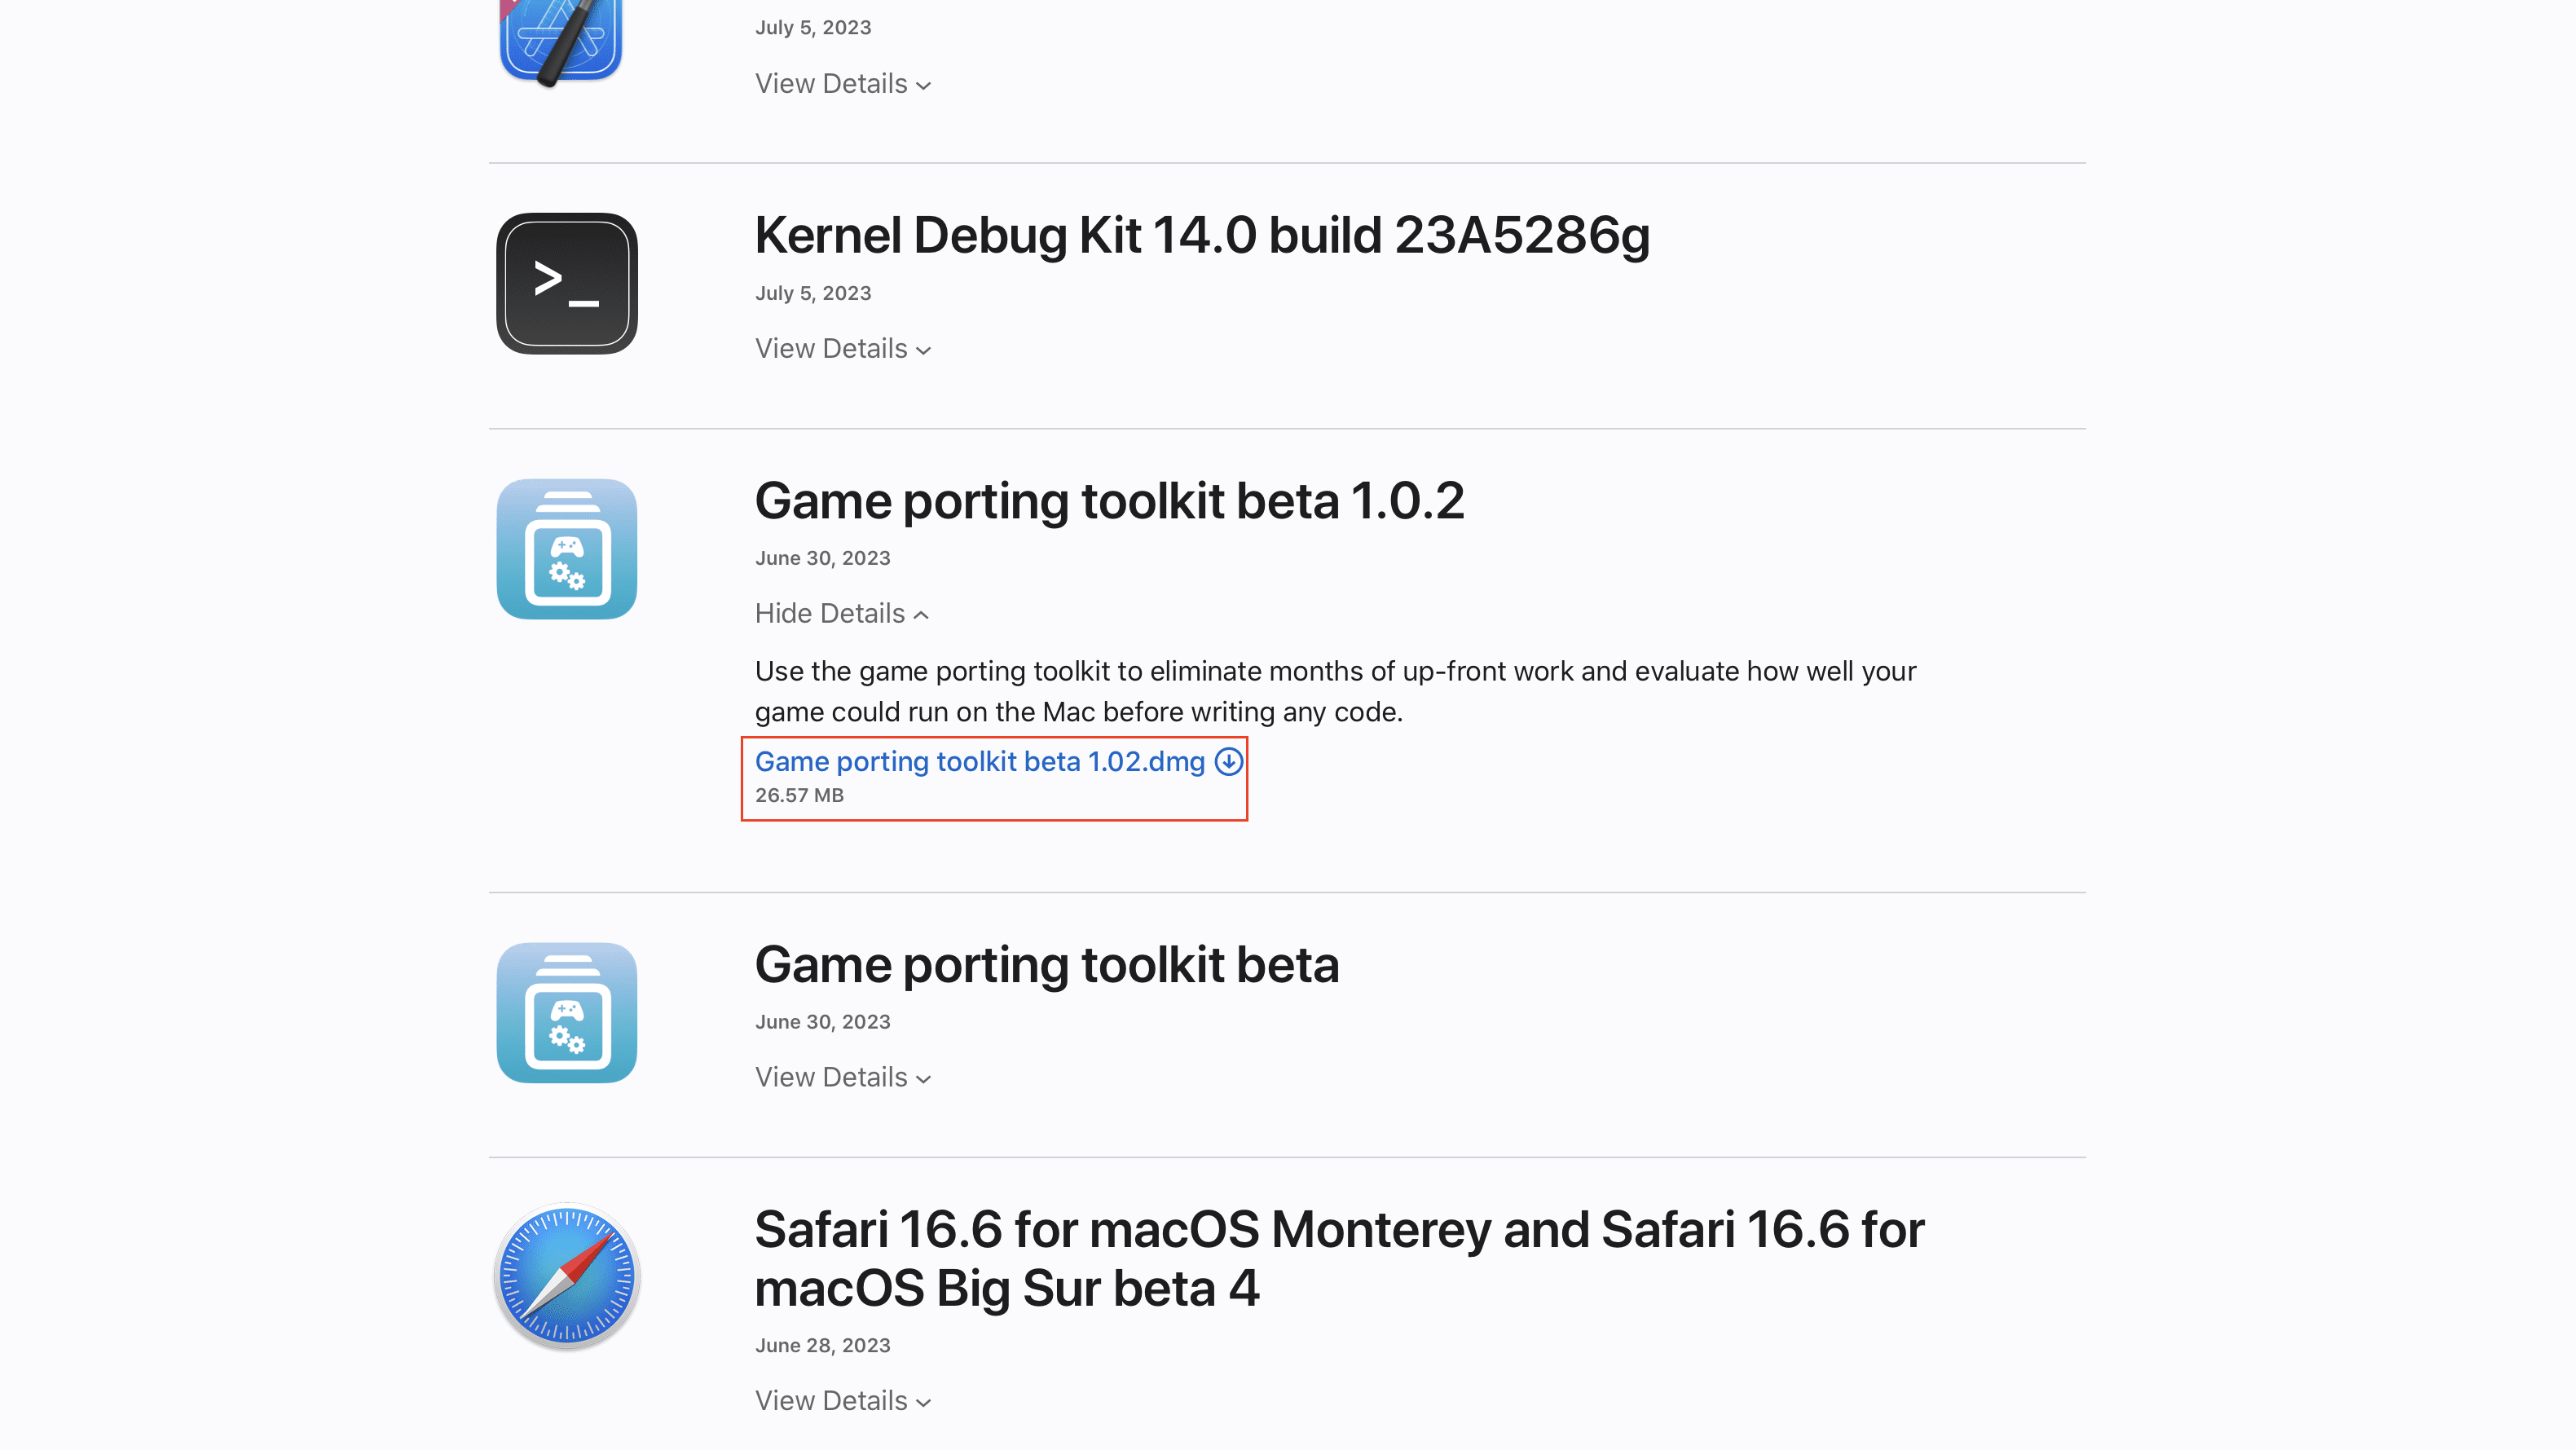
Scroll down until you find Game porting toolkit beta.
Click the View Details drop-down menu.
Click the Game porting toolkit beta.dmg.
Wait for the file to finish downloading before proceeding, but don’t mount the DMG file.
The Game Porting Toolkit was announced at WWDC ’23 alongside macOS Sonoma. This is intended for developers to use in porting their games to macOS without needing to redesign their games from the ground up. However, it didn’t take long before the community discovered that the Game Porting Toolkit could be used to play Windows games on Mac without waiting for the game to be updated by the developer.
Install Command Line Tools for Xcode 15
In order to proceed with being able to play Windows games on Mac, you’ll need to install the Command Line Tools for Xcode 15. However, it’s important to point out that following these steps doesn’t install the full version of Xcode, but just the necessary command line tools that you’ll need as getting everything set up for the Toolkit is done from the Terminal app.
Scroll down until you reach the Additional downloads section.
Click the Command line tools and old versions of Xcode link.
Sign in with your Apple ID.
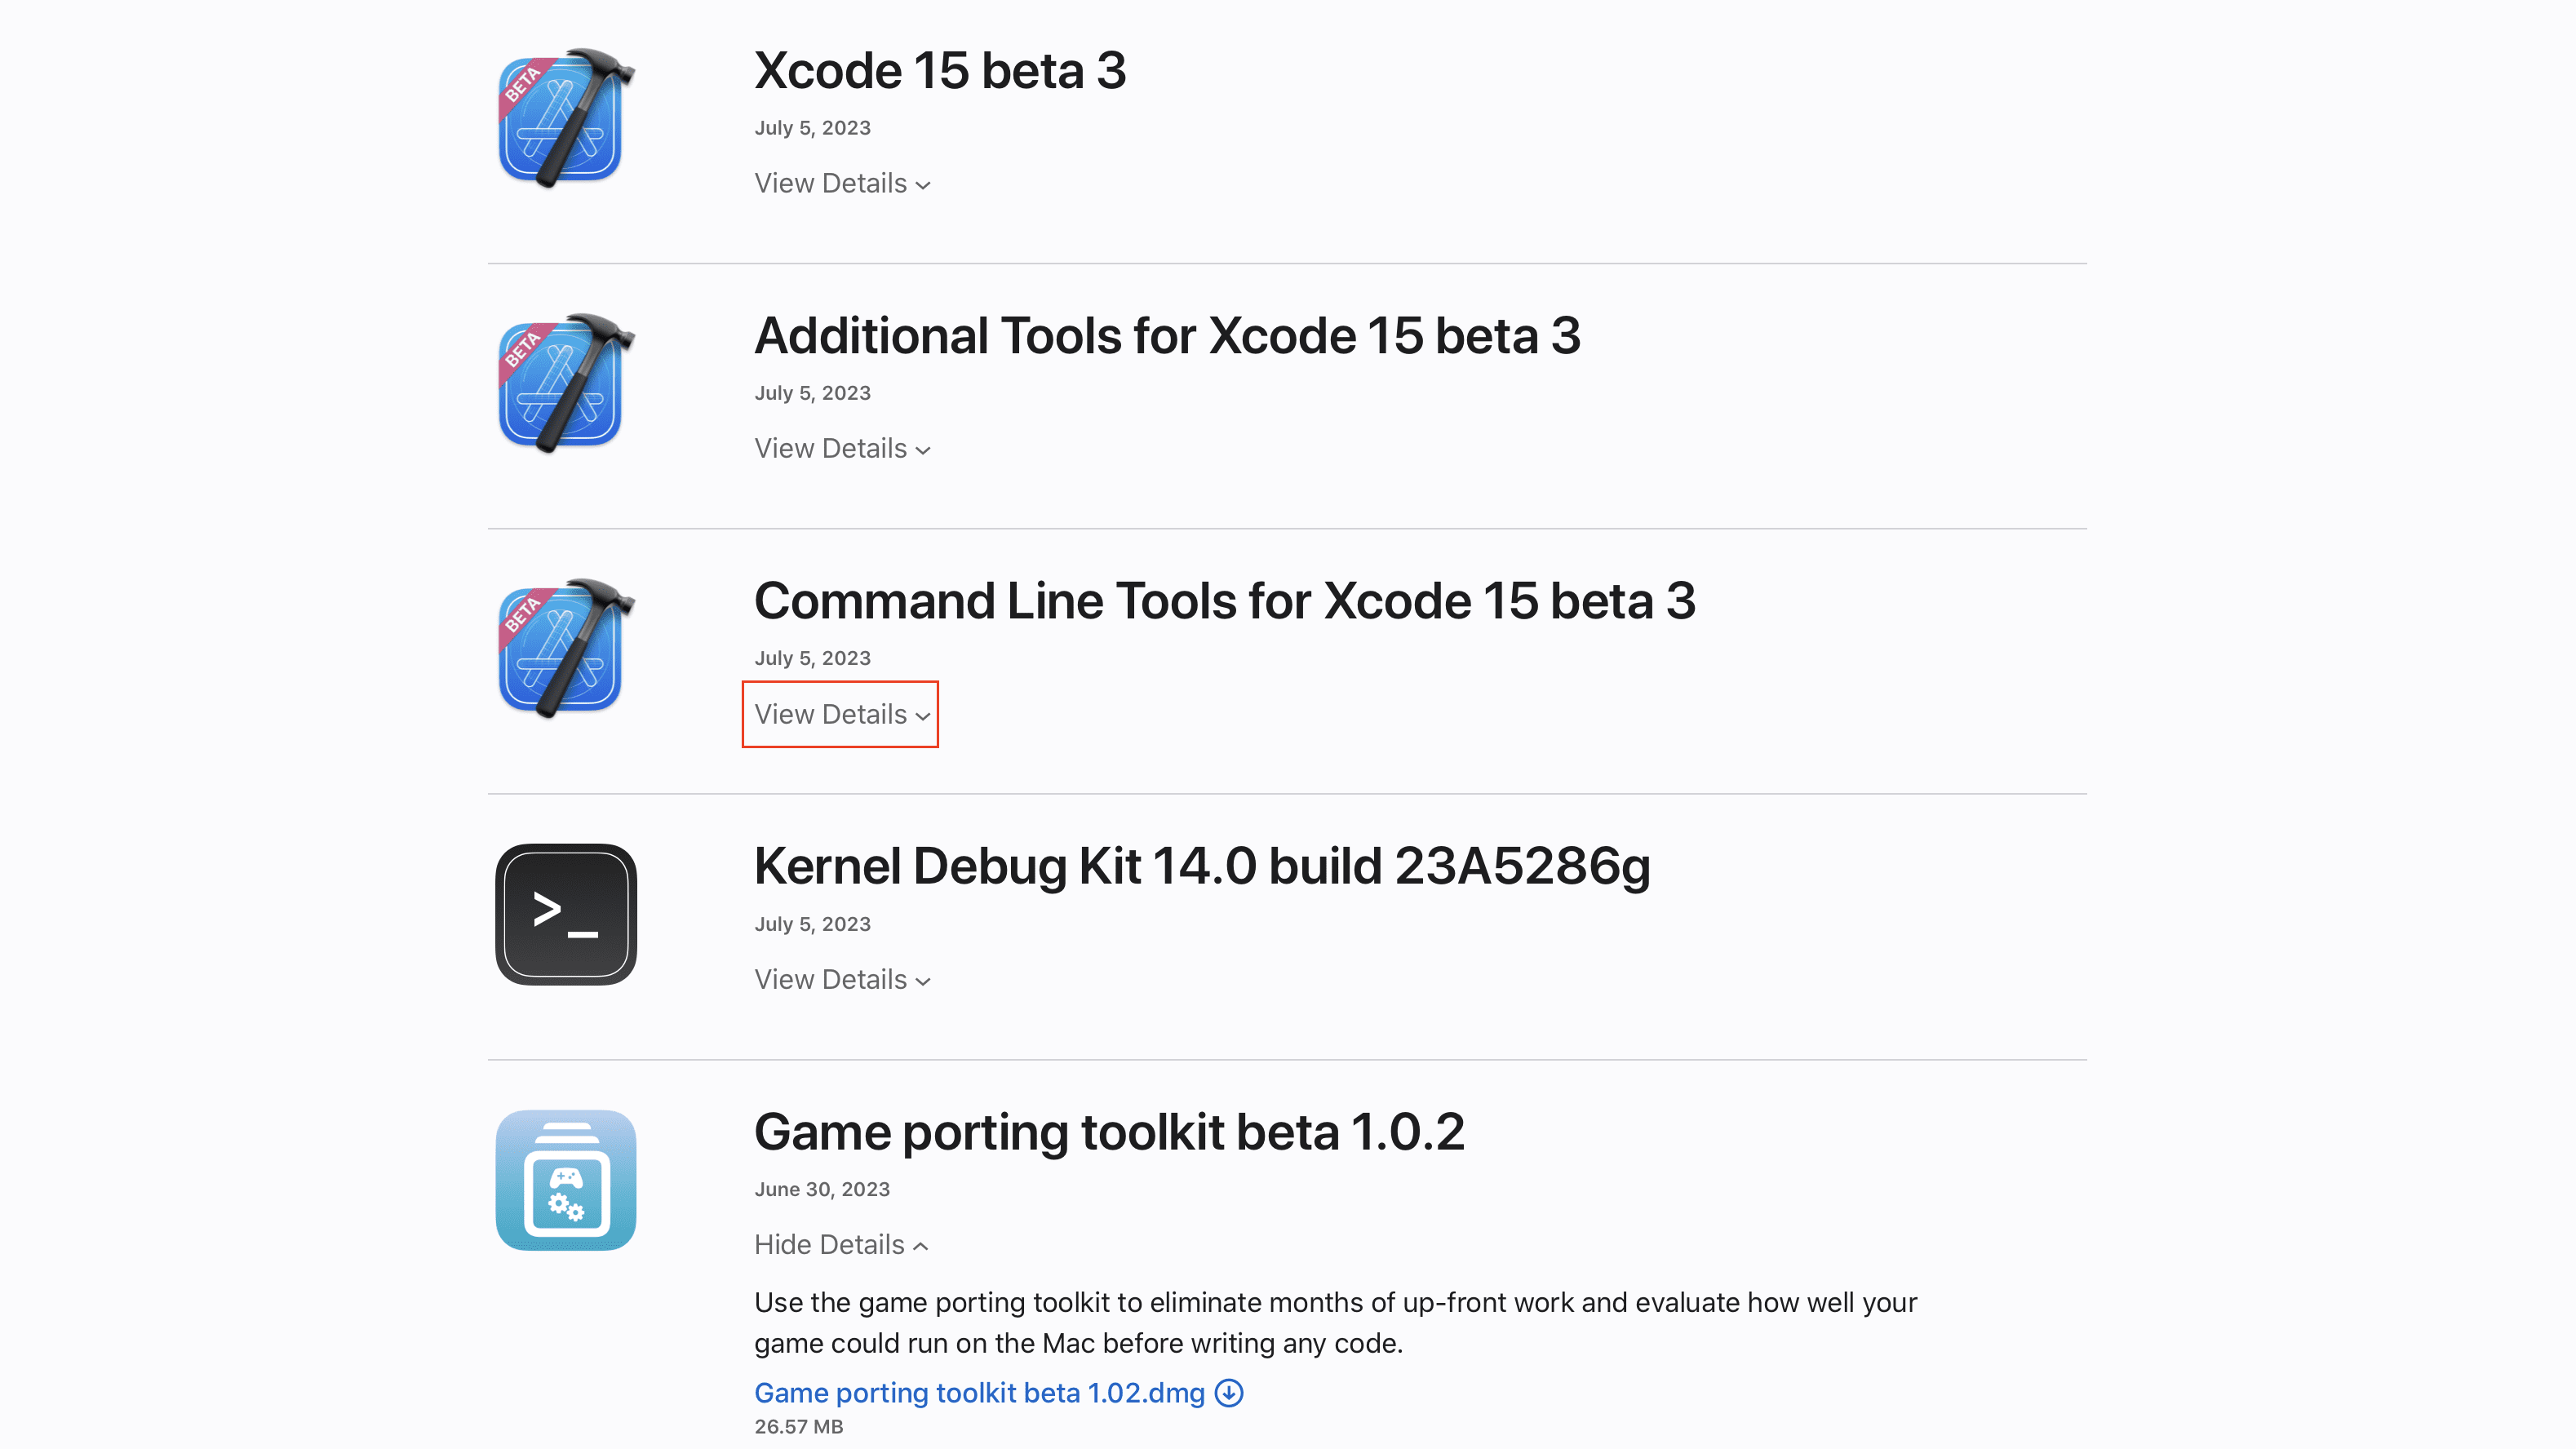
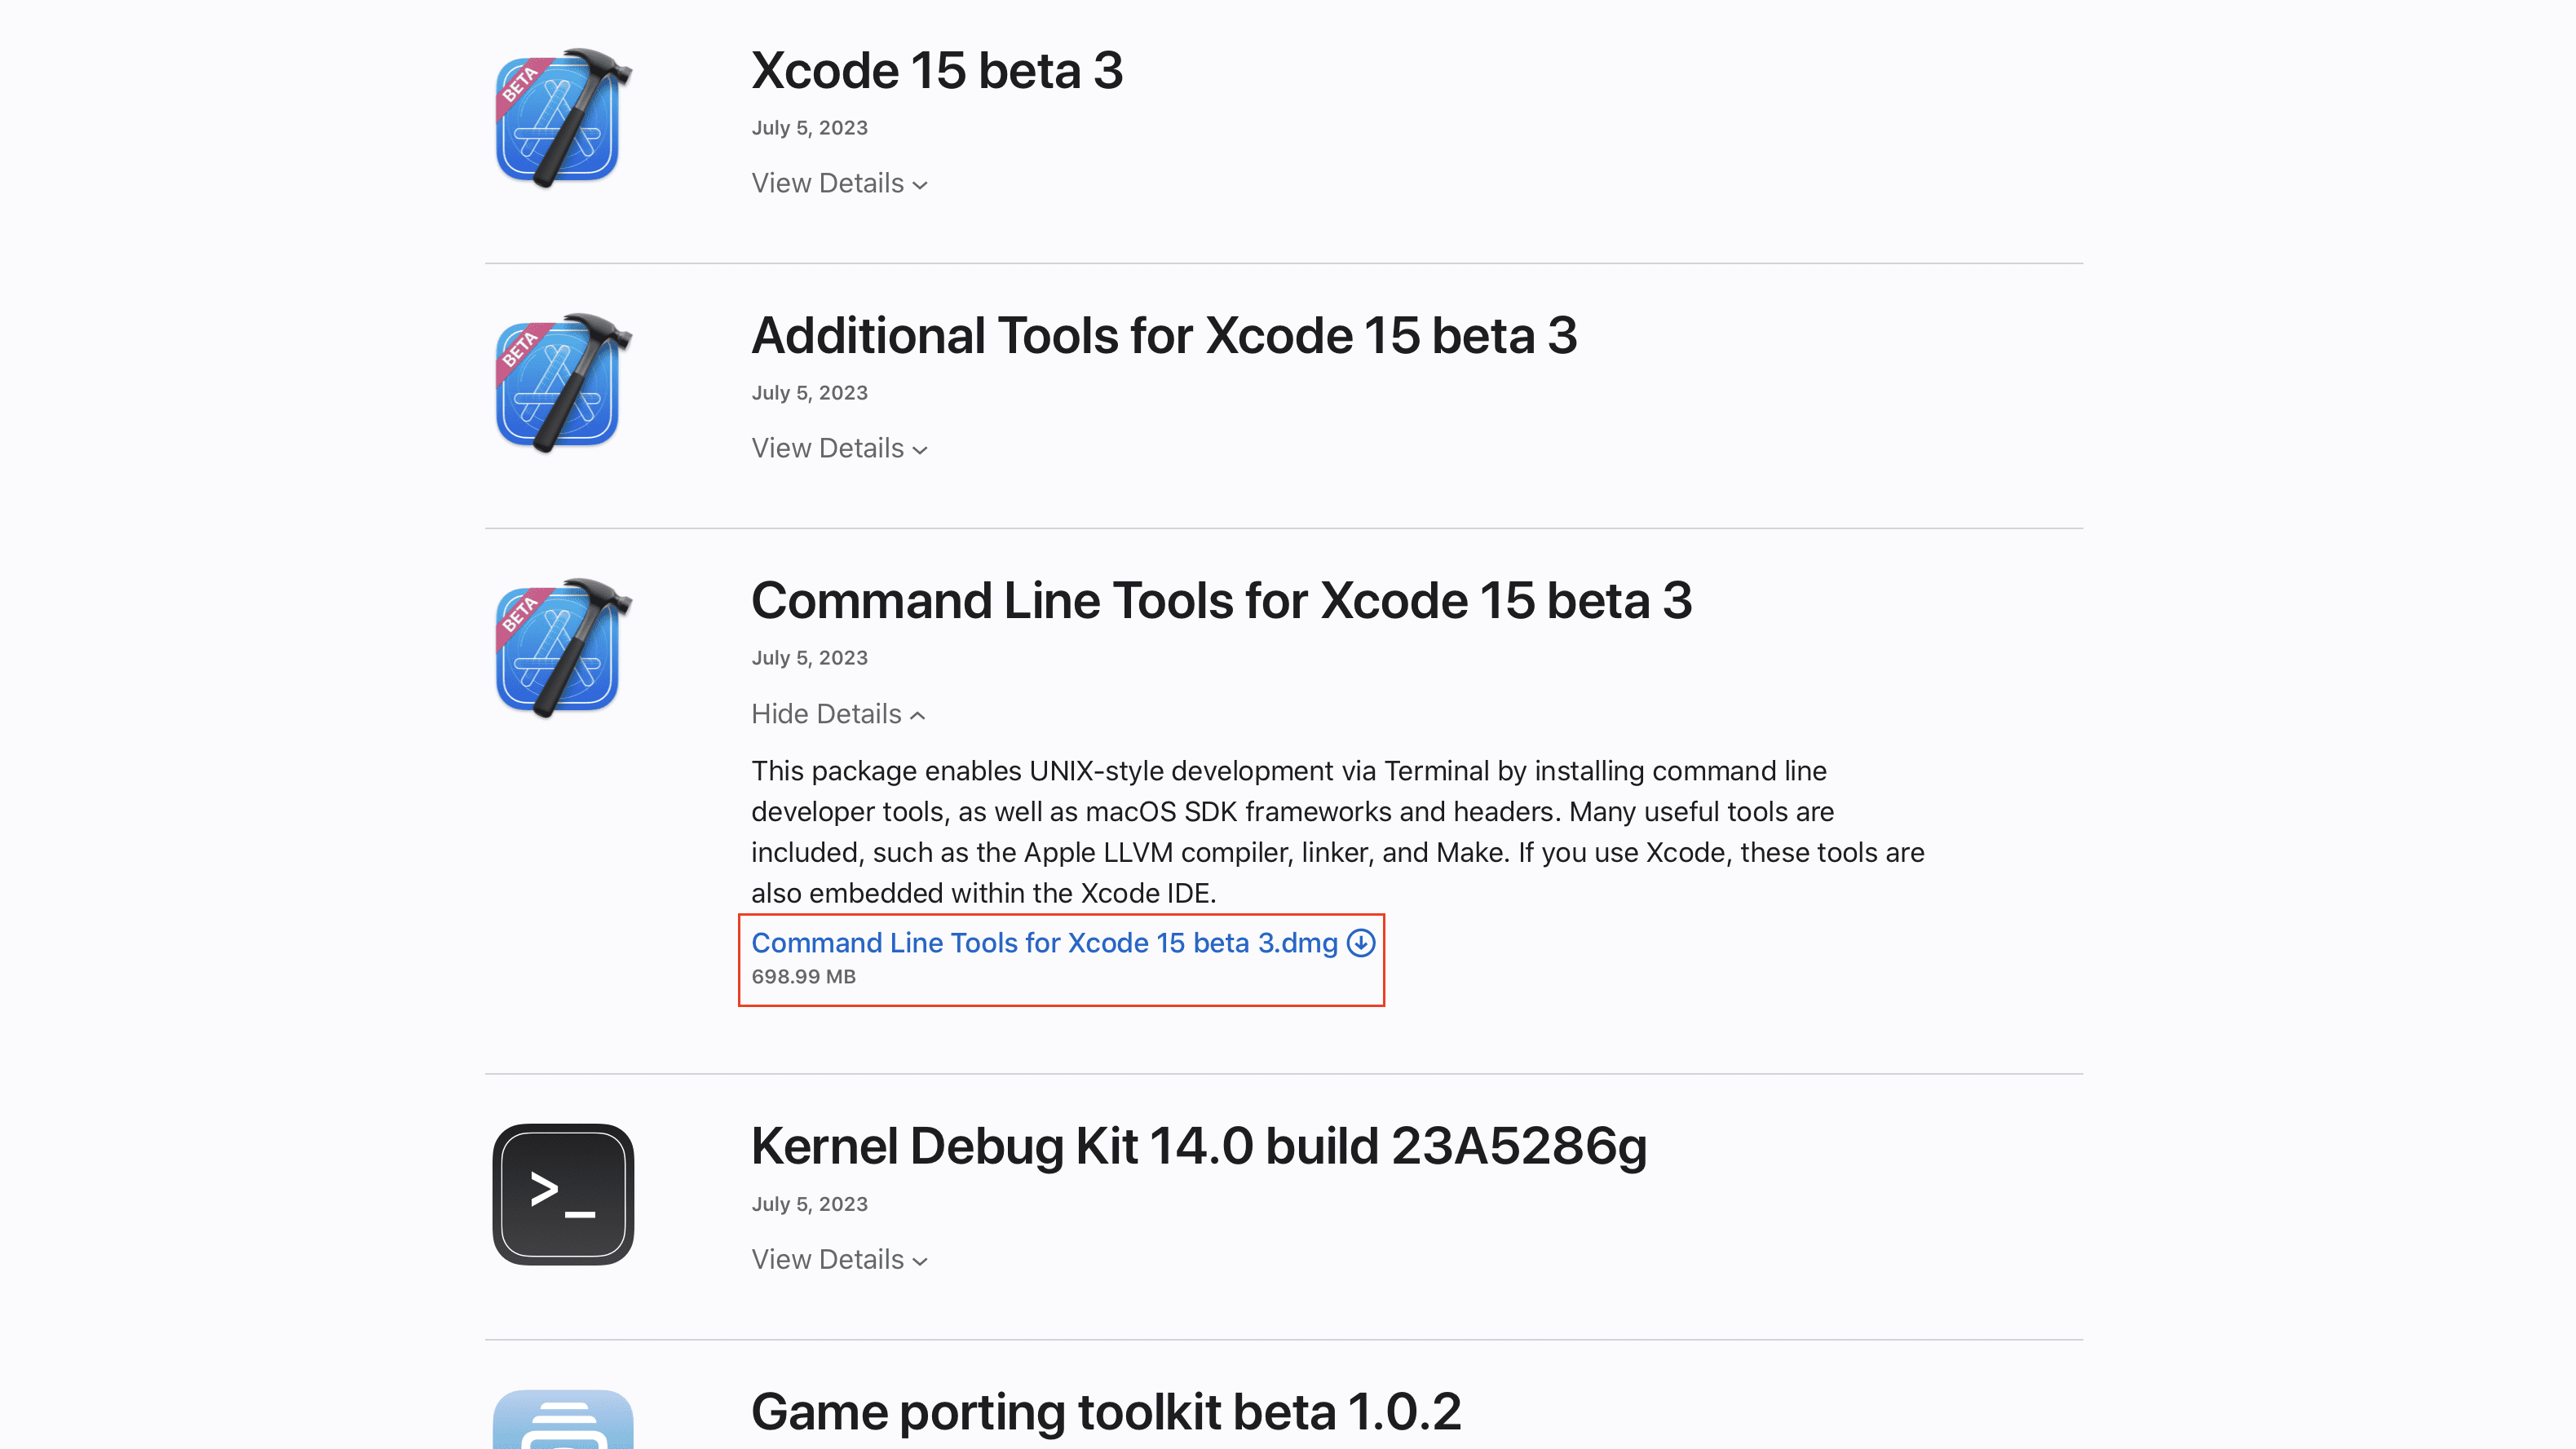
Locate the Command Line Tools for Xcode 15 beta section.
Click the View Details drop-down menu.
Click the Command Line Tools for Xcode 15 beta.dmg.
Wait for the file to finish downloading.
Open your Downloads folder.
Locate the file that you just downloaded and double-click it to mount the DMG file.
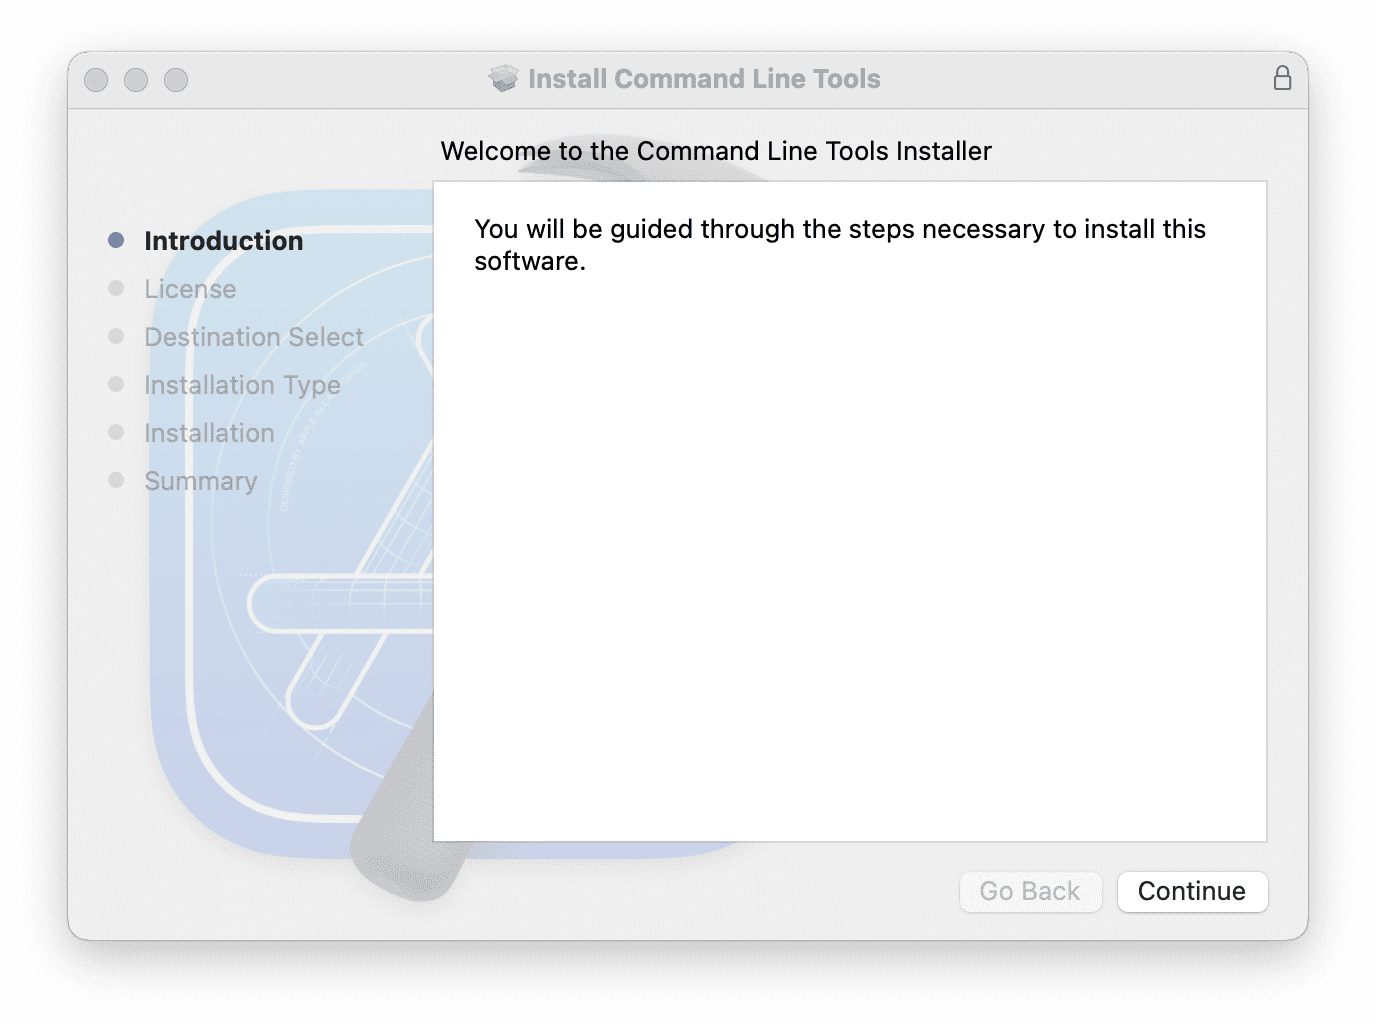
Double-click the Command Line Tools.pkg icon in the Finder window that appears.
Follow the on-screen steps to install the Command Line Tools.
Install the Game Porting Toolkit
With the Game Porting Toolkit DMG available, and the Command Line Tools installed, you can finally get started with the steps to play Windows games on Mac. The first thing that you’ll need to do is install the new Game Porting Toolkit using Homebrew.
Open the Terminal app on your Mac.
Insert the following commands, and hit Enter after each one.
To install Rosetta on your M1 or M2 Mac: softwareupdate –install-rosetta
Enter the x8664 shell (required): arch -x86_64 zsh
If you already have Homebrew installed: brew update brew -v install apple/apple/game-porting-toolkit
Set Up a Wine Prefix
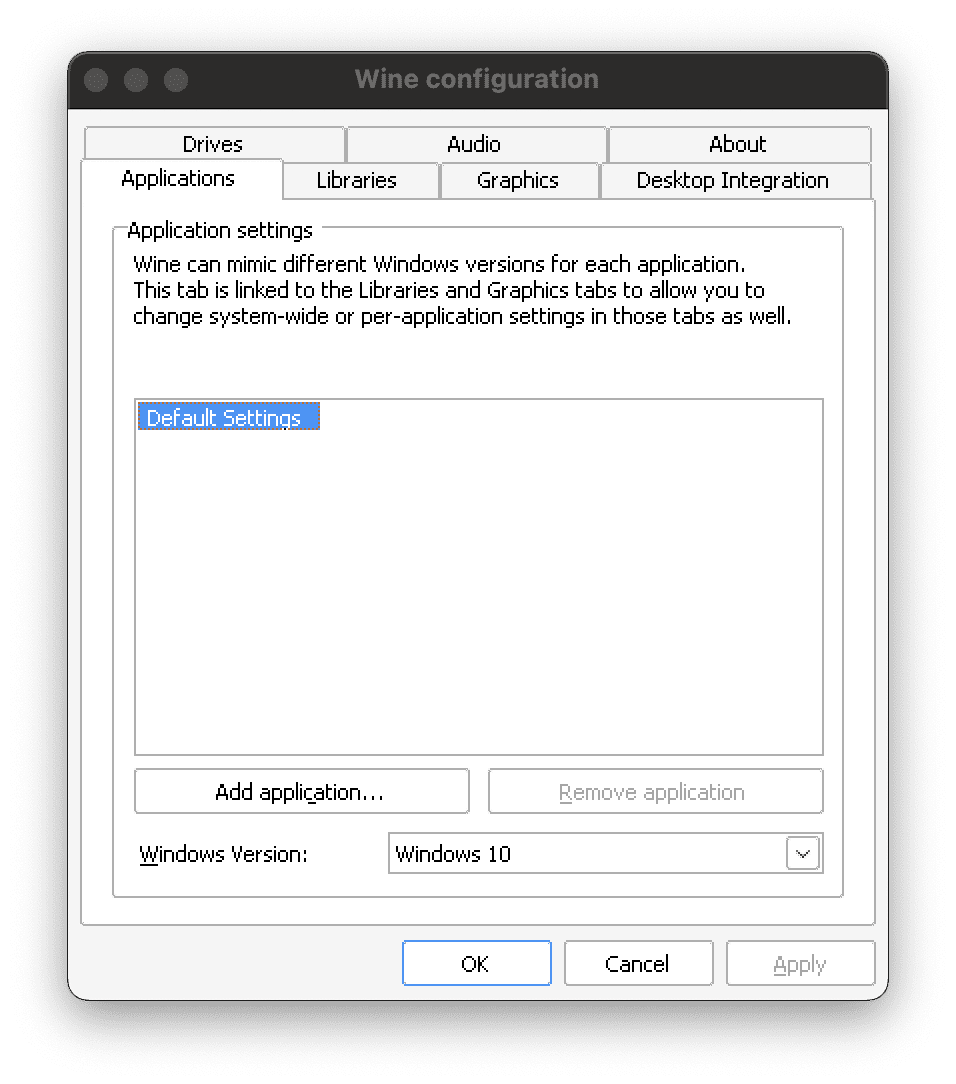
A Wine prefix, often referred to as a “Wine bottle,” is a directory that contains all the settings, system files, and installed applications for a particular Wine environment. It functions as a container or a separate virtual Windows environment, allowing users to configure Wine differently for various applications. This is particularly useful when different applications require different settings or versions of Windows to run optimally.
By default, Wine uses a single prefix (usually located in the .wine directory in the user’s home folder), but users can create multiple prefixes for different applications. Each prefix is isolated from the others, which means changes made within one Wine prefix will not affect applications installed in a different prefix. This feature allows users to manage and run multiple Windows applications on Unix-like operating systems without conflicts.
Now that you have gotten the Game Porting Toolkit set up, along with getting Wine configured properly for your Mac, you can finally install Steam and start downloading your favorite games. Here are the final steps that you need to follow in order to play Windows games on Mac with macOS Sonoma:
Download the SteamSetup file linked below to your Mac:
In the event that it happens again, close the Terminal window, enter the arch x86_64 zsh command then try the two commands above again.
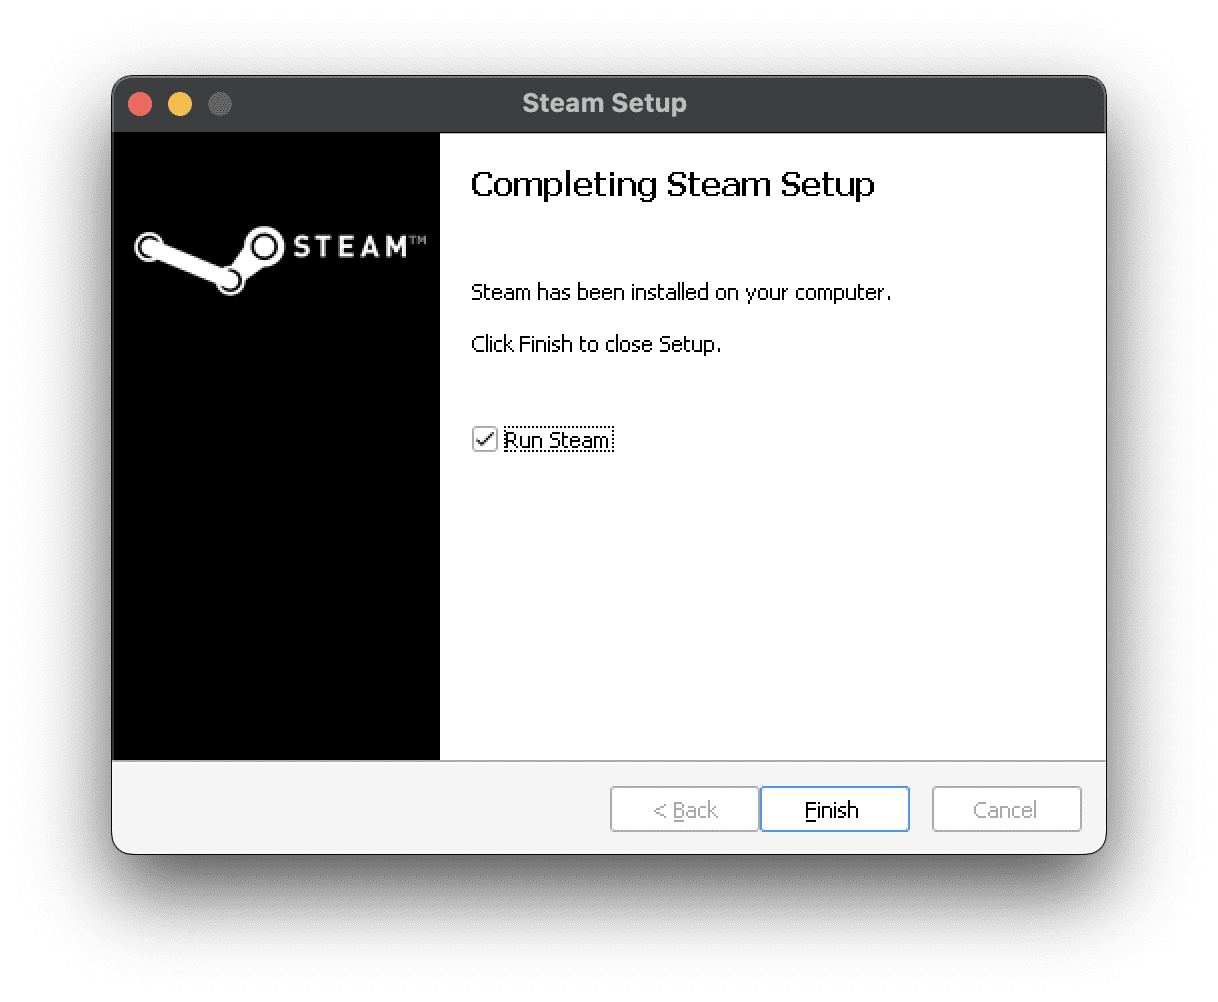
If everything has been entered correctly, you should see a new Steam app window appear on your Mac. From here, you can log into your Steam account, navigate to your Library, and begin installing games from Steam onto your Mac.
How to Play Windows Games on Mac with Crossover
CrossOver for Mac, developed by CodeWeavers, is a powerful tool that allows you to run Windows software on your macOS without needing a Windows license, rebooting your system, or using a virtual machine. It’s not an emulator; instead, it translates Windows commands into Mac commands, enabling Windows software to run as if it were native to macOS. This includes a wide range of software, notably games, productivity software, and utility programs.
Purchasing and Installing CrossOver
Purchase CrossOver: You can buy CrossOver for Mac from the CodeWeavers Store for $74.00. However, it’s recommended to start with the free trial to ensure it meets your needs.
Download and Install CrossOver: After purchasing, download CrossOver from the CodeWeavers website. Installation is straightforward – just open the downloaded file and follow the on-screen instructions.
Running Windows Games on Mac
Check Game Compatibility: Before trying to run a game, check its compatibility with CrossOver on the Compatibility Database. This database will give you an idea of how well the game might run.
Install Windows Games: Once CrossOver is installed, you can add your Windows games. Here’s how:
Open CrossOver.
Click on the “Install a Windows Application” button.
Search for the game you want to install in the search bar. If it’s a well-known game, CrossOver might have an installation script ready for it.
If the game is not listed, you can still try installing it by selecting “Unlisted Application” and following the prompts.
Running the Game: After installation, the game should appear in the CrossOver interface. Simply click on the game’s icon to start playing.
Tips for a Better Experience
To ensure the best compatibility and performance while using CrossOver, it’s important to regularly update the software. Staying current with updates can significantly enhance your experience, especially when playing Windows games on your Mac. Additionally, for any troubleshooting needs or helpful tips, the CodeWeavers Forums and tutorials are excellent resources. These platforms offer a wealth of information and community support that can assist you in optimizing your use of CrossOver.
Lastly, it’s crucial to verify that your Mac meets the system requirements for running CrossOver effectively. The software is compatible with both Intel and Apple Silicon-based Macs operating on macOS. However, it’s worth noting that CrossOver is not compatible with iPads or iPhones, so it’s strictly for use on macOS systems. By adhering to these guidelines, you can enjoy a smooth and efficient gaming experience on your Mac using CrossOver.
Why Choose CrossOver?
CrossOver is designed with ease of use in mind, featuring a one-click installation process that users find exceptionally straightforward. This simplicity extends to its integration with your desktop environment, where it blends seamlessly, providing a user-friendly experience. The performance aspect of CrossOver is another significant advantage. It enables Windows software and games to run at their native speed on your Mac, eliminating the need for a Windows operating system. This means you can enjoy your favorite Windows games and applications without the typical overhead and resource demands associated with running an entire separate OS.
In addition to its user-friendly design and performance benefits, CrossOver also supports the open-source community. A substantial part of the Wine code base, which is integral to CrossOver’s functionality, is regularly released back into the open-source world. This contribution not only enriches the open-source community but also ensures continuous improvement and updates to the software, benefiting all users. This commitment to open source is a testament to CodeWeavers’ dedication to collaborative software development and community involvement.
CrossOver for Mac is a robust solution for running Windows games on macOS. It offers a blend of ease of use, performance, and support for a wide range of applications. Remember to check game compatibility and system requirements for the best experience.
Are You Using Steam on macOS Mojave or Earlier?
Steam has officially announced that as of February 15th, 2024, it will cease support for macOS 10.13 (High Sierra) and 10.14 (Mojave). This decision marks a significant shift for users of these older operating systems, as existing Steam Client installations on these versions will no longer receive any updates, including crucial security updates. The lack of support extends to technical assistance, with Steam Support unable to address issues related to these outdated systems.
This change particularly impacts the functionality of 32-bit games on macOS. macOS 10.14 Mojave was the last version to support 32-bit games, and with Apple discontinuing support for 32-bit applications in macOS 10.15 (released in 2019), many games that haven’t been updated to 64-bit will cease to function. Consequently, by the end of 2023, the Steam store will no longer classify games offering only 32-bit macOS binaries as compatible with Mac. It’s noteworthy that over 98% of Steam users on Mac are already on macOS 10.15 or newer, which do not support 32-bit games and applications.
For users still on macOS 10.13 or 10.14, updating to a more recent version of macOS is recommended to ensure the continued operation of Steam and new 64-bit games. While Steam and games on these older systems may continue to run for some time, post-February 15th, 2024, there’s no guarantee of functionality, especially for 32-bit macOS games.
The necessity for this change is partly due to Steam’s reliance on an embedded version of Google Chrome, which is incompatible with older macOS versions. Future versions of Steam will require macOS features and security updates only available in macOS 10.15 and above.
Steam’s announcement also highlights a security concern: Apple ceased security updates and technical support for macOS 10.13 in December 2020 and for macOS 10.14 in October 2021. Computers running these operating systems are at increased risk of malware and other exploits, which could compromise not only the system’s performance but also the security of Steam accounts and other services.
Conclusion
While the Mac may not be the first choice for gamers, there are several ways to play Windows games on macOS. Whether you choose to dual-boot with Boot Camp, use a VM, or stream games online, you can enjoy your favorite Windows games on your Mac. Remember, each method has its pros and cons, so choose the one that best suits your needs and resources.
Andrew Myrick is a freelance writer based on the East Coast of the US. He enjoys everything to do with technology, including tablets, smartphones, and everything in between. Perhaps his favorite past-time is having a never-ending supply of different keyboards and gaming handhelds that end up collecting more dust than the consoles that are being emulated.


Write a Comment