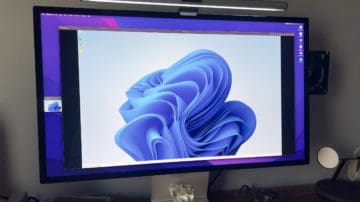
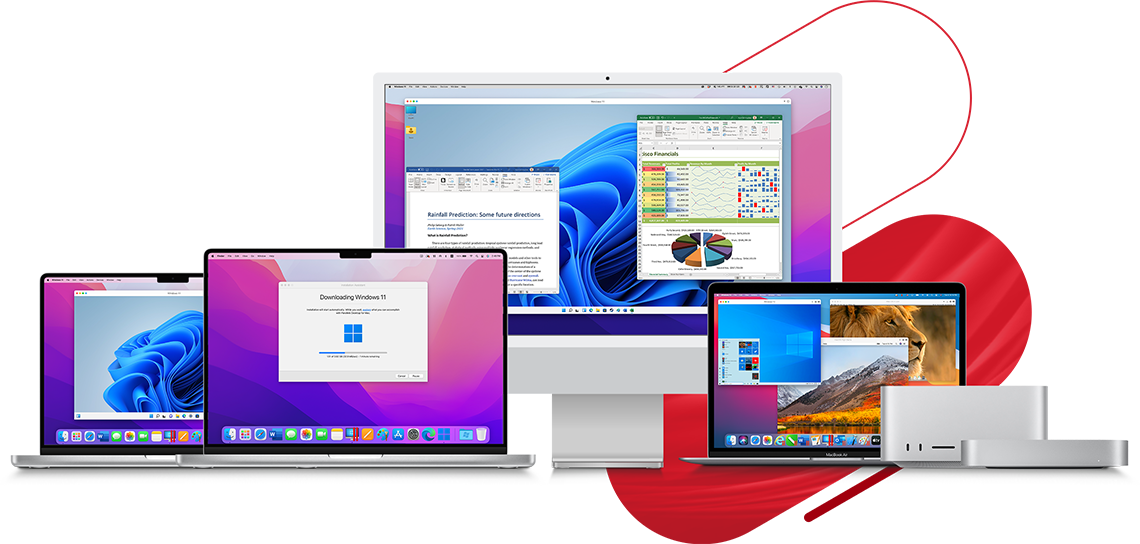
While the transition to Apple Silicon on the Mac has been one of Apple’s most impressive successes in recent memory, that’s not to say that there weren’t some casualties. For one, the ability to run Windows using Boot Camp was completely removed, meaning that for quite a while, it was very difficult to use Windows on a Mac, even through a Virtual Machine. Thankfully, we’re finally getting to a point where you can install Windows 11 on Mac without needing to deal with a bunch of headaches. And today, we’re going to take you through the necessary steps.
When it comes to those who want to install Windows 11 on Mac, there are actually two viable and reliable options that you can take advantage of. And technically, there is a third, that we’ll touch on later in the post.
Install Windows 11 on Mac With Parallels 18
Without a doubt, the easiest way to install Windows 11 on Mac is with the help of Parallels 18. Parallels has long been the default option for those who want to install any version of Windows on their Mac through the help of a Virtual Machine. The software has been around for years, and in some ways, is better than Apple’s now-defunct solution to use Boot Camp. While Parallels has been compatible with Macs powered by Apple Silicon, the recent release of Parallels 18 takes things up a notch.
Parallels 18 introduces “full support for Apple’s ProMotion display”, meaning that the variable 120Hz refresh rate found on the 14-inch and 16-inch 2021 MacBook Pro models will also be reflected when you jump into your virtual machine. Additionally, this update brings support for “enhanced Windows game play”, allowing you to connect an Xbox or DualShock controller to the virtual machine, load up your favorite game, and start playing with just a few clicks of a button. According to Parallels, Mac users can now “leverage the most advanced Windows experience on their Macs to run more than 200,000 Windows apps and classic games”.
Here’s how to install Windows 11 on Mac using Parallels 18:
Download the latest version of Parallels to your Mac (version 18).
Once downloaded, install it to your Mac, and follow the prompts to allow access.
Windows 11 Client ARM64 Insider Preview (Dev Channel)
Windows 11 Client ARM64 Insider Preview (Beta Channel)
Wait for the Windows 11 on ARM Insider Preview to finish downloading.
Open Parallels back up, and select Create New.
Drag and drop the Windows ARM file to the Parallels page.
Click Continue.
Choose whether you plan to use this for Productivity or Games Only and click the Continue button.
Enter a name and location that you wish to have the VM installed and press Continue.
Go grab a cup of coffee or a quick snack while the Parallels installs Windows.
Allow access to your Bluetooth devices, microphone, and webcam (if applicable), when prompted.
After the installation is completed, create or sign in to your Parallels account
Enjoy!
As for pricing for Parallels 18, there are three different options. Standard Edition is designed for Home & Student use, while the Pro Edition is “for developers, testers, and power users”. Then, there’s a Business Edition that is obviously for teams and IT deployments, and likely won’t be the best option for your needs. Pricing starts at $99.99 for Standard Edition, available as a one-time purchase, meanwhile Parallels 18 Pro Edition comes in at $119.99 per year, on a subscription basis.
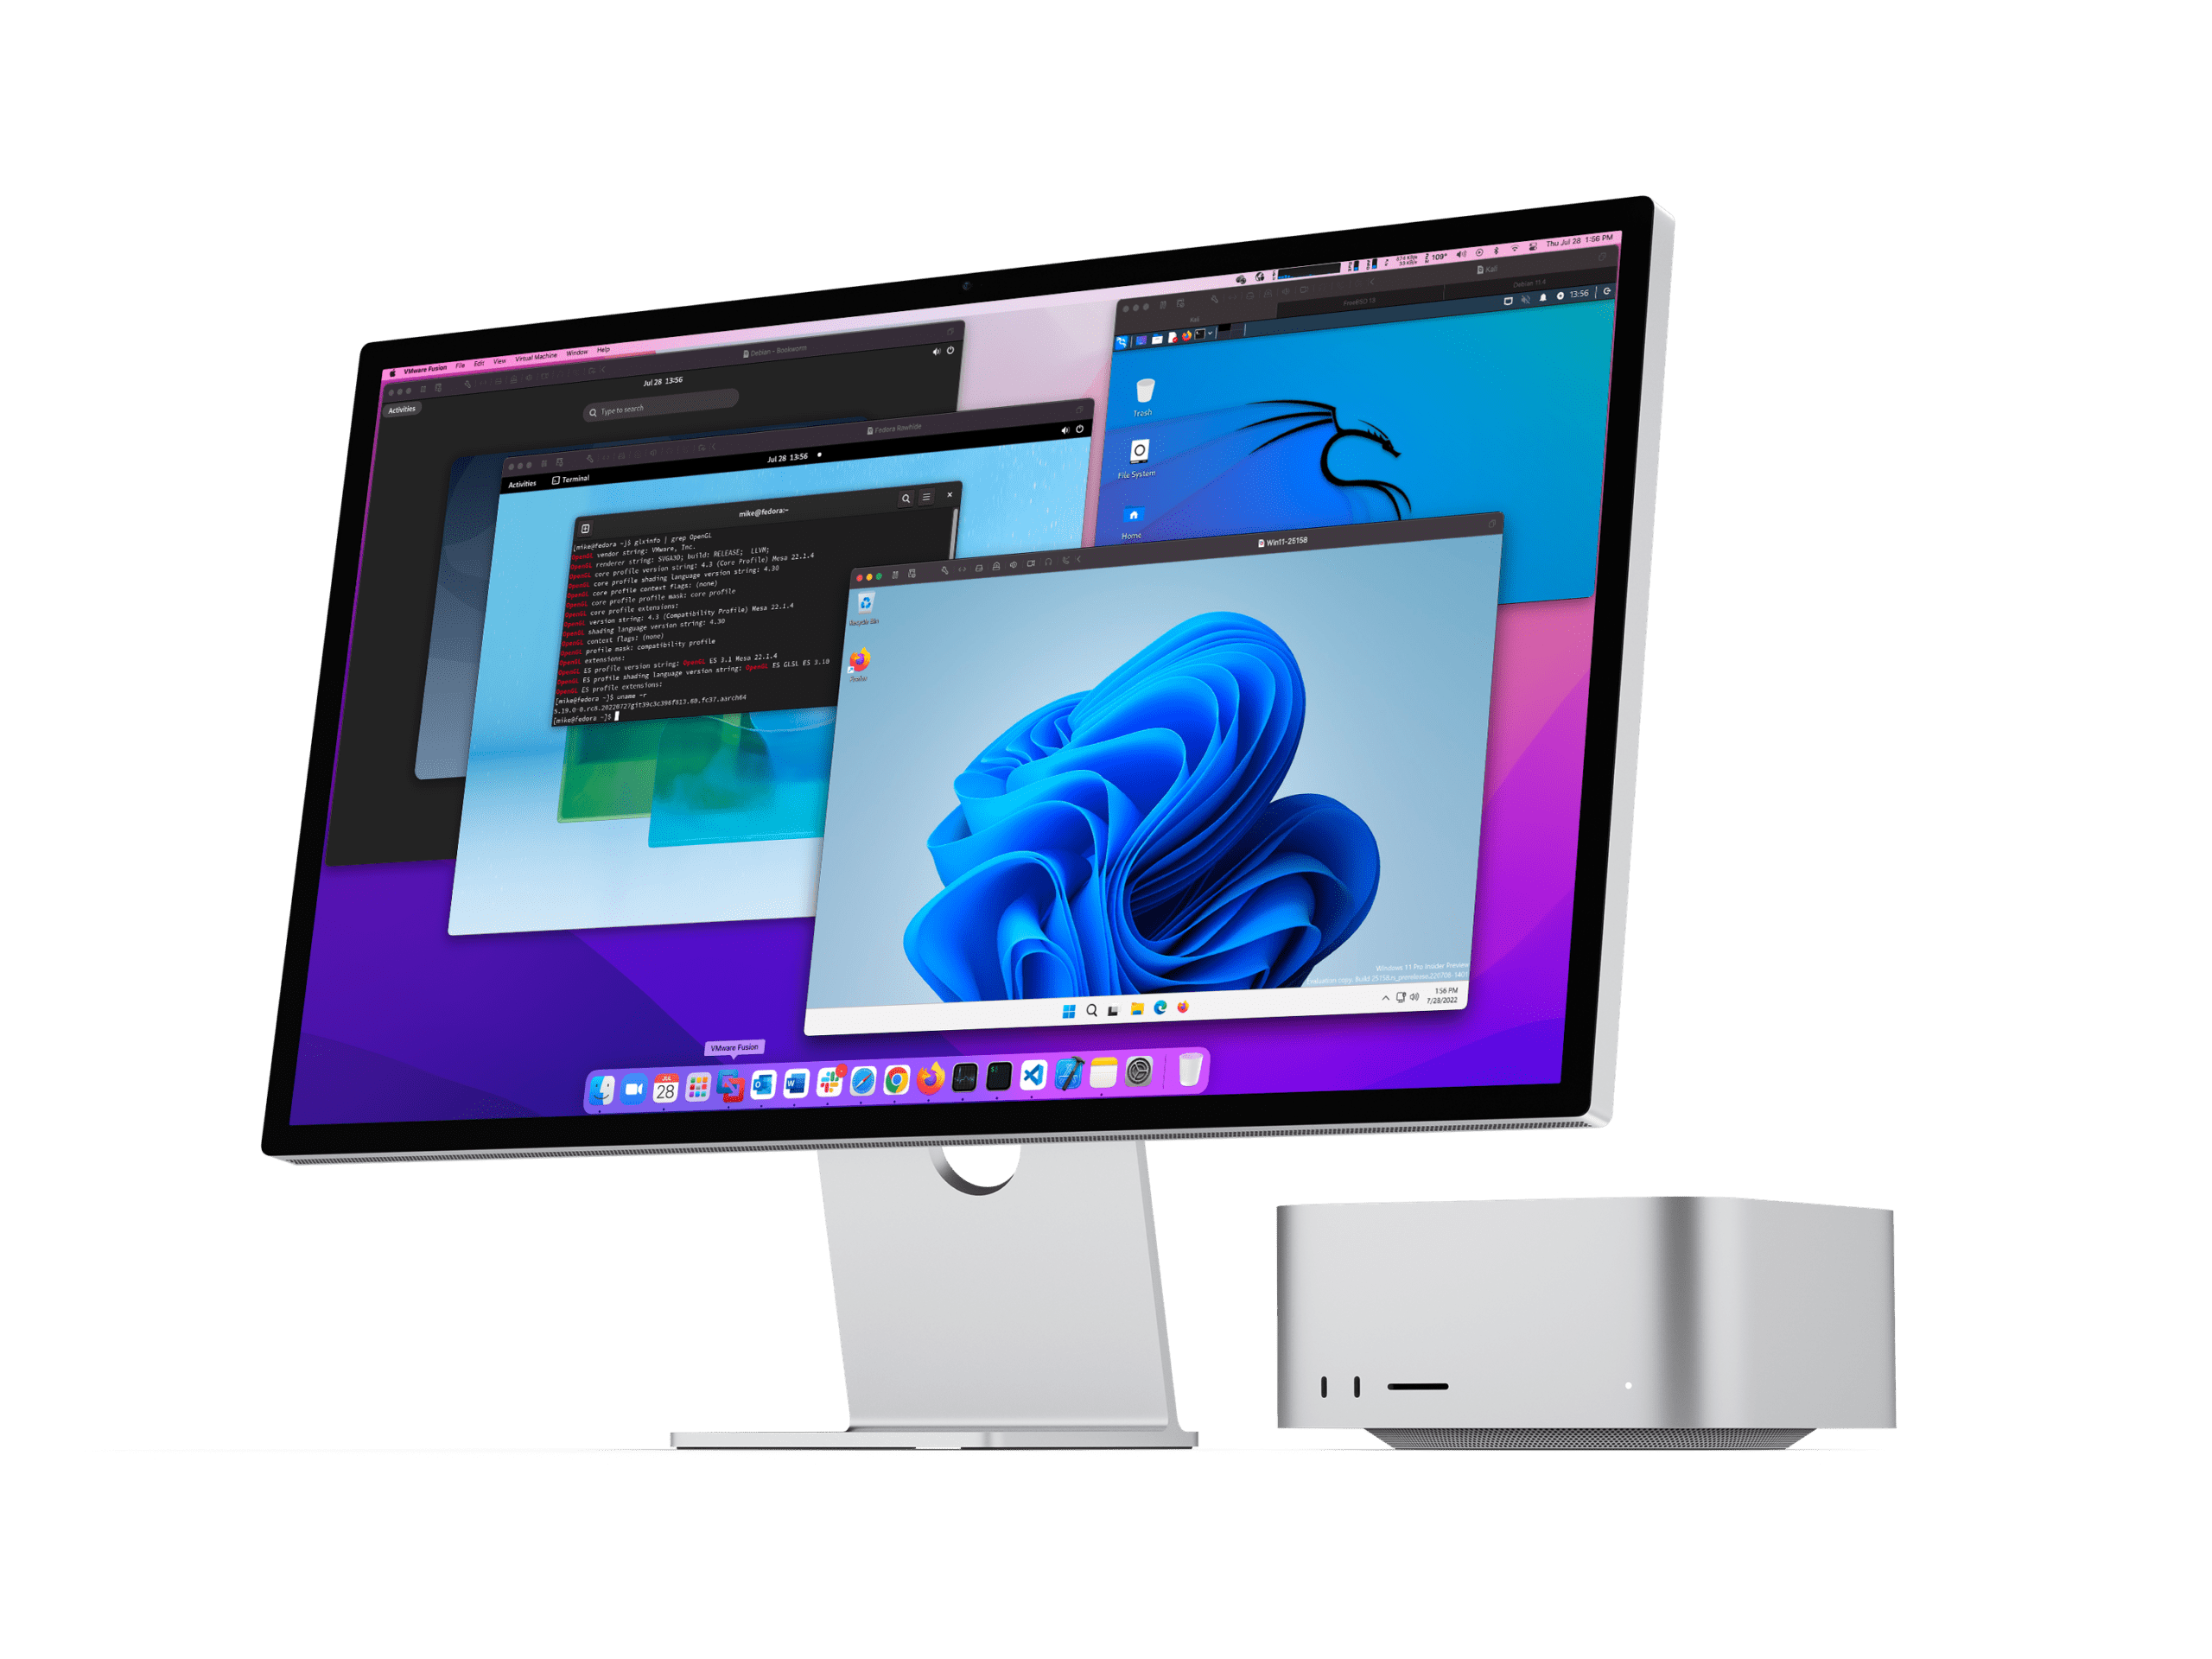
One of the latest solutions for those who want to install Windows 11 on Mac is to use the latest VMware Fusion Tech Preview. This was released at the end of July 2022, and finally brings native support for VMware Fusion to the M1 and M2 lineup of Mac computers. Despite being a bit behind what Parallels 18 has to offer, VMware is making its software available for free during this “tech preview” period, while sill supporting things such as Linux support, graphics hardware acceleration, and including a “Virtual TPM Device”. Really the only downside to using this is that the installation process is quite a bit more in-depth and requires more than just the Windows Insider Preview software and the VMware Fusion Tech Preview.
Here’s how to install Windows 11 on Mac with VMware Fusion:
Windows 11 Client ARM64 Insider Preview (Dev Channel)
Windows 11 Client ARM64 Insider Preview (Beta Channel)
Wait for the Windows 11 on ARM Insider Preview to finish downloading.
The next series of steps can be performed while the Windows 11 on ARM Insider Preview is being installed. In order to continue, you’ll need to now install Homebrew, which is a command line-focused package manager that makes it easy to install packages (and apps) on your Mac directly from Github or other sources. It also makes it so that you can install QEMU which is a free and open-source virtual machine emulator, which is required in order to install Windows 11 on Mac with VMware Fusion.
Open the Terminal app on your Mac.
Enter (or copy and paste) the following command in the Terminal window:
Once complete, enter the following command into the Terminal window.
brew install qemu
Hit the Enter key.
After a few moments, you’ll have both Homebrew and QEMU installed, but in order to actually use the Windows 11 Insider Preview file that you downloaded earlier, you’ll need to convert the file from VMDK to a VHDX. This makes it so that the VMware Fusion Tech Preview can recognize and load the file as a virtual machine.
Close the previous Terminal window and open a new Terminal window to start with a clean slate.
Enter the following command into the Terminal window.
qemu-img convert -O vmdk
Make sure there’s a space following “vmdk” in the Terminal window.
Drag-and-drop the Windows VHDX file from your Downloads folder into the Terminal window. The command should look like this:
If prompted, provide the VMware Fusion app with access to files on your Desktop.
Now that you have your emulation set up with QEMU and the proper Windows 11 on ARM file available on your Mac, it’s time to get the VMware Fusion Technology Preview installed on your Mac.
Open your browser and navigate to the VMware Customer Connect landing page.
Click the Register button in the top right corner to create an account.
Follow the on-screen steps to finish account creation.
Navigate to the Product Downloads landing page.
Click the download link for VMware Fusion Technology Preview.
Once downloaded, double-click the VMware-Fusion.dmg file to begin the installation process.
Follow the on-screen prompts to complete the installation of the VMware Fusion Technology Preview.
Once the VMware Fusion Technology Preview is finished downloading, it’s finally time to install Windows 11 on Mac with this alternative option. Here are the necessary steps that you need to take in order to do so:
Open the VMware Fusion Technology Preview app on your Mac.
Once the app is loaded, click Create a custom Virtual Machine from the Select the Installation Method window.
Click the Continue button in the bottom right corner.
Under Choose Operating System, select Microsoft Windows in the sidebar.
Select Windows 11 64-bit Arm in the right window.
Click the Continue button in the bottom right corner.
Make sure that UEFI is selected. Click the Continue button. (Note: You do not need to click the checkbox for UEFI Secure Boot.)
From the Choose Encryption panel, make sure that Only the files needed to support a TPM are encrypted is selected.
Next to the Password entry, click the Auto Generate Password.
Click the checkbox at the bottom next to Remember Password and store it in Mac’s Keychain.
If you want to also save it to a password manager, you can do so by highlighting the plain-text password that appears after you click the Auto Generate Password button.
Click the Continue button.
Under Choose a virtual disk option:, select Use an existing virtual disk.
Click the Choose virtual disk… button.
From the Finder window that appears, navigate to the folder where the .VMDK file that we created previously is located.
When the .VMDK is located, click once on it.
If this is your first time setting up a Windows 11 VM on your Mac, select Make a separate copy of the virtual disk.
Click the Choose button in the bottom right corner.
Click the Continue button.
By default, the VMware Fusion Technology Preview will default to using 4GB of RAM along with two CPU cores. The app allows you to customize this before creating the virtual machine, and you can do so by clicking the Customize Settings button at the bottom of the window. If you opted to customize the settings, the VM will be created, but a new Windows 11 64-bit Arm: Settings window will appear. From here you have the following options:
System Settings
General
Keyboard & Mouse
Processors & Memory
Display
Removable Devices
Network Adapter
Hard Disk (NVMe)
CD/DVD (SATA)
Sound Card
USB & Bluetooth
Trusted Platform Module
Other
Startup Disk
Encryption
Compatibility
Advanced
You can go through the various options and customize the settings to your liking. As you’re browsing the virtual machine settings, the Windows 11 VM will appear in the background. You can close the Settings window, and continue with setting up your VM.
We’re almost in the home stretch here, but when you download the Windows 11 on ARM image, Microsoft doesn’t include the necessary network drivers that are needed to use your Mac’s network connections. By default, Microsoft requires Windows 11 is connected to a network during the setup process, and if the virtual machine cannot find a network connection, you won’t be able to proceed. Thankfully, there is a workaround to bypass the network requirements using the steps below.
On your Mac’s keyboard, click Shift + F10 to bring up the Windows Command Prompt. In the event that you’re using Apple’s Magic Keyboard or your MacBook’s keyboard, press Fn + Shift + F10.
Enter the following command:
OOBE\BYPASSNRO
Press Enter on your Keyboard.
Wait for Windows to restart the Setup process, if needed.
Follow the onscreen steps to finish setting up Windows 11.
After Windows 11 is finished being installed, you’ll be taken to the main Home Screen with a fresh installation of Windows 11 on Mac. However, you’ll also notice that you still do not have an internet connection, so you’ll need to install VMware Tools in order to truly complete the installation process. Here’s how you can download and install VMware Tools through Windows 11, which will provide you with the ability to connect the virtual machine to the internet:
Click the Windows button to show the Start Menu.
In the search box, type PowerShell.
Click the box that says Run as Administrator.
Enter the following into the PowerShell window:
Set-ExecutionPolicy RemoteSigned
Press Enter on your keyboard.
Type Y then Enter when prompted to complete the execution of the script.
Exit PowerShell.
Open Windows Explorer.
Locate and navigate to the DVD Drive.
Right-click on the Setup.psi script.
Select Run with PowerShell from the drop-down menu.
When prompted, click the Yes button.
Your newly-install Windows 11 on Mac virtual machine might restart after the setup script is installed, but once that is done, you will be connected to the same network as the one being used by your Mac.
Install Windows 11 on Mac With UTM
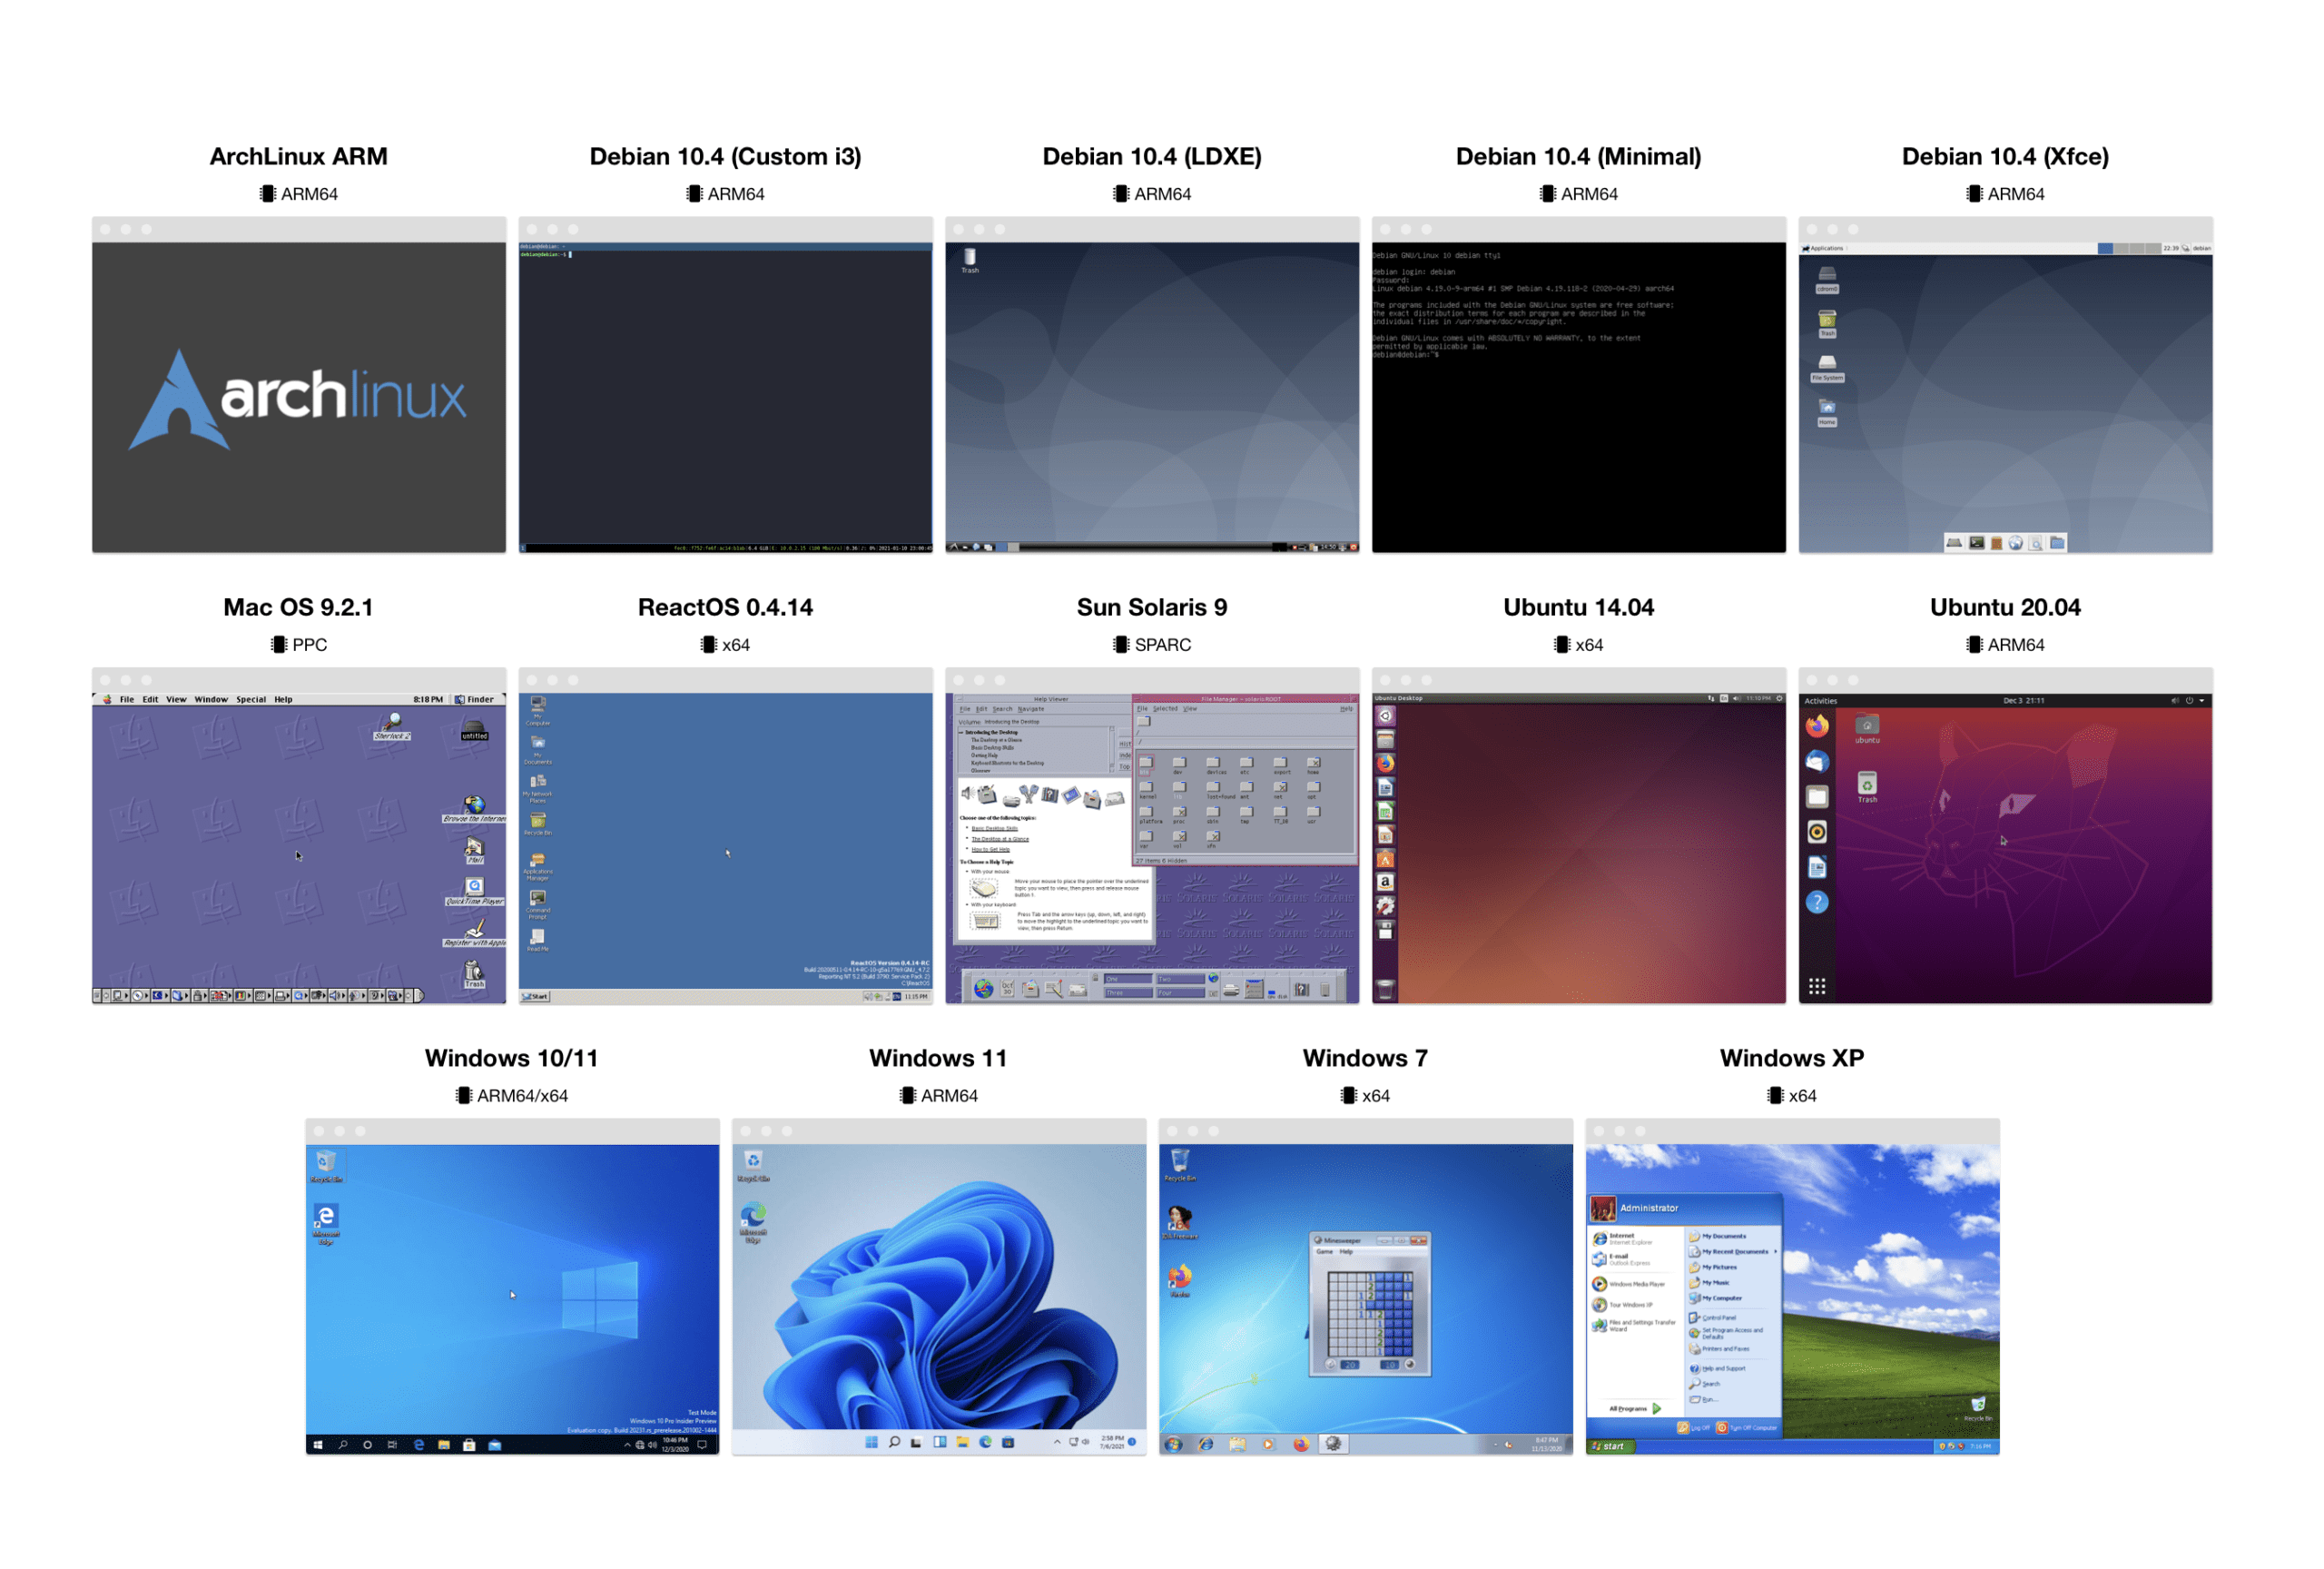
UTM is the final option that we’re going to take a look at today for those who want to install Windows 11 on Mac. UTM has been around since about February 2020 and is an open-source virtualization emulator that is based on the QEMU emulation application. Along with being open-source, UTM is also completely free to use, allowing you to get Windows 11 installed on your Mac without too much of a headache. As a side note, UTM also supports the virtualization of Windows XP, Windows 7, and Windows 10, along with different versions of Linux, and you can even run Mac OS 9.2.1 if you want to get a bit of nostalgia.
Unlike the laundry list of steps needed to install Windows 11 on Mac using the VMware Fusion Tech Preview, the process for installing with UTM is extremely straightforward.
Open the UTM app on your Mac.
Click the + button to Create a New Virtual Machine.
From the Start window, select Virtualize.
Select Windows on the Operating System window.
Near the bottom of the page, click the Browse… button.
Locate and select the Windows 11 on ARM image that you previously downloaded.
Click the Continue button in the bottom right corner.
Drag the slider to change the amount of RAM that you want the Windows 11 Virtual Machine to have. By default, Windows 11 requires at least 4GB of RAM and 2 CPU cores.
Click the Continue button in the bottom right corner.
From the Shared Directory page, you can decide whether to share files between your Mac and the Windows 11 Virtual Machine.
Click the Continue button in the bottom right corner.
On the Summary page, you can change the name, and review the settings that your UTM-powered Windows 11 virtual machine will use.
Once reviewed, click the Save button in the bottom right corner.
Before starting your Windows 11 virtual machine, highlight the VM in the sidebar.
Click CD/DVD.
From the drop-down menu, select Browse.
Locate and select the SPICE Guest Tools that you downloaded alongside the UTM app.
Once loaded, press the Play button in the top right corner of the UTM app.
Follow the on-screen steps to install the Windows 11 virtual machine.
When you load Windows 11 through UTM for the first time, you’ll likely notice that the screen resolution looks a bit archaic and doesn’t match any modern resolution used by newer computers. Not to worry, as this is where the aforementioned SPICE Guest Tools come in.
Open the File Explorer app through the Windows 11 virtual machine.
In the sidebar, click the CD Drive (D:).
Double-click the SPICE Guest Tools installer in the main File Explorer window.
Follow the on-screen steps to install SPICE Guest Tools.
Throughout the process, your virtual machine may need to be rebooted. However, if you don’t have any other apps open, you should be able to install the necessary files without needing to reboot.
Andrew Myrick is a freelance writer based on the East Coast of the US. He enjoys everything to do with technology, including tablets, smartphones, and everything in between. Perhaps his favorite past-time is having a never-ending supply of different keyboards and gaming handhelds that end up collecting more dust than the consoles that are being emulated.
Thanks for this article… I’m trying to go the UTM route. All was going smoothly, Win11 was starting up, but I’m stuck on the “Let’s Connect You To A Network” screen. The Next button is greyed out, and all four cores allocated to the VM are pegged. It’s been like this for ten minutes. I’m on a MacBook Pro 16″ M1 MacOS 12.5.1, and have a network connection that seems to be working fine.


Thanks for this article… I’m trying to go the UTM route. All was going smoothly, Win11 was starting up, but I’m stuck on the “Let’s Connect You To A Network” screen. The Next button is greyed out, and all four cores allocated to the VM are pegged. It’s been like this for ten minutes. I’m on a MacBook Pro 16″ M1 MacOS 12.5.1, and have a network connection that seems to be working fine.
Any ideas of what might be wrong?
Thanks!
-Eric