Having your media library on your PC means you can listen to your favorite tunes or watch your top shows whenever you like. Apple’s iTunes is a popular choice of media player, and it helps organize shows, songs, and movies into categories and genres.
When you switch computers, you may worry that you’ll lose some of the media in your iTunes library. However, it’s not difficult to export iTunes library to new computer if you follow these steps.
Export iTunes Library to New Computer: Back Up Your Current iTunes Library
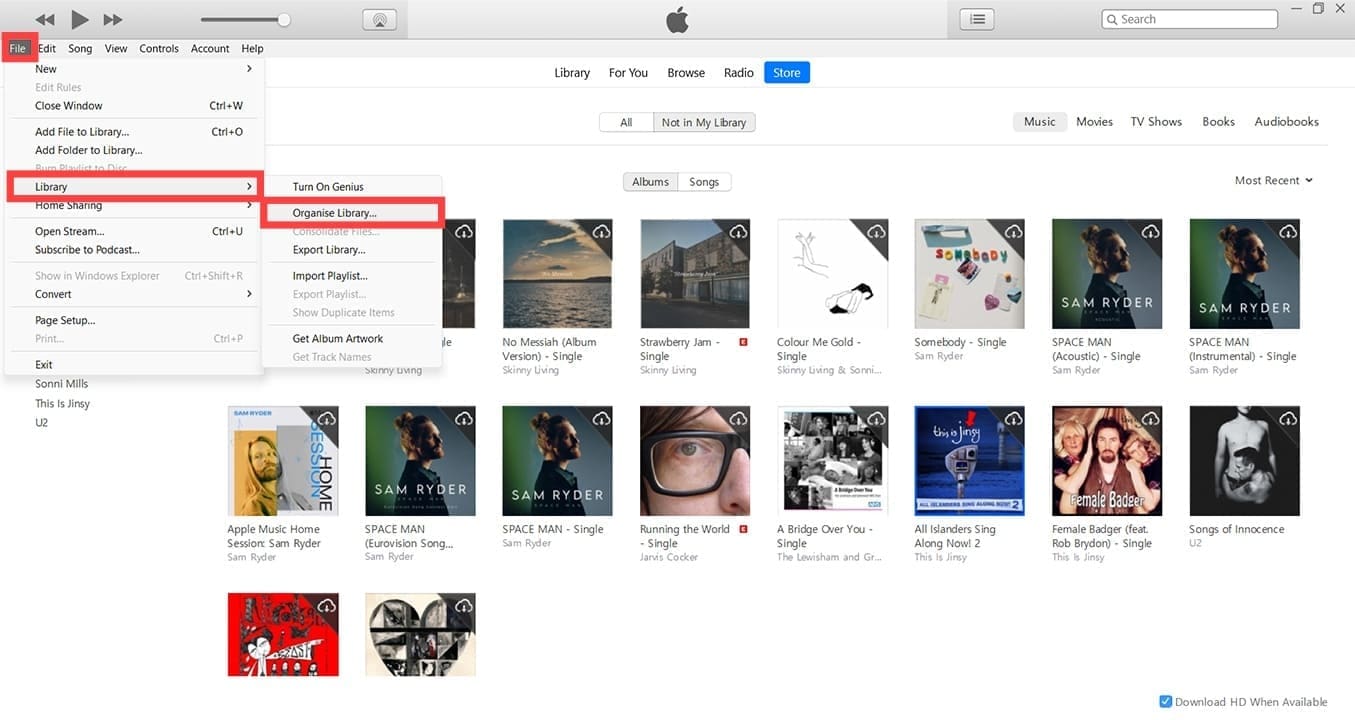
Step 1. Before you start, make sure you have an external storage device, such as a portable flash drive, and any necessary connecting cables. Set these aside for now. Open iTunes, and go to File > Library > Organize Library.
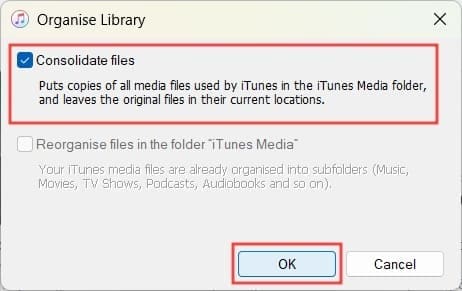
Step 2. Tick the “Consolidate Files” box, then click “OK.” This places copies of all the files into an iTunes-specific folder from which you’ll export iTunes library.
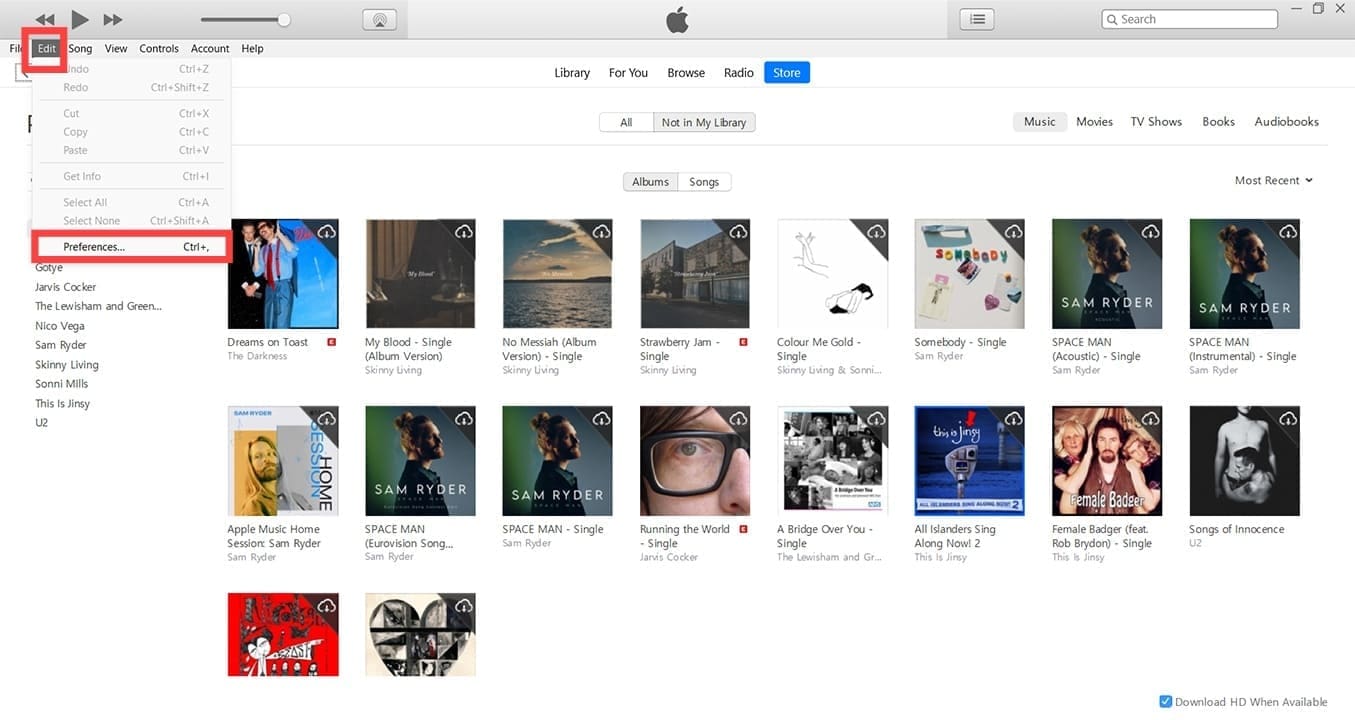
Step 3. Head to Edit > Preferences.
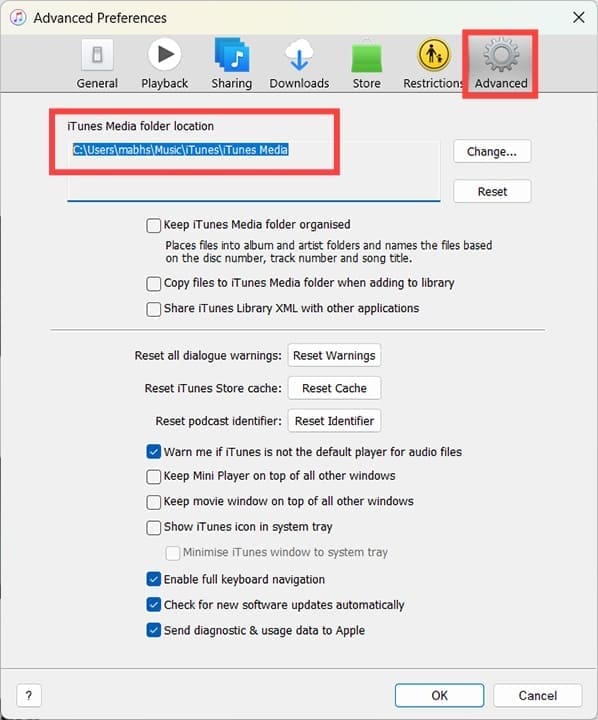
Step 4. Click “Advanced,” then look for “iTunes Media folder location.” Make a note of the location here, e.g., C:\Users\JBloggs\Music\iTunes\iTunes Media. Click “Cancel” to close this window.
Step 5. Close iTunes and open Windows File Explorer, navigating to the location of iTunes. You do not need to go into the exact iTunes media folder. Instead, make sure you’re in the folder that holds iTunes, for example, “Music.”
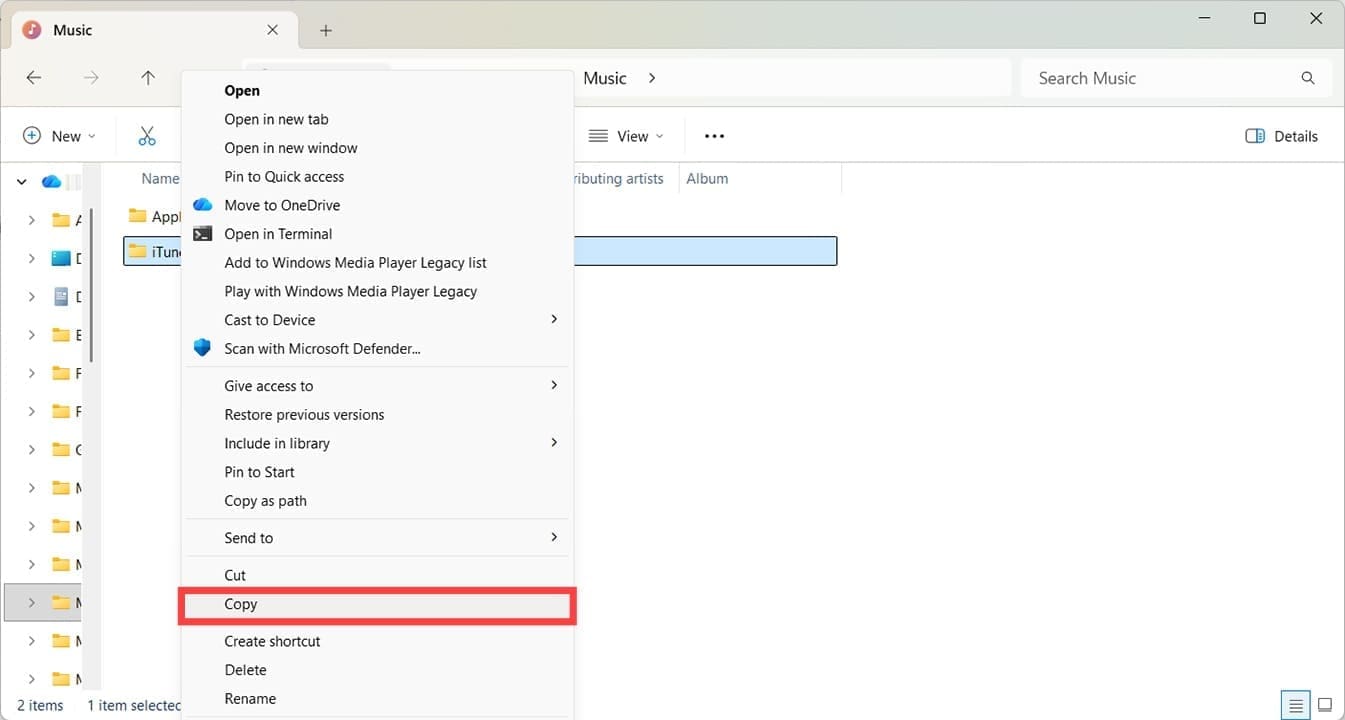
Step 6. Right-click on the iTunes folder and then click “Copy.”
Step 7. Insert your external hard drive, flash drive, or other storage device. Use File Explorer to find the drive. It should show up under “This PC.”
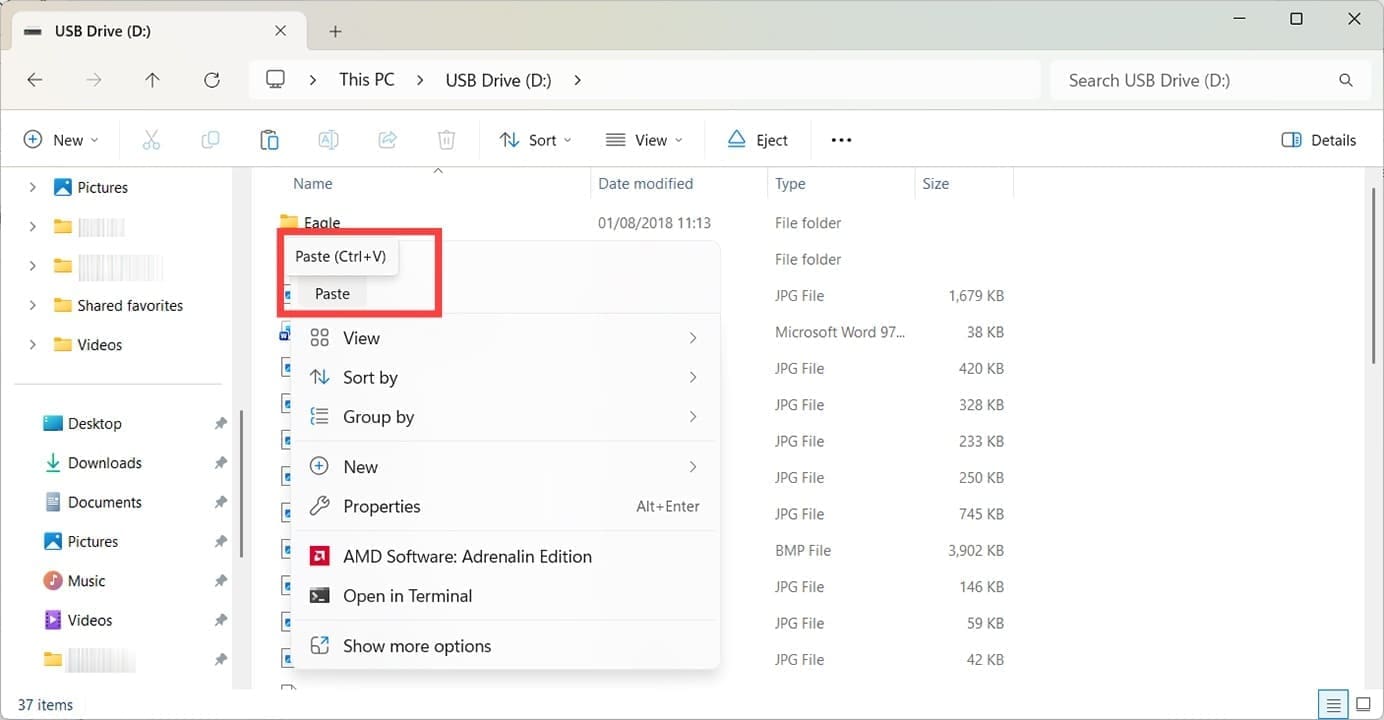
Step 8. Double-click the external drive, then right-click anywhere in the window and choose the option for Paste.
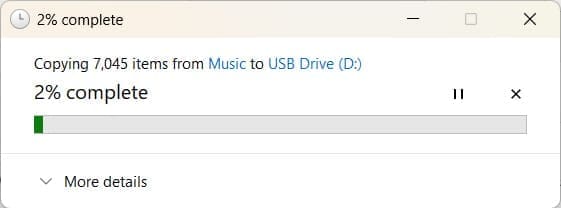
Note: The bigger your media collection, the longer this will take. You’ll see a progress box while the process is ongoing. Once complete, safely remove your external drive.
Export iTunes Library to New Computer: Restore Library on New PC
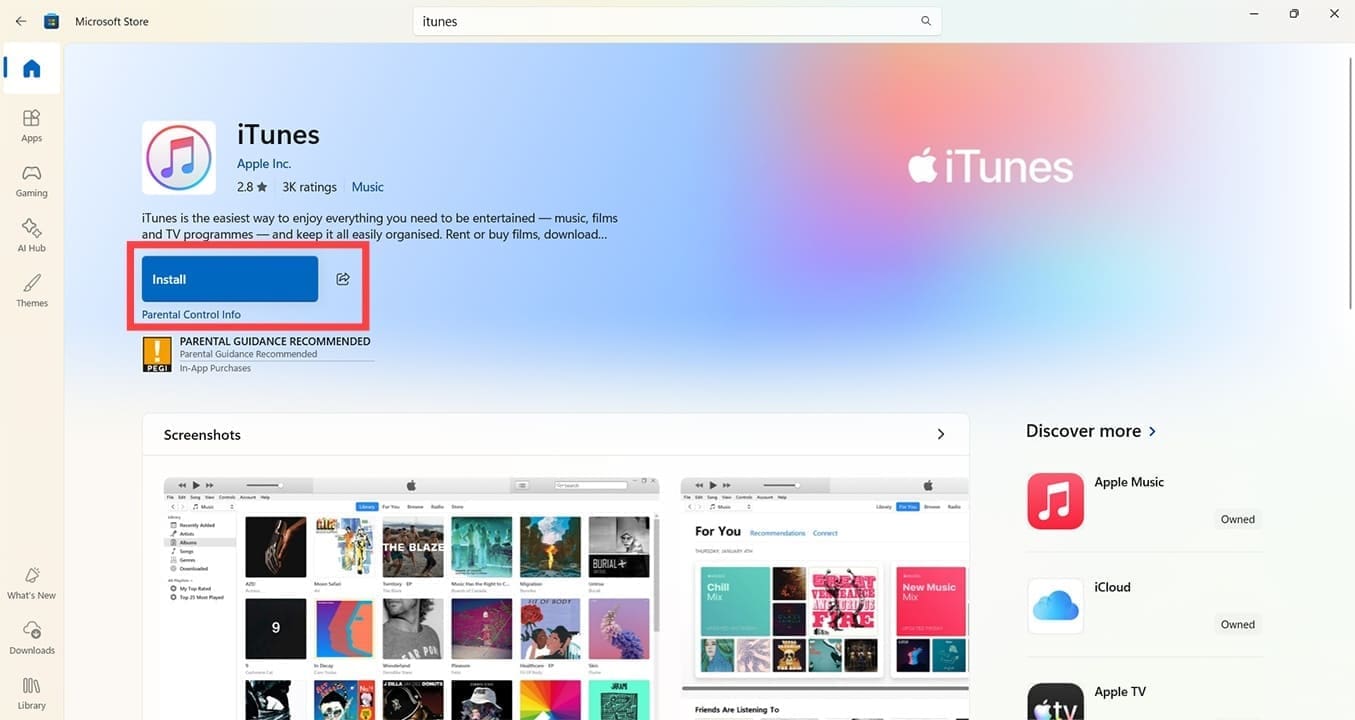
Step 1. The next step of exporting iTunes library details takes place on the new machine. Make sure your new PC has iTunes on it. If not, head to the Microsoft Store and search for the app. Click the blue install button and follow all onscreen prompts to install it.
Step 2. Once installed, click Open.
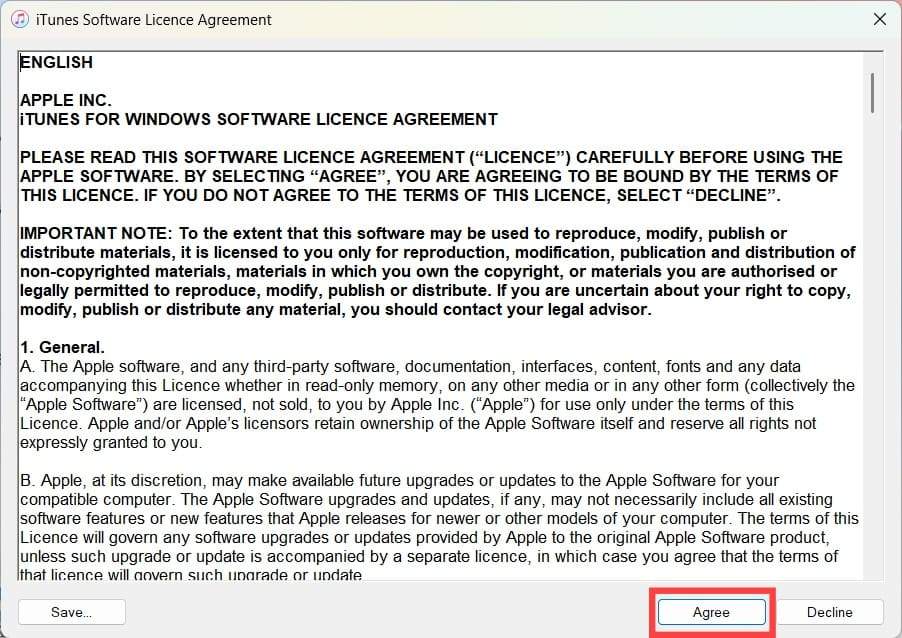
Step 3. Follow any prompts regarding terms and conditions or user agreements.
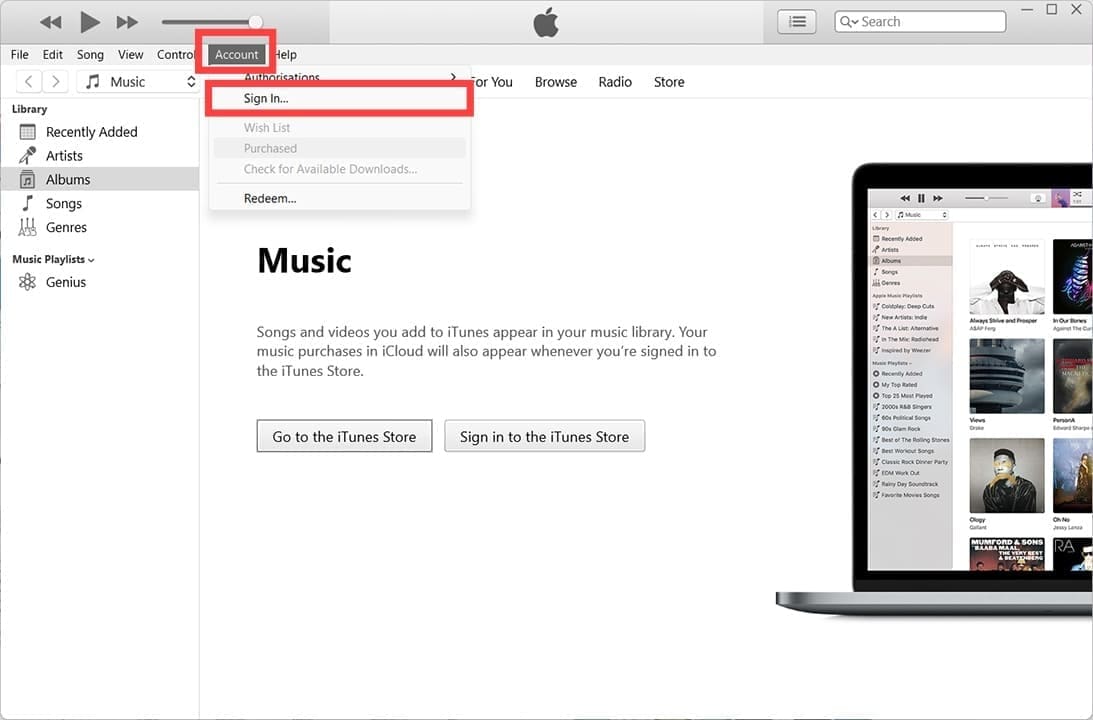
Step 4. You can sign in to instantly gain access to media purchased through your Apple account.
Step 5. Plug in the external drive or storage device. Open it, and head to the iTunes folder you copied. Right-click on it and press “Copy.”
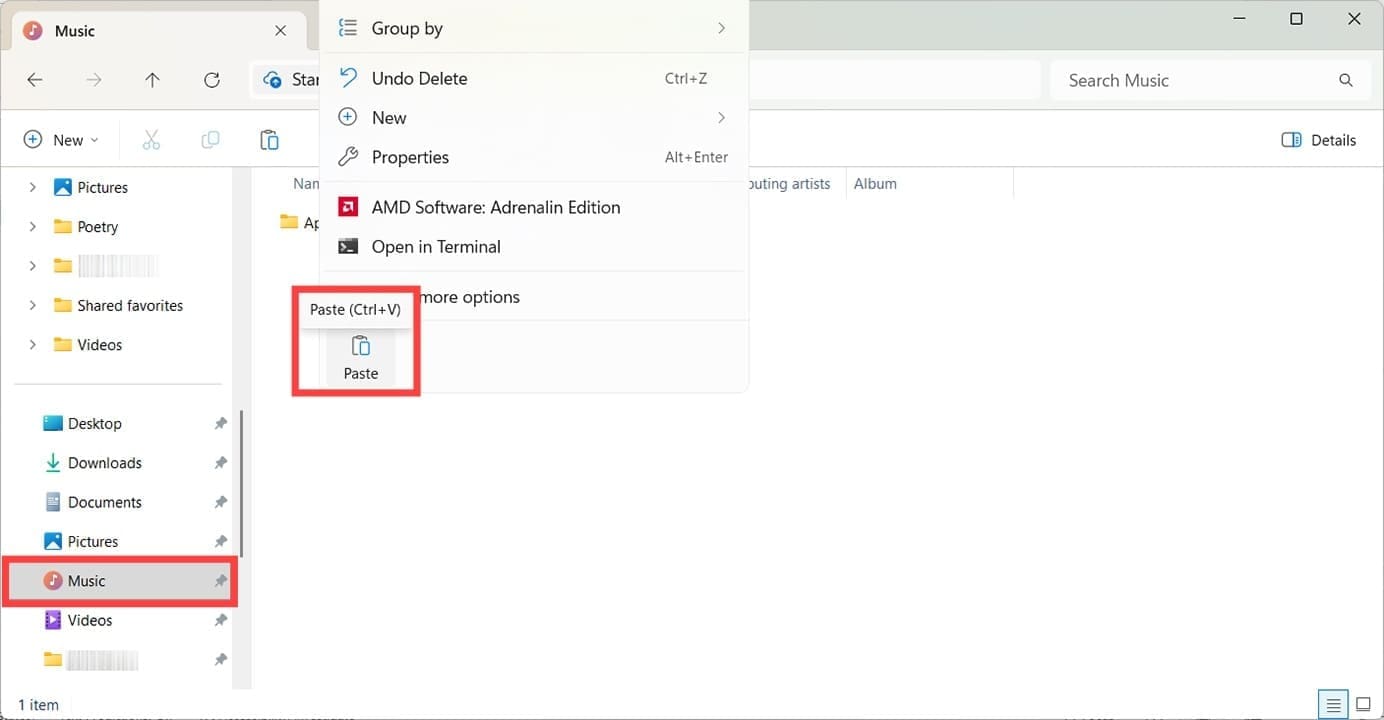
Step 6. Use File Explorer to navigate to the destination directory where your new iTunes folder will be found, e.g., C:\Users\JBloggs\Music\. Right-click in the window and then click “Paste.”
Step 7. Hold the shift key down while you also open the iTunes app. This prompts it to ask you to choose an iTunes Library.
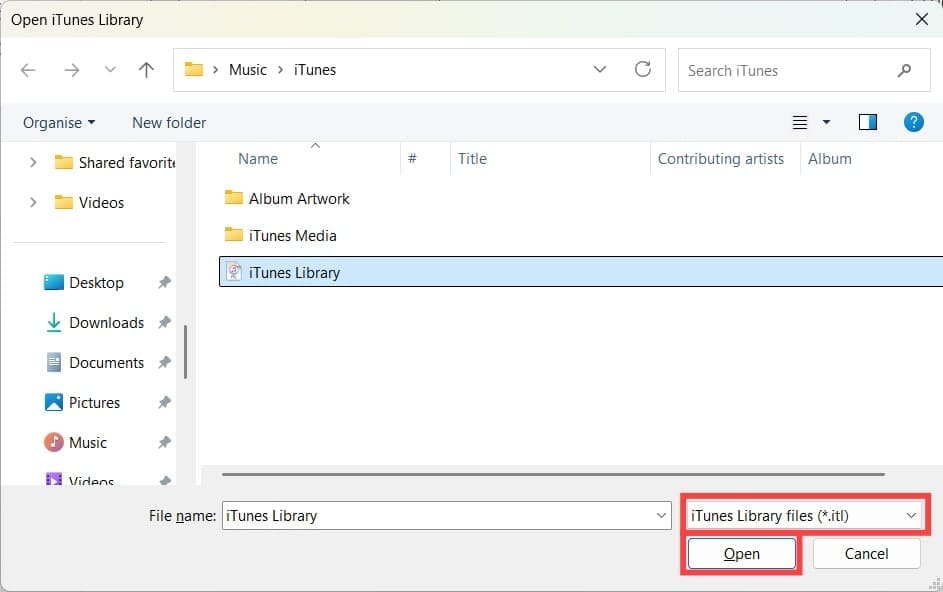
Step 8. Click on “Choose Library.” This will automatically take you to the iTunes folder you copied, where you can click on the iTunes Library file (an *.itl file). Press “Open.”
Step 9. Once you’ve chosen your Library file, iTunes will open, and you can access all your media just as you could on your old PC.
As an avid gamer, I’ve run into my fair share of error codes and weird faults that have forced me to find fixes to problems I never anticipated. That gave me a passion for sharing those fixes with others so we can all game without feeling like our hardware is rebelling against us.


Write a Comment