If you want to use the same external hard drive, or even a USB flash drive, on both Windows and Mac platforms, you need to format it correctly. This is because Windows and Mac use different file system formats – NTFS on Windows and HFS on Mac – and they don’t work well together by default.
This guide shows how to format an external drive for both Mac and Windows, with one method for each platform.
How to Format an External Drive for Both Mac and Windows on a Mac
We’ll start off with a look at how to format your drive on the Mac. For this, you’ll use Mac OS’ built-in Disk Utility tool.
Step 1. Connect your external drive to the Mac.
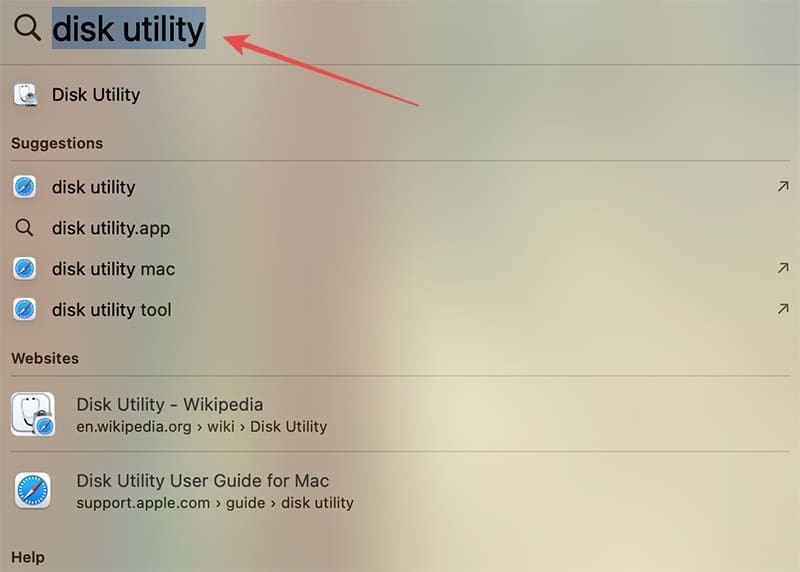
Step 2. Press “Command” and the spacebar at the same time. Then type “Disk Utility” into the search bar to find the Disk Utility app, and open it.
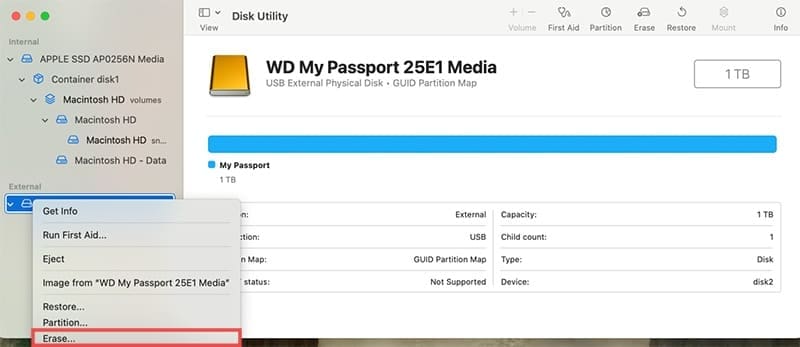
Step 3. Choose the drive you wish to format from the sidebar on the left.
Step 4. Click on “Erase.”
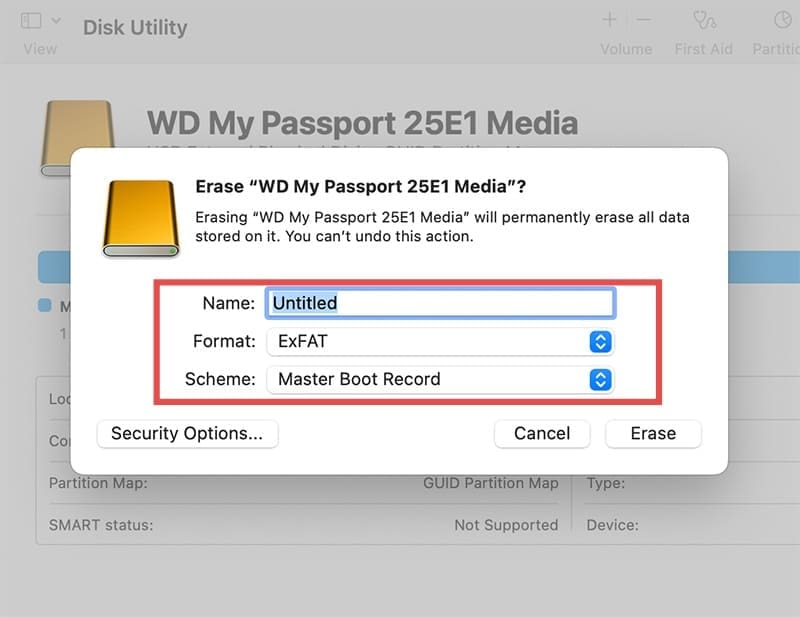
Step 5. Type in a name for your drive and then select “exFAT” as the format. For the “Scheme,” choose “Master Boot Record.”
Step 6. Click “Erase” one last time to complete the process. Note that this will delete everything on the drive, so you might want to back up any key files beforehand.
How to Format an External Drive for Both Mac and Windows on Windows
You can also format your drive to work on both Mac and Windows on a Windows PC or laptop. Again, this is done with the help of a built-in tool – Disk Management – so you don’t have to download any third-party software.
Step 1. Connect your drive to your Windows machine.
Step 2. Open Disk Management. You can easily find it just by typing “Disk Management” into the search bar. Note that on Windows 11, it will appear in the Start menu under the name “Create and format hard disk partitions.”
Step 3. Find your drive in the list and right-click on it. Then select “New Simple Volume.”
Step 4. Follow the prompts of the “New Simple Volume Wizard” to set up the drive. You’ll need to pick a desired size, assign a letter to the drive, and select the desired format. Make sure to choose exFAT.
Step 5. Type in a new name for your drive in the “Volume Label” box. Then click the “Next” button, followed by “Finish” to complete the process. Again, remember that this will delete anything that is on the drive at the time, so make backups of any important files first.
As an avid gamer, I’ve run into my fair share of error codes and weird faults that have forced me to find fixes to problems I never anticipated. That gave me a passion for sharing those fixes with others so we can all game without feeling like our hardware is rebelling against us.


Write a Comment