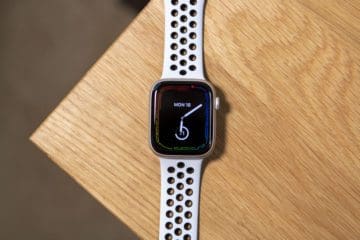
Apple pulled a 180 on everyone with its Apple Watch Series 7 announcement. Instead of the squared-off, iPhone-like, design that was rumored, we ended up with a device that is only slightly different in most of the right ways. Today, we’re taking a look at some of the best Apple Watch Series 7 tips and tricks.
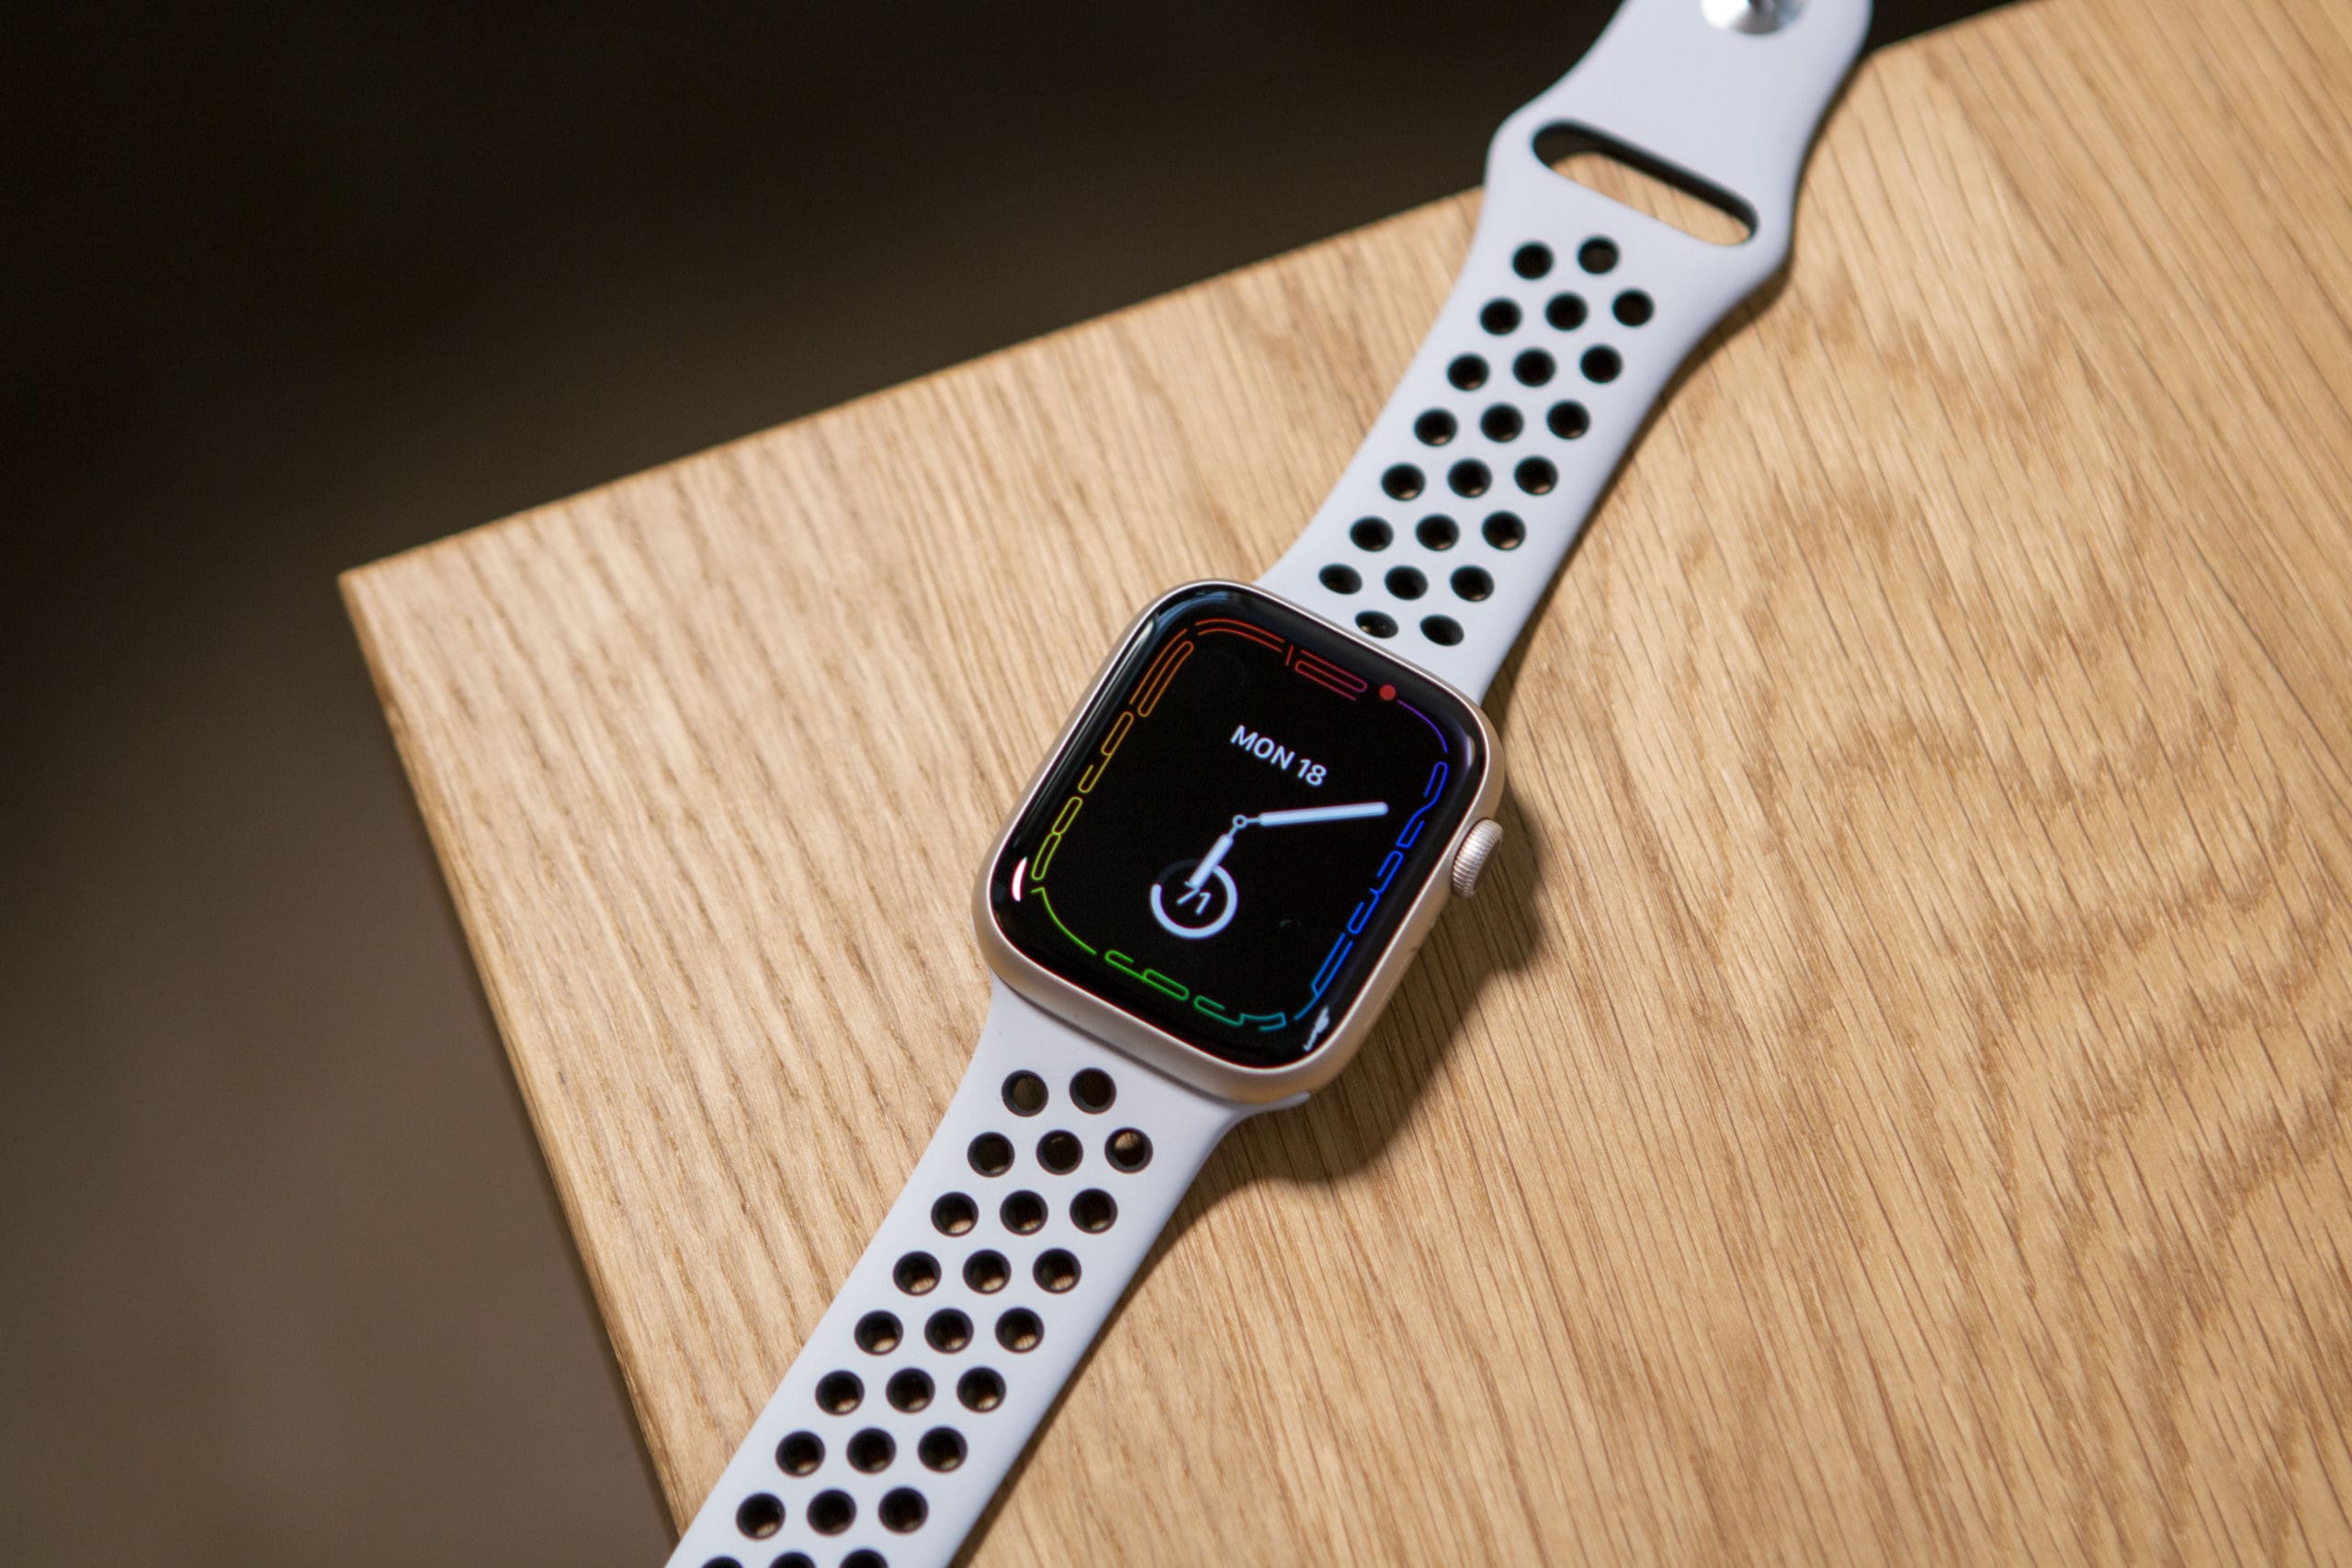
Starting with the Apple Watch Series 5, Apple introduced the Always-on Display. Now, you are able to see everything that you need to see at a glance, without worrying about the battery being drained throughout the day. And with the Apple Watch Series 7, the Always-on Display is about 70% brighter, making it easier to see. The feature should be enabled by default, but if not, here’s how to enable the AOD on the Apple Watch Series 7.
From the Apple Watch, open the Settings app.
Tap Display & Brightness.
Scroll down and tap Always On.
Toggle Always On to the On position.
Noise Notifications
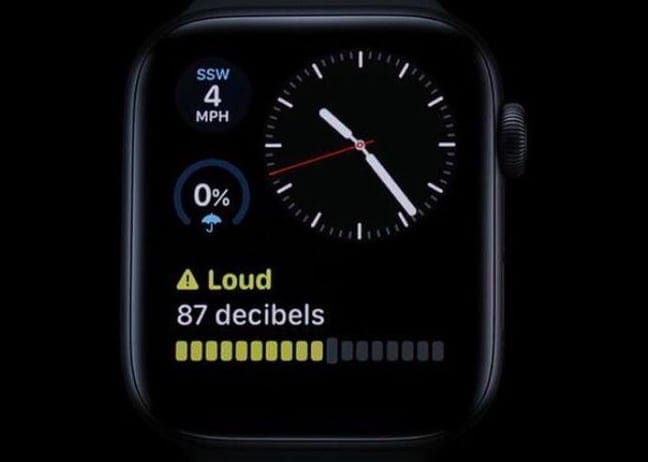
Did you know that the music that you listen to is probably too loud for your hearing health? It’s a problem we’ve all faced at one point or another, as turning up our favorite songs to the max will inevitably leave us with damaged hearing. The same problem arises if you’re in an area where the noise levels are loud for a sustained period of time, such as a concert or construction site. Apple has added “Noise Notifications” to let you know if the sound is too high, and if you should turn things down (if you can), or grab a pair of ear plugs.
Open the Watch app on your iPhone.
Tap the My Watch tab at the bottom of the app.
Select Noise.
Tap Noise Threshold.
Select one of the following:
Off
80 decibels
85 decibels
90 decibels
95 decibels
100 decibels
Sleep Tracking
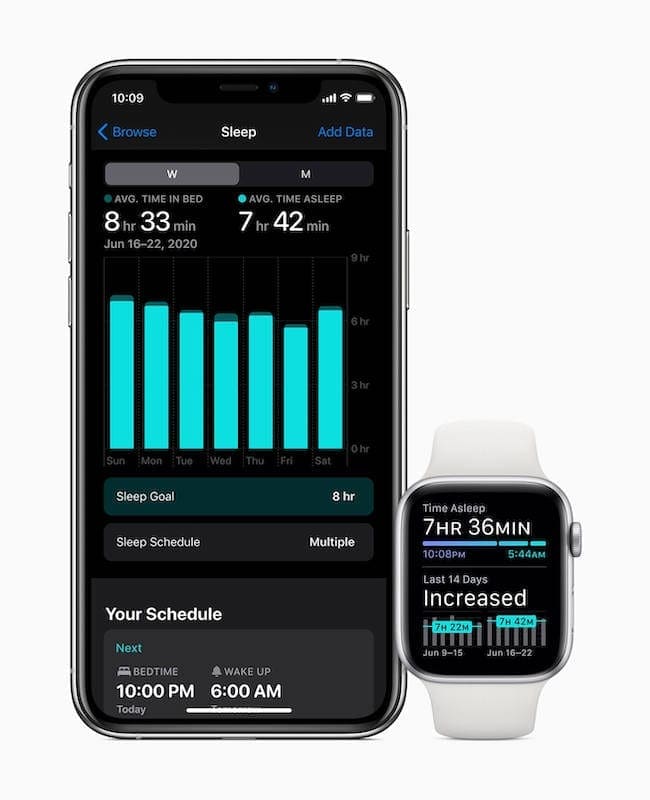
Apple introduced built-in sleep tracking capabilities for your Apple Watch with watchOS 7. Using the Sleep app on your iPhone, you can set Sleep Goals and a Sleep Schedule. Then, a “Wind Down” screen will appear when it’s time to unwind for the day and get ready for bed. Once activated, your Apple Watch and iPhone automatically turn on Do Not Disturb and darkens the screen.
From your Apple Watch, open the Settings app.
Scroll down and tap Sleep.
Follow the on-screen steps to enable Sleep Tracking and Charging Reminders.
Once enabled, the next morning you are woken up by either a silent haptic alarm or gentle sounds. The Watch will give you a breakdown of the day, including the remaining battery life and an overview of how you slept.
And those who have a tendency to not charge their watch enough to last through the night will be notified if your battery is too low. The reminder will appear so that you can charge your Watch before heading to bed.
Enable Screenshots
From the Notes app to sharing memes with friends, screenshots are one of those “features” that has just become second nature. While we aren’t using our Apple Watches in the same manner as the iPhone, there could still be times where you want to take a screenshot. Surprisingly, this feature is not enabled by default, but it’s easy enough to do so.
From your iPhone, open the Watch app.
Tap My Watch in the bottom toolbar.
Tap General.
Scroll down and tap the toggle next to Enable Screenshots.
If for whatever reason you don’t feel like changing the screenshot settings on your iPhone, you can also choose to do so from the Apple Watch itself:
Open the Settings app.
Tap General.
Scroll down and select Screenshots.
Tap the toggle next to Enable Screenshots.
Portrait Watch Faces
During the watchOS 8 announcement, Apple confirmed that the Photos watch face is the most popular option up to this point. To build on the popularity, watchOS 8 introduces a new Portraits watch face which uses a dynamic multi-layered effect. And here’s how you can use it on the Apple Watch Series 7:
Open the Watch app on your iPhone.
Tap Face Gallery in the bottom toolbar.
Under New Watch Faces, scroll to the left until you see Portraits.
Under Content, tap Choose Photos….
Select the Photo(s) from your library to use as a watch face.
Under Style, select the clock style that you wish to use.
Under Complications, select the Top and Bottom complications you want to view.
Tap the Add button in the top right corner under the name.
With the larger display, this means that whatever picture you select will be easier to see than before, which is simply fantastic if you want to be cheered up every time you lift your wrist to look at your Apple Watch.
Use The QWERTY Keyboard
Another benefit of the larger display is now that the Apple Watch has a full-sized QWERTY keyboard. This can either be tapped (like normal), or you can swipe around with QuickPath. Apple states that QuickPath will make use of on-device machine learning to help anticipate what the next word will be as you’re typing. Plus, buttons across various Apple’s own apps are now larger thanks to watchOS 8 on the Series 7.
Customize Notifications
The Apple Watch is simply great for those who just want to keep track of your workouts and receive notifications throughout the day. But chances are, there are so many apps buzzing and beeping at you all of the time, that it’s easy to become distracted. In the case of some apps, you are actually able to “customize notifications”, giving you a bit more control over what buzzes your wrist next time.
Open the Watch app on your iPhone.
Tap the My Watch tab at the bottom.
Tap Notifications.
Select the app that you want to customize the notifications for.
If you want to mirror notifications between your iPhone and Watch, tap Mirror my iPhone.
Some apps will show the following options:
Allow Notifications: Notifications appear in Notification Center and your Apple Watch alerts you.
Send to Notification Center: Notifications are sent directly to Notification Center without your Apple Watch alerting you.
Notifications Off: The app sends no notifications.
In some instances, you won’t be able to actually customize the notification options for your Apple Watch. Instead, you’ll be relegated to whatever the “default” options are set by the app, or you can just use the Mirror my iPhone functionality.
Add Custom Message Responses
Canned responses work great when you’re in a pinch, but they aren’t the greatest all of the time. Thankfully, you can customize the “canned” custom responses that are used when someone sends you a message.
Open the Watch app on your iPhone.
Tap the My Watch tab at the bottom of the app.
Scroll down and tap Messages.
Tap Default Replies.
Select one of the messages that you want to replace.
Begin typing your custom response.
Unlock Your Mac
A handy feature for Apple Watch wearers that own Macs is using it to unlock your Mac (auto-unlock) and for folks using macOS Catalina and above, unlock your apps so you don’t need to enter a passcode! Instead, use your Apple Watch to authenticate passwords or approve app installations on your Mac with just a double-tap on your Apple Watch’s Side button–that’s it.
Here’s how to enable the feature, but you’ll need to be signed into the same Apple ID on both your Mac and Apple Watch in order for this to work.
Open System Preferences on your Mac.
Click Security & Privacy.
Under General, tick the check box next to Use your Apple Watch to unlock apps and your Mac.
Once you have gotten everything started up, you’ll be able to wake your Mac and approve app requests easier than ever. For waking your Mac, just walk (or sit down) near it, and press any keyboard key. Or, you can simply open the display lid, if you are using a MacBook or MacBook Pro.
When it comes time for your Mac to require an app request approval, there’s nothing that you will have to do with your Mac. Instead, the Apple Watch will vibrate to get your attention, and then you’ll see a prompt to Double Click to Approve. Double-click the Side Button and the request will immediately be granted on your Mac.
Get The Right Charger
In the Apple Watch packaging, you might notice a new charging cable that is a bit heavier than previous models. Part of the reason for this is because Apple has made the move to a USB-C charging port, which simply helps provide faster-charging speeds. With the Apple Watch Series 7, Apple claims charging is 33% faster, and will get your Watch from 0 to 80% in about 45 minutes. But in order to take full advantage of these faster-charging speeds, Apple recommends using at least a 20W USB-C charging brick.
Now that the Apple Watch has been out for a few years, accessory makers have been releasing incredible and awesome watch bands. You can find one for every situation and occasion, but in case you need some help, we’ve added a few suggestions below.
Andrew Myrick is a freelance writer based on the East Coast of the US. He enjoys everything to do with technology, including tablets, smartphones, and everything in between. Perhaps his favorite past-time is having a never-ending supply of different keyboards and gaming handhelds that end up collecting more dust than the consoles that are being emulated.


Write a Comment