The Instagram app is handy and useful. Honestly, Instagram isn’t the Instagram we know without its’ camera function. All of the filters and editing tools wrapped into a convenient program that allows for quick access, especially as the camera automatically opens when the app loads.
Unfortunately, like any app, errors occur. But if your camera won’t automatically startup while you’re using your Insta account, don’t hyperventilate yet. We got some things to try and get that camera up and running so you can get back to sharing your memorable moments.
With an iPhone, sometimes the simplest solution is the first one overlooked. Our phones are on almost 24 hours a day, 7 days a week. A simple restart can do wonders. Shut your phone off for a minute and then reboot and try opening your Instagram app again to see if the camera will automatically open for you.
Check for Phone Updates
Similar to your computer, apps are updated from time to time on your Android phone. However, sometimes the update doesn’t get applied on its own. You have to do it manually.
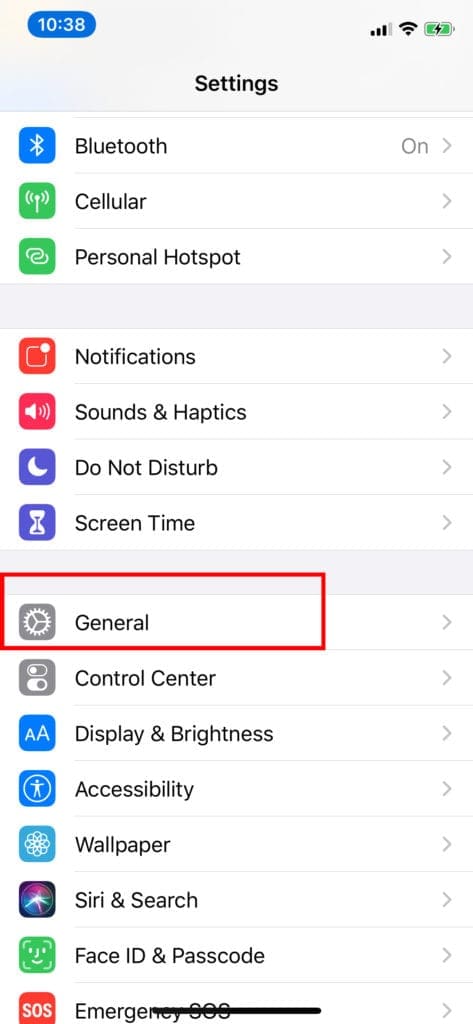
Go to Settings, then General, and then tap Software Update.
Tap Download and Install.
To update now, press Install. Or you can tap Later and choose Install Tonight or Remind Me Later.
Now everything should be up to date. Still having issues? Don’t worry! Keep going.
Check that Instagram is Updated
Those pesky updates to the app don’t always go on their own. Here is how you do it manually.
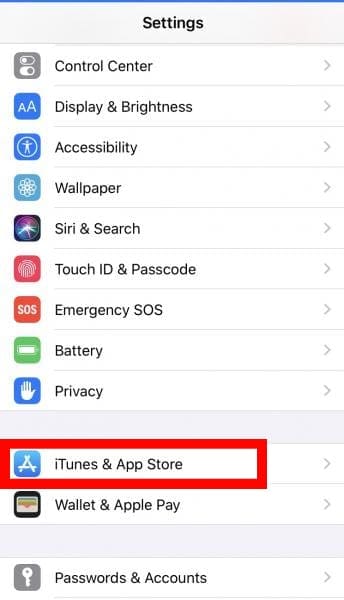
Open the Apple App Store app, then tap Today at the bottom of the screen.
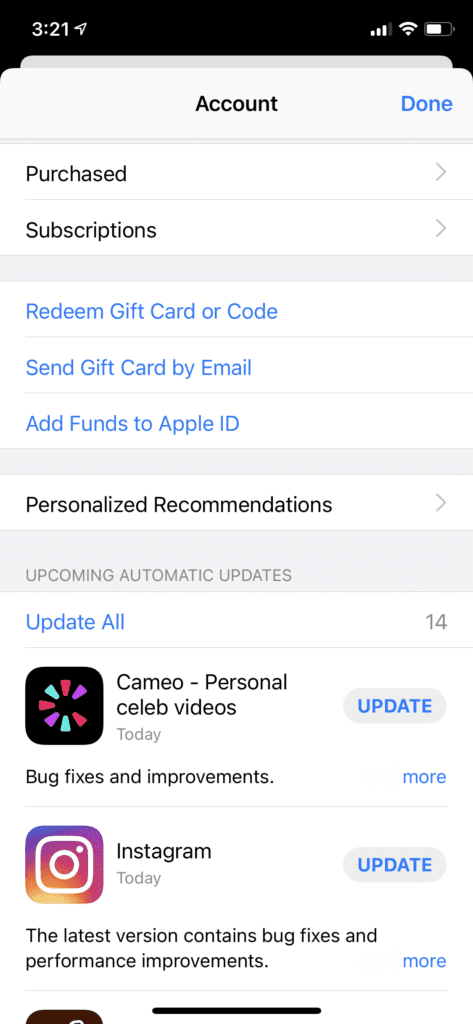
Tap your profile icon at the top of the screen.
Scroll down to see the pending updates and release notes. Tap Update next to an app to update only that app, or tap Update All.
Check for permissions on your iPhone
Permissions are just like it sounds. It gives certain apps the ability to use your camera. Make sure Instagram is allowed to use the camera.
Go to Settings > Privacy > Camera
Find the Instagram app on the list
Enable Camera access by tapping the toggle.
Clear Instagram Then Reinstall It
This is a slightly obsolete method but it can still yield results. Sometimes updates, particularly firmware updates, have troubles when downloading. These problems can manifest in many ways and sometimes a clean reinstall is needed.
While you might need to update some settings later, it could help you access your camera now. Here’s the best way to uninstall Instagram.
Go to Settings, then General.
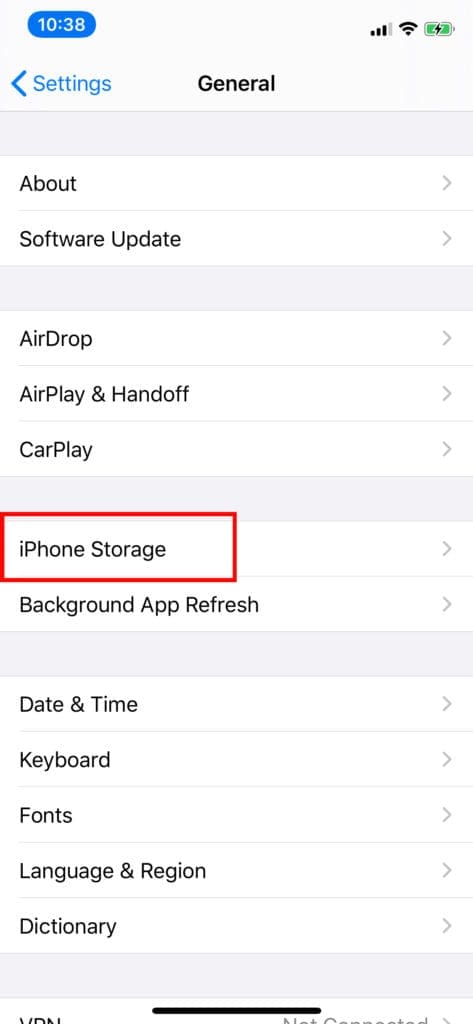
Go to iPhone Storage.
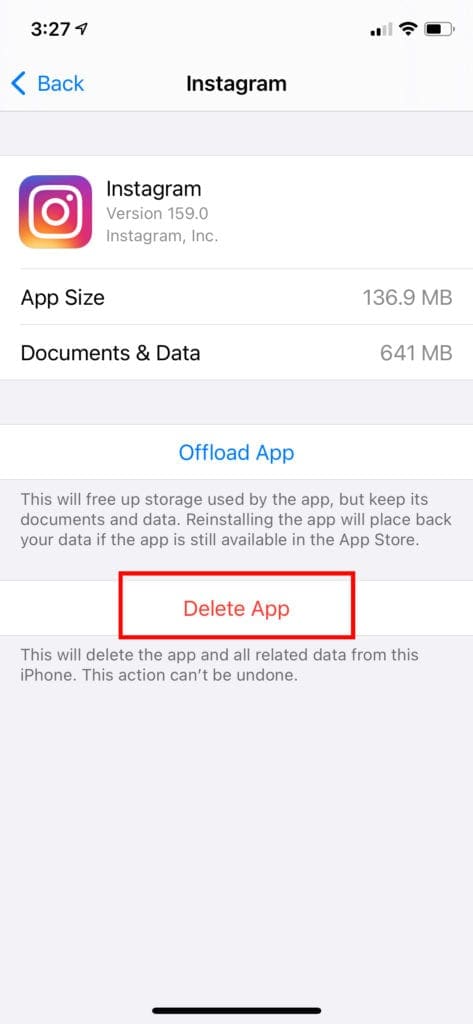
Select Instagram from the list.
Select Delete App near the bottom.
Reinstall Instagram through the App Store.
Launch Instagram and try the Camera.
Be aware that deleting the app here won’t actually get rid of all your data. It should still be saved within the app, but you’ll be removing it from your phone temporarily.
But there’s a chance this option might not be the quick fix you need since it’s still storing your information. If you’re still having problems accessing the camera, it’s time to bring out the big guns.
Factory Reset
This should be your last-ditch effort. A factory reset will essentially wipe your phone clean to its settings when you first turned it on. While this can solve a lot of problems, it also means you’ll lose all of your saved information. So before trying a factory reset, make sure to back up your data to the Cloud or your email.
This method will also require you to set up your phone so it might take a while to customize all of your settings again.
Go to Settings, then iCloud, then Backup and then Back Up Now.
Go back to Settings, then General and then Reset. Select Erase All Content and Settings.
Your iPhone should ask if you would like to update your iCloud backup. If you did not do it earlier, I recommend doing it now. Select Back Up Then Erase.
If you have a passcode, it will ask you to input it. Tap Erase iPhone.
After that, you will need to reinstall your apps and begin the customization process.
Your Instagram app should be, finally, able to access the camera so you can snap those selfies just like before. You’ll be able to snap, filter, and share once again. Enjoy!


Write a Comment