Those who are sticking to Windows 10 to the bitter end – Microsoft will end support on October 14, 2025 – can connect their Magic Mouse using their PC’s Bluetooth settings.
Step 1: Slide the switch on the bottom of your Magic Mouse to turn it on. You should see a little indicator blinking green.
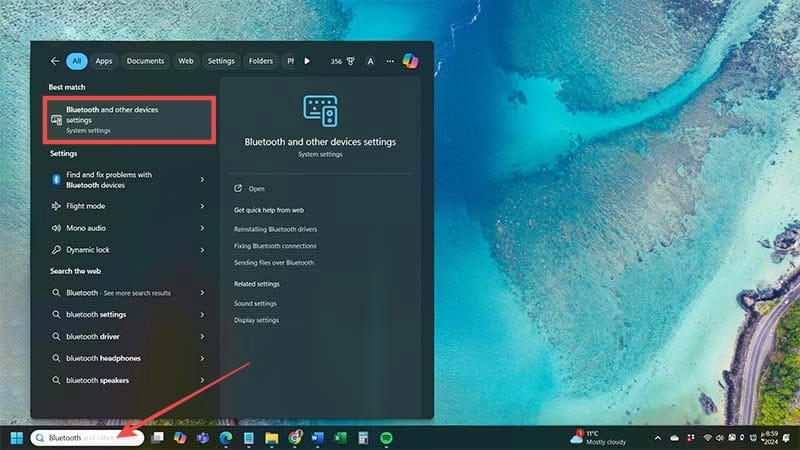
Step 2: Click the “Search” bar at the bottom of your screen and type “Bluetooth and other devices settings.” Select the relevant match when it appears.
Step 3: Select “Bluetooth” from the “Add A Device” screen.
Step 4: You should see your Magic Mouse in the list of pairable devices. Select it and hit the “Next” button.
After waiting for a few seconds, the mouse should pair and you can use it to move your cursor around. However, there’s something missing – you can’t scroll using your Magic Mouse. There’s a fix for that with these steps.
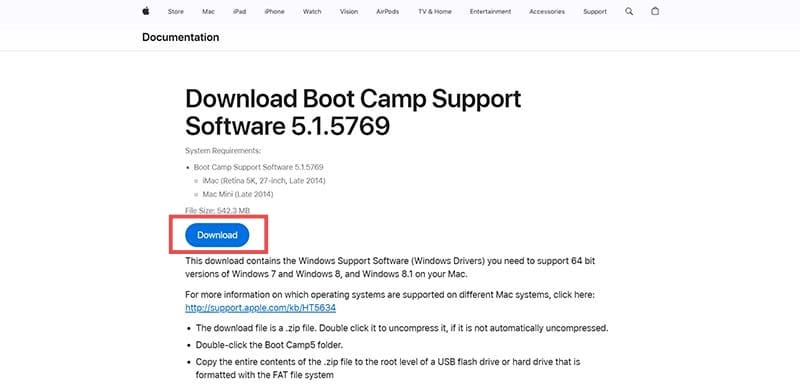
Step 1: Head to the Download Boot Camp Support Software 5.1.5769 page and hit the “Download” button. It’s a large file – over 500MB – so make sure you have the storage space available before you download.
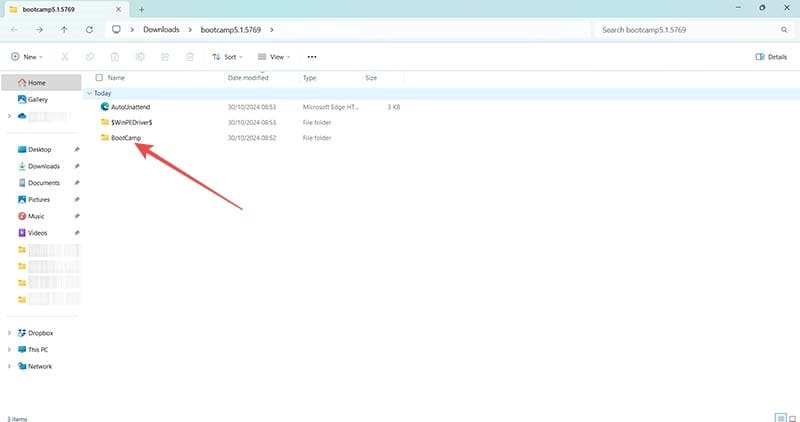
Step 2: Extract the file and choose a file path. Make sure you remember this path – there’s an executable in the extracted folder you have to use.
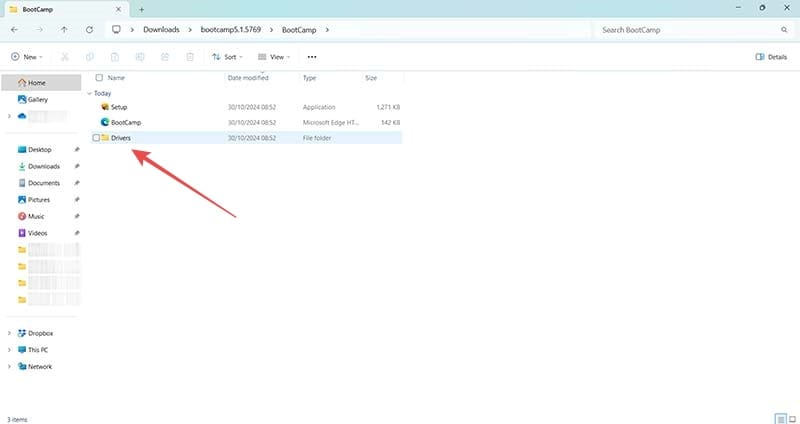
Step 3: In your extracted folder, head to “BootCamp,” followed by “Drivers.”
Step 4: Enter the “Apple” folder and run the AppleWirelessMouse64.exe you find within. Let that executable do its thing and you’re done – you can now scroll using your Magic Mouse in Windows 10.
How to Connect Apple Magic Mouse on Windows 11
The steps for how to connect Apple Magic Mouse on Windows 11 are pretty similar to those for Windows 10. However, you’ll use a different method to activate scrolling.
Step 1: Click on the “Search” box at the bottom of your screen and start typing “Bluetooth.” You should see the “Bluetooth and other devices settings” option appear, so click on it.
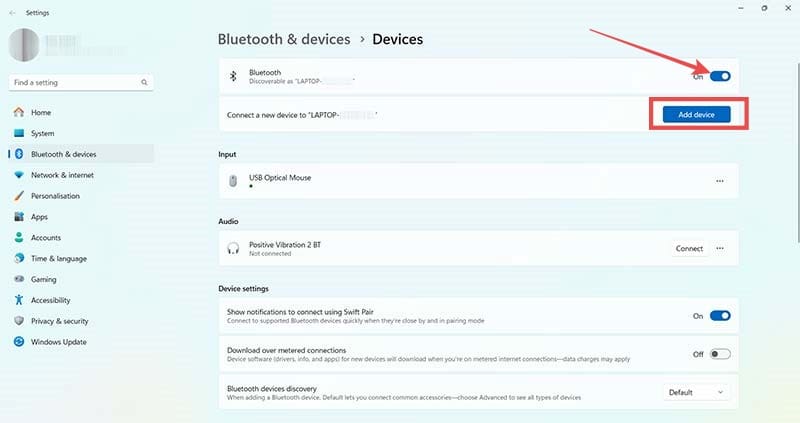
Step 2: Make sure the “Bluetooth” toggle is on and click the “Add Device” button.
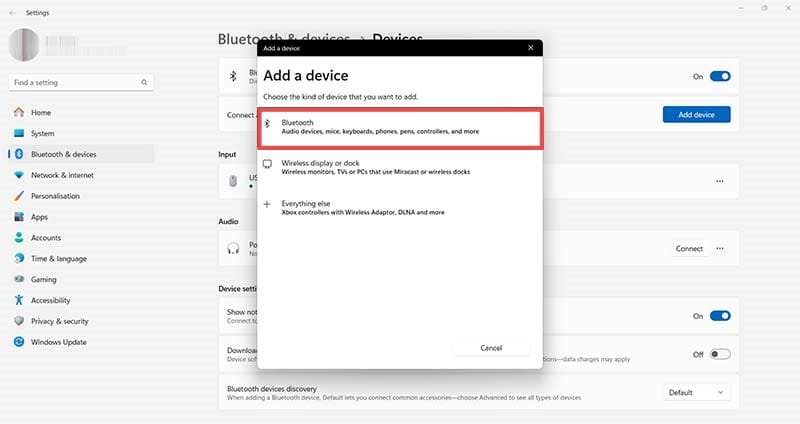
Step 3: Choose “Bluetooth” from the options in the pop-up window.
Step 4: Windows 11 will start searching for any discoverable Bluetooth devices. Once it finds your Magic Mouse, click its name to begin the pairing process.
Your Magic Mouse is now connected to Windows 11 and you should be able to move your cursor and click on icons. But you can’t scroll. You need a Brigadier to come to the rescue to restore scrolling functionality.
Step 1: Head to the Brigadier GitHub page and download the most recent “brigadier.exe” file you see.
Step 2: Head to your downloads folder, or any other folder you may have chosen as your default Windows 11 “Downloads” folder, and run brigadier.exe.
Step 3: Here’s the tricky part. You need to use the command prompt-esque screen that appears to tell Brigadier to download the BootCamp drivers your Magic Mouse needs using a Mac model identifier. For instance, the “C:\>brigadier -m Macmini8,1” command pulls the BootCamp files from the 2018 Intel Mac Mini.
Hit the enter key on your keyboard after entering the appropriate model name and number. The Brigadier executable should run, creating a BootCamp driver set on your Windows 11 PC.
Step 4: Locate the “inf” file in the BootCamp folder Brigadier creates and hit the “Install” button.
You may need to restart your Windows 11 PC after installation if the Magic Mouse doesn’t start allowing you to scroll right away.
As an avid gamer, I’ve run into my fair share of error codes and weird faults that have forced me to find fixes to problems I never anticipated. That gave me a passion for sharing those fixes with others so we can all game without feeling like our hardware is rebelling against us.


Write a Comment