When sharing Word documents, you might invariably pass on more information than you intended. This “metadata” is created for any new Office document and is saved inside when you close the program. It can contain potentially sensitive information such as your real name if you’ve used it to set up your Office account, but also comments and revision marks from the internal production pipeline.
Luckily, there are a few ways on how to remove personal info from Word doc Mac enthusiasts can use.
Method 1. Use the Built-In Inspect Document Feature
If you’re using the newest version of Office for Mac (or the Office 365 online version), it should have the most up-to-date features as the Windows version, which includes the document inspector.
Step 1. Click on “File” in the top-left and select the “Info” tab.
Step 2. Hit “Check for Issues” and select “Inspect Document” from the drop-down menu. This will open a new pop-up window.
Step 3. Select the items you want to change and hit “Inspect.”
Step 4. A new window will show with buttons to remove each respective category. Click through all the categories you need.
Step 5. Hit “Save” to make a new copy of the file without the metadata.
Method 2. Prevent Mac From Saving Metadata
If you’re using Microsoft Word for Mac, you can prevent the PC from ever saving that data in the first place with security features.
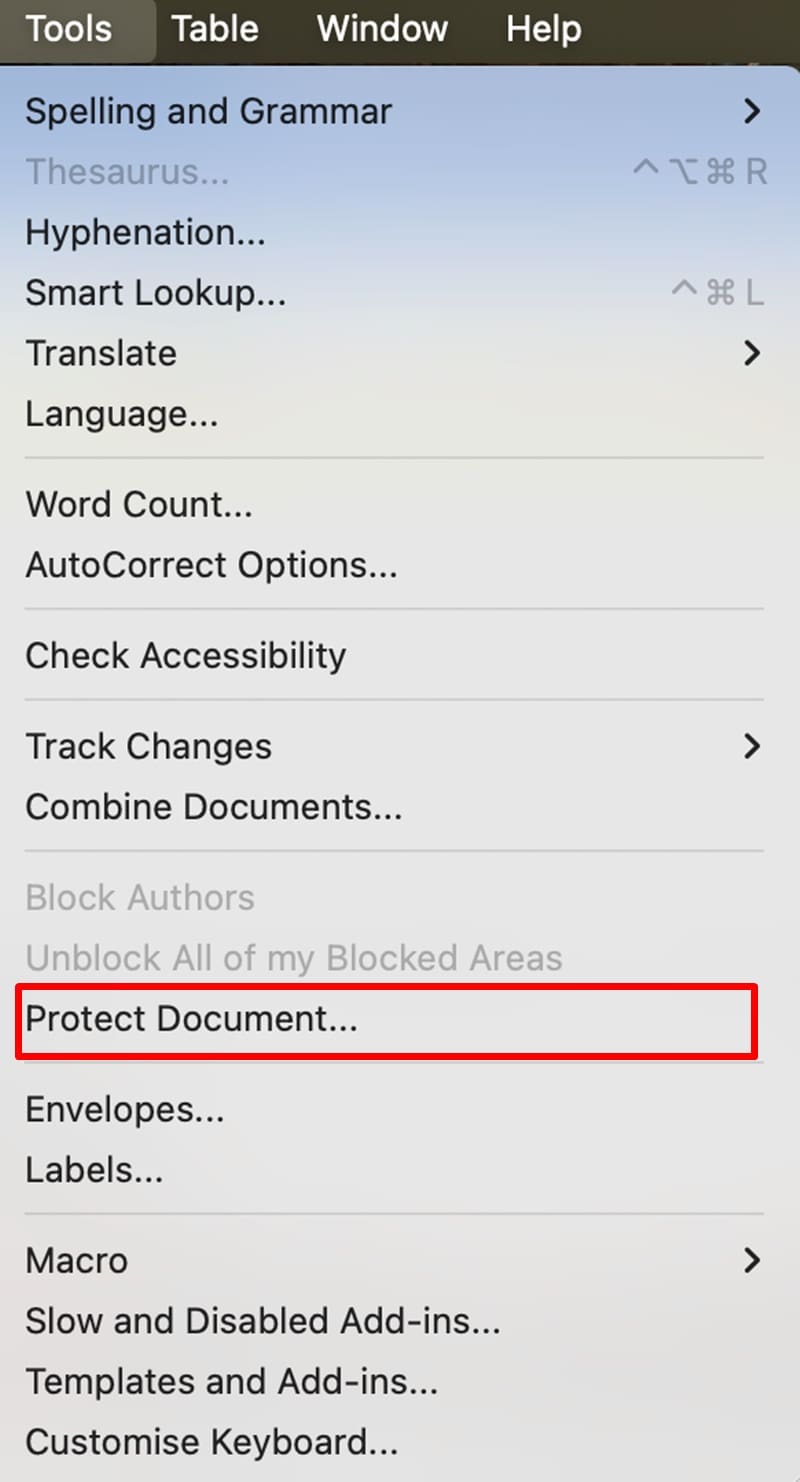
Step 1. Click on the “Tools” tab on the toolbar and select “Protect Document” from the drop-down menu.
Step 2. Check the “Remove personal information from this file on save” box and click on “OK.”
Step 3. Save the document as usual, and the data from your work session should never be passed on when you share the document.
Method 3. Manually Change Personal Information in Word
The easiest way to learn how to remove personal info from Word doc Mac users have at their disposal is by manually editing the document before it’s saved. The benefit here is that it can help you create a habit of checking for vital metadata on both your documents and the files you receive.
Step 1. Go to “File” and enter the “Info” tab.
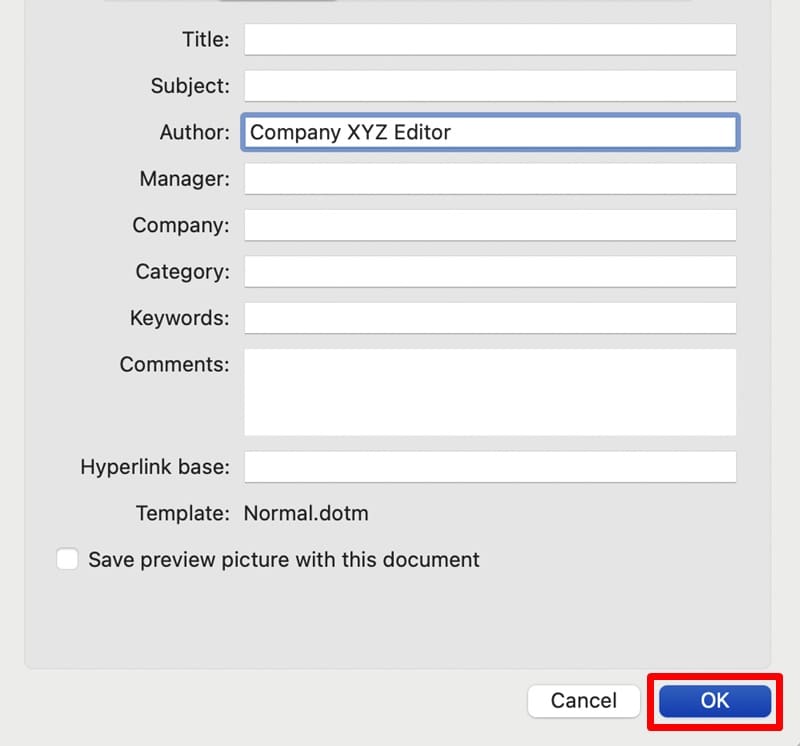
Step 2. On the right-hand side, click on the “Properties” header and select “Advanced properties.”
Step 3. In the pop-up window, edit the personal data as needed, then select “OK” to save the changes.
Alternatively, you can directly edit the data from the information list under “Properties” (in the Info tab). This is typically enough if you want to remove the author and editor names or change them to the company standard.
Method 4. Use a Third-Party Metadata Remover
If you want more control over your files and are using an older version of Mac that might not have the settings you need, you can use a third-party solution. These can either be complete programs that you download or online tools accessible via browser.
Bear in mind that neither comes without risks. Downloadable programs might inject malicious code, so make sure to review them properly before installing. Online tools might not be fully transparent on what they do with the file. Read the reviews carefully.
Additional Options
Apart from removing personal information, here is what you might also want to do when finalizing a document:
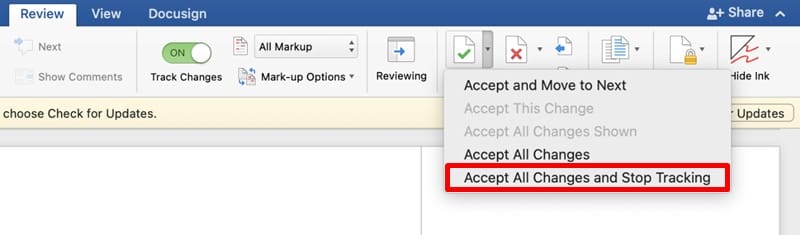
In the “Track Changes” section of the “Review” tab, accept all changes and prevent further tracking.
Delete all internal comments from the document (you can do this manually for each comment or remove all of them at once). The document inspector can also do this (Method 1).
Click on the “Show/Hide” button in the “Paragraph” section in the “Home” tab. It marks hidden text by underlining it with a dotted line. You can then choose to keep or remove it.
As an avid gamer, I’ve run into my fair share of error codes and weird faults that have forced me to find fixes to problems I never anticipated. That gave me a passion for sharing those fixes with others so we can all game without feeling like our hardware is rebelling against us.


Write a Comment