If you miss the good ole’ days when you could just pick up a screwdriver set from iFixit or Amazon and replace something like the SSD or RAM in your Mac, you’re not alone. For years, even the most basic of repairs has been impossible to perform without giving your Mac to either Apple or an Apple Authorized Repair Partner.
And while Apple has since partnered with Best Buy to perform certain repairs, it’s still not the ideal scenario for some users. Thanks to the introduction of a new program, you can finally fix your Mac with Apple’s Self Service Repair initiative.
Late in 2021, Apple announced that it would be introducing its “Self Service Repair” program. In the announcement, the company stated that you would finally be able to fix your iPhone yourself, using Apple-sourced parts. This, paired with the 5,000 Apple Authorized Service Providers (AASPs) and 2,800 Independent Repair Providers aim to give everyone a chance to get their iPhone much easier than before.
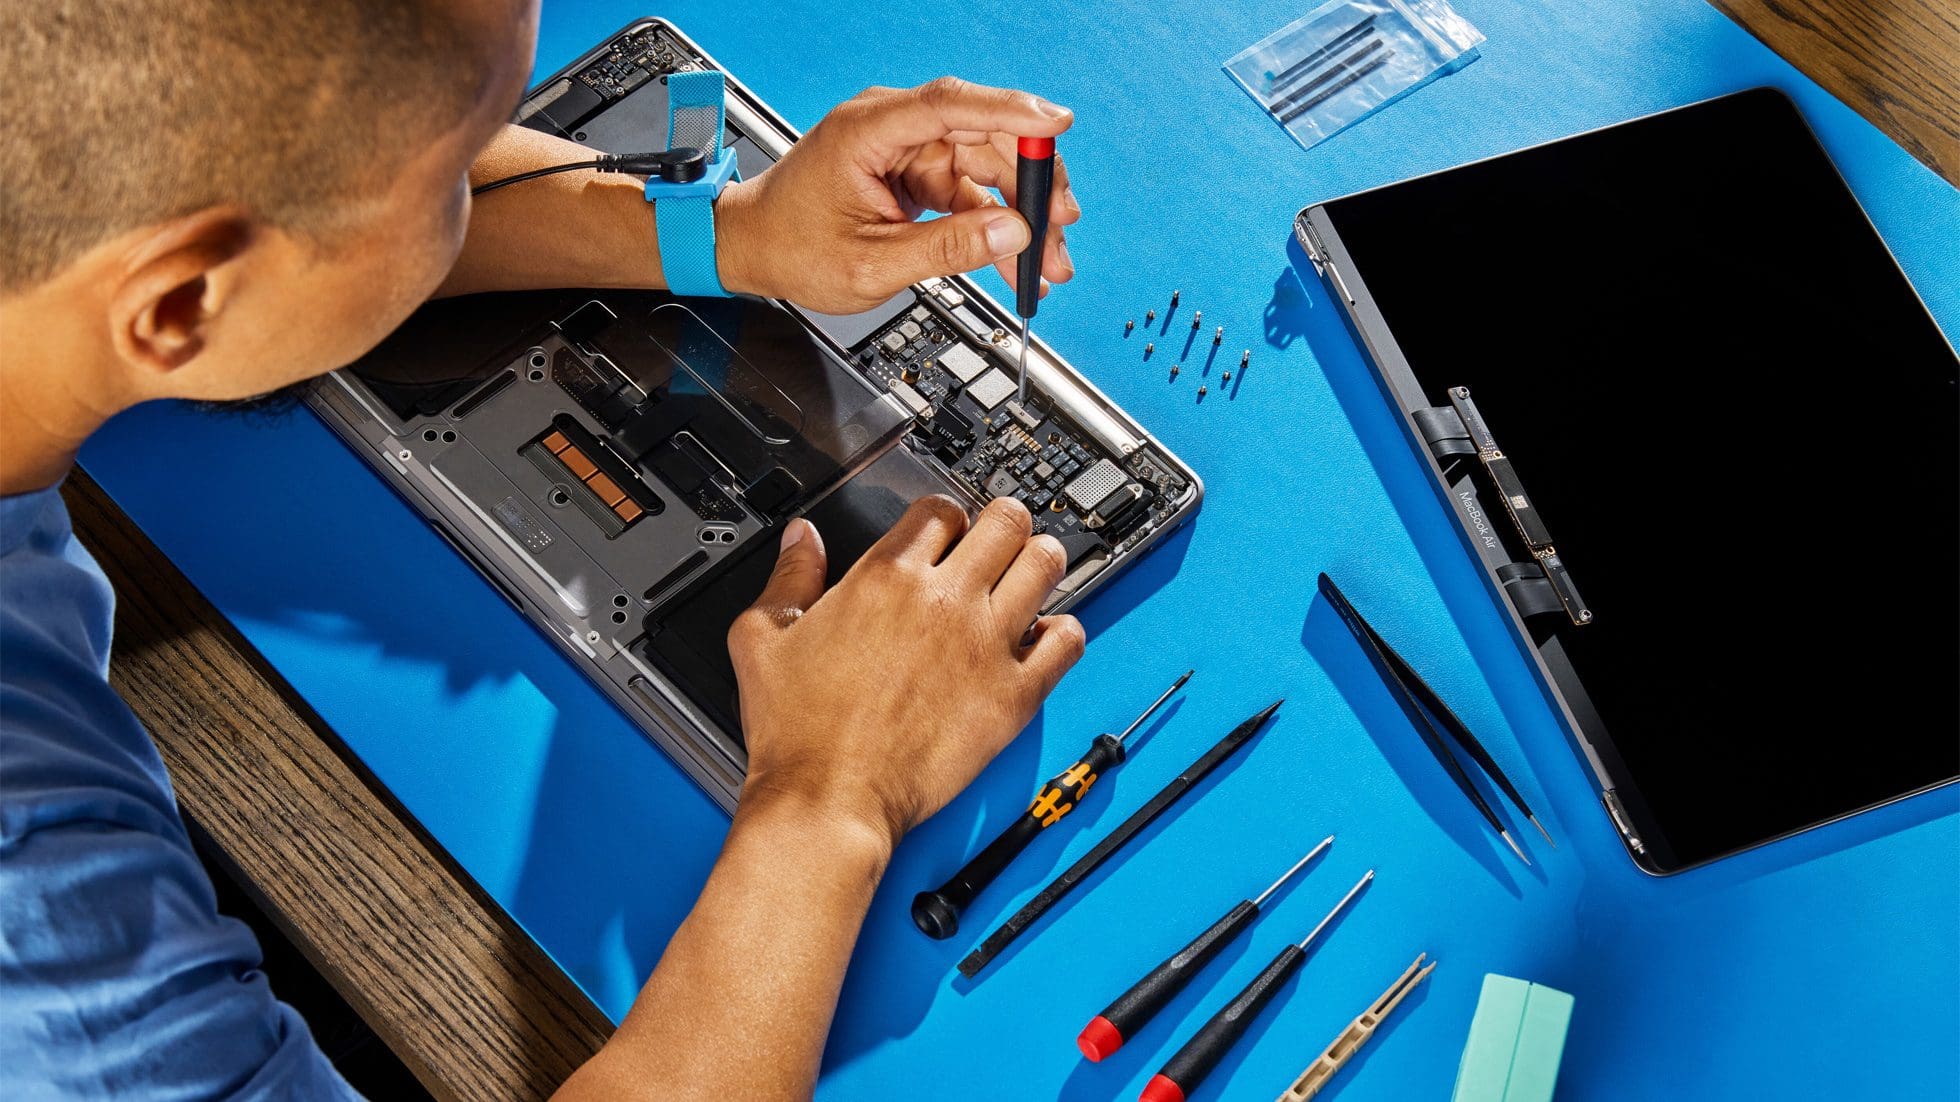
“Self Service Repair for MacBook Air and MacBook Pro offers more than a dozen different repair types for each model, including the display, top case with battery, and trackpad, with more to come. Customers who are experienced with the complexities of repairing electronic devices will be able to complete repairs on these Mac notebooks, with access to many of the same parts and tools available to Apple Store locations and Apple Authorized Service Providers.”
Just when there were rumblings about whether Apple was just going to forget about the program altogether, the company recently made another announcement. This time, it was to formally announce that the program is now available. But now, the program has been expanded to include the necessary parts and tools you need to fix your Mac with Apple’s Self Service Repair program.
How to Fix Your Mac With Apple’s Self Service Repair
This isn’t like just calling up your local authorized Apple repair location (or the Apple Store). Apple’s Self Service Repair program is currently limited to only four different MacBook devices. Here are the models available:
MacBook Air (M1, 2020)
MacBook Pro (13-inch, M1, 2020)
MacBook Pro (14-inch, 2021)
MacBook Pro (16-inch, 2021)
In the event that you need to fix your Mac that isn’t on this list, then you’ll need to go through the traditional channels. This means either reaching out to Apple directly or finding an authorized Apple repair location in your area.
Find The Right Tools and Parts
You won’t be able to just walk into a store like MicroCenter or Best Buy and purchase the parts that you need to complete the repair. While the availability of these parts has long been a frustration for Apple users, the company is at least now making it possible to acquire the parts and tools necessary to complete the repair.
Alternatively, you can enter your Mac’s serial number and click the Search button.
Under Product Model, click the drop-down box.
Select one of the following models:
MacBook Air (M1, 2020)
MacBook Pro (13-inch, M1, 2020)
MacBook Pro (14-inch, 2021)
MacBook Pro (16-inch, 2021)
When prompted, enter your Mac’s serial number.
Click the Search button.
On the right side of the page, click the drop-down box under Repair type.
Select one of the following options:
Audio Board
Battery Management Unit Flex Cable
Bottom Case
Display
Display Hinge Covers
Fans
Keycap Replacement
Lid Angle Sensor (LAS) Module
Logic Board
MagSafe 3 Board
Top Case with Battery
Touch ID Board
Trackpad and Trackpad Flex Cable
USB-C Boards
Vent/Antenna Module
Under each part that you need, click the Add to cart button.
Repeat the process until you have all of the parts needed.
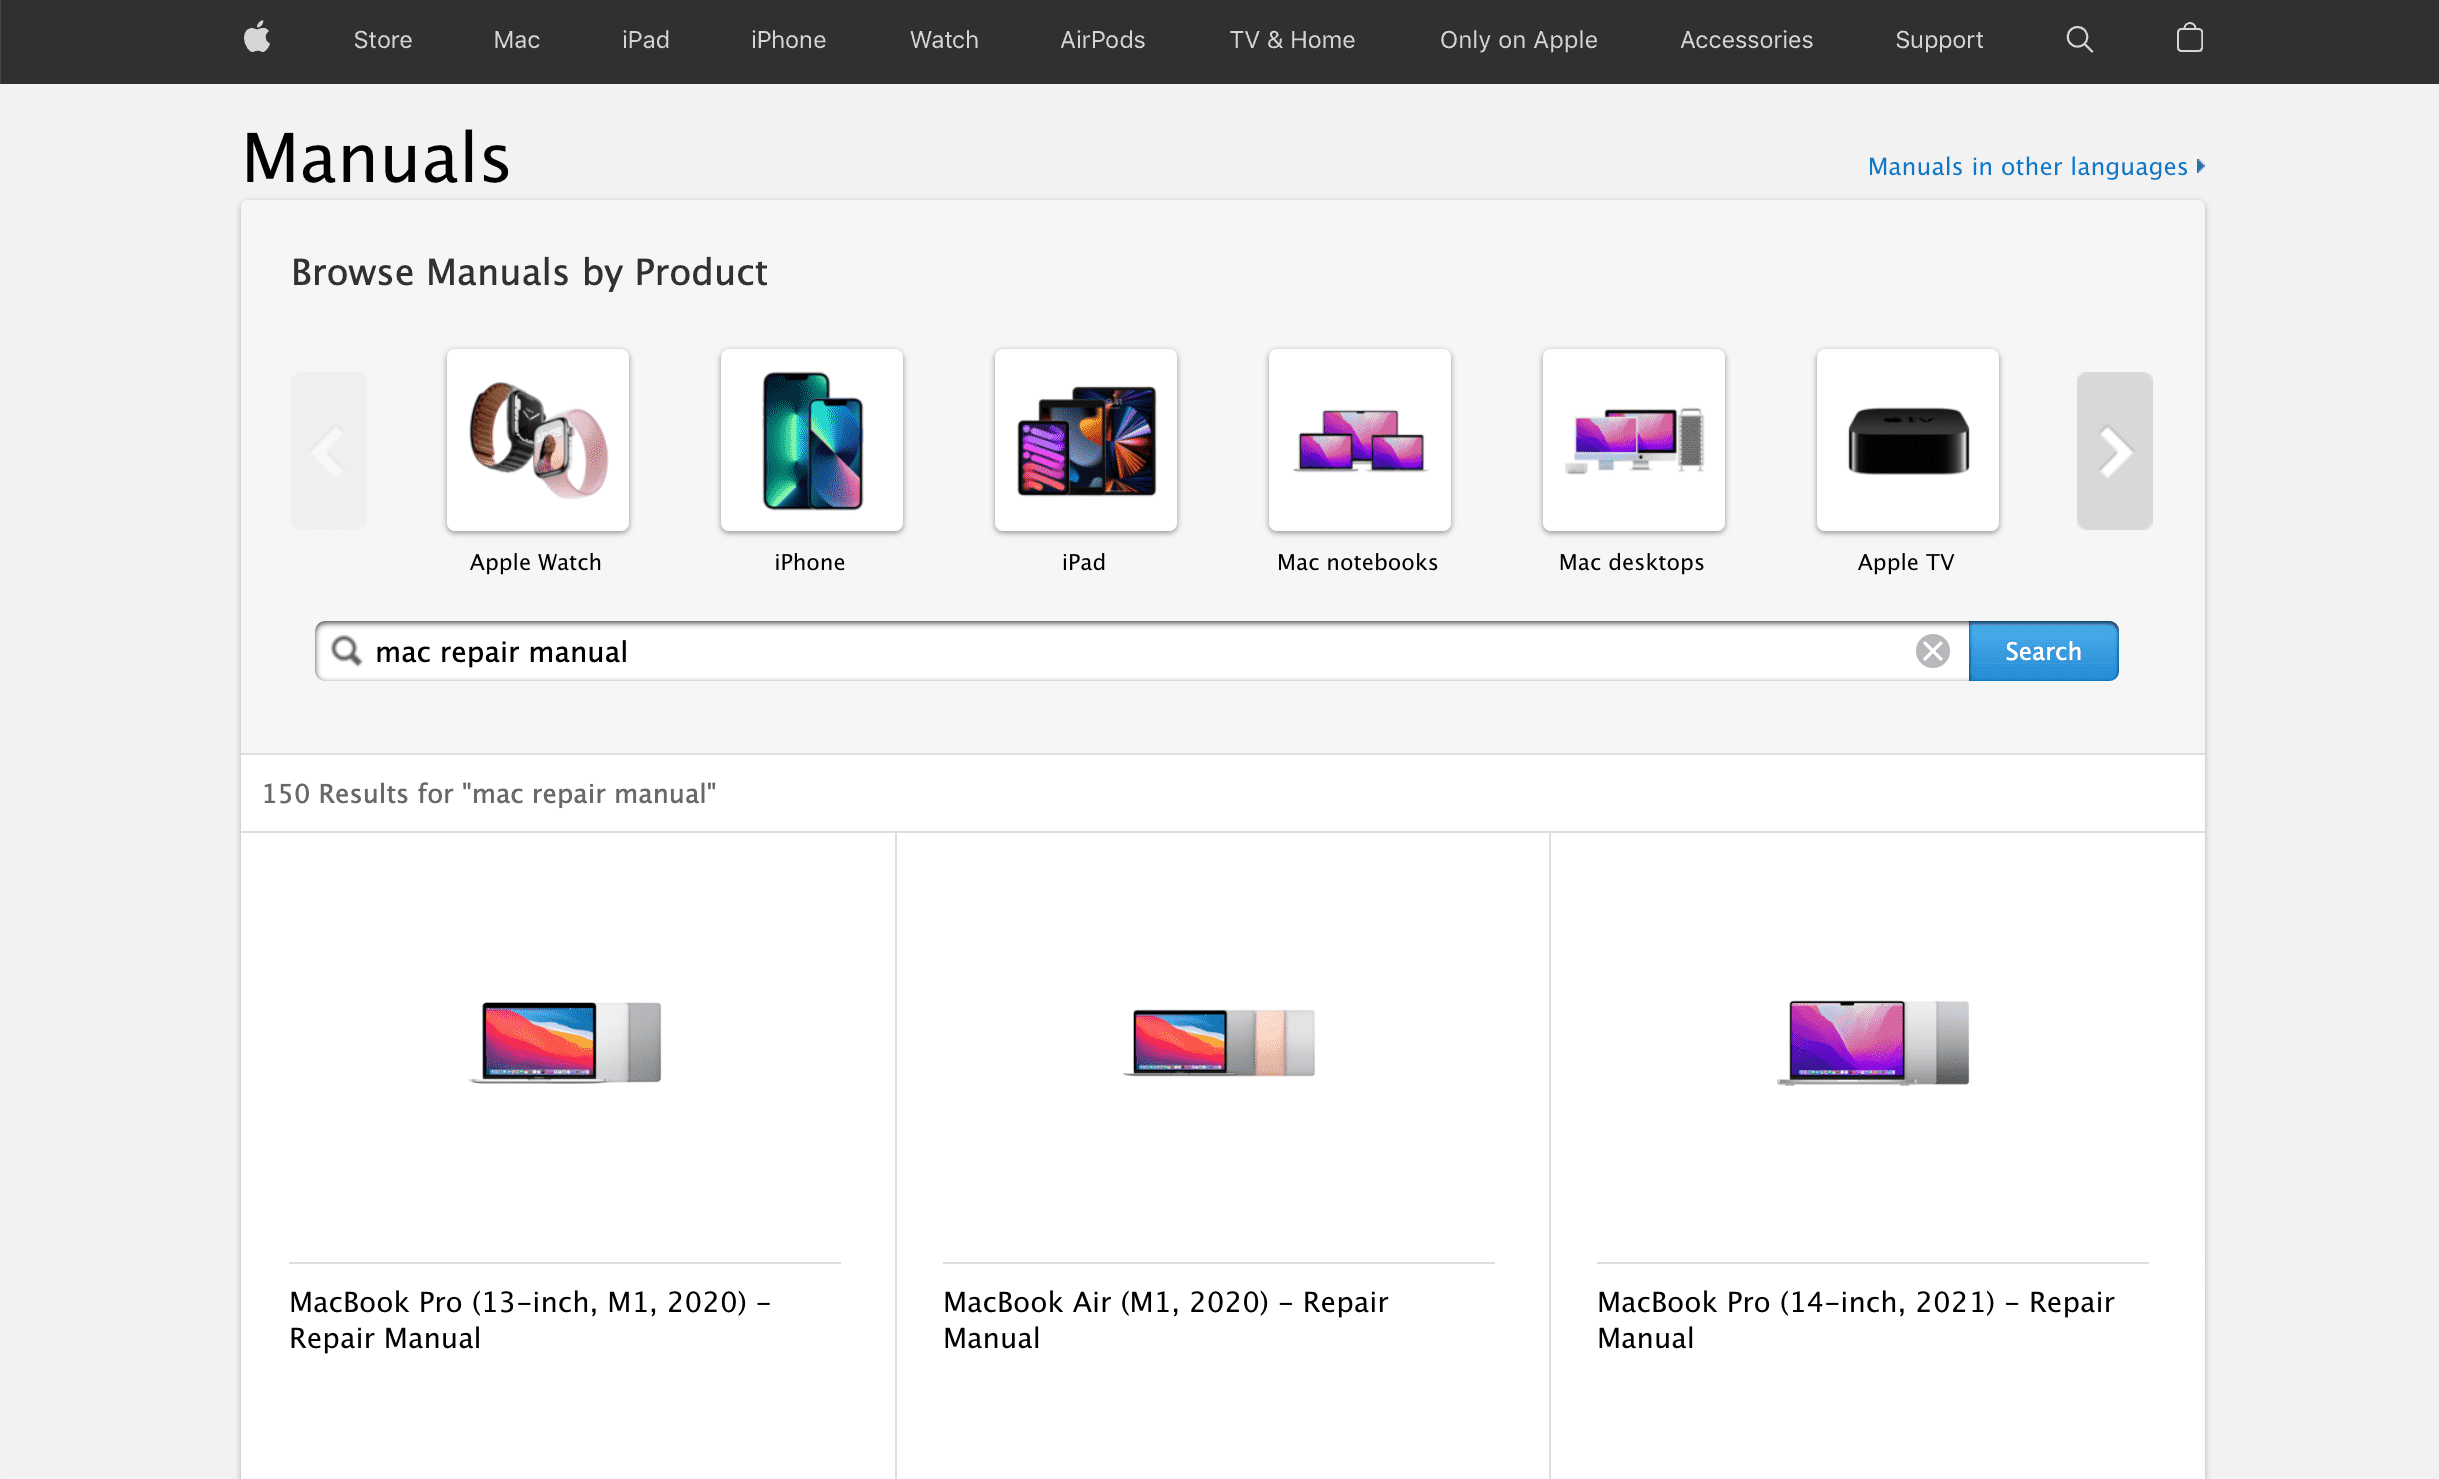
From the pop-up window that appears, click Find the Repair Manual ID.
On the Apple Repair Manuals page, click Mac.
Locate the repair manual for the Mac that you are trying to repair. Make sure this is the same model that you are ordering parts for.
After selecting the appropriate repair manual, it may seem a bit daunting as you attempt to find the Repair Manual ID. Apple requires that you use the proper manual ID to “indicate that you’ve read this manual in its entirety and agree that you have the knowledge and experience to perform your intended repair.”
The simplest way to locate the Repair Manual ID is to open the repair manual for your Mac, then press CMD+F to search the page. Then, type Manual ID and press enter. This can be found under the Ordering tools and parts section. Copy or write down the bolded manual ID, then return to the ordering page and enter the manual ID in the prompt provided. From there, click the Submit button, and then the Continue button in the bottom right corner of the window.
Once you’re ready to check out, provided that you have all of the necessary tools and parts added to your cart, click the Cart icon in the top right corner. Then, follow the on-screen prompts to complete the checkout process.
Read The Manual, Then Read It Again
As we indicated in the previous section, Apple requires that you locate and use the Repair Manual ID in order to actually add parts to your cart. This is done to not only provide further verification but also to encourage you to read through the necessary sections in the manual.
The Repair Manual goes over all of the different repairs that you can make, even for those you aren’t trying to currently do. However, the important part here is that read through the manual in order to make sure you are ordering all of the correct parts and tools for your repair. Otherwise, Apple might not be able to help you if something goes awry during the process due to negligence.
Recycle Broken Parts and Return Apple’s Tools
Once the repair has been successfully completed, you’ll be able to recycle those old and/or broken parts. After an order has been placed, you’ll be able to print a free return label to send those broken parts back to Apple. Once the parts have been shipped to Apple, they will be inspected and in some instances, you might even receive a credit. If eligible, Apple “will credit the original payment method”.
It’s also important to make sure that you return the tools back to Apple’s Self Service Repair center. The company places a hold on your card for the cost of the tools, and if they are not returned in the allotted amount of time, you might be charged with the replacement fees.
Andrew Myrick is a freelance writer based on the East Coast of the US. He enjoys everything to do with technology, including tablets, smartphones, and everything in between. Perhaps his favorite past-time is having a never-ending supply of different keyboards and gaming handhelds that end up collecting more dust than the consoles that are being emulated.


Write a Comment