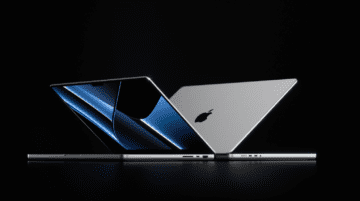
With the release of the 2021 MacBook Pro lineup, we have the most advanced (and impressive) displays ever found on a Mac. Of course there’s the iMac 5K with its higher resolution display, and the Pro Display XDR, but those are much more expensive than either of these MacBooks at their base configurations.
With these fancy new displays, there are more options than ever to configure when you get your MacBook Pro. Today, we’re taking a look at five different ways for you to customize your MacBook Pro to make the most out of it.
The 2021 MacBook Pro models offer a lot of “firsts”, and we’re not talking about the all-new M1 Pro and M1 Max processors. For the first time on a Mac, we have faster refresh rates, maxing out at 120Hz. This is what you’ll find on other devices like the iPhone 13 Pro and Pro Max along with the iPad Pro models thanks to ProMotion.
If 120Hz isn’t your cup of tea, Apple makes it possible for you to change the refresh rate manually:
Click the Apple icon in the top left of the menu bar.
Select System Preferences.
Click Displays.
Click the drop-down menu next to Refresh Rate.
Select the refresh rate you want to use.
Just as a reminder, or in case you weren’t aware, ProMotion automatically adjusts the refresh rate on your display. By doing so, this should provide better battery life since you don’t need 120Hz when reading a book, but will want the smooth scrolling when browsing Twitter or Reddit.
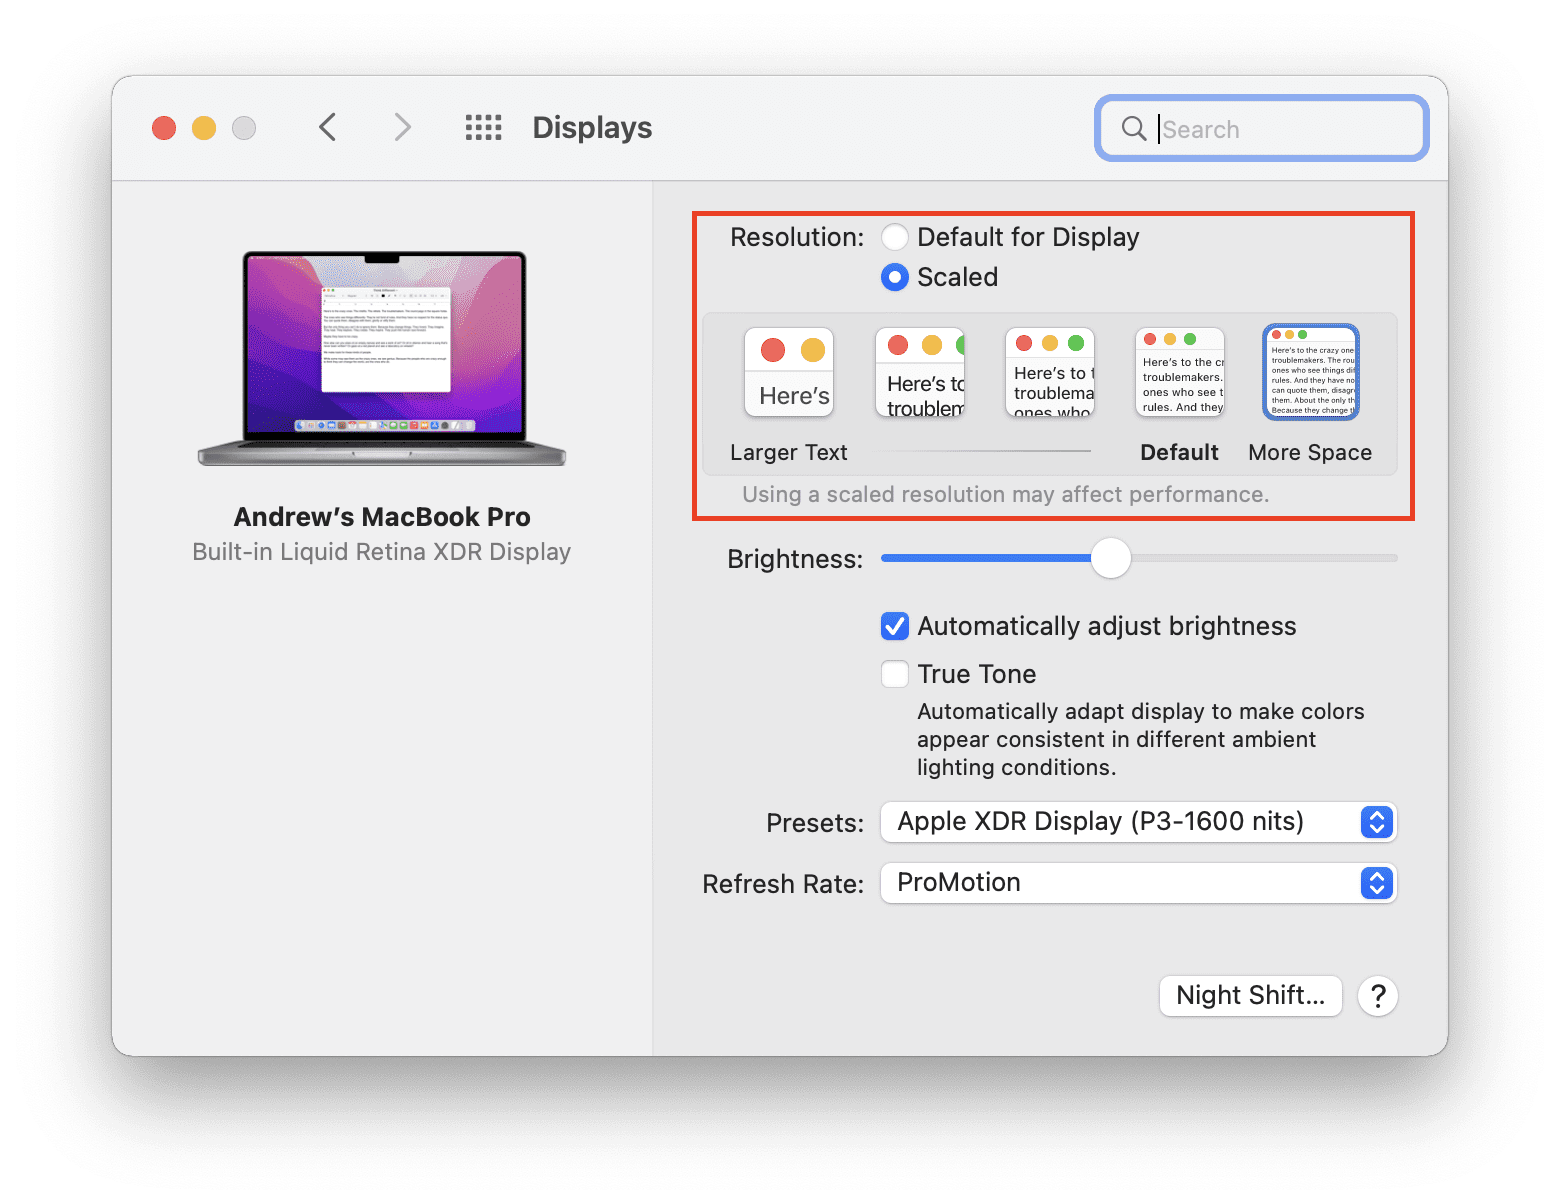
Change The Screen Resolution
Apple has always included ways for you to adjust the screen resolution on your MacBook models. However, in another case of “firsts”, these 2021 models offer a resolution of 3456 x 2234 with a 250 PPI. This marks an increase from 220 PPI found on the last generation of MacBook models.
By default, the MacBook Pro ships with perfect 2x Retina scaling, rendering at 1792 x 1120. But if you want a bit more screen real estate, or want to zoom in a bit, you can change the resolution manually.
Click the Apple icon in the top left of the menu bar.
Select System Preferences.
Click Displays.
Next to Resolution, select Scaled.
Select one of the options provided.
There’s a preview within each one of the boxes to provide an indication of what to expect. You could also simply select each one until you find an option that works.
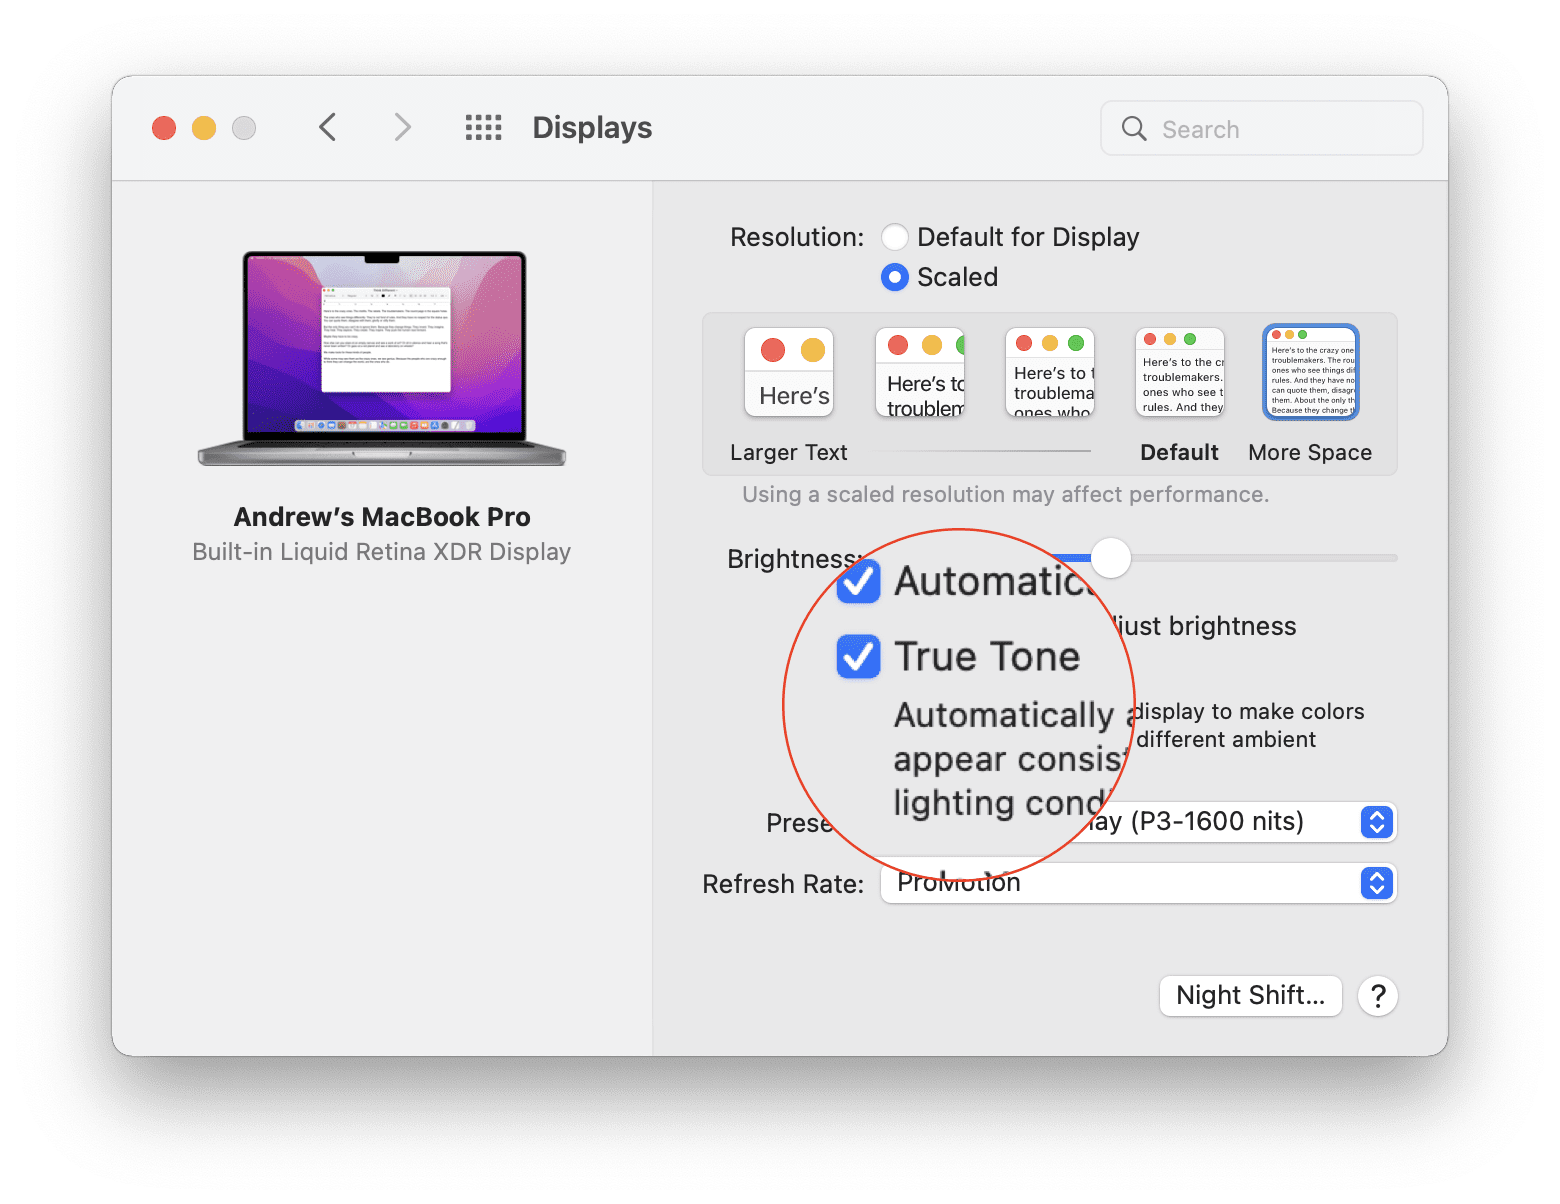
Enable True Tone
True Tone displays were first introduced into Apple’s lineup with the 9.7-inch iPad Pro. But it’s since been introduced to the iPhones and the newer iPad Pros. With the release of the 2018 MacBook Pro, True Tone arrived on the Mac and it’s still available with these new laptops.
Essentially, True Tone changes the temperature of your display to help provide a more uniform experience. This is done using sensors to analyze your surroundings and adjusting your display to make things easier on your eyes.
Click the Apple icon in the top left of the menu bar.
Select System Preferences.
Click Displays.
Click the checkbox next to True Tone.
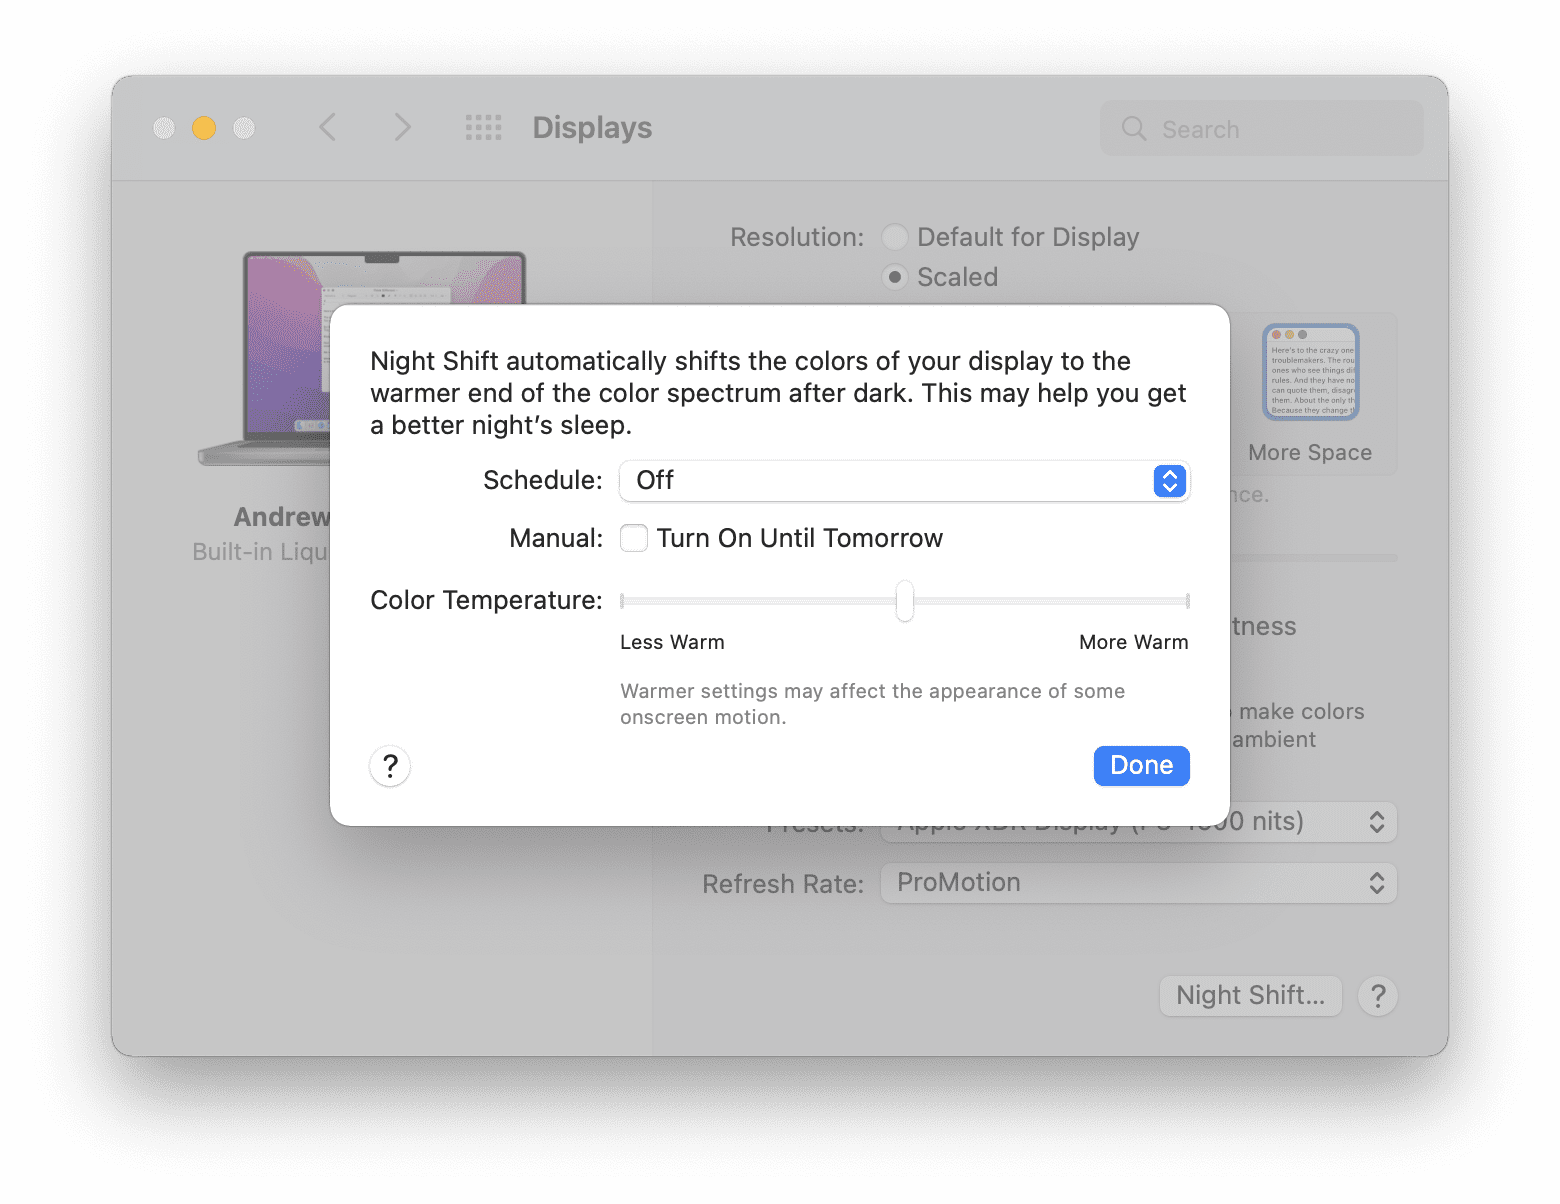
Set up Night Shift
Another feature built into the Mac is Night Shift. When enabled, Night Shift automatically changes the colors on your display to the warmer end of the spectrum. As the name suggests, this is enabled after the sun sets in an effort to reduce eye strain and make it easier for you to fall asleep.
Click the Apple icon in the top left of the menu bar.
Select System Preferences.
Click Displays.
In the bottom right corner, click the Night Shift…button.
Click Schedule and select one of the following:
Off
Custom
Sunset to Sunrise
If you want to manually enable Night Shift, click the check box next to Manual.
Adjust the slider next to Color Temperature until your eyes are most comfortable.
Click the Done button in the bottom right corner.
Switch Between Display Presets
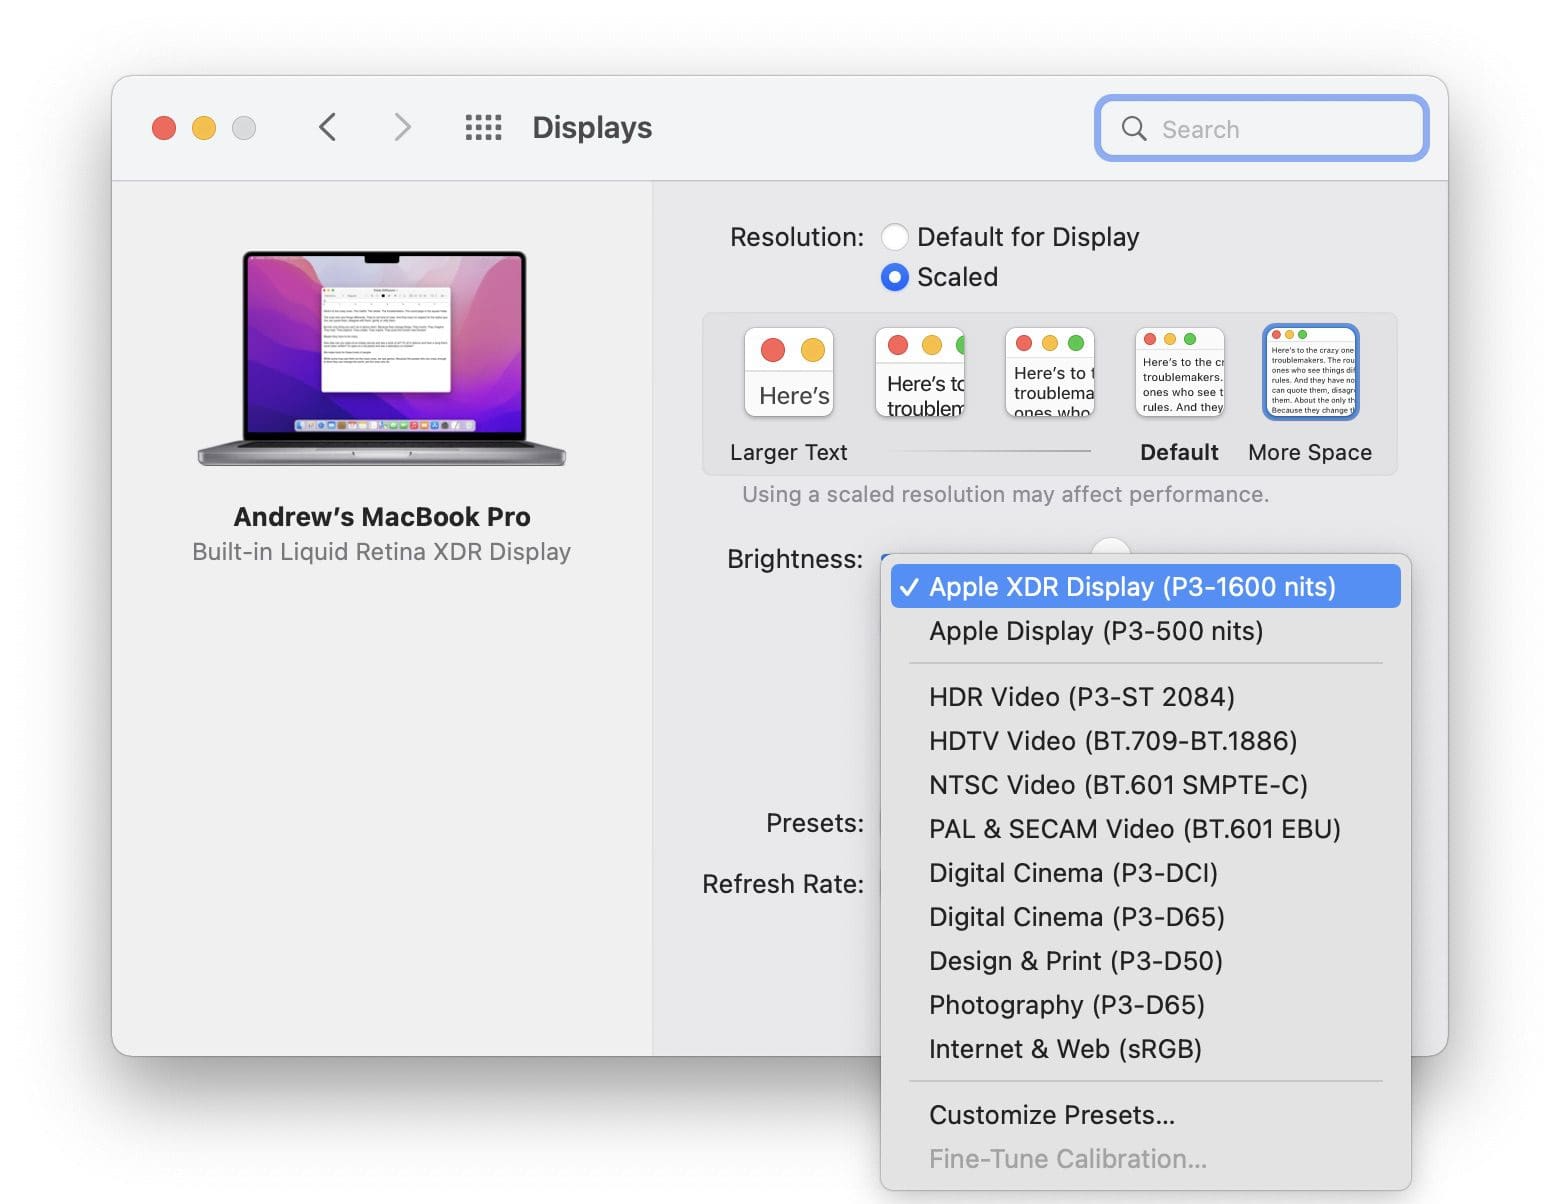
Because the MacBook Pro is a professional computer, and the Liquid Retina XDR is so incredible, you can actually use this as a reference monitor. Because of that, Apple has implemented different reference modes tailored for specific workflows. By default, your MacBook Pro ships with the Apple XDR Display (P3-1600 nits) mode enabled. But here’s how you can change the default:
Click the Apple icon in the top left of the menu bar.
Select System Preferences.
Click Displays.
Click the drop down box next to Presets.
Select one of the options provided.
Apple also makes it possible for you to customize a preset to your liking by selecting Custom.
Andrew Myrick is a freelance writer based on the East Coast of the US. He enjoys everything to do with technology, including tablets, smartphones, and everything in between. Perhaps his favorite past-time is having a never-ending supply of different keyboards and gaming handhelds that end up collecting more dust than the consoles that are being emulated.


Write a Comment