Your iPhone might be the best camera you’ve ever owned. It’s always on you, has an enormous viewfinder, and can capture beautiful photos in an instant. But even better than that, your iPhone camera also offers a range of different shooting modes you can use.
Related:
- Camera Not Recognized in iOS 16.1.1: What Can You Do?
- Fix: A Problem Was Detected With the TrueDepth Camera
- iPhone Portrait Mode Explained: What It Is and How to Use It
- A Complete Guide to Editing Photos on Your iPhone
- Does Your iPhone Camera Keep Refocusing? How-to Fix
From slo-mo videos to panoramic landscapes, we’ll explore all the different camera modes on your iPhone, explaining what they do and how to use them.
By the end of this guide, you’ll know how to use every iPhone camera mode like a pro.
Contents
- How to Change the Camera Mode on Your iPhone
- Photo Mode on the iPhone Camera
- Portrait Mode on the iPhone Camera
- Pano Mode on the iPhone Camera
- Video Mode on the iPhone Camera
- Action Mode on the iPhone Camera
- Slo-Mo Mode on the iPhone Camera
- Time-Lapse Mode on the iPhone Camera
- Cinematic Mode on the iPhone Camera
- Edit Photos and Videos to Perfection With the Photos App
- What’s Your Favorite iPhone Camera Mode?
How to Change the Camera Mode on Your iPhone
Before explaining what all the different camera modes do on your iPhone, we first need to show you how to change between modes. This is super easy—you’ve probably already done it in the past.
To change your iPhone camera mode:
- Open the Camera app on your iPhone.
- Tap the mode you want to use at the bottom of the screen (or at the side if you’re in landscape mode). Your current mode is highlighted in yellow.
- Alternatively, swipe left or right across the screen to quickly switch from one mode to the next.
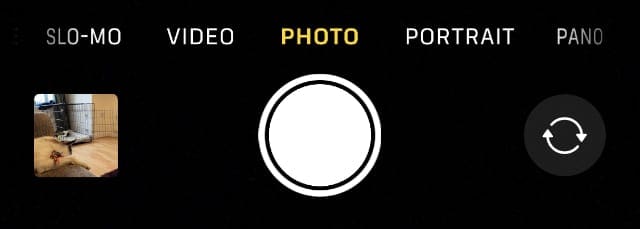
As you change between camera modes on your iPhone, you’ll see a new selection of shooting controls appear around the edges of the screen. Tap the arrow to fine-tune these controls to your liking.
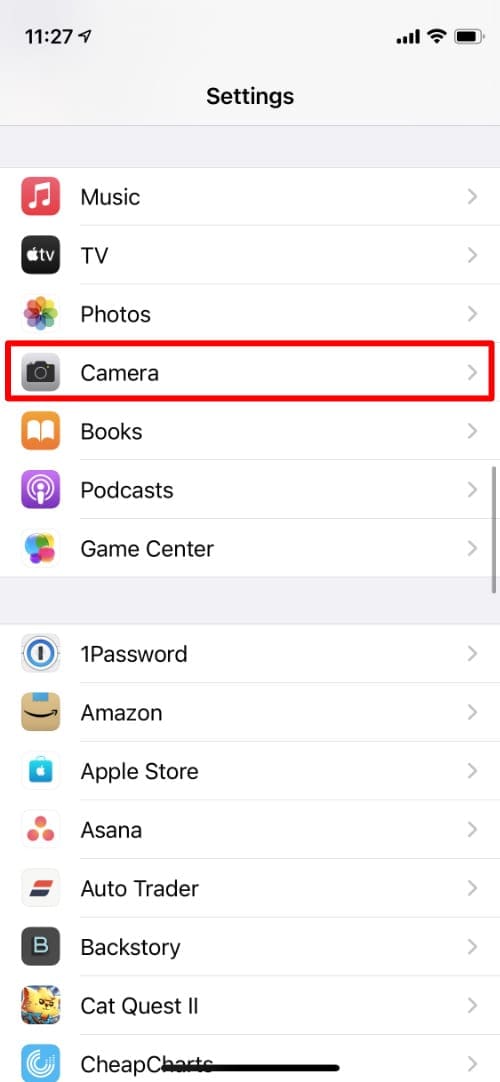
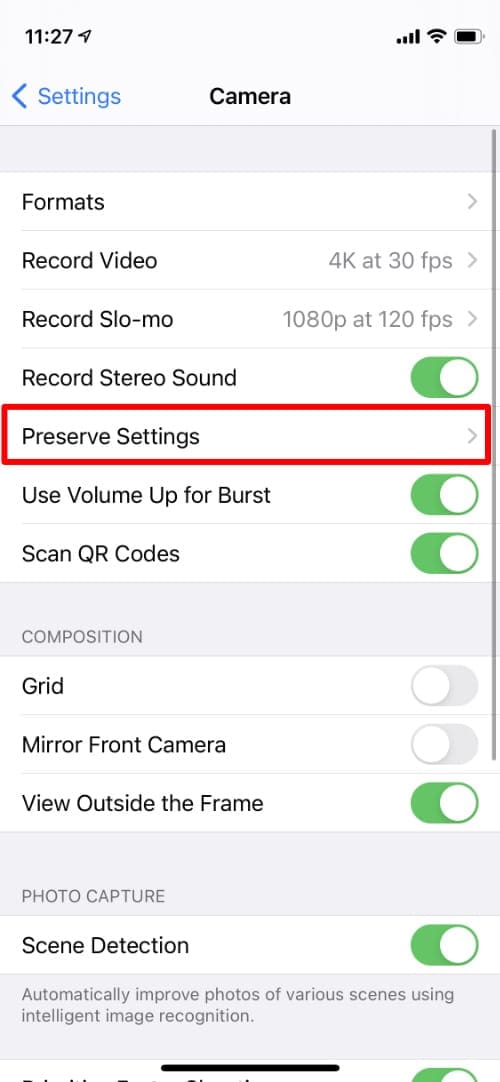
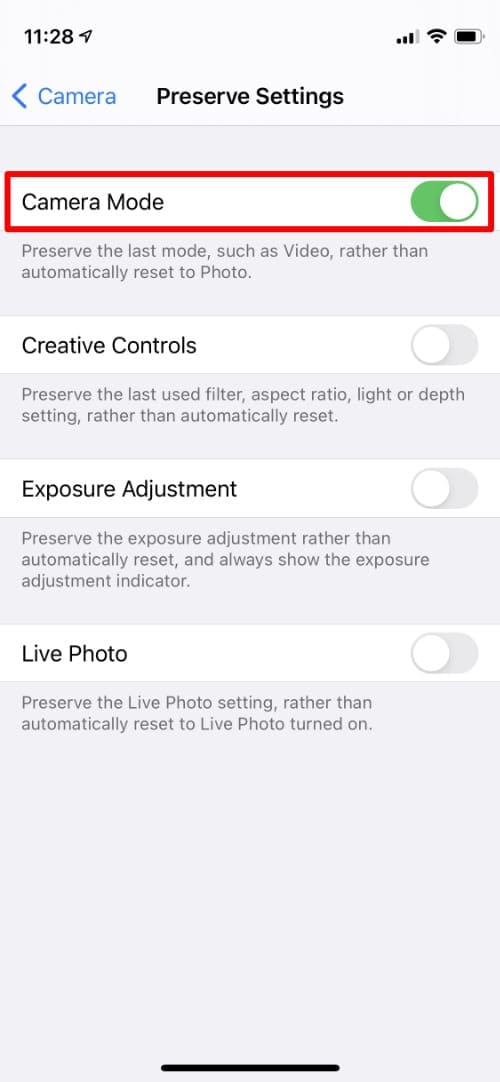
By default, the Camera app always opens in Photo mode. However, if you want it to open in the last camera mode you used instead, go to Settings > Camera > Preserve Settings and enable Camera Mode.
Photo Mode on the iPhone Camera
Photo mode is the standard mode on your iPhone camera; it’s what you use to take normal photos. You can also use Photo mode to take Live Photos if your device supports them.
In Photo mode, you’ll see a large white shutter button. Tap that to snap a picture.
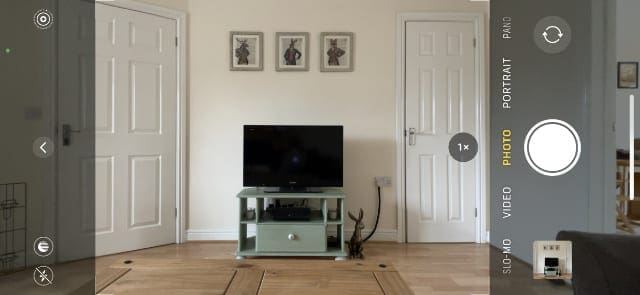
You can also tap and hold the shutter button to start recording a video with QuickTake. The video stops when you release your finger unless you slide over to the lock icon to keep recording even after you lift your finger.
Portrait Mode on the iPhone Camera
Portrait mode blurs the background of your photo while keeping the subject in focus to create what’s known as a bokeh effect. This results in striking images that allow the subject of your photo (be it a person, an object, or a pet) to jump out from the background.
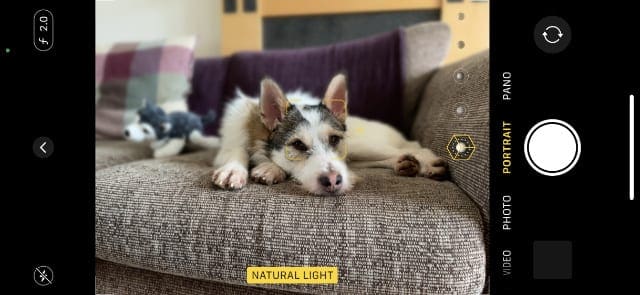
A camera traditionally achieves this depth-of-field effect by changing the aperture of the lens, but your iPhone uses software magic instead. Clever algorithms find the subject of your photo and then blur the background accordingly.
As a result, you can change the aperture (measured in f-stops) to increase or reduce the blurriness of the background.
You can also use Portrait mode on your iPhone to add software lighting to a person’s face. These lights can enhance the highlights and shadows, creating the effect of a studio lighting effect out of nothing.
Portrait mode is only available on the iPhone 7 Plus, iPhone 8 Plus, iPhone X, and later.
Pano Mode on the iPhone Camera
Pano mode allows you to take a panoramic photo by slowly turning your iPhone to the side. The result is an ultra-wide photo that captures 180 degrees or more of your environment.
This essentially works by taking multiple photos and stitching them together so well that you can’t see the seams.
To use Pano mode, tap the shutter button and follow the onscreen instructions to move your iPhone sideways. It works best if you stand in the same spot and turn your entire body to the side.
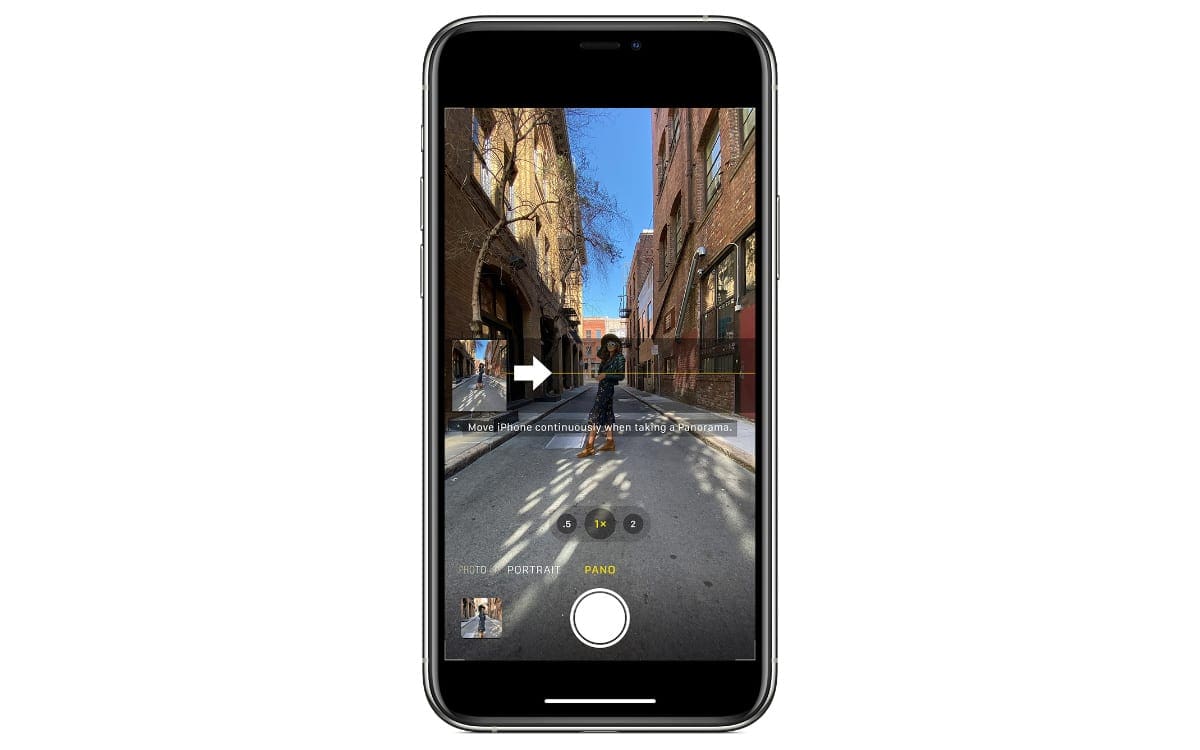
Your iPhone might tell you to move slower, move faster, move down, or move up. Follow the instructions to ensure your iPhone camera captures everything it needs for a good panoramic.
If people or objects are moving while you pan past them, they might appear distorted in the final photo, so try to avoid that where possible.
By default, Pano mode captures panoramic photos from left to right, but you can reverse this by tapping the arrow.
You can also create a shorter panoramic photo by tapping the shutter button again after you start to stop where you are.
Video Mode on the iPhone Camera
As you might expect, Video mode lets you use your iPhone to capture video recordings. When in video mode, the shutter button switches to a red record button.
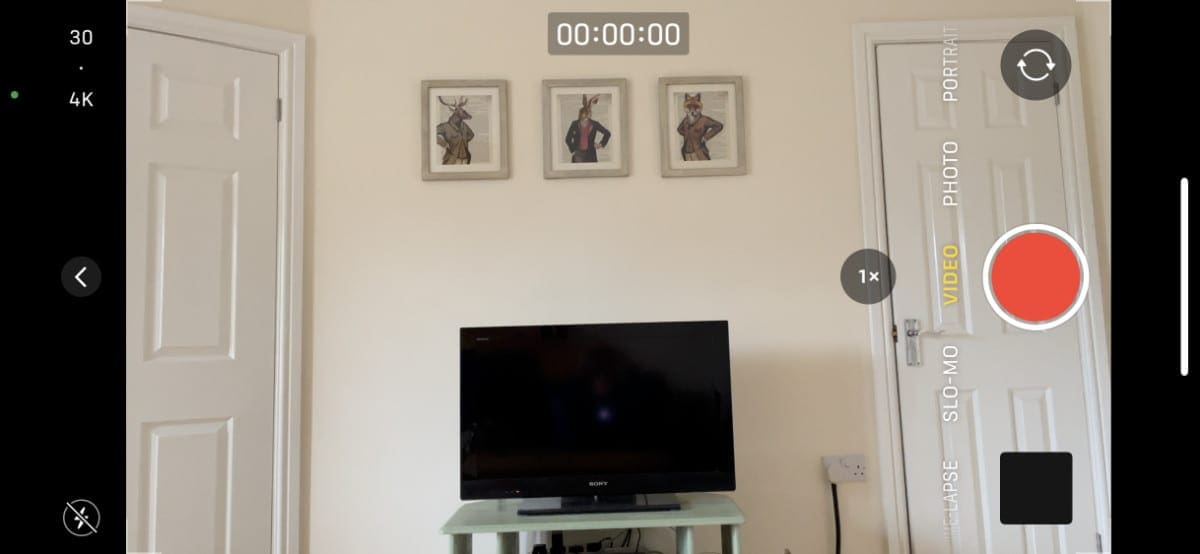
Tap the record button to start recording, then tap it again to stop.
While recording, you can also tap the white shutter button that appears to snap a photo without interrupting your video recording.
Various different options are available for the video quality and frame rate, depending on your iPhone model. You can see the current video quality and frame rate at the top of the screen; tap these options to change them.
Action Mode on the iPhone Camera
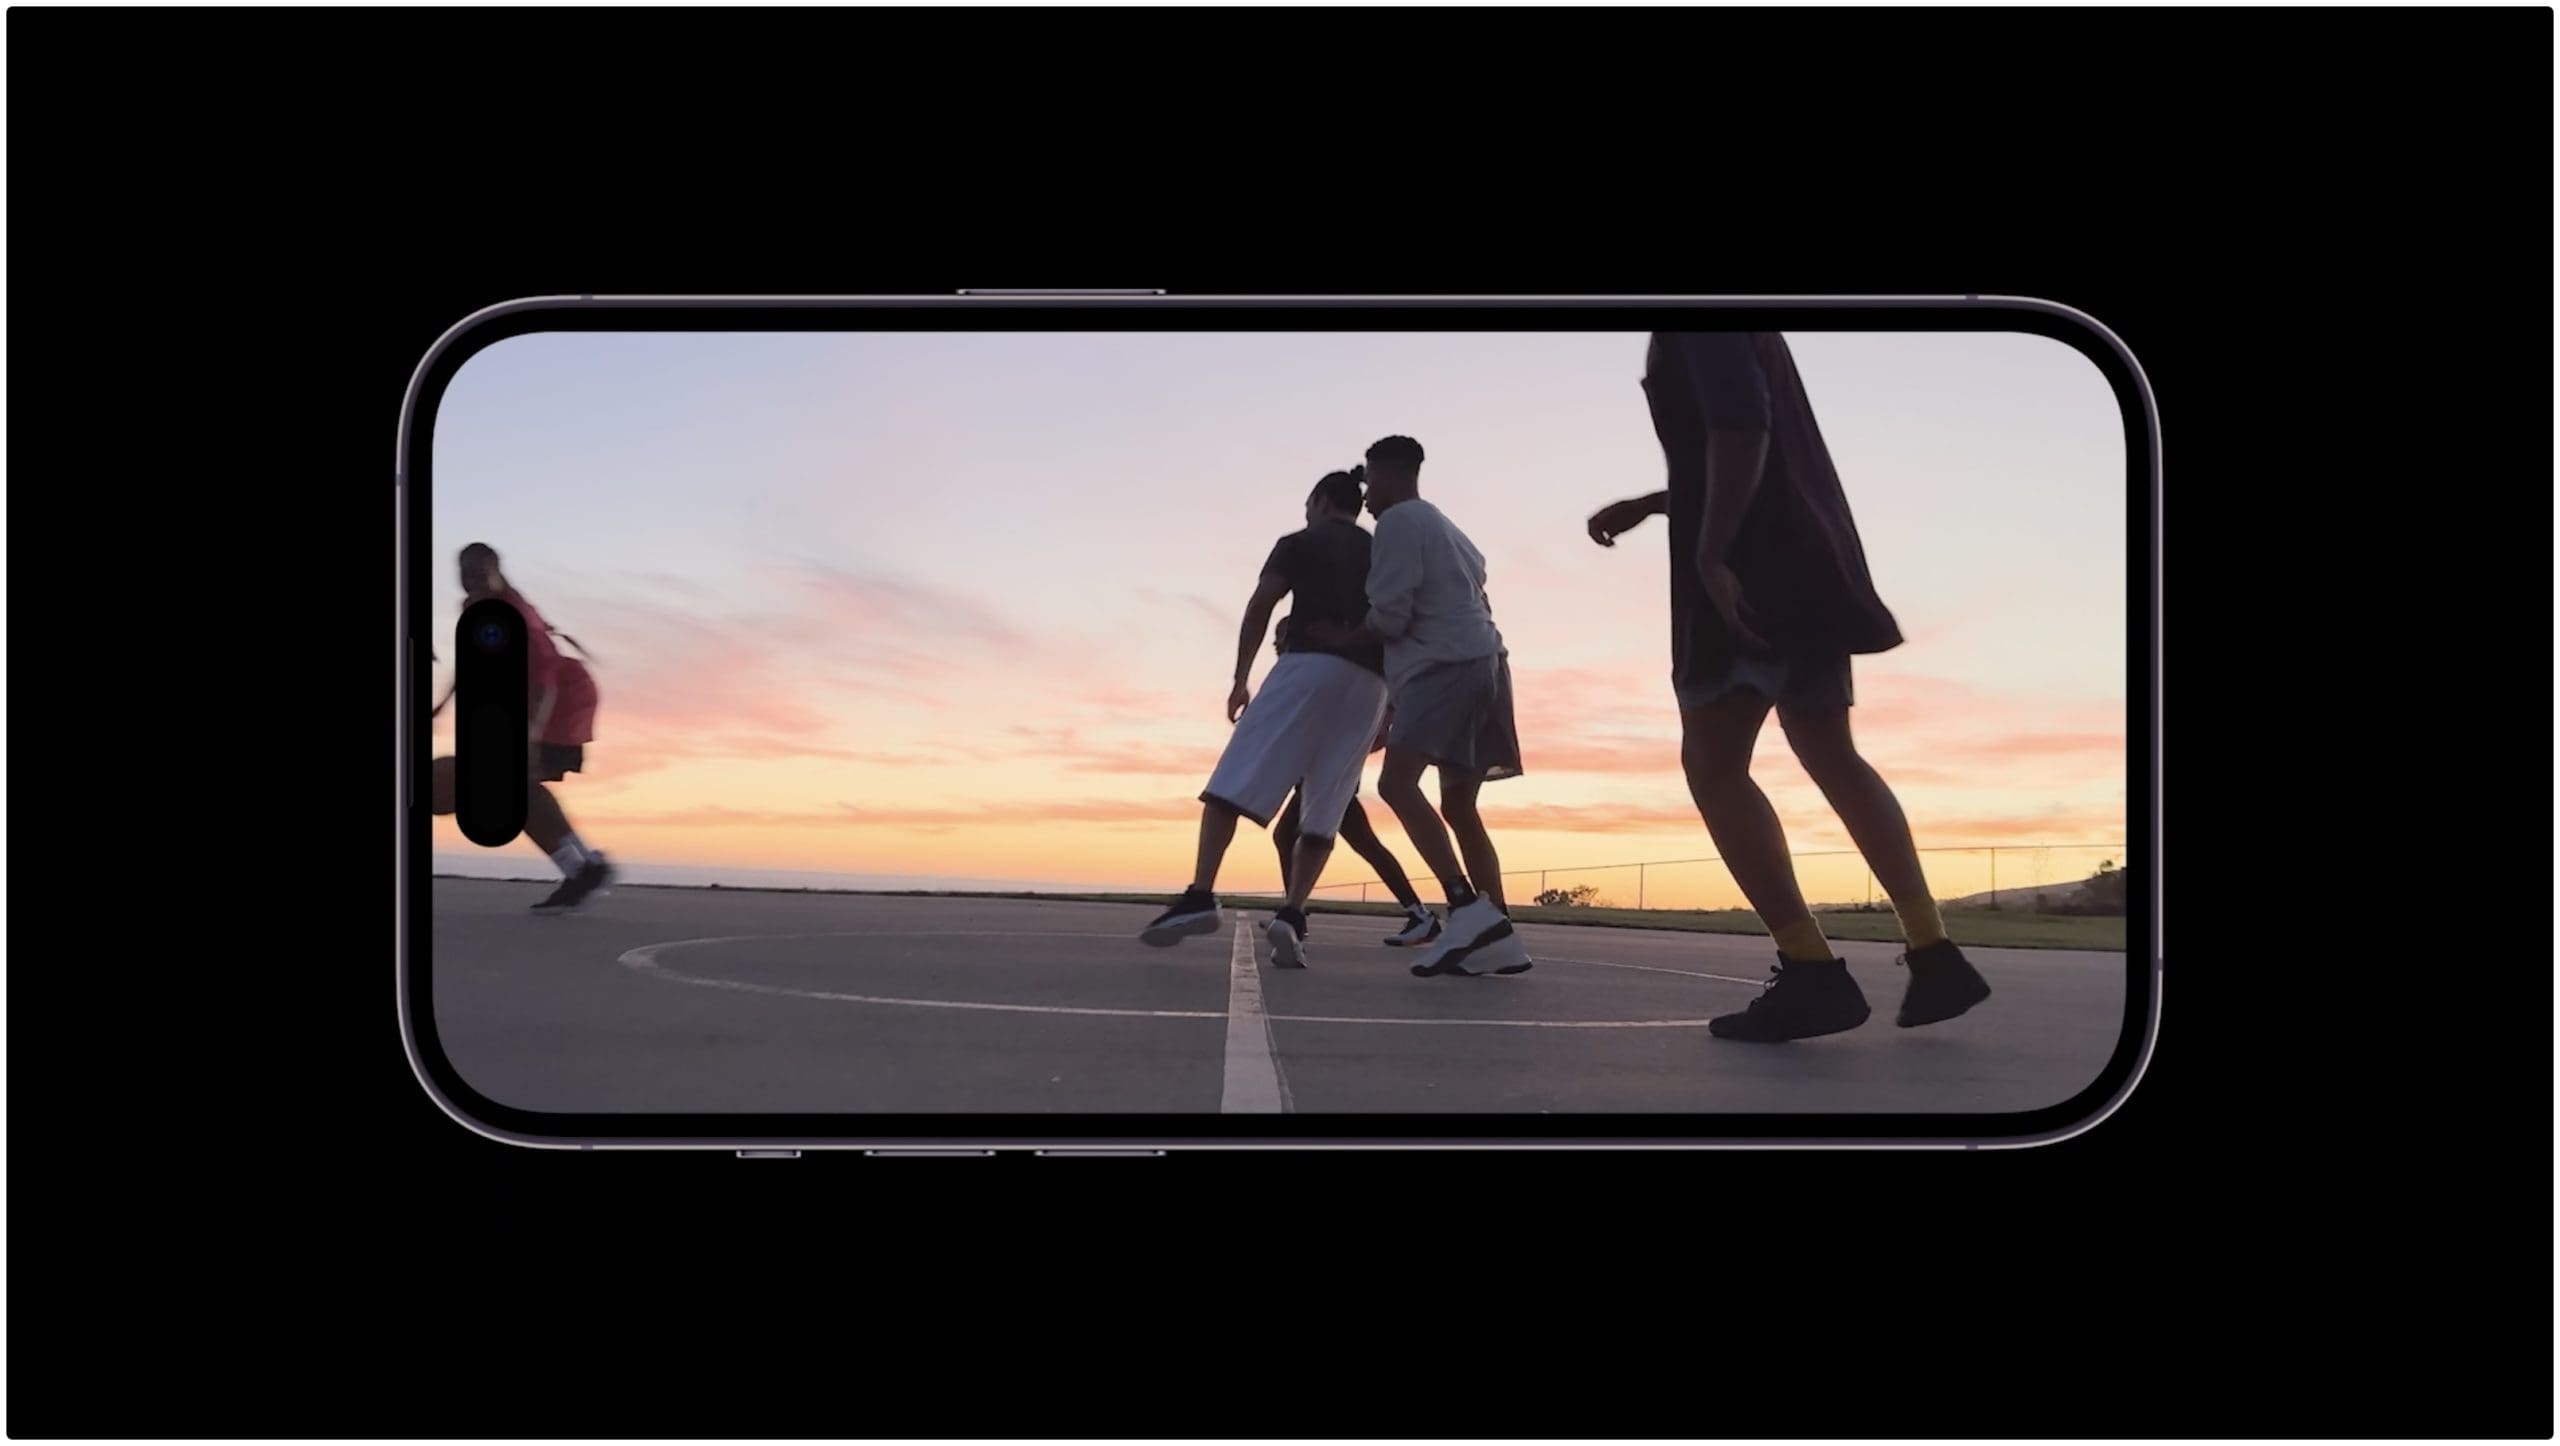
Action Mode on the iPhone 14 series is a pioneering feature that takes mobile video recording to new heights, offering professional-level stabilization and quality. It’s a noteworthy addition to the already impressive array of camera features on the iPhone, catering to those who love capturing dynamic and action-filled moments.
It’s integrated directly into the iPhone’s camera app and is designed to stabilize videos that have heavy movements. It allows users to shoot videos that resemble the output of a GoPro, providing gimbal-like stabilization without needing extra equipment.
Action Mode uses the full sensor with more overscan and advanced roll correction to make videos look incredibly stable, even in the midst of the action. It’s as simple as toggling it on, and you can achieve smooth video without additional gear like a gimbal. It also supports Dolby Vision HDR, adding to the professional quality of the videos.
Using Action Mode is as simple as opening the Camera app, switching to video mode, and selecting the Action Mode toggle. You can then shoot highly professional action videos with super-steady stabilization.
Slo-Mo Mode on the iPhone Camera
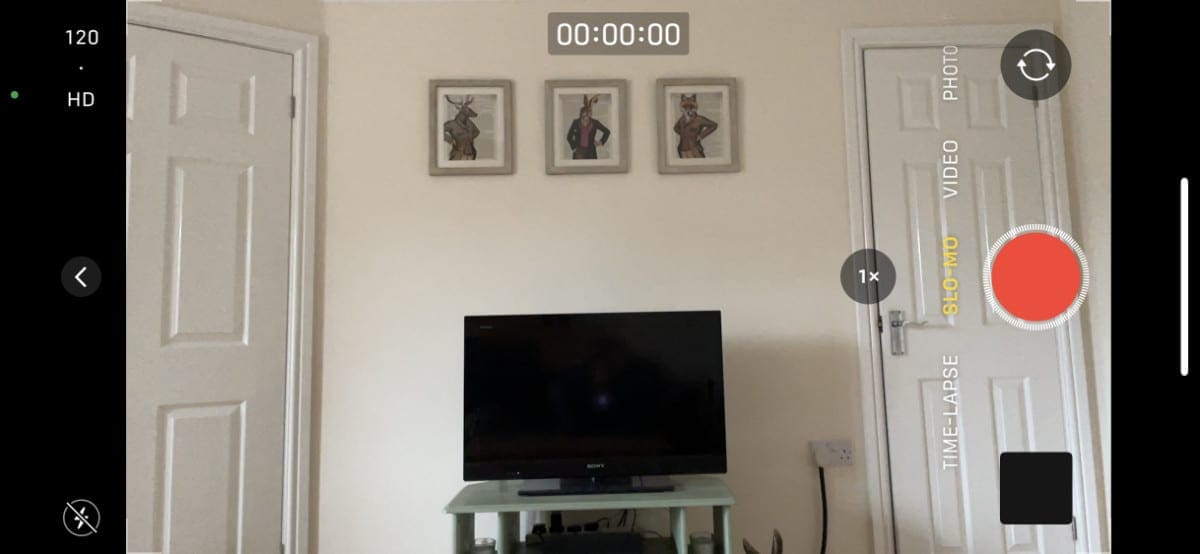
Slo-Mo Mode, or Slow Motion Mode, is a camera feature available on many iPhone models that allows users to record videos at a higher frame rate and then play them back at a standard frame rate, creating a slow-motion effect.
When you select Slo-Mo Mode in the iPhone’s camera app and start recording, the camera captures video at a much higher frame rate, such as 120 or 240 frames per second (fps), depending on the iPhone model and settings. When played back at a standard frame rate, such as 30 fps, the action appears to unfold much more slowly than it did in real life.
Slo-Mo Mode is perfect for capturing fast-moving scenes and highlighting details that might be missed at regular speed. Whether it’s a bird taking flight, a splash of water, an athlete in motion, or a playful pet, Slo-Mo Mode reveals the intricacies and beauty of movement.
One of the standout features of Slo-Mo Mode on the iPhone is the ability to edit the slow-motion effect after recording. Users can adjust the start and end points of the slow-motion portion, allowing for precise control over which parts of the video are slowed down and which parts play at regular speed.
The iPhone’s Slo-Mo Mode is user-friendly and doesn’t require any special equipment or expertise. It’s as simple as selecting the mode and recording, and the iPhone takes care of the technical aspects.
Time-Lapse Mode on the iPhone Camera
Time-Lapse mode is a creative and engaging feature available on the iPhone’s camera app that allows users to capture videos over extended periods and then compress them into shorter, fast-paced videos. Essentially, Time-Lapse mode takes photos at specific intervals and stitches them together to create a video that plays back at a much faster rate.
When you select Time-Lapse mode in the camera app and start recording, the iPhone automatically takes photos at regular intervals (such as every few seconds or minutes, depending on the total recording time). These individual frames are then compiled into a continuous video that plays back at a speed that makes everything appear to be moving much faster than in real life.
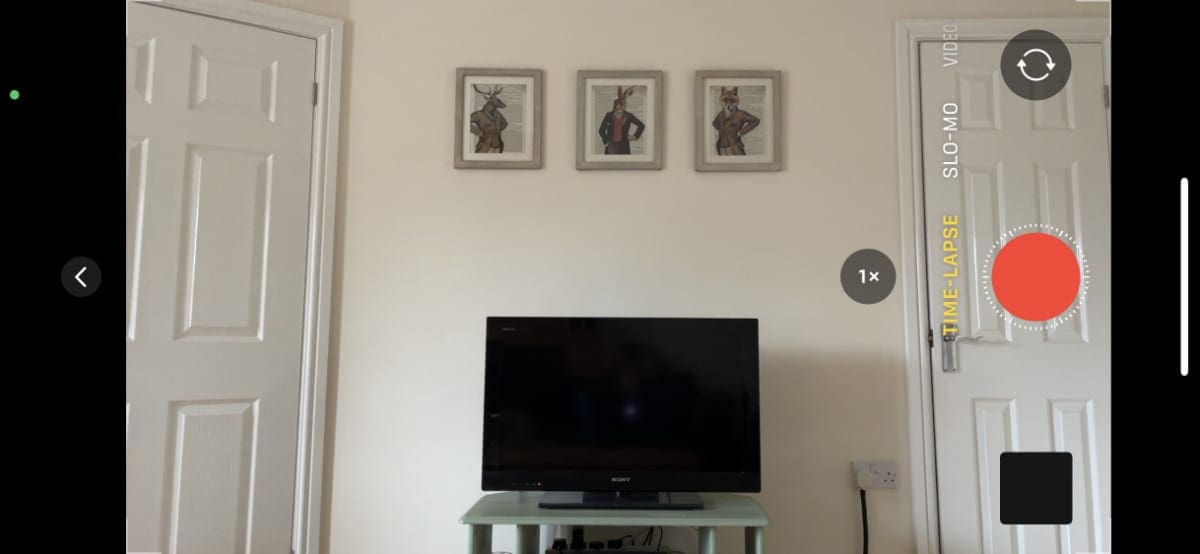
Time-Lapse mode is perfect for capturing scenes that unfold slowly over time, such as a sunset, a blooming flower, busy city traffic, or clouds moving across the sky. The resulting video provides a unique and often mesmerizing perspective, allowing viewers to observe changes and movements that would be subtle or even imperceptible in real-time.
The iPhone’s Time-Lapse mode is user-friendly, requiring no manual adjustments or special equipment. Users can simply select the mode, set up their iPhone on a stable surface or tripod, and let the camera do the work. The iPhone automatically adjusts the exposure and timing to create a smooth and visually appealing time-lapse video.
Cinematic Mode on the iPhone Camera
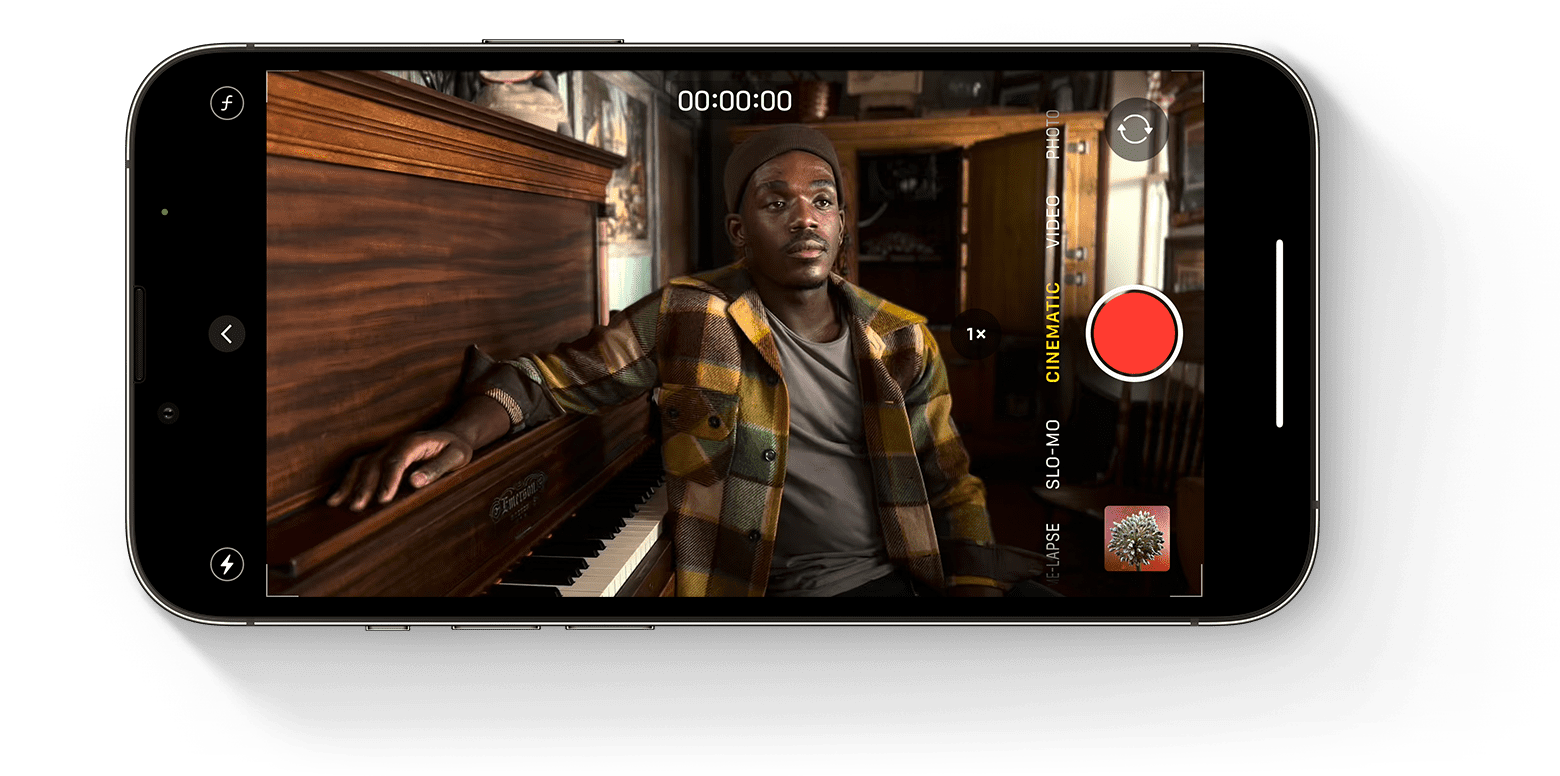
Cinematic Mode is a groundbreaking feature introduced by Apple for the iPhone, starting with the iPhone 13 series. It’s a video recording option that brings depth-of-field effects, similar to what you might find in professional filmmaking, to videos captured on the iPhone. Cinematic Mode uses machine learning and artificial intelligence to automatically detect people, pets, and objects within the frame, and then applies a soft blur to the background, creating a “bokeh” effect.
What sets it apart is its ability to dynamically change focus during recording, allowing for smooth focus transitions between subjects. For example, if two people are in a scene and one is in the foreground while the other is in the background, Cinematic Mode can shift focus between them as they move or interact, creating a professional and immersive visual experience.
Users can also manually adjust focus and depth effects after recording, providing further creative control. Cinematic Mode brings a new level of sophistication to iPhone videography, making it accessible to both casual users and aspiring filmmakers.
Edit Photos and Videos to Perfection With the Photos App
No matter which camera mode you use to take photos or videos on your iPhone, you can edit them to perfection using the Photos app. The editing options in Photos allow you to tweak the colors, adjust the exposure, crop, rotate, and make various other changes to your photos or videos.
If you’re new to iPhone, take a look at our guide on how to use the Photos app to edit photos and videos. We’ll explain all the different tools you have at your disposal—or show you how to use the Auto tool to let your iPhone edit photos for you.
What’s Your Favorite iPhone Camera Mode?
Your iPhone offers a lot of different ways to take photos or videos of the world around you, but which is your favorite? Do you prefer taking videos over photos? Or are you a time-lapse master? Let us know in the comments below!

Dan writes tutorials and troubleshooting guides to help people make the most of their technology. Before becoming a writer, he earned a BSc in Sound Technology, supervised repairs at an Apple Store, and even taught English in China.






How do I get out of camera to regular stuff?
iPhone 13 just got it.