Portrait mode on the iPhone lets you take professional-quality photos with an artfully blurred background. Every iPhone since the iPhone X features some form of Portrait mode, but you need to select it in the camera before you can use it.
If you’re new to iPhone photography, here’s an explanation of what Portrait mode does, how to use it, and how to edit Portrait mode photos to perfection.
Related:
- Open iPhone Camera to Portrait Mode Automatically
- Live Photos on iPhone, a Complete Guide
- 7 Tips to Get the Most From Your iPhone 11 Pro Camera
Contents
What Is Portrait Mode?
Portrait mode on the iPhone creates a depth-of-field effect that blurs the background of your photo while keeping the subject in sharp focus. This is also known in photography as bokeh.
The result is a professional-looking photo that lets your subject—be it a person, a pet, or an object—pop out from the background.
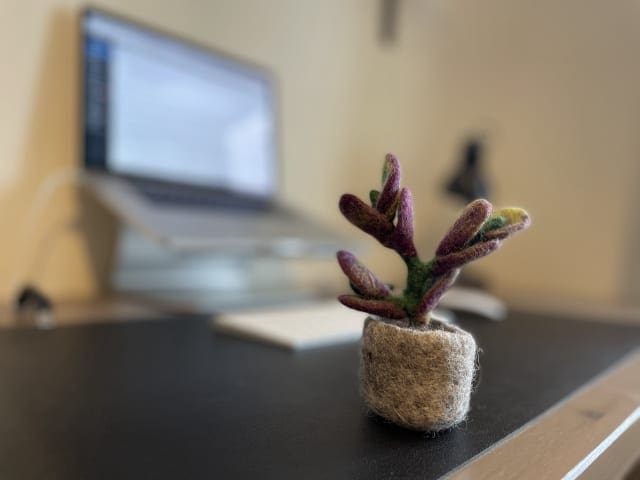
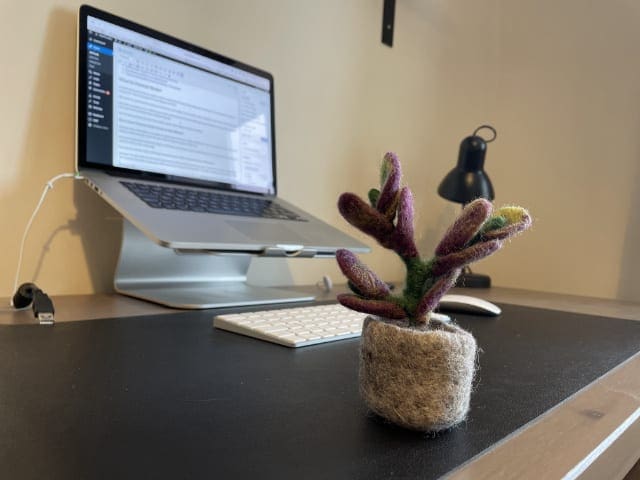
Typically, you need to use a DSLR camera with a particular lens to get the right aperture for this effect, which is why we associate it with professional portrait photography.
But Portrait mode lets you take these stylish photos with nothing else but your iPhone.
How Does Portrait Mode Work on the iPhone?
Portrait mode on the iPhone uses software algorithms to fabricate a depth-of-field effect. This is in contrast to professional DSLR cameras which naturally create the same effect through the aperture of the lens.
Because Portrait mode creates the depth-of-field effect from scratch, you can actually make it more or less intense by dragging an aperture slider in the camera app.
You can even edit the depth of field after taking the photo, which is impossible with a DSLR camera.
However, the downside is that Portrait mode doesn’t always perfectly analyze your photo. Sometimes it struggles to distinguish the foreground from the background, which might lead to strange blurring effects. You might even find that clear objects go completely blurry in Portrait mode, like the glass below.
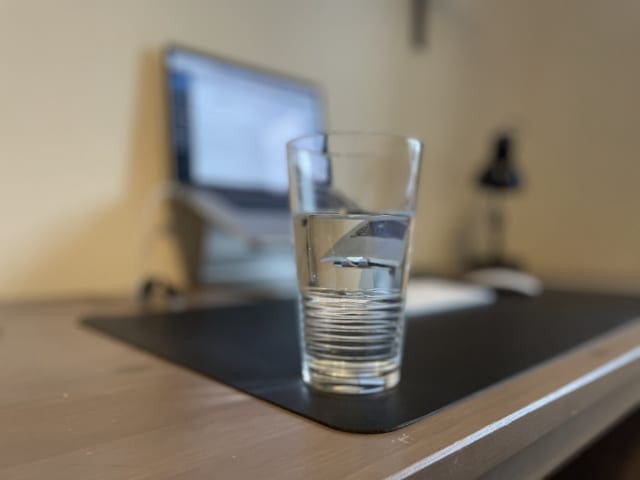
Still, for the most part, Portrait mode is impressively accurate. It’s particularly good at recognizing people’s faces, which is what Apple designed the iPhone feature to do in the first place.
Portrait Mode Doesn’t Work With Live Photos
Live Photos capture a glimpse of video on either side of your picture to inject life into your photo library.
Unfortunately, photos you take in Portrait mode on your iPhone don’t save as Live Photos. Hopefully, Apple will change this in the future, but for the time being, you need to choose whether to capture a Live Photo or a Portrait photo before hitting the shutter button.
Which iPhones Have Portrait Mode?
Not every iPhone works with Portrait mode. Even if your iPhone does have Portrait mode, it might offer slightly different features to what you get with other iPhone models.
Here’s a list of every iPhone that offers Portrait mode in some form or another:
- iPhone 12, iPhone 12 mini, iPhone 12 Pro, and iPhone 12 Pro Max
- iPhone SE (2nd generation)
- iPhone 11, iPhone 11 Pro, and iPhone 11 Pro Max
- iPhone XR, iPhone XS, and iPhone XS Max
- iPhone X
- iPhone 8 Plus
- iPhone 7 Plus
The iPhone 8 Plus and iPhone 7 Plus can only use Portrait mode from the rear-facing camera. Whereas every iPhone from the iPhone X onward can use Portrait mode on the rear- and front-facing cameras.
The iPhone 8 Plus and iPhone 7 Plus also don’t work with Portrait lighting effects, which are available on every iPhone from the iPhone X onward.
Every iPhone can use Portrait mode with the standard wide lens (1x zoom) or with the telephoto lens (2x zoom), if your iPhone has one. Unfortunately, you can’t use Portrait mode with the ultra-wide lens (0.5x zoom).
The iPhone XR and the iPhone SE (2nd generation) must detect a face to use Portrait mode. That means you can’t use it with objects or animals on these phones.
How to Use Portrait Mode on Your iPhone
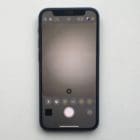
Taking a Portrait mode photo on your iPhone is easy. All you need to do is open the camera and swipe to select Portrait next to the shutter button at the bottom or at the side of the screen.
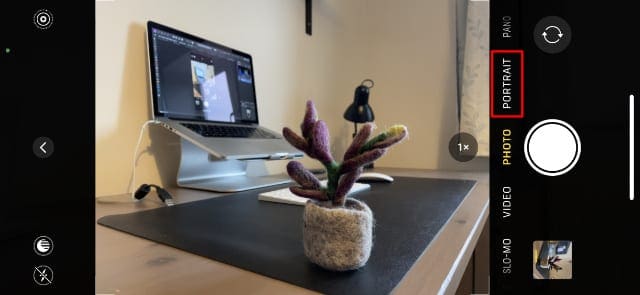
If you don’t see this option, make sure your iPhone offers Portrait mode and you aren’t using the ultra-wide lens (0.5x zoom). You can also make your camera open on Portrait mode by default.
After selecting Portrait mode, frame up your shot and wait for your iPhone to analyze the image. If Portrait mode can’t analyze your image for any reason, you’ll see one of the following messages:
- Move further away.
- Place subject within 8 feet.
- More light required. Flash may help.
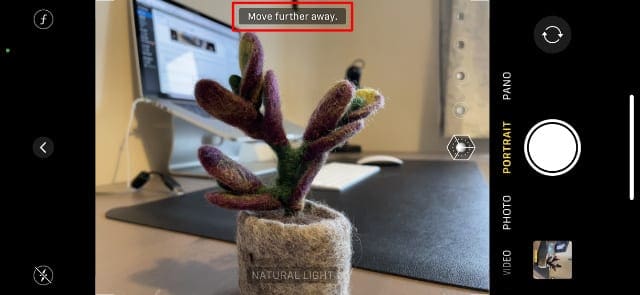
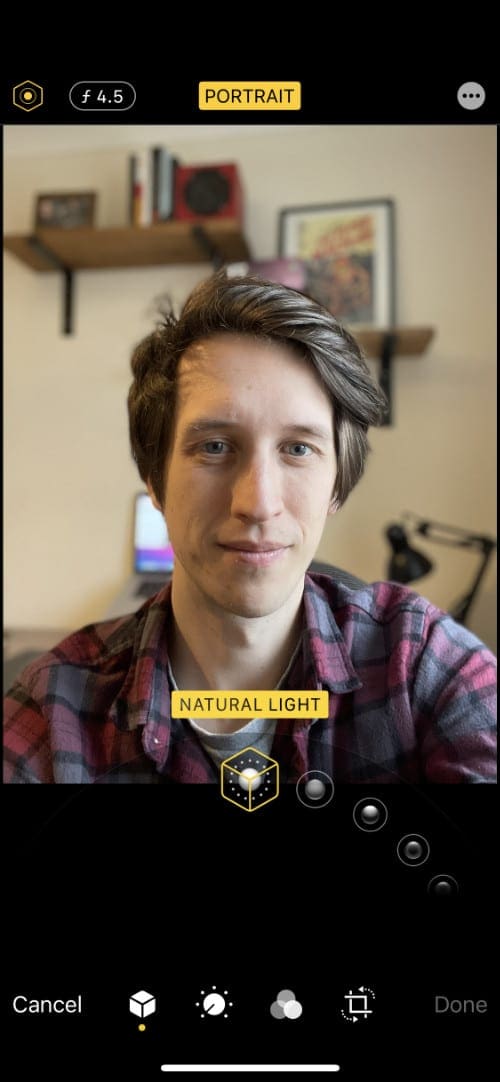
When Portrait mode is ready, the name of the current lighting effect (Natural Light by default) turns yellow. Tap the white Shutter button to snap your Portrait mode photo.
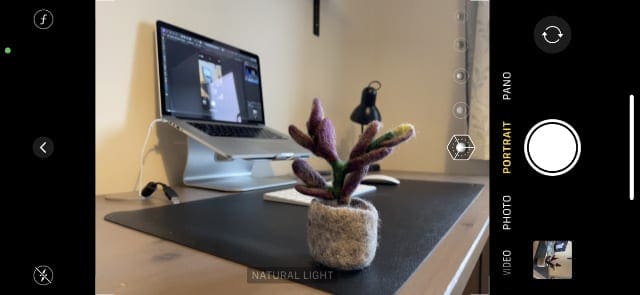
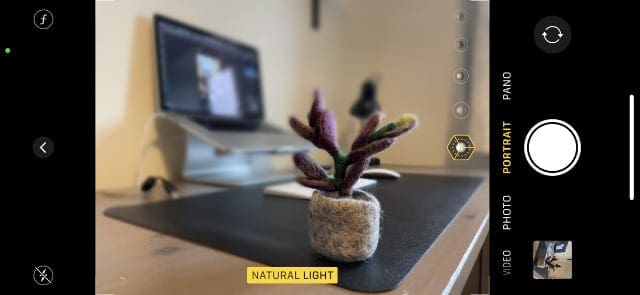
Portrait mode looks best if you frame your subject in front of a detailed background, like a bush or a busy street. This way, it’s obvious the background is blurred, which isn’t the case in front of a blank wall.
You should also make sure your subject isn’t too close to the background. Otherwise, Portrait mode might struggle to separate the foreground and the background.
Change the Depth of Field
Before taking your Portrait photo, you might want to edit the depth-of-field setting to change how blurry the background is.
To do so, tap the f button in the top-right corner of the camera, then move the slider at the bottom of the screen.
This slider relates to the f-stop of the camera. The lower the number, the greater the depth of field, which means the background is more blurry. If you want to make the background less blurry, select a higher f-stop number. You might want to do this if the edges of your subject start to go blurry.
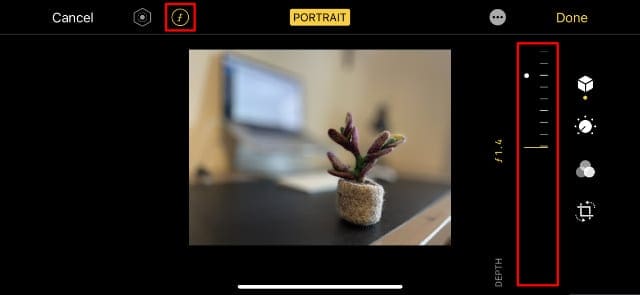
You can also change the depth of field from the editing options after taking a Portrait mode photo.
Choose a Portrait Lighting Effect
You can use lighting effects to further enhance your Portrait mode iPhone photos. These effects use software algorithms to create different lighting options on your subject’s face, based on popular lighting setups in photography studios.
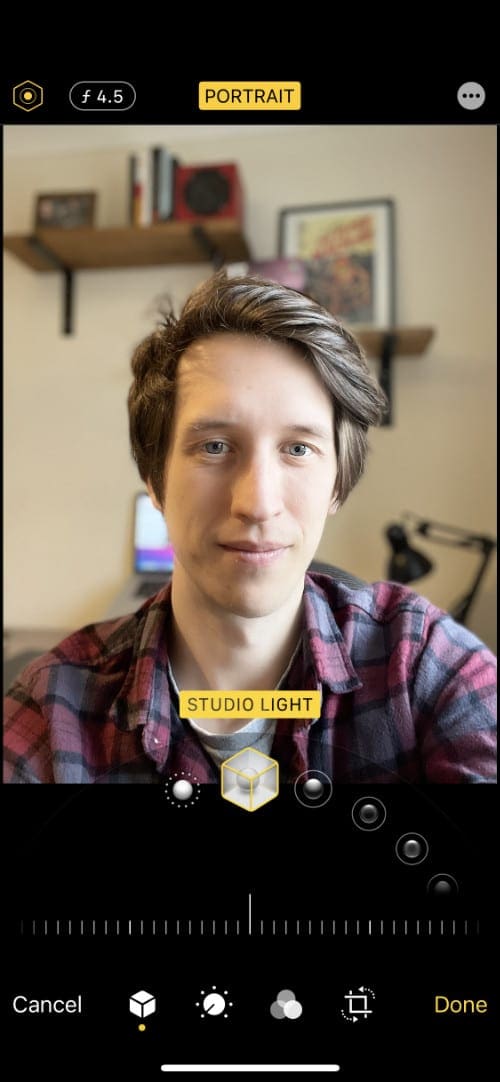
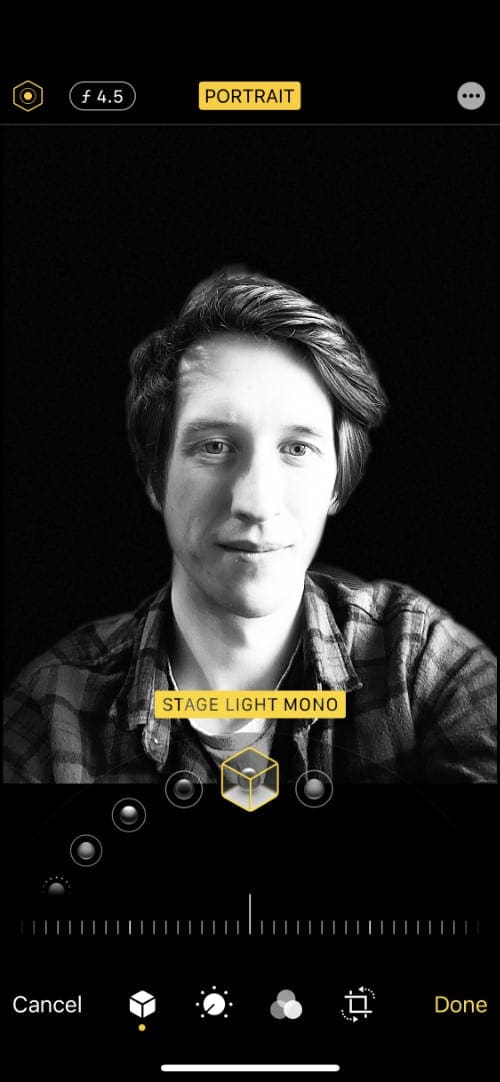
Swipe across the cube icon at the bottom of the camera screen to choose between the following lighting effects:
- Natural Light: No additional lighting effects are added.
- Studio Light: Facial features brighten to mimic photo studio lights.
- Contour Light: Sharper lighting creates dramatic highlights and lowlights.
- Stage Light: Imitate a spotlight and plunge the background into darkness.
- Stage Light Mono: The same as Stage Light, but in black and white.
- High-Key Light Mono: Create a white background with a black and white subject.
Note: iPhone XR users can only use Stage Light, Stage Light Mono, and High-Key Light Mono with the front-facing camera.
After adding a lighting effect, tap the hexagon icon in the top-right corner to change the intensity. A lower intensity creates a subtler lighting effect, while higher intensities makes a bigger difference to your photo.
You can also edit or add lighting effects from the editing options after taking your Portrait mode photo.
Edit Portrait Settings After Taking the Photo
One of the best aspects of Portrait mode on the iPhone is the fact you can edit all your Portrait settings after taking the photo. That way, you’re free to focus on capturing the perfect photo in the moment knowing you can tweak the settings later.
Just make sure you select Portrait mode in the camera app before you take the photo.
To edit your Portrait settings, select the photo in the Photos app and tap Edit. Select the cube icon at the bottom or at the side of the screen to view your Portrait settings.
Disable Portrait mode entirely by tapping Portrait at the top of the screen—you can always enable it again later. Use the hexagon icon and the f icon to change the lighting effect and the depth of field respectively.
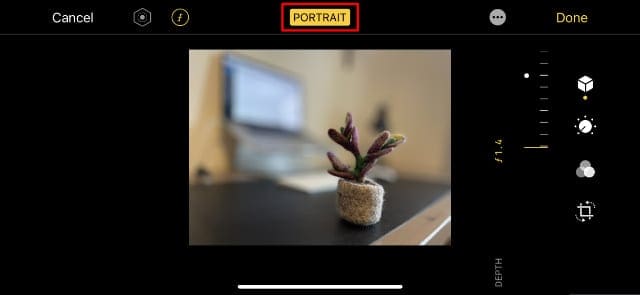
Of course, you can also use all the standard iPhone editing tools, like adjustments, filters, and cropping.
When you’re finished, make sure you back up your iPhone or sync with iCloud Photos to keep your edited photos well protected.

Dan writes tutorials and troubleshooting guides to help people make the most of their technology. Before becoming a writer, he earned a BSc in Sound Technology, supervised repairs at an Apple Store, and even taught English in China.




I cannot get this to work. When I go to take a picture it just says, “No person detected”. That’s because I’m not wanting a photo of a person, I want a photo of my products I’m selling. Why doesn’t this work?
using iPhoneXR, I cannot get this to work. When I take a picture of an object in portrait mode and go to Photos, tap edit, the display does NOT show portrait mode in yellow, or slider to adjust depth. What am I missing?
Thanks