Now that iOS 16 is available for the masses, we decided to take some time and round up some of the best tips and tricks for you to take full advantage of what Apple’s latest software has to offer. This list is rather long, as we try to cover as many iOS 16 tips and tricks as are currently available. If there’s something important that we missed, don’t hesitate to let us know!
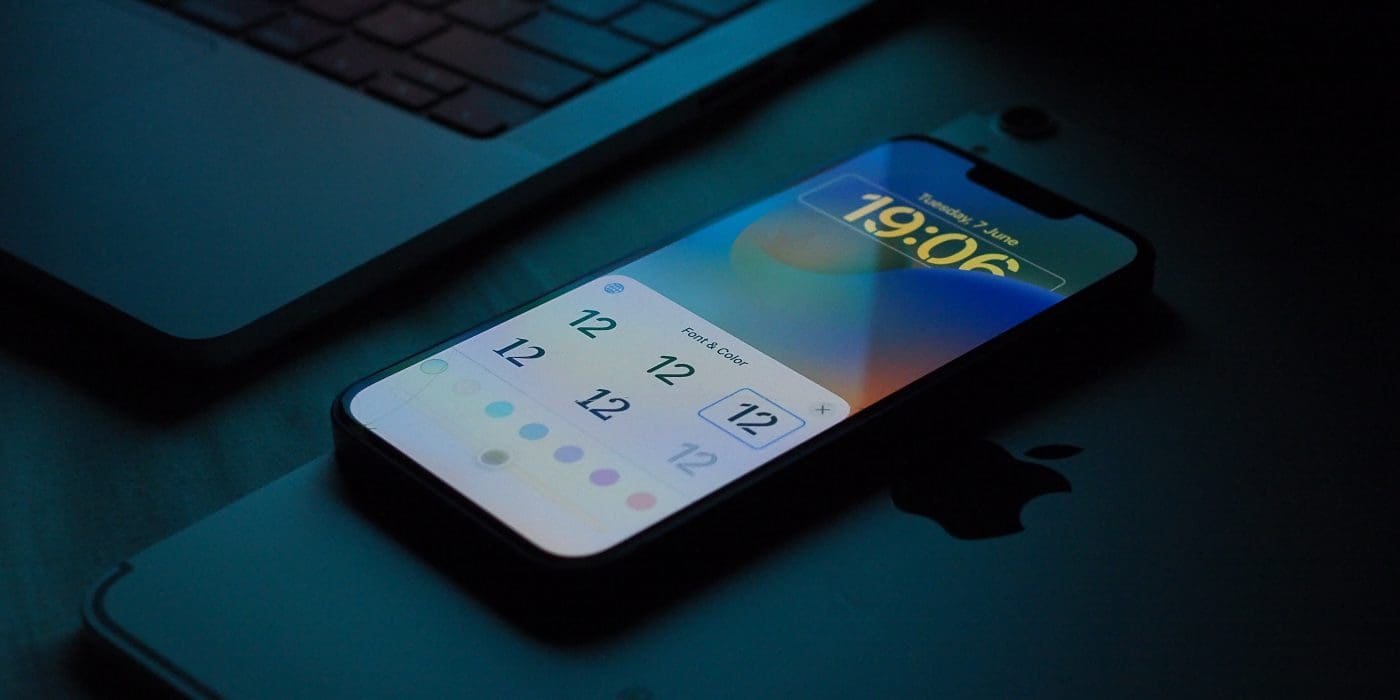
It seems that Apple is finally letting down the walled garden a bit for iPhone users. At least when it comes to customization, as iOS 16 introduces a completely overhauled Lock Screen experience. Because there are so many different options and steps to take when customizing your lock screen, here are some of the articles that you should check out, starting with the first one:
Notifications themselves have also been revamped with iOS 16. Instead of going for an all-or-nothing approach, you can actually (and finally) hide notifications on iPhone Lock Screen in iOS 16. It’s a bit different than the granular notification settings that we can already tweak. So let’s dive a bit further into how to hide those non-stop notifications from appearing.
Open the Settings app on your iPhone.
Scroll down and tap Notifications.
At the top of the page, tap Display As.
Select one of the following:
Count
Stack
List
Tap the < Notifications button in the top right corner.
iOS 16 Tips and Tricks: Messages
Edit Text Messages
If you find yourself in an awkward situation with a message you didn’t mean to send or a comical typo, here’s how you can edit messages on your iPhone:
Open the Messages app on your iPhone.
Select the conversation from the list on the main screen.
Locate the message that you want to edit.
Long-press the message.
From the drop-down menu, tap Edit.
Make the necessary changes to the message.
Tap the blue checkmark icon to the right of the bubble.
Unsend Text Messages
Compared to the other features coming to iOS 16 later this year, it may not really seem like Messages and iMessage got much attention. But that couldn’t be further from the truth as you can unsend messages. This has been a long-requested feature for Apple’s Messages app, and it’s actually surprising to see it arrive.
Open the Messages app on your iPhone.
Select the conversation from the list on the main screen.
Locate the message that you want to unsend.
Long-press on the message.
When the drop-down menu appears, tap the Undo Send button.
Mark Messages as Unread
One useful feature coming to Messages with iOS 16 is the ability to mark messages as unread on iPhone. And the best part about it is that there aren’t any weird hoops that you need to jump through. Here’s how you can mark messages as unread on iPhone with iOS 16:
Open the Messages app on your iPhone running iOS 16.
Locate the message thread that you want to mark as unread.
Slide from left to right across the message thread.
When the blue icon appears, tap the button.
You can also continue swiping all the way to the right edge until the blue dot appears next to the message thread.
Make Multiple Stops with Apple Maps
Open the Apple Maps app on your iPhone.
Tap the Search Maps search box.
Enter an address for one of your destinations.
From the route preview, tap Add Stop.
Enter the address for another destination.
Repeat these steps if necessary.
Tap the GO icon.
When you’ve added multiple stops within Apple Maps, you can also rearrange the order for your directions. Simply grab the three horizontal lines to the right of the destination. Then drag and drop it accordingly in the list of destinations.
iOS 16 Tips and Tricks: Set up My Sports in Apple News
Open the Apple News app on your iPhone.
Tap Today in the bottom toolbar.
Swipe up until you reach the My Sports section.
Tap the Get Started button.
When prompted, tap Turn On to allow syncing between Apple News and the Apple TV app.
From the Manage My Sports screen, tap the + icon next to the sports, teams, and leagues you want to follow.
iOS 16 Tips and Tricks: Use Live Text in Videos
Live Text is a feature introduced last year that allows you to select text in images. That includes the viewfinder of your iPhone camera, any photo in the Photos app, and images online.
In iOS 16, Apple is expanding this feature to work in videos. This is impressive, though it works about the same as it did before. Just pause a video and start selecting text in the video.
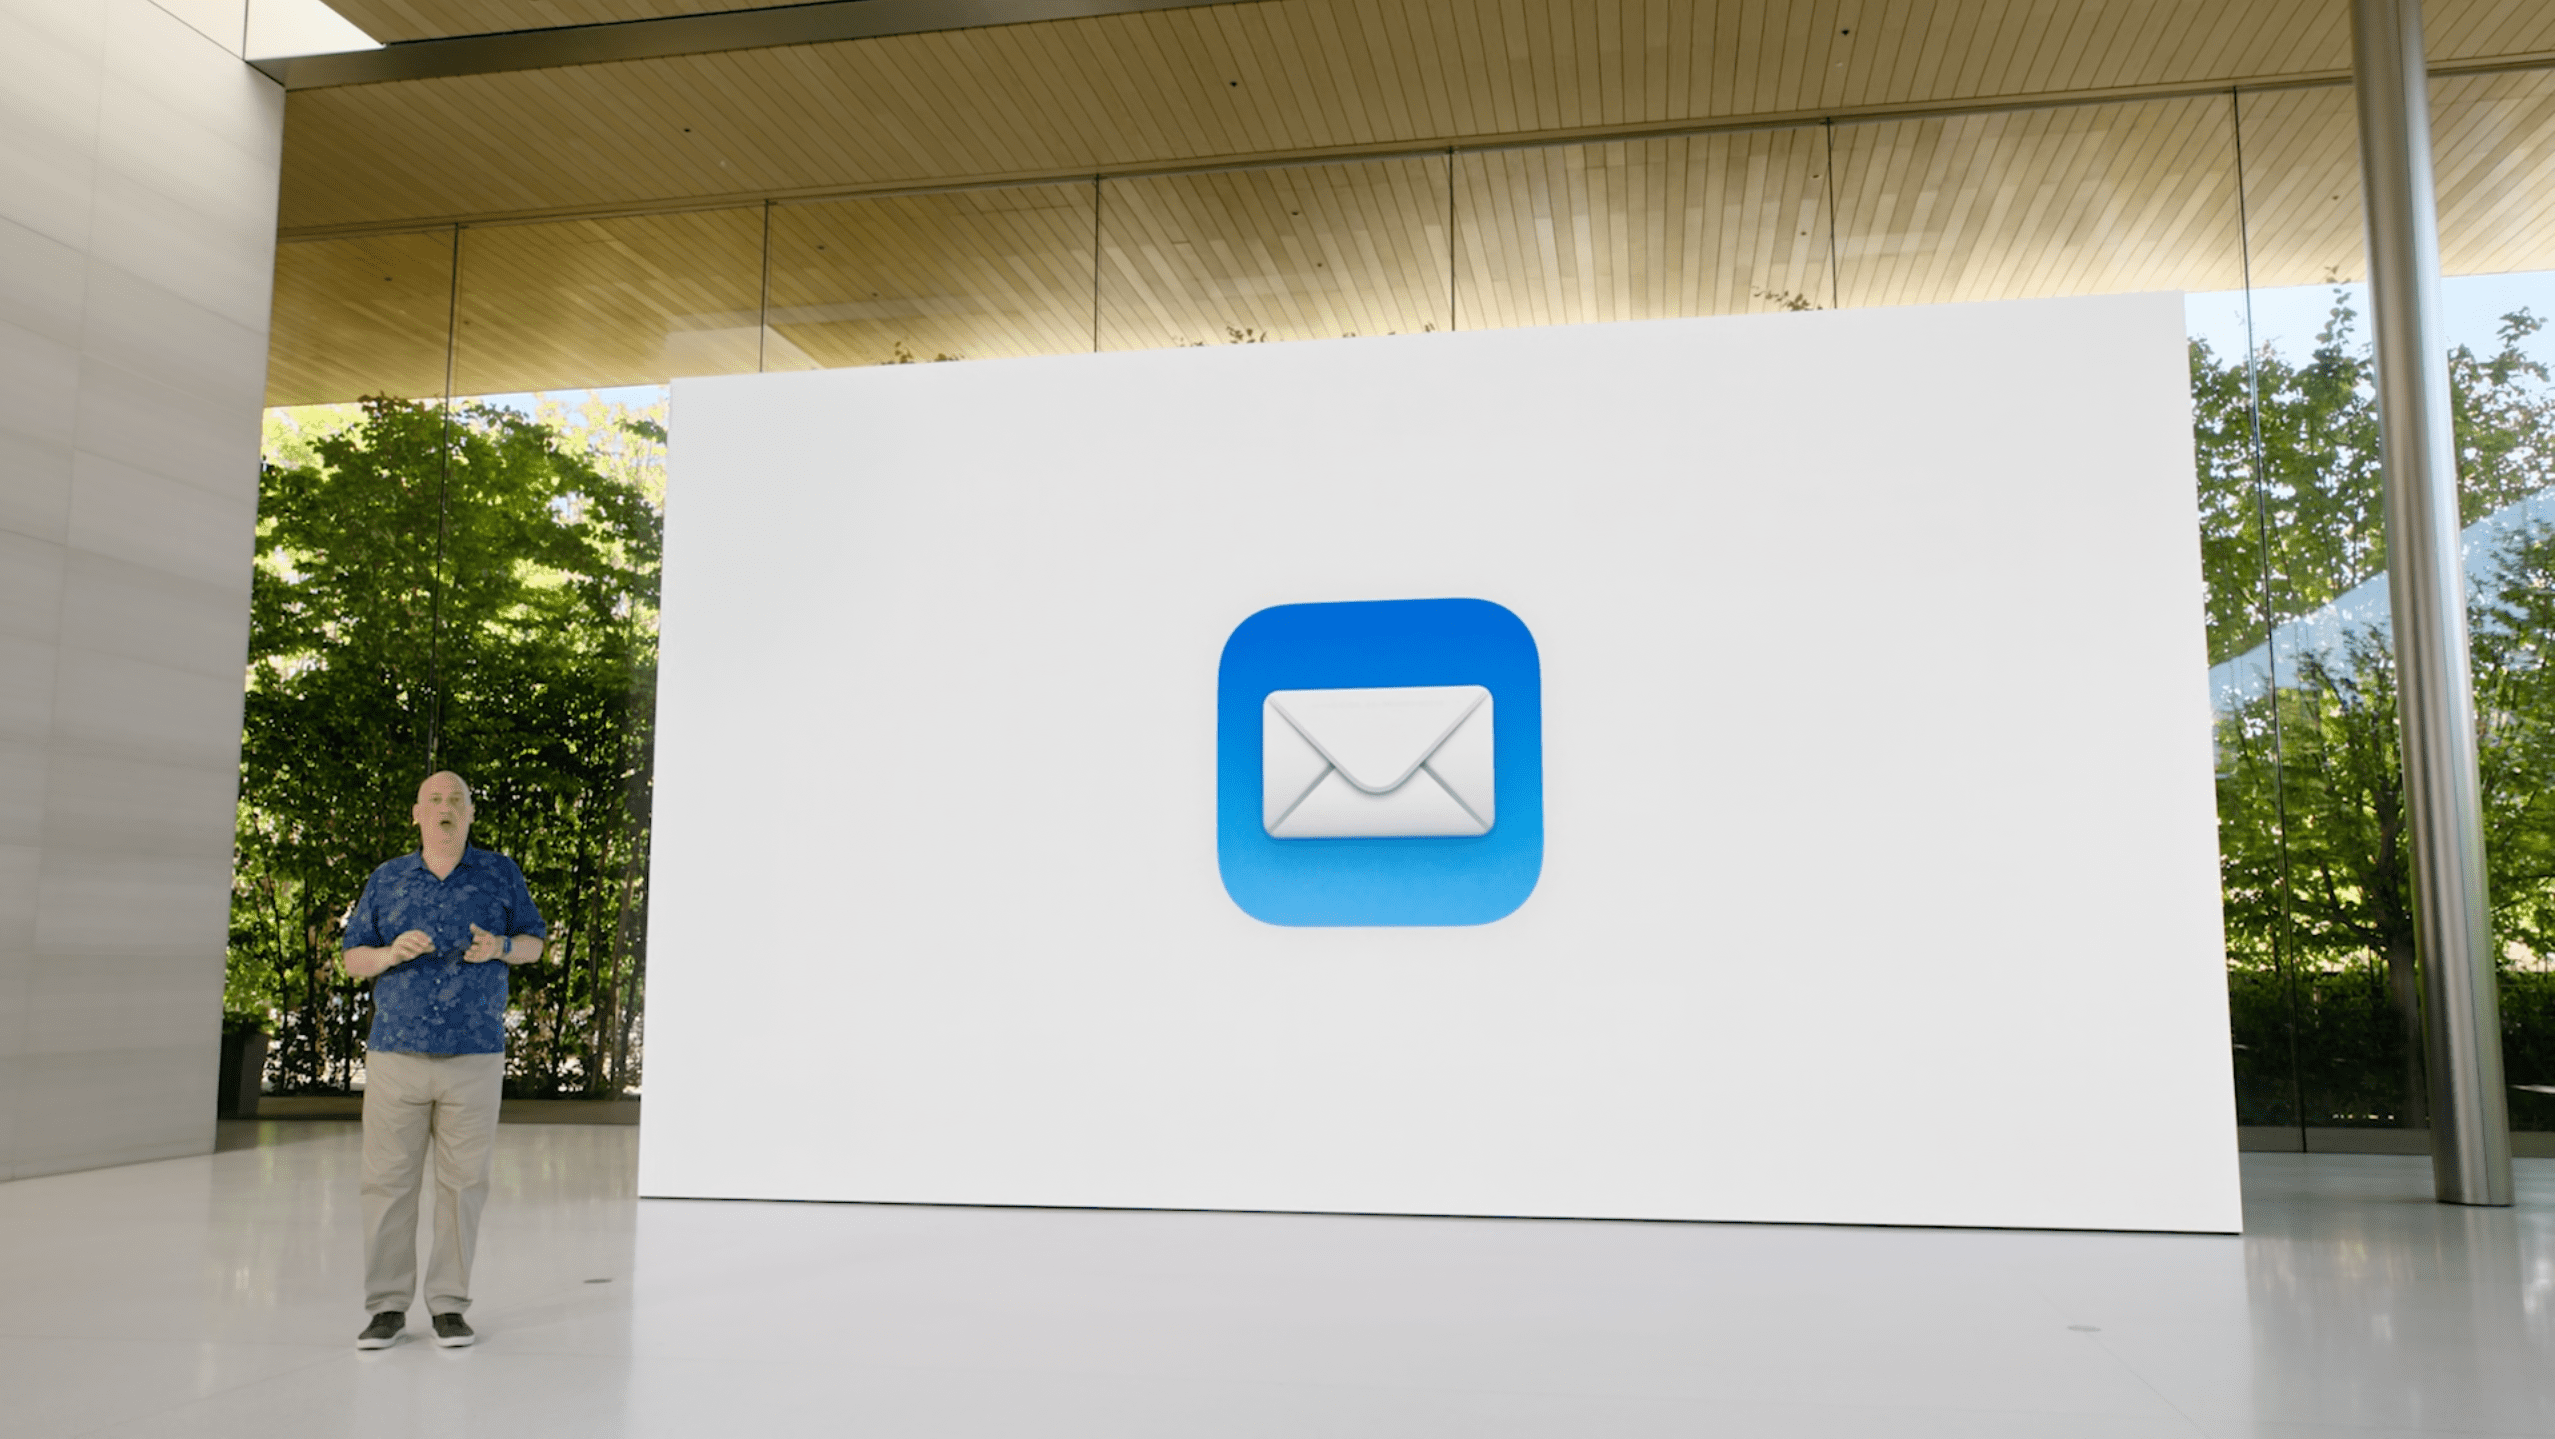
iOS 16 Tips and Tricks: Apple Mail
Schedule Emails Using Apple Mail
Once you’ve downloaded iOS 16 on your iPhone, scheduling emails takes very little effort. After signing into the Mail app with your preferred email address, follow the instructions listed below.
Go to the new email icon in the bottom right-hand corner of your screen.
Enter your email recipient and fill in the subject line, along with composing the message you wish to send.
Hold onto the send message icon; a menu will appear soon after.
Choose your preferred sending method. If you pick Send Later at the bottom, you can choose exactly when you want the message to go out. Hit Done when you’re finished.
Unsend Emails in Apple Mail
Just like with if you need to unsend texts in the Messages app, there’s a short time frame that you have before the email is sent anyways. But unlike unsending messages, you have about than 10 seconds to unsend email or you’ll have to deal with a potentially awkward situation. Here’s how to unsend email on iPhone:
Open the Mail app on your iPhone.
Compose and send an email from your iPhone.
As soon as you hit the Send button, look at the bottom of the screen.
Tap the Undo Send button.
Tap Cancel in the top left corner.
Be Reminded Of Emails in Apple Mail
Open the Mail app on your iPhone.
Locate and select the email that you want to be reminded about.
Tap the Reply button in the bottom toolbar.
Scroll down and tap Remind Me.
Choose one of the following options:
Remind Me in 1 Hour
Remind Me Tonight
Remind Me Tomorrow
Remind Me Later… (Custom Data and Time)
Tap Done in the top right corner.
Custom Email Domains With iCloud+
Thanks to some eagle-eyed users, it was discovered that Apple introduced the ability to purchase a custom email domain right from your iPhone. And we aren’t talking about just going through Safari. Instead, you can buy custom email domains on iPhone, right from the Settings app. Here’s how to do so:
Open the Settings app on your iPhone.
Tap your [name] at the top of the page.
Tap iCloud.
Under the iCloud+ section, tap Custom Email Domain.
Beneath Custom Email Domain, tap Buy a New Domain.
Enter a domain that you would like to try and purchase.
With the URL entered, tap Next in the top right corner.
Select one of the options provided.
Tap Next in the top right corner.
From here, you’ll be taken to the Cloudflare Dashboard. If you already have a Cloudflare account, you can just sign in. Otherwise, you can use the Continue with Apple option that is presented.
Then, you’ll just need to follow the on-screen steps in order to complete the purchase of your custom domain. You will need to create an account, along with adding the necessary payment information.
Find and View Your Wi-Fi Password
Open the Settings app on your iPhone.
Tap Wi-Fi at the top.
Locate the Wi-Fi network that you want to view the password for.
Tap the i button to the right of the Wi-Fi network.
Tap Password.
When prompted, use Face ID or your passcode to authenticate.
Once authenticated, the Wi-Fi network’s password will be viewable in plain text. Additionally, a pop-up box appears above the password allowing you to quickly copy the password.
Enable Haptic Feedback
Once the feature is enabled, you can open another app or place your cursor in a text field, and start typing. With every tap of the screen, your iPhone will slightly vibrate, providing confirmation that the key was actually pressed.
Open the Settings app on your iPhone.
Scroll down and tap Sounds & Haptics.
Scroll down and tap Keyboard Feedback.
Tap the toggle next to Haptic.
Exit the Settings app.
iOS 16 Tips and Tricks: Apple Notes
Use Quick Notes on iPhone
Open Safari on your iPhone.
Navigate to a website that you might want to save for later.
Tap the Share Sheet icon in the bottom toolbar.
Scroll to the bottom of the Share Sheet.
Tap Edit Actions…
Under Safari, tap the + button next to Add to Quick Note.
Drag the three vertical lines next to the action to move it up or down the list of available actions.
Tap Done in the top right corner.
Lock Notes With A Passcode
Open the Settings app on your iPhone or iPad.
Scroll down and tap Notes.
Tap Password.
If using this setting for the first time, you’ll see a new prompt appear.
Tap either Use iPhone Passcode or Create Password.
Authenticate the changes using the method offered (Face ID, Passcode, or Touch ID).
Smart Folders in Apple Notes
Open the Notes app on your iPhone or iPad.
Tap the < Folders button in the top left corner.
In the bottom left corner, tap the New Folder button.
Select either On My iPhone or iCloud.
This will determine whether your folder syncs over iCloud or if it remains local on your iPhone or iPad.
Enter a name for the folder.
Tap the Make Into Smart Folder button below the entered name.
Select the filters that you want to use to create the Smart Folder.
Tap the all button at the top and select all or any.
In the top right corner, tap the Done button.
With the Smart Folder created, you can now access it by heading to the Folders section in the Notes app. The Smart Folder appears in the same list as the rest of your folders. In an effort to differentiate the Smart Folders from the “regular” ones, these new folders show a “gear icon” to the left as opposed to the traditional folder icon.
Reminders
Pin Lists For Quick Access
Open the Reminders app on your iPhone.
Locate the list that you want to pin under the My Lists section.
Swipe from left to right on the specific List.
Tap the yellow Push Pin button.
Create Templates
Open the Reminders app on your iPhone or iPad.
Tap Add List in the bottom right corner.
Enter a name for the list.
Tap the icon to change the icons and change the color.
In the top right corner, tap Done.
Under My Lists, select the list that you just created.
Tap the + New Reminder button in the bottom left corner.
Add a reminder (or several) to the list.
Tap the Ellipsis (…) icon in the top right corner.
From the drop-down menu, tap Save as Template.
When prompted, tap the Save button in the top right corner.
Custom Smart Lists
Open the Reminders app.
Tap Add List in the bottom right corner.
Set the name for your list.
Change the lists’s icon and color, if you want.
Tap Make into Smart List.
Go through and select the filters for reminders that will appear in the Smart List.
Date
Time
Location
Flag
Priority
Tags
Tap Done in the top right corner.
Tap Done again to create the Smart List.
Lockdown Mode
Open the Settings app on your iPhone or iPad.
Scroll down and tap Privacy & Security.
Scroll all the way to the bottom until you reach the Security section.
Tap Lockdown Mode.
Tap the Turn On Lockdown Mode button.
On the next page, tap the Turn On Lockdown Mode button at the bottom.
Confirm by tapping the Turn On & Restart button.
Use Nintendo Joy-Cons With iPhone
Open the Settings app on your iPhone.
Tap Bluetooth.
Press and hold the Pairing button on the Nintendo Joy-Con.
Once the light begins to flash, look under Other Devices on your iPhone.
Select the name of your Joy-Cons from the list of options.
iOS 16 Tips and Tricks: Photos
iCloud Shared Photo Library
For those who want to use iCloud Shared Photo Library, there’s a bit of a setup process to follow in order to get everything working properly. There isn’t a magic button that just appears in the Photos app, but instead, you’ll actually need to manually go through the process of creating the Shared Photo Library and adding contacts. Here’s you can set up and use iCloud Shared Photo Library:
Open the Settings app on your iPhone.
Scroll down and tap Photos.
Under Library, tap Shared Library.
Tap the Start Setup button.
If you want to add people to the library now, tap the Add Participants button.
Select up to five contacts that you want to add.
Tap the Continue button.
Choose one of the following options:
All My Photos and Videos
Choose by People or Date
Choose Manually
Once selected, tap the Continue button.
If you want to invite non-family members to your Shared Library, tap the Add Participants button.
Select the contacts that you want to add.
Tap the Invite via Messages button.
Select one of the following options if you want to enable Share from Camera.
Share Automatically
Share Manually Only
Tap the Done button.
And that’s it! Now your iCloud Shared Photo Library has been set up, making it easier than ever to share those precious moments with the people closest to you.
Copy and Paste Photo Edits
We’ve already covered the steps needed to take if you want to remove the background from pictures on your iPhone. However, did you know that iOS and iPadOS 16 also introduce the ability to copy and paste photo edits on iPhone and iPad? This is absolutely fantastic for those who want to make sure that their images are styled in a consistent manner, before sharing them with the rest of the world. Here’s how to copy and past photo edits on iPhone and iPad:
Open the Photos app on your iPhone or iPad.
Locate and open the first image that you want to edit.
In the top right corner, tap the Edit button.
Go through and make any of the edits to the image that you need to make. This includes the following options:
Auto
Exposure
Brilliance
Highlights
Shadows
Contrast
Brightness
Black Point
Saturation
Vibrance
Warmth
Tint
Sharpness
Definition
Noise Reduction
Vignette
Once the edits have been made, tap the three horizontal dots in a circle in the top right corner.
From the menu that appears, tap Copy Edits.
Tap the Done button in the bottom right corner.
Locate and select the image that you also want to edit.
Tap the three horizontal dots in a circle in the top right corner.
From the menu that appears, tap Paste Edits.
Once the edits have been applied, tap the Done button in the bottom right corner.
Repeat the process for any additional images that you wish to edit.
After just a moment, you’ll see your old image spring to life with all of the edits that you previously made. But what if you want to make edits to multiple photos at the same time? Well, it’s definitely possible, and here’s how:
Follow the steps above to edit the first image and copy those edits.
Go back to the main Photos app.
Locate the images that you wish to paste photo edits onto.
In the top right corner, tap Select.
Select the images that you want to edit.
Once selected, tap the three horizontal dots in a circle in the bottom right corner.
From the menu that appears, tap Paste Edits.
Wait until the progress dialog box disappears.
Merge Duplicate Photos
Open the Photos app on your iPhone or iPad.
In the bottom toolbar, tap Albums.
You might need to tap < Albums in the top left corner to go to the main screen.
Scroll down until you reach the Utilities section.
Tap Duplicates from the list of options.
Locate the images that you want to merge.
Tap the Merge button to the right of the images.
When prompted, tap Merge X Duplicates.
Lift A Subject Out of a Photo
As we mentioned, the process, if you wanted to remove background from pictures on iPhone, has not been very seamless. Apple’s implementation of this new “feature” has made it really easy to pull a subject out of a photo and place it in another app. Thanks to the Machine Learning prowess found in Apple’s processors, you can finally share funny pictures or create a work of art without jumping through a bunch of hoops.
Open the Photos app on your iPhone.
Locate and select the image that you want to remove the background from.
Long-press the subject of the photo.
Without removing your finger, open the app that you want to paste the subject into.
Let go of the subject to drop it into the app that you just opened.
There are a few things to be aware of when trying to go through this process. First, when you long-press the subject of a photo, there will be a subtle highlight animation that appears. This is done to let you know that the subject is being selected, and once that animation is complete, you can proceed with the rest of the steps listed above.
Additionally, you can’t exactly just copy the subject, open another app, and drop it in. Instead, you’ll need to either create a new note in the Notes app, compose an email in the Mail app, or make sure that the cursor is placed within the text input within the Messages app. Otherwise, you might end up needing to go through and repeat the steps listed above again in order to get everything working correctly.
iOS 16 Tips and Tricks: Safari
Skip CAPTCHAs When Browsing
Open the Settings app on your iPhone or iPad.
Tap [Your Name] at the top of the page.
Select Password & Security.
Scroll all the way to the bottom of the page.
Under Advanced, tap the toggle next to Automatic Verification to the On position.
Tap < Apple ID in the top left corner to save changes.
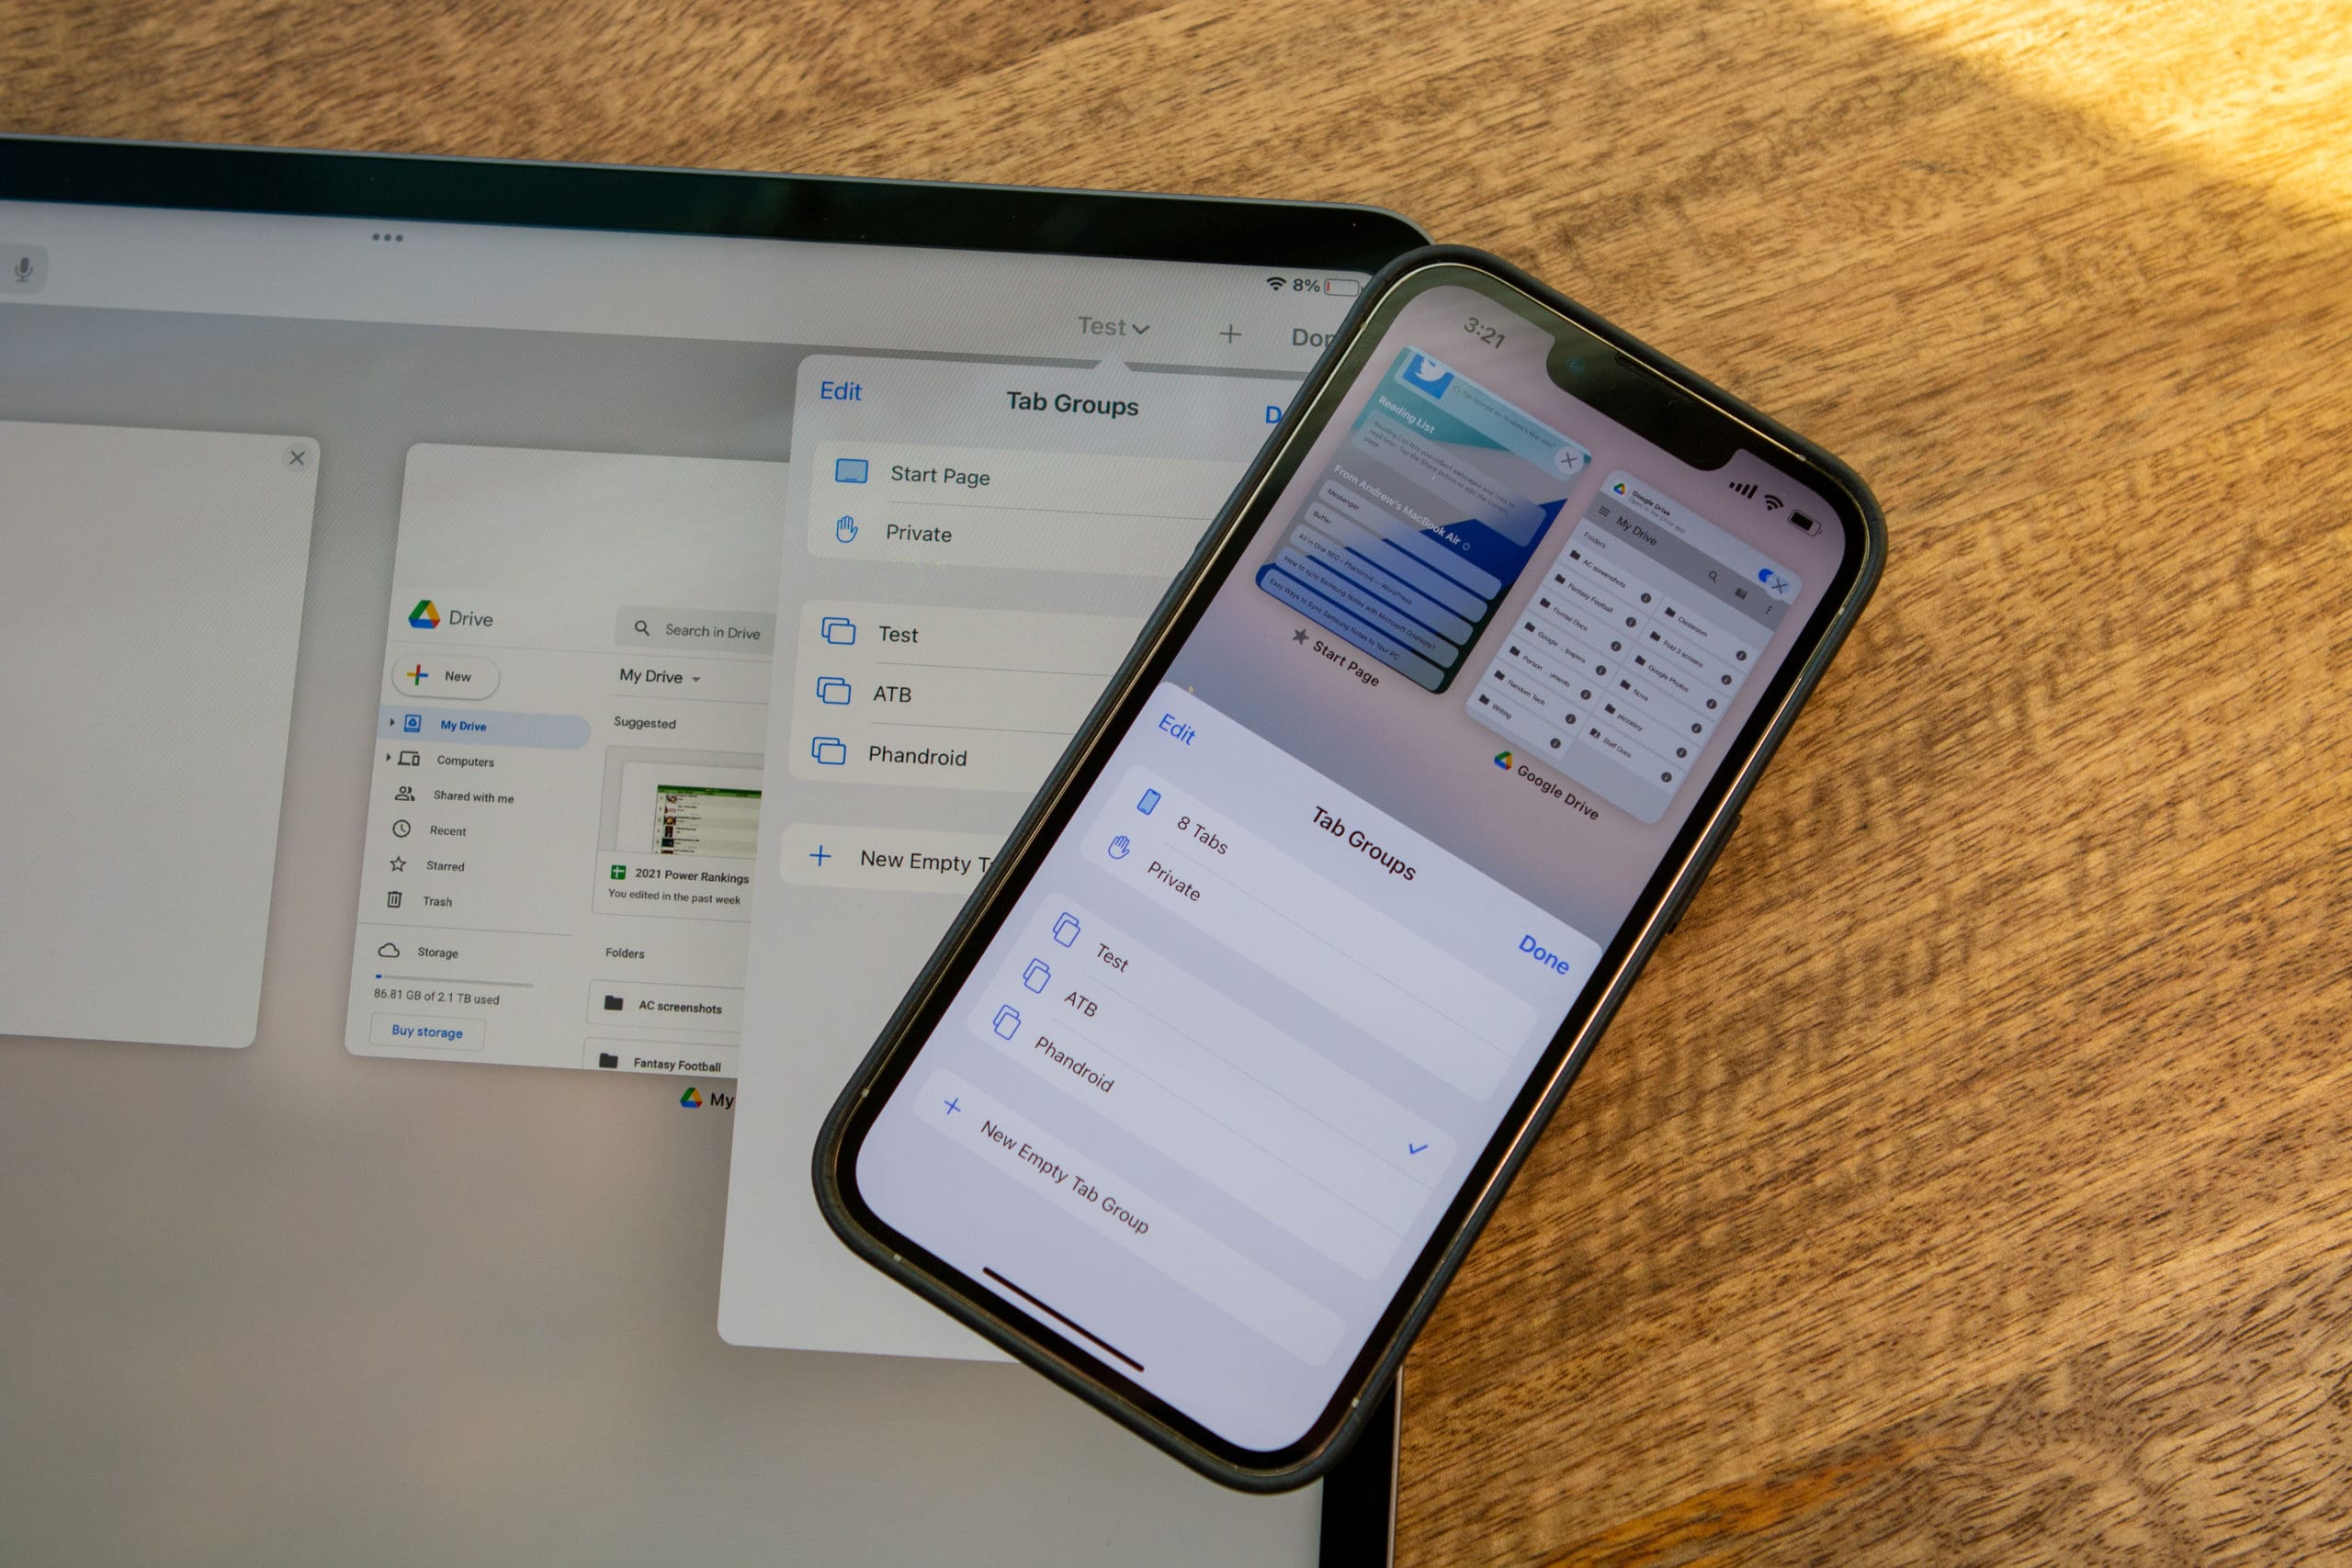
Share Tab Groups in Safari
Open up Safari and open all the tabs you want to copy.
Tap on the double rectangle on the bottom right corner of the screen, also known as the Safari tabs screen, which will show you all of your open tabs.
Tap on the dropdown button next to Tabs, which will have a number next to it depending on how many tabs you have open.
Long press on the tabs button (the first option, above Private), and you’ll see a list of the tabs you have open and the option to copy their links.
You’ll be able to share groups of Safari tabs, as the links have now been copied to your clipboard!
Set Favorite Tab Groups
Open the Safari app on your iPhone or iPad.
Tap the Open Tabs (two stacked squares) button in the bottom right corner.
Tap the ‘X Tabs’ button in the bottom toolbar.
Select your newly created Tab Group from the list.
Tap the + button in the bottom right corner.
Scroll to the bottom of the New Tab (Start) page.
Tap the Edit button.
From the Customize Start Page screen, tap the toggle next to Tab Group Favorites to enable the functionality.
Tap the X in the top right corner.
Scroll back to the top of the Tab Group Start Page.
Under [Tab Group Name] Favorites, tap the large + button.
Scroll through your list of bookmarks to add it as a Favorite.
Repeat the process if you want to add any other favorites to the Tab Group.
Pin Tabs in Safari
You might be wondering why you would want to pin Safari tabs on your iPhone and iPad. It makes a bit more sense when using the iPad, simply because you’re using a browser that is most similar to Safari on the Mac. But with the iPhone, the overall experience is a little bit different.
When you pin a tab in Safari, you’re actually pinning that website. Then, that tab will remain visible but just a bit smaller on the tab row of your browser window. Each time you close and reopen Safari, your pinned tab will be there, right where you left it, for quick access to the website.
Open the Safari app on your iPhone or iPad.
Navigate to the website that you want to pin.
Long-press the URL address bar at the bottom of the page.
Tap Pin Tab from the context menu that appears.
Transfer eSIM
You’ve also been able to transfer an eSIM between iPhones in the past, such as when you upgrade to a new version. But with iOS 16, Apple is making it possible to transfer an eSIM between iPhones using Bluetooth, as opposed to relying on Wi-Fi or other methods. Here’s how you can do so:
Open the Settings app on your new iPhone.
Tap Cellular.
Above the Cellular Data section, tap the Set Up eSIM button.
When prompted, tap the Transfer From Another iPhone button.
From there, you’ll be prompted to the next screen which provides the following message:
“To transfer a phone number from another iPhone, make sure your other iPhone is passcode protected, nearby, unlocked, has Bluetooth turned on, and is running iOS 16 or later.”
It’s pretty obvious from this message that Apple isn’t bringing Bluetooth transfer of eSIM to older versions of iOS.
Access Spotlight From Your Home Screen
While Spotlight has been available on the iPhone since 2009, it’s often forgotten as one of the staple features of your device. Some might not even know that this feature actually has a name, as it does so much more than just search for documents, apps, and other types of information that are stored on your iPhone.
With the update to iOS 16, Spotlight is getting even more love, as there’s an all-new icon that appears at the bottom of your Home Screen, above your Dock. Instead of just seeing a horizontal lineup of page indicators, you’ll instead see a “Search” icon.
In order to use Spotlight in iOS 16, all you’ll need to do is tap the icon, and you’ll be presented with a search panel. At the top, will be a list of “Siri Suggestions” with some of your most-used apps depending on the time of day or your location.
Select the Focus mode that you want to add a Focus Filter to.
Scroll to the bottom of the Focus mode settings.
Tap the Add Focus Filter button.
Select one of the following:
Calendar – Choose which calendars to show, and when. For example, have a work calendar that turns on only while working.
Mail – Filter your inbox by accounts to get the messages that matter. For example, silence work emails when you’re offline.
Messages – See only the messages you want to. For example, just see conversations with people you’ve allowed notifications from when you’re working.
Safari – Set a Tab Group to be used during this Focus.
DarkMode – Turn On
Low Power Mode – Turn On
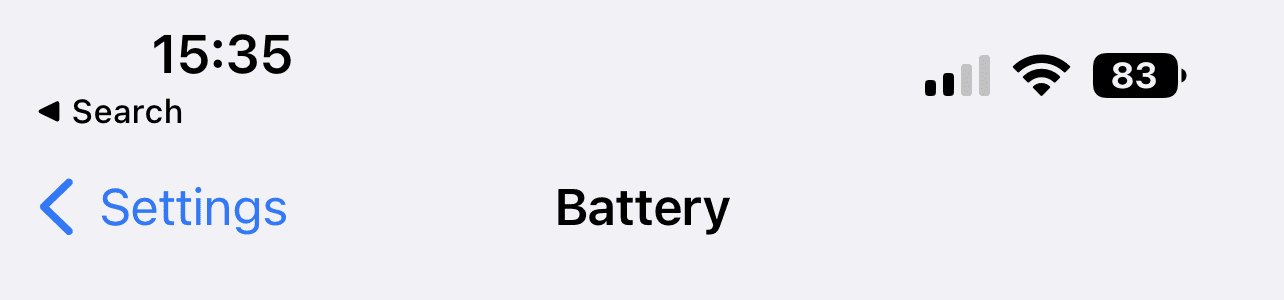
Enable Battery Percentage Indicator
With the release of iOS 16, Apple surprised everyone by re-introducing the ability to show your remaining battery percentage in the status bar. This was previously available before being removed with the iPhone X. However, despite being available for many devices, it wasn’t available for all iOS 16-compatible iPhone models. iOS 16.1 Beta 1 rectified this, even bringing it to the iPhone 12 mini and iPhone 13 mini.
Once the update comes to your iPhone, here’s how you can enable the Battery Percentage indicator.
From the X Duplicates Found prompt, tap View Duplicates.
Select a contact that has duplicate entries in the app.
Review the contact’s information.
Tap the Merge button at the bottom.
You can also tap the Merge All button at the bottom if you want to merge all of your duplicate contact information at once.
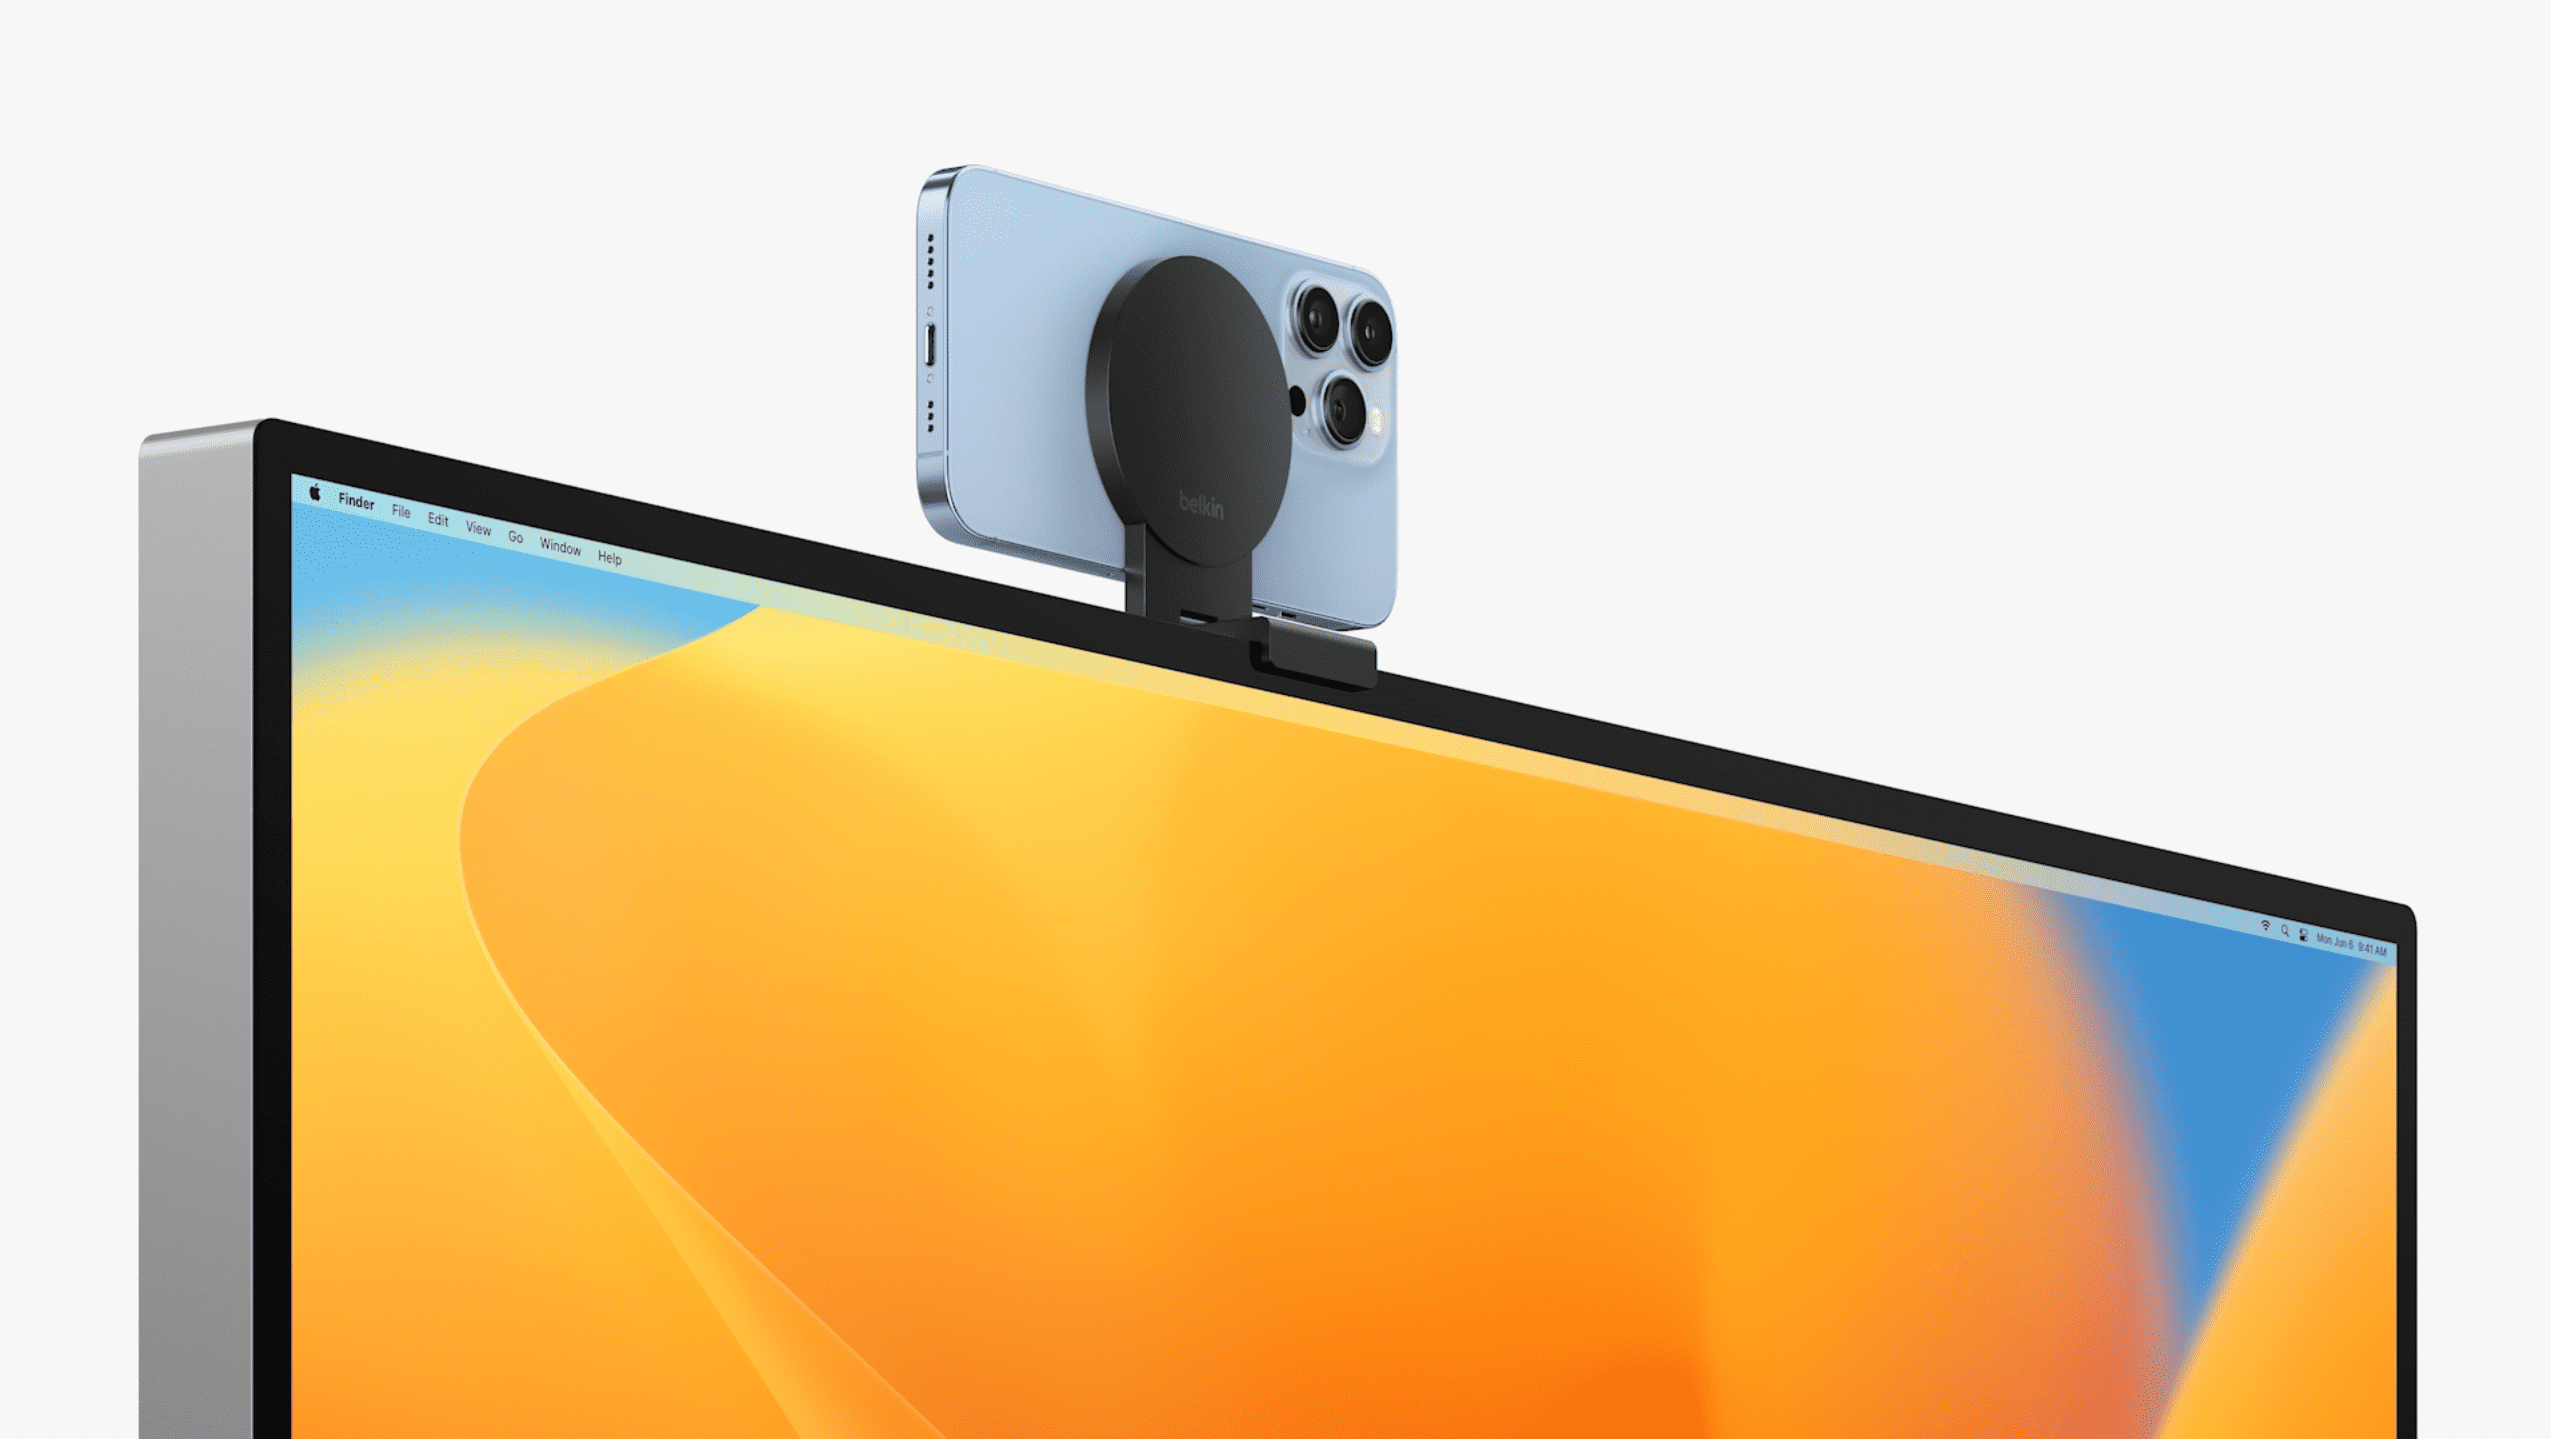
Use Your iPhone As a Webcam
Provided that your devices follow all of Apple’s requirements listed above, you can now use iPhone as webcam for Mac. By default, this feature is enabled, meaning that the next time you join a video call with your iPhone nearby, your Mac will automatically detect and use the iPhone as opposed to another webcam. However, in some cases, you might find that the feature is turned off, and here’s how you can enable Continuity Camera Webcam:
Open the Settings app on your iPhone.
Tap General.
Tap AirPlay & Handoff.
Next to Continuity Camera Webcam, tap the toggle to the On position.
Bring your iPhone close to your Mac.
Open any app that utilizes a camera, such as FaceTime, Zoom, or Google Meet. (This also works in a web browser).
With Continuity Camera Webcam enabled, all you should need to do at this point is make sure your iPhone and Mac are close together.
iOS 16 Tips and Tricks: Health
Use The Fitness App Without an Apple Watch
Download the Fitness app from the App Store (if it’s not already installed).
If necessary, enter the following pieces of information:
Date of Birth
Sex
Height
Weight
Once entered, tap the Continue button.
From the Your Daily Move Goal screen, set your daily goals based on “how active you’d like to be, each day”.
You can adjust Daily Move Goal with the + and – buttons on either side of the Calories/Day section.
Once entered, tap the Set Move Goal button.
Tap Continue.
When prompted, tap Allow or Don’t Allow to provide your notification preferences from the Fitness app.
Now that you have gone through the initial setup process for the Fitness app, there are a couple of things that you’ll want to do in order to make the most out of your experience.
Open the Fitness app on your iPhone.
From the main Summary page, there’s a Trends section that gives you different ideas on how you can stay active throughout the day.
Tap the Get Started button at the bottom of the section.
Tap OK after reading more about Activity Trends.
Throughout your day, you might see different suggestions appear, or receive notifications from the Fitness app. These all aim to help you achieve the goals that you set when going through the initial setup process.
Track Medications in Apple Health
While the steps below may seem a bit daunting, the truth is that Apple has made it very easy to add medications to the Health app. All it takes is following the steps on the screen, and adding the proper information when prompted. These steps will take you through the entire process to set up Medication Tracking on your iPhone:
Open the Health app on your iPhone.
Tap Browse in the bottom toolbar.
Select Medications in the list of Health Categories.
Tap the Add a Medication button.
Tap inside the Search Box.
Enter the name of the medication you want to add.
If listed, tap the name of the medication under Top Matches.
Select your medication strength.
Tap Next.
Under When will you take this?, tap Frequency.
Select one of the following:
At Regular Intervals
On Specific Days of the Week
As needed
Choose your interval.
Pick a Start Date.
Tap the Done button in the top right corner.
Select a Time of Day.
Tap the Next button at the bottom of the page.
Select the shape of your medication, or tap the Skip button at the bottom.
Tap Next.
Pick the Left and Right Side colors, and the background (if applicable).
Enter a Nickname and any other notes.
Tap the Next button.
On the Medication Interactions page, tap the toggles for any factors that apply.
Tap the Done button at the bottom.
Don’t Forget To Take Your Medicine
When you go through the process of adding the medicine to the Health app, you are provided with the option to set or create custom notifications. However, in the event that you either forgot to do so or just skipped past that part of the setup process, here’s how you can set up notifications for medications in the Apple Health app.
Open the Health app on your iPhone.
Tap Browse in the bottom toolbar.
Select Medications in the list of Health Categories.
Navigate to the Your Medications section.
Select the medication that you want to set up notifications for.
Scroll down to the Schedule section.
Tap Edit on the right side.
Under Time of Day, tap the + Add a time button.
Tap the Time next to the new notification.
Select a time that you want to be notified.
Tap Done in the top right corner.
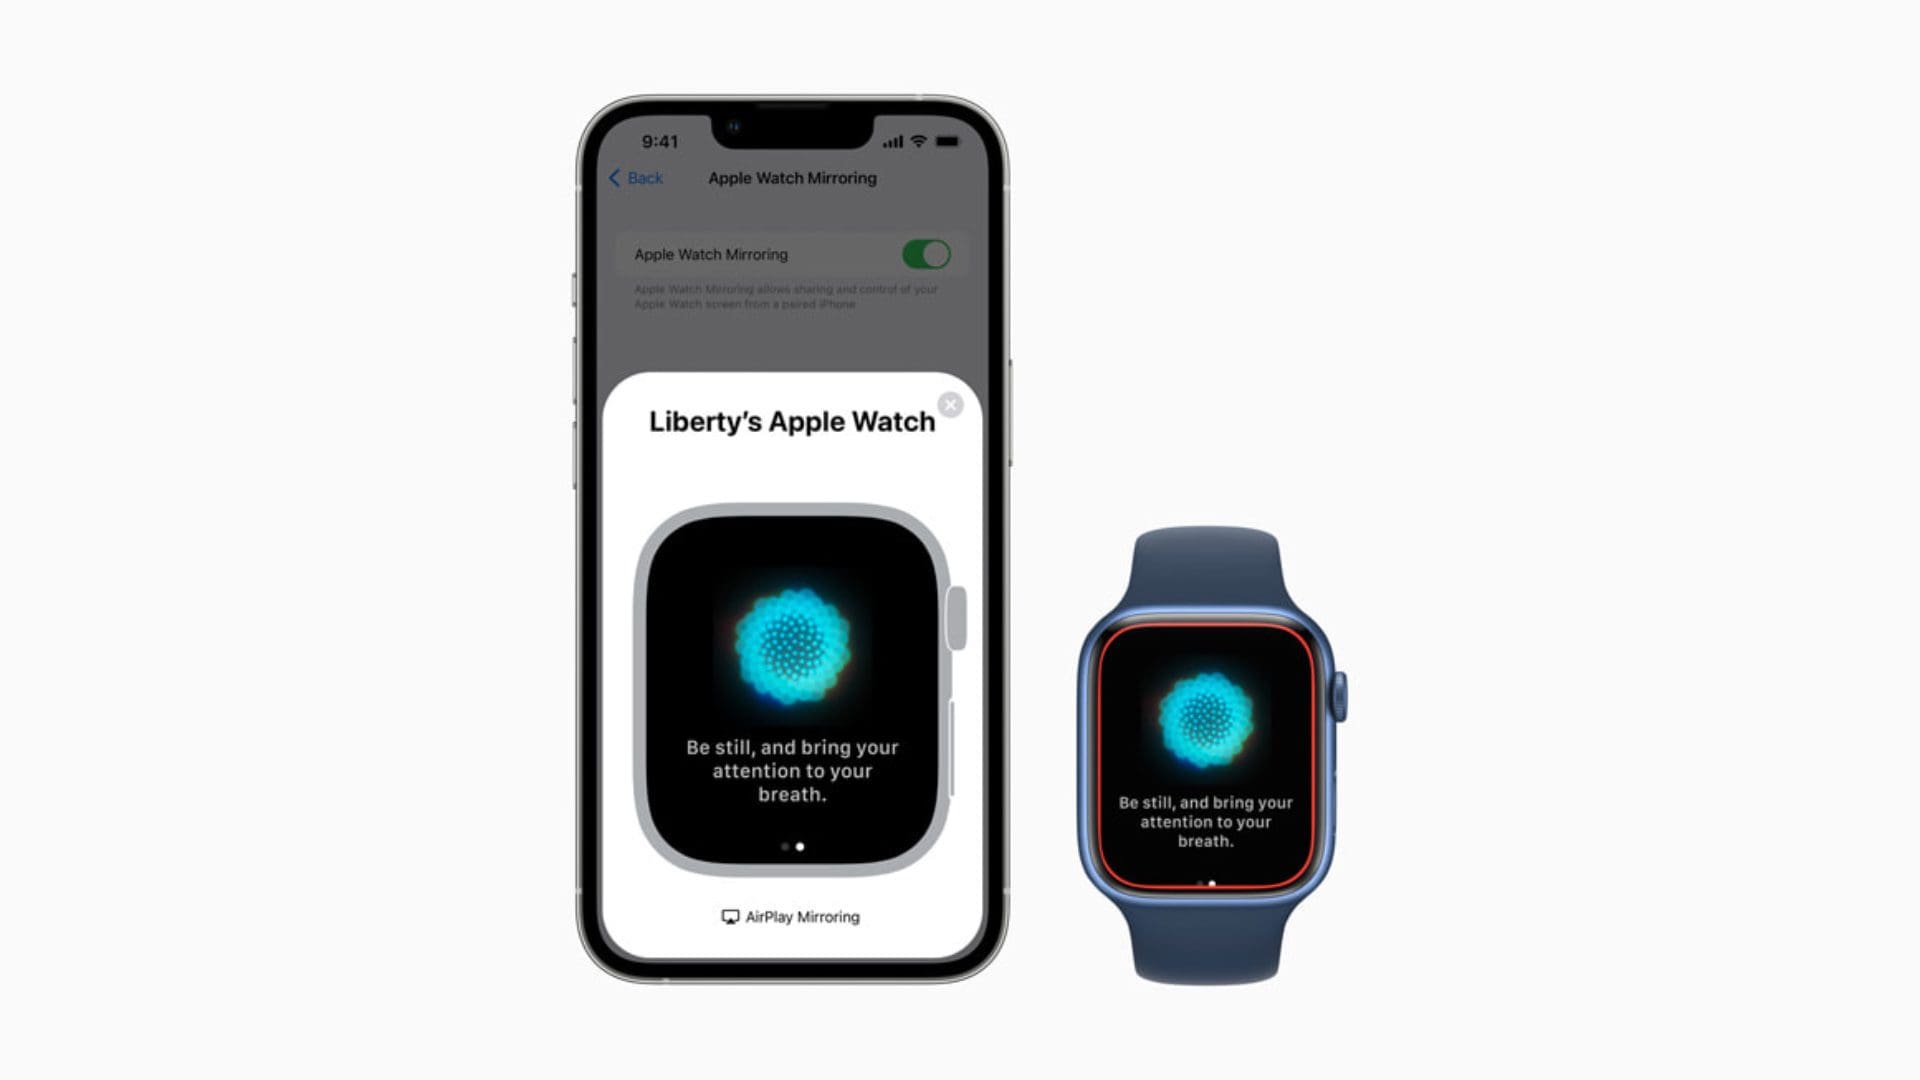
Apple Watch Mirroring
With Apple Watch Mirroring, this is an expansion of AssistiveTouch that debuted with watchOS 8 and iOS 15. As the name suggests, users will be able to mirror the screen of their Apple Watch right from their iPhone. This will display what’s on your Apple Watch on the larger screen of the iPhone. But Apple is also making it possible to control different aspects of your Watch with this enabled. And here’s how you can enable it.
Open the Settings app on your iPhone.
Scroll down and tap Accessibility.
Under the Physical and Motor section, tap Apple Watch Mirroring.
Tap the toggle next to Apple Watch Mirroring to the On position.
After a few moments, a new screen will appear on your iPhone. You’ll also notice that the screen on your Apple Watch now shows a red outline around the entire display. The pop-up box on your iPhone will essentially be using AirPlay between your iPhone and Apple Watch providing you with an easier way to interact with your Watch.
What Are Your Favorites?
We can’t begin to describe how excited we are to see all of these changes and new features coming to iOS 16. Considering that iOS 16 is still in its early stages, we wouldn’t be surprised if some features are changed, added, or removed. But for the time being, iOS 16 looks to be one of the biggest updates for iPhone users probably since the addition of widgets.
Let us know what some of your favorite iOS 16 features are and what you’re looking forward to using the most!
Andrew Myrick is a freelance writer based on the East Coast of the US. He enjoys everything to do with technology, including tablets, smartphones, and everything in between. Perhaps his favorite past-time is having a never-ending supply of different keyboards and gaming handhelds that end up collecting more dust than the consoles that are being emulated.
I take a photo for a catalog cover and want to email it to my graphis designer. How do I send the file as an attachement to an email? Since IOS 14 we have a forced imbeding with no option to attacht to an email. Would be perfect if I could take my picture and name it Catalog Cover and attach it to an email.
The email above [daytonwilliams@comcast.net] doesn’t work, because I have been unable to put its new password into my Apple 13 (265 GB internal memory)
My questions are:
How to change email [Apple ID] password in iOS 16?
I don’t use Safari; I use DuckDuckGo.com [designated browser]
I use blu mail instead Apple mail [designated]
I’m thinking of joining Apple’s live 24 hour help line sometime this week if necessary.


I take a photo for a catalog cover and want to email it to my graphis designer. How do I send the file as an attachement to an email? Since IOS 14 we have a forced imbeding with no option to attacht to an email. Would be perfect if I could take my picture and name it Catalog Cover and attach it to an email.
is there a way to name the photo files? Example taking a picture of a daisy. Can i name the file Daisy?
Please contact me by text 708-497-5731
The email above [daytonwilliams@comcast.net] doesn’t work, because I have been unable to put its new password into my Apple 13 (265 GB internal memory)
My questions are:
How to change email [Apple ID] password in iOS 16?
I don’t use Safari; I use DuckDuckGo.com [designated browser]
I use blu mail instead Apple mail [designated]
I’m thinking of joining Apple’s live 24 hour help line sometime this week if necessary.
Please note: The email above doesn’t work because the password has changed, and I don’t know what to do in iOS 16 to change it!
How to change email [Apple ID] password in iOS 16?
I don’t use Safari; I use DuckDuckGo.com [designated browser]
I use blu mail instead Apple mail [designated]