SD cards are the ultimate little lifesavers in extending the storage space on your smart devices. But, you’ll need to format an SD card on your Mac before you can use it.
We’ll take a look at the steps needed to do this, so you can get back to work. The steps are pretty simple, and require just your SD card and the Disk Utility app. Luckily, Disk Utility is already included with macOS.
These ultra-tiny flash memory cards are used primarily for extra iPhone and camera storage. It’s important to note that you will want to back up any of the files that are already on your SD card. After the formatting process is completed, the card will be completely wiped clean and the files will be deleted.
Once your SD or micro SD card has been backed up, you will be ready to format the storage device. Here are the steps to make it happen:
Insert the SD card into the slot on your Mac.
Navigate to Finder > Applications > Utilities.
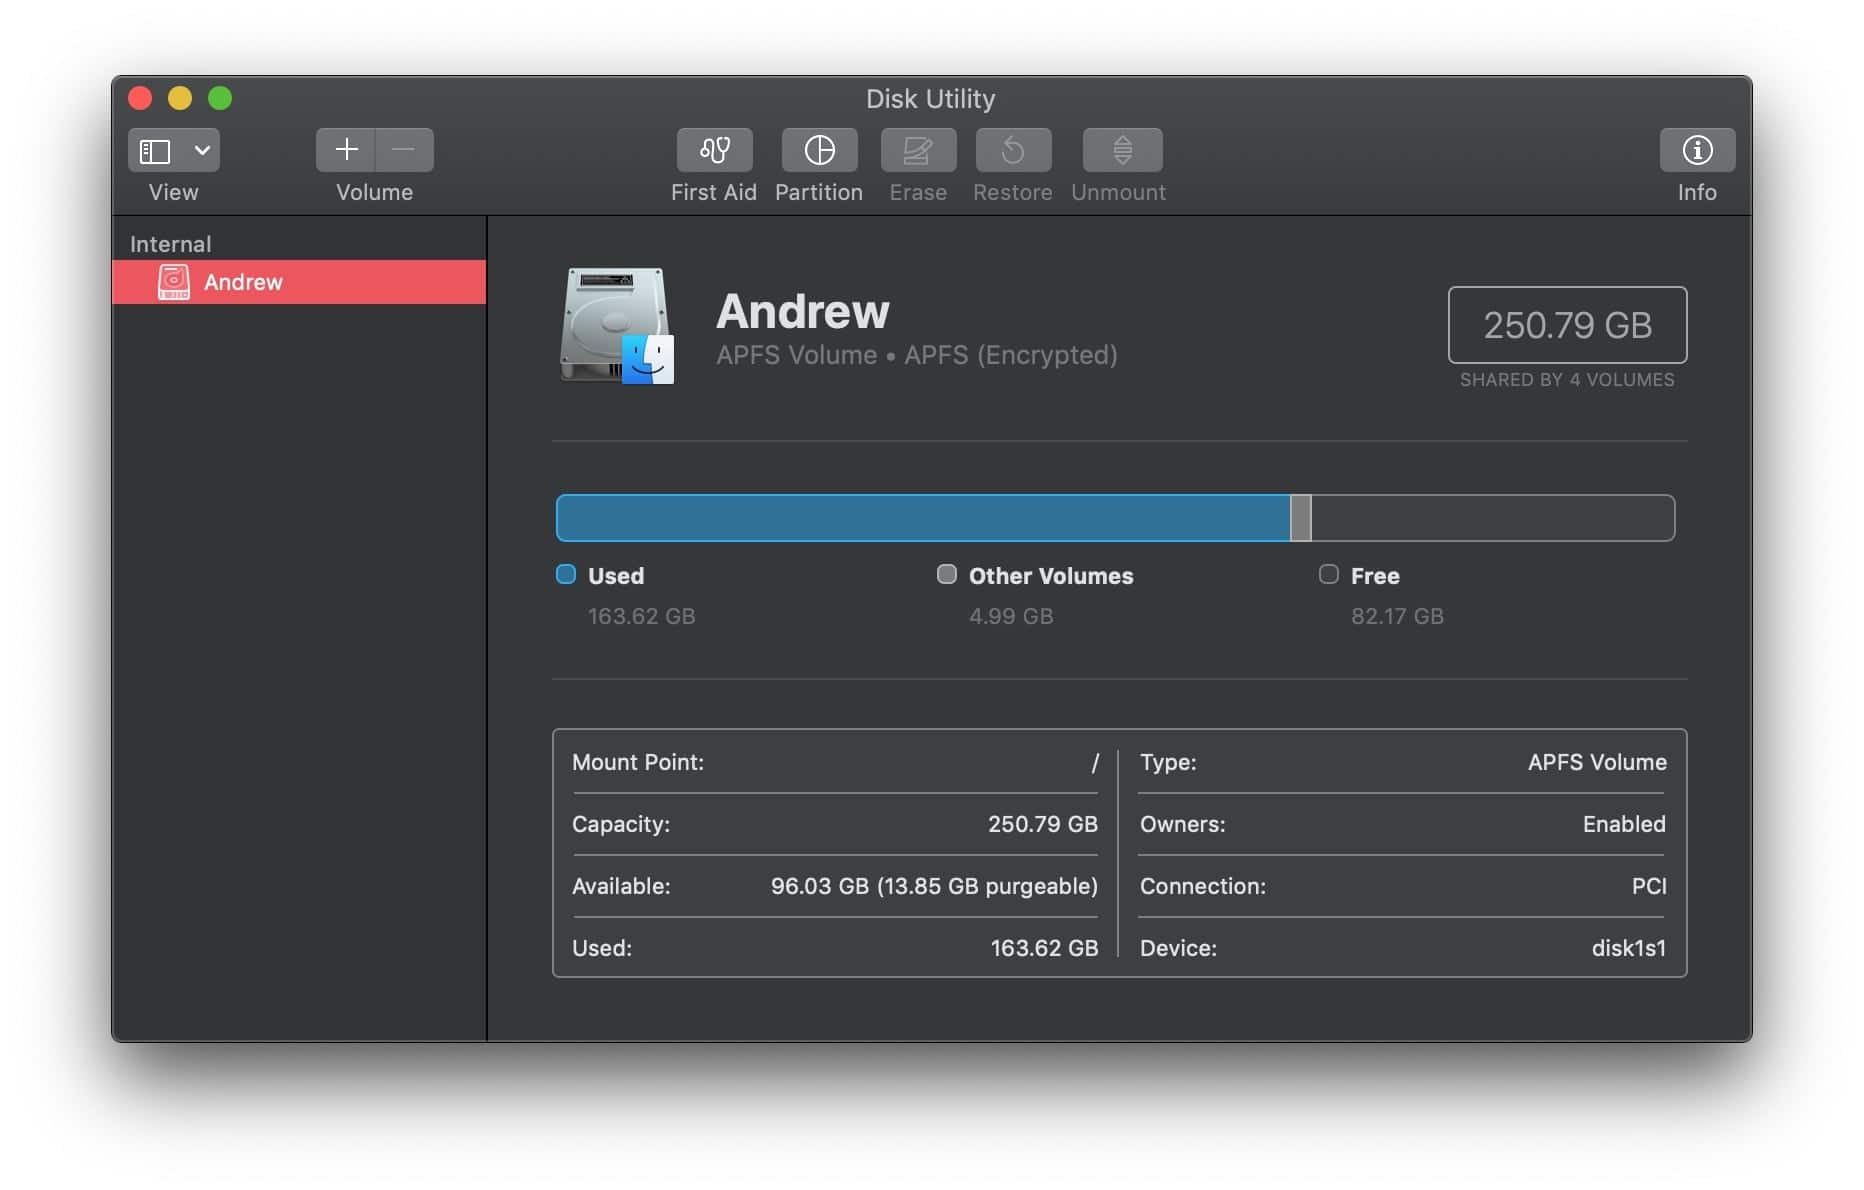
Open Disk Utility.
In the sidebar, select the SD card that you are trying to format.
At the top of Disk Utility, press Erase.
Be sure to back up any of the files that are already on your SD card before formatting.
After you have pressed the Erase button in Disk Utility, the app will ask you to rename the SD card. Do this, and then tap the Erase button in the bottom right-hand corner.
Additionally, there is a section that asks you which format you want the SD card to be formatted in. We recommend switching this format option to ExFAT if it’s not already selected.
From here, Disk Utility will work its magic and will format your SD card. Once it is completed, you will want to press the “Done” button in the bottom right-hand corner.
Now, you might be a bit excited to have this finished, but don’t just go pulling out the SD card yet. Instead, find the formatted card in the sidebar on the left and press the eject button. Doing so will ensure that something doesn’t get broken, which will usually need a reformat before the card will properly work again.
What if I don’t have an SD card slot?
After Apple decided to redesign the MacBook Pro lineup in 2016, this meant the death of the SD card slot. Most MacBook models previous to this iteration have the slot built into the side, but if not you’ll need an extra piece.
Depending on which version of the Mac you own, you will need to get a USB SD card reader. These are relatively inexpensive, again, depending on which model Mac you are trying to use this with.
What’s next?
After you have completed the steps above, your SD card will be wiped clean, and can then be used for any application that you seem fit. Whether that’s to use it in a digital camera, build a Raspberry Pi system, or any other project that you want to complete.
If you run into issues, let us know in the comments below, and we’ll be sure to help figure out what’s going on. This is a pretty straightforward process, but you’ll need to follow the steps correctly, as Disk Utility can also wipe other connected hard drives.
Andrew Myrick is a freelance writer based on the East Coast of the US. He enjoys everything to do with technology, including tablets, smartphones, and everything in between. Perhaps his favorite past-time is having a never-ending supply of different keyboards and gaming handhelds that end up collecting more dust than the consoles that are being emulated.
I have a Verbatin 16GB USB drive that I need to format. I fpllow the directions for formatting .
insert card
open disk utilities
select the Verbatin card in order to view
the next step is to select erase, However erase is greyed out so i can’t select it/
What is required in order to correct this issue?
Looked through some other web sides which was unnecessary complicated.
This site could not be easier. Straight forward.
Follow the step by step from this site and Voila your all set :-))
C. Robert.
following first steps to format SD card on my Mac. After I erase it does nothing, doesn’t ask to rename? I’m stuck!
Thanks
sd card is in slot but does not appear on sidebar
Paula.
Looked through some other web sides which was unnecessary complicated.
This site could not be easier. Straight forward.
Follow the step by step from this site and Voila your all set :-))
C. Robert.