While the transition to Apple Silicon on the Mac has been one of Apple’s most impressive successes in recent memory, that’s not to say that there weren’t some casualties. For one, the ability to run Windows using Boot Camp was completely removed, meaning that for quite a while, it was very difficult to use Windows on a Mac, even through a Virtual Machine.
Previously, if you wanted to install Windows 11 on M1 and M2 Mac, it was a mixed bag. The overall experience wasn’t the greatest, as you need to manually download the appropriate files from Microsoft and hope that everything would run.
However, that’s all changed, as Microsoft now officially supports Apple’s latest processors courtesy of a new partnership with Parallels. This is currently, the only “authorized solution” to run Arm versions of Windows 11 on Apple’s M-Series of processors.
How to Install Windows 11 on M1 and M2 Mac With Parallels
Without a doubt, the easiest way to install Windows 11 on Mac is with the help of Parallels 18. Parallels has long been the default option for those who want to install any version of Windows on their Mac through the help of a Virtual Machine. The software has been around for years, and in some ways, is better than Apple’s now-defunct solution to use Boot Camp. While Parallels has been compatible with Macs powered by Apple Silicon, the recent release of Parallels 18 takes things up a notch.
Before getting started, it’s important to point out that Parallels Desktop isn’t free forever. The company offers a 14-day free trial, which gives you plenty of time to “get your feet wet” and see if this solution works for your needs. There are three different options of Parallels Desktop available. Standard Edition is designed for Home & Student use, while the Pro Edition is “for developers, testers, and power users”.
Then, there’s a Business Edition that is obviously for teams and IT deployments, and likely won’t be the best option for your needs but is priced at $149.99 per year. Pricing starts at $99.99 for Standard Edition, available as a one-time purchase, meanwhile Parallels 18 Pro Edition comes in at $119.99 per year, on a subscription basis.
Here’s how to install Windows 11 on Mac using Parallels 18:
Download the latest version of Parallels to your Mac (version 18).
Open the Finder app and navigate to your Downloads folder.
Double-click the Install Parallels Desktop file.
Click Open.
Follow the on-screen steps to complete the installation.
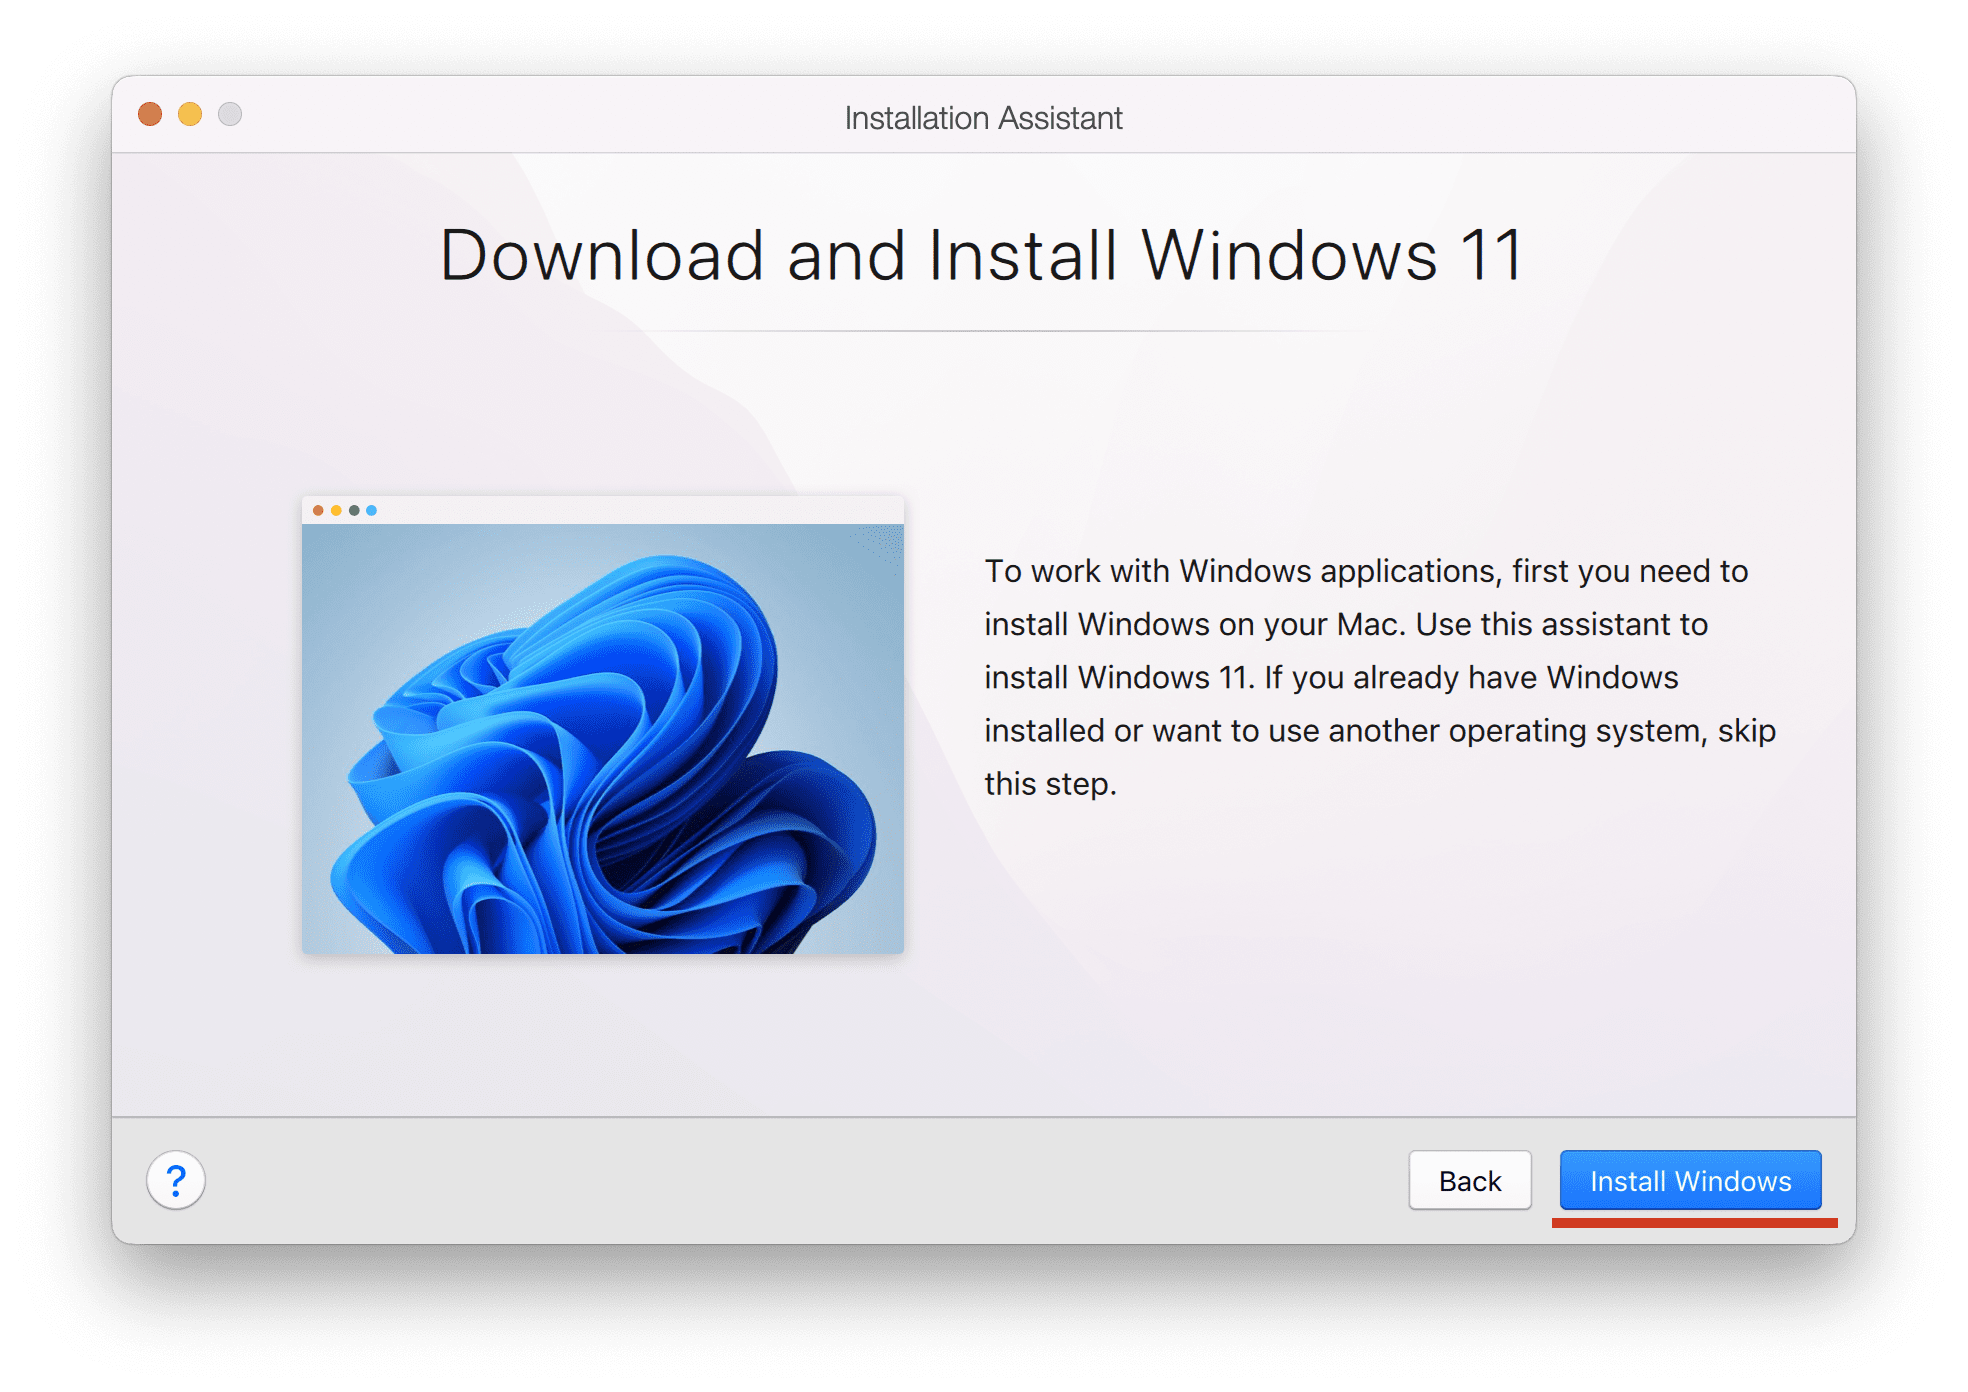
Once completed, you’ll be prompted to Download and Install Windows 11.
Click the Install Windows button.
Once Windows 11 is installed, you’ll see the traditional Windows start-up screen which indicates that updates and features are being installed.
After the process is finished, you’ll be prompted to log into or create a Parallels account.
Read through the Windows License Agreement that appears.
Click the Accept button.
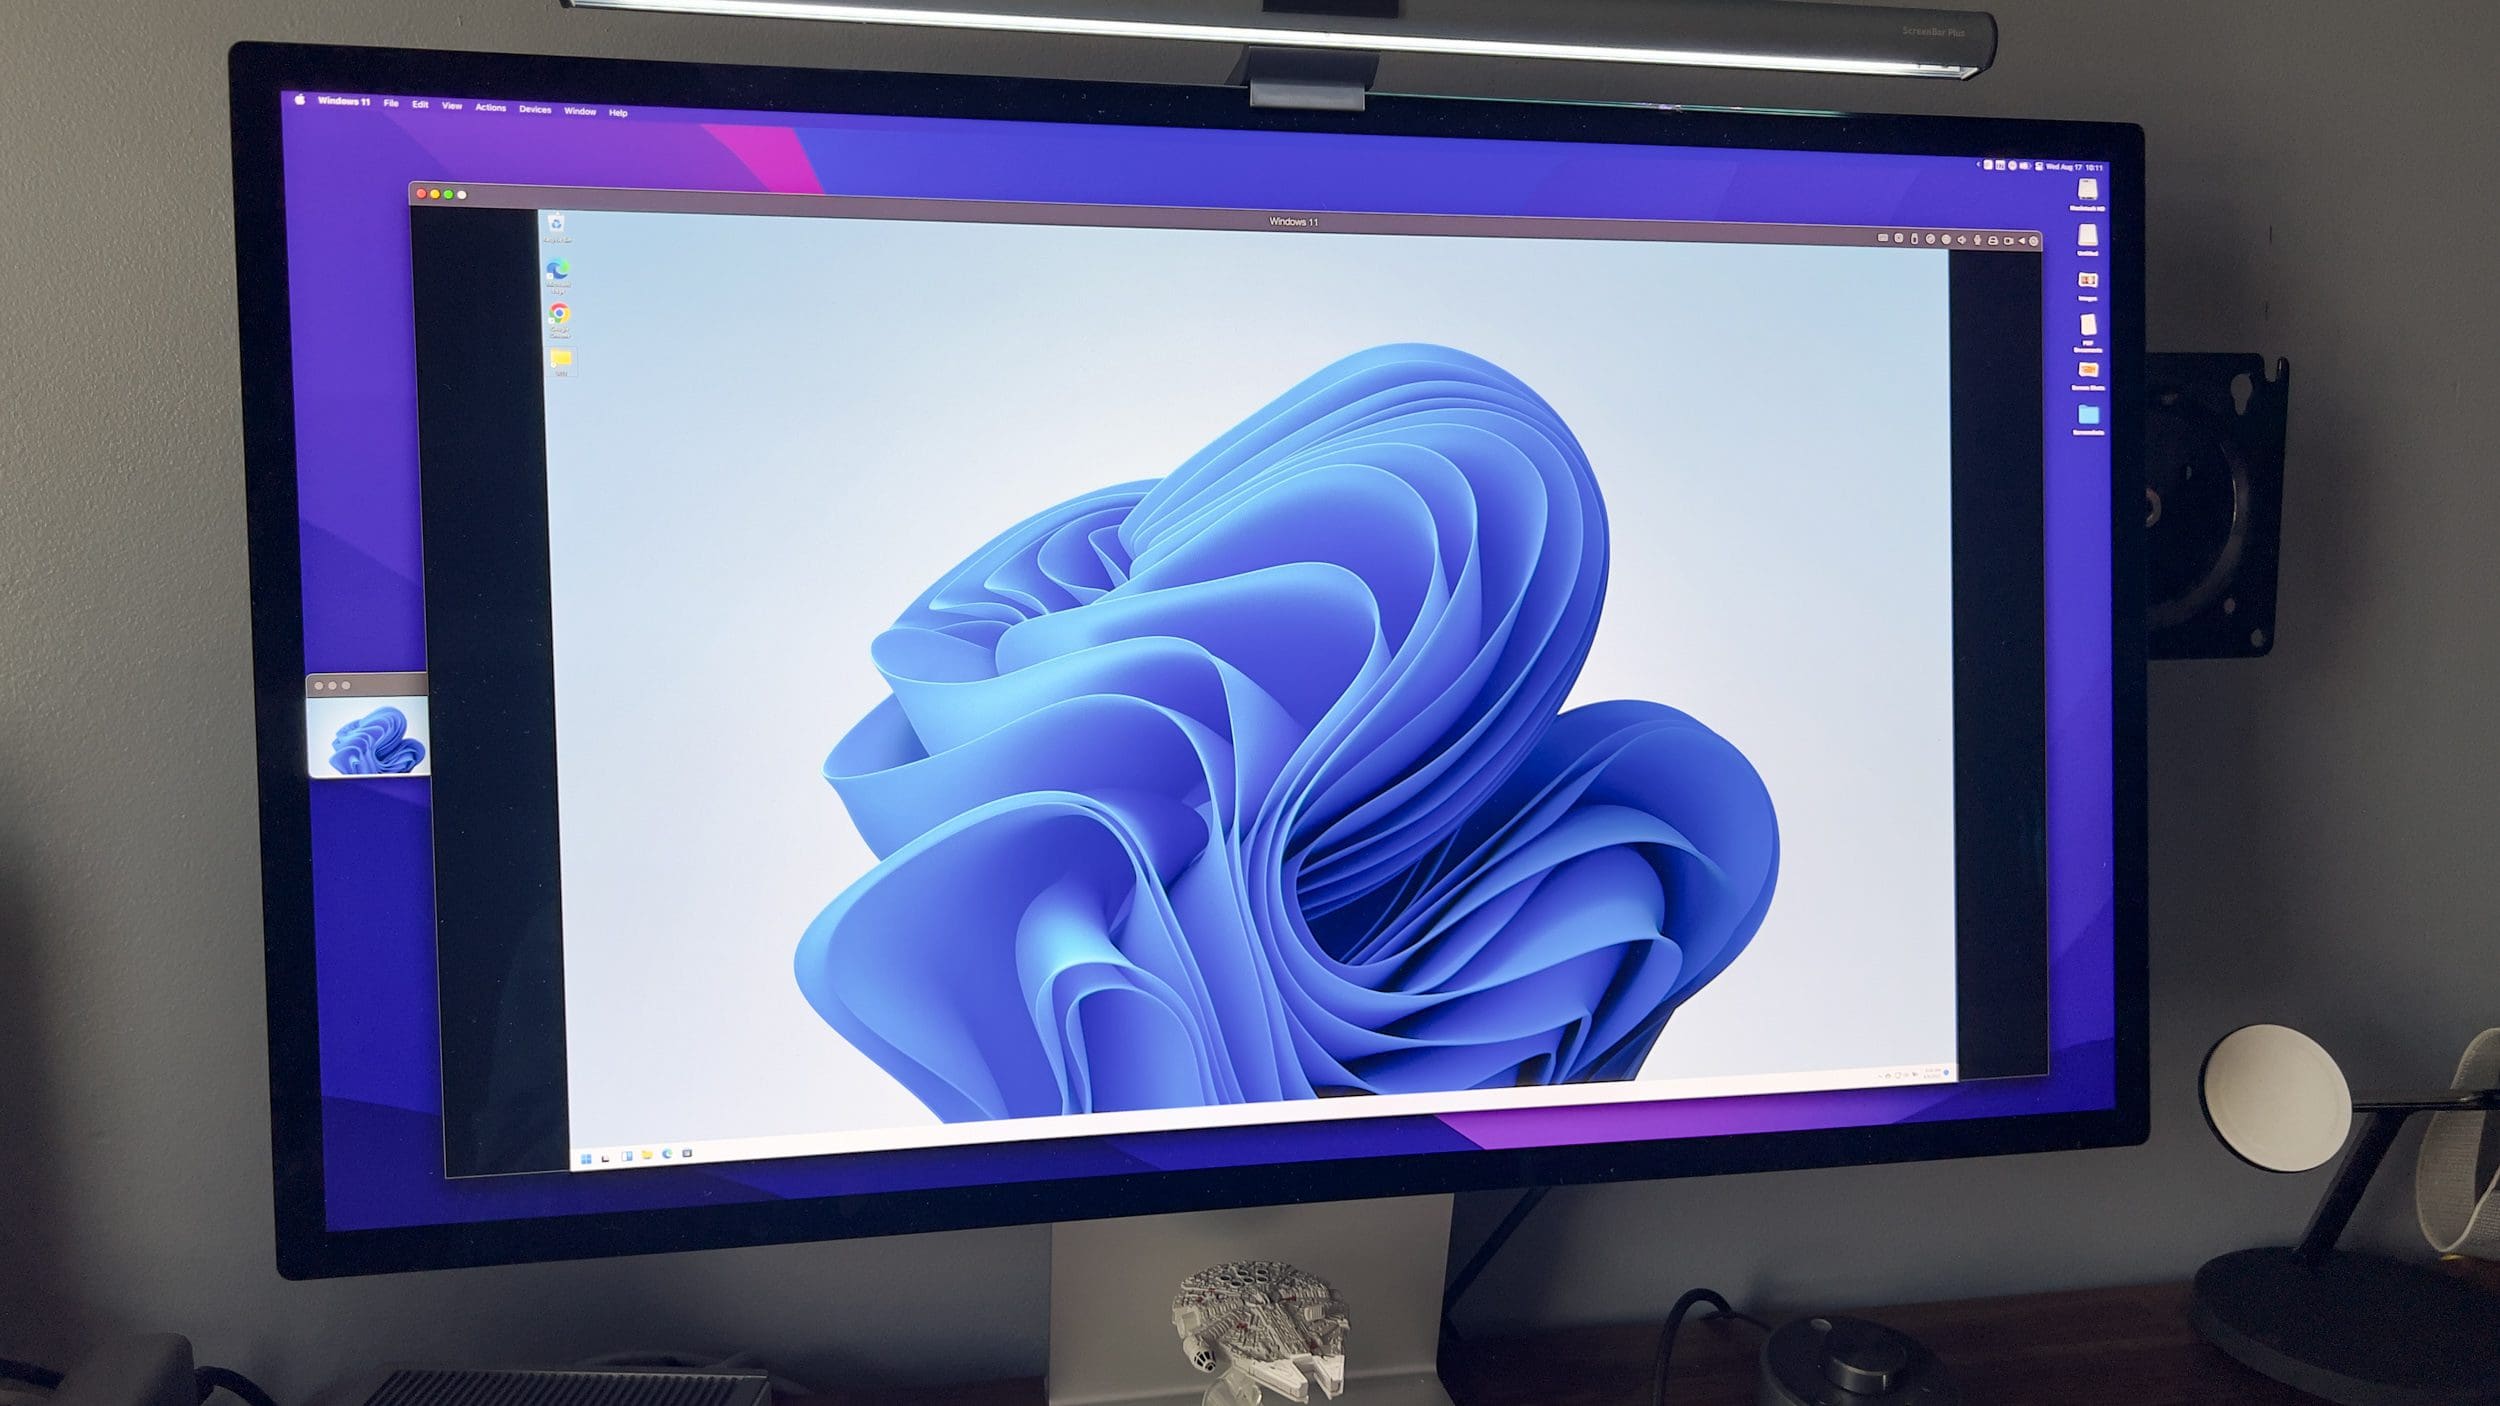
From there, Parallels will boot into the Windows 11 virtual machine.
A Microsoft Edge window will appear that explains some of the things that you can do with Windows and Parallels.
And just like that, you no longer need to jump through a bunch of hoops just get install Windows 11 on M1 and M2 Mac with Parallels. However, there are a few more steps that you’ll want to take before you start messing around with Windows.
Download and Install Updates
With Windows 11 installed through Parallels on your M1 or M2 Mac, the next step that you’ll want to take is to download and install any updates. While some updates are installed during the initial setup process, there are still more than need to be installed. Here’s how you can download and install updates through your Windows 11 Virtual Machine:
With the Windows 11 Virtual Machine open, click the Windows Start Menu button.
Click Settings.
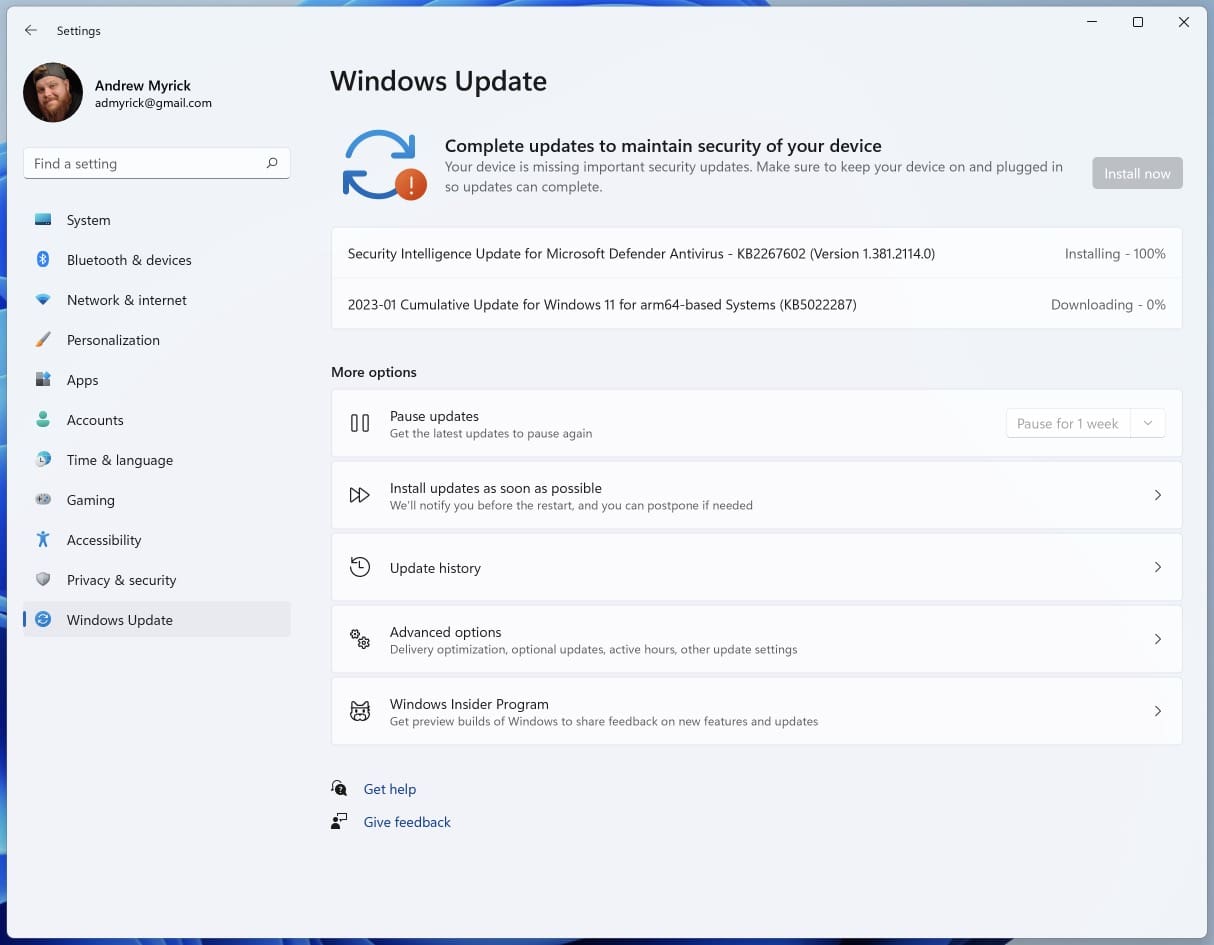
Scroll down in the left sidebar and click Windows Update.
Click the Check for Updates button.
Download and install any available updates.
Wait for the updates to be installed and then restart Windows.
During the installation process, it’s important to make sure that both your Mac and the Virtual Machine are powered on. Otherwise, you might end up with a corrupted update, and you’ll need to start from scratch.
Configure Your Windows 11 Virtual Machine For Optimal Performance
The best performance for Windows 11 on M1 and M2 Mac comes down to which version of Parallels you are using, along with the specs of your machine. For reference, the Standard Edition of Parallels supports 8GB of virtual RAM and four virtual CPU cores. This is likely fine if you want to just tinker around, but you could end up running into performance issues.
Those who want a more performant virtual machine likely want to spring for the Pro Edition. According to Parallels, this includes support for up to 128GB of virtual RAM and 32 virtual CPUs. While this is definitely enticing, you are still limited to the hardware of your Mac. As cool as it would be, you can’t exactly use 128GB of virtual RAM in Windows if your Mac only has 16GB.
That being said, there are a few different performance presets that Parallels implements. This does all of the configuring for you, so you don’t need to mess with anything. If you want to switch to a different preset based on your needs, or access the more nitty-gritty settings, here’s how you can do so:
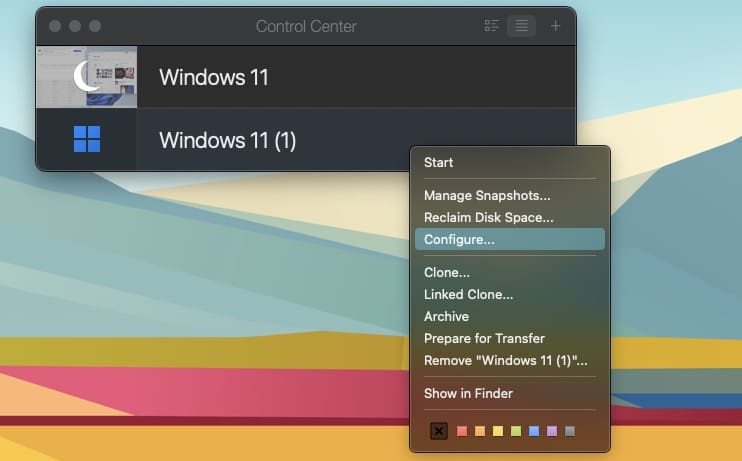
Locate the Parallels Desktop Control Center panel.
Right-click on the Windows 11 Virtual Machine that is actively running.
From the drop-down menu, click Shut Down.
Right-click the Windows 11 Virtual Machine from the Control Center panel, again.
From the drop-down menu, click Configure…
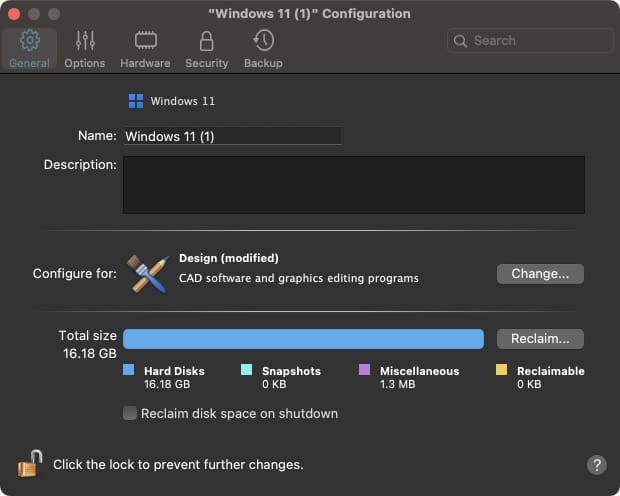
Click the Change… button next to Configure for:
Select one of the following options:
Productivity: Text editors, spreadsheets, accounting, email, web browsing, etc.
Software development: IDE, databases, emulators, etc.
Software testing: For testing software in an isolated environment.
Design: CAD software and graphics editing programs.
Games only: Full-screen 3D games with high demand for resources.
Once selected, click the OK button in the bottom right corner.
Additionally, you have the ability to manually configure Windows 11 by clicking the Hardware tab in the Configuration window. Here are the different hardware options you can customize:
CPU & Memory
Graphics
Mouse & Keyboard
Shared Printers
Network
Sound & Camera
USB & Bluetooth
Hard Disk
CD/DVD
TPM Chip
Boot Order
We recommend sticking to one of the pre-configured options listed above if this is your first time using Windows 11 and/or Parallels. However, it’s also nice to have a bit more flexibility for power users who want more control over what resources are used by the Windows 11 Virtual Machine.
Not Everything Works
There are a few caveats to be aware of if you want to install Windows 11 on M1 and M2 Mac with Parallels. The first of which is that this version does not include support for apps that “rely on DirectX 12 or OpenGL3.3 or greater.” Next, there are a few other features of Windows that are available on “traditional” Windows devices but aren’t available when using Parallels:
Windows Subsystem for Android, which enables your Windows 11 device to run Android applications that are available in the Amazon Appstore
Windows Sandbox, a lightweight desktop environment to safely run applications in isolation
Virtualization-based Security (VBS), which enables customers to create and isolate a secure region of memory from the normal operating system
Lastly, Microsoft points out that “32-bit Arm apps available from the Store in Windows are not supported by Mac computers with M1 and M2 chips.” While this may be seen as an inconvenience, the truth is that Microsoft is in the process of deprecating all 32-bit Arm apps from the Microsoft Store. Luckily, Microsoft does point out that “customers can also use apps in x64 or x86 emulation on Mac M1 and M2 computers.”
Andrew Myrick is a freelance writer based on the East Coast of the US. He enjoys everything to do with technology, including tablets, smartphones, and everything in between. Perhaps his favorite past-time is having a never-ending supply of different keyboards and gaming handhelds that end up collecting more dust than the consoles that are being emulated.


Write a Comment