iPhone day is one of the most exciting days of the year. But this wasn’t always the case, as Apple’s process for backing up and restoring iPhones used to be a rather frustrating roller coaster. Thankfully, Apple has rectified those problems over the years, making it extremely easy to transfer data from your old iPhone to a new iPhone. There are three different ways in which you can do so, and we cover them all!
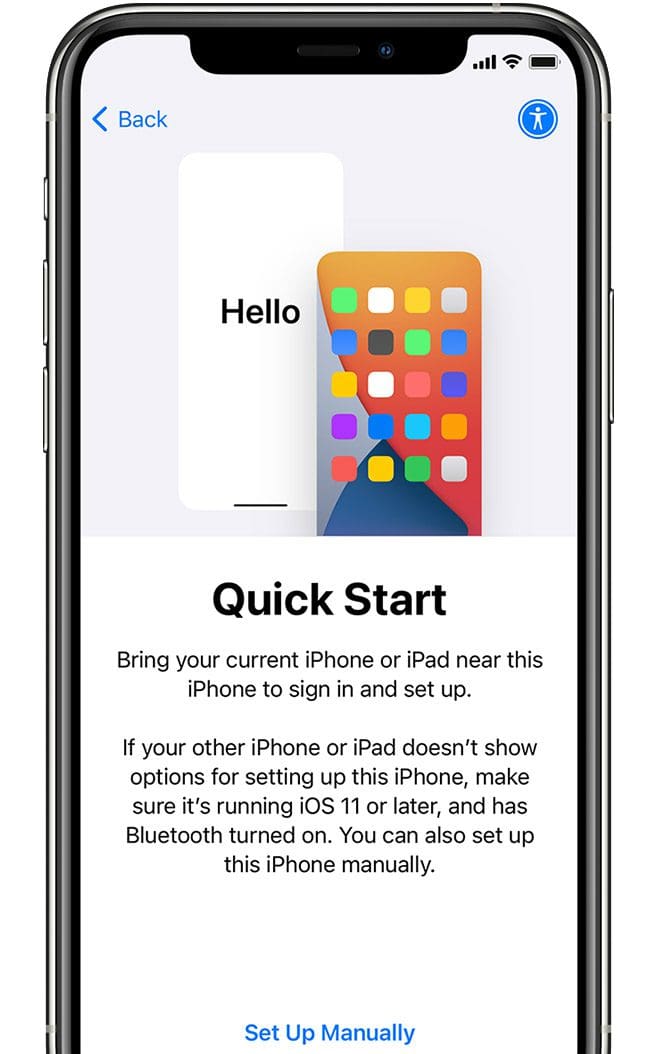
The easiest method for transferring data between your old iPhone and your new one is to perform the “Automatic Setup”. This has you scan a floating array of dots on your new iPhone with your old iPhone’s camera, and then proceeds to transfer all of the data between the devices. The only “catch” here is that you have to keep both iPhone’s near each other throughout the process.
Turn on your new iPhone and place your old iPhone nearby.
From your new iPhone, select the language.
Tap Continue on the popup that appears asking to set up your new iPhone with Apple ID.
Using your old iPhone, scan the image that appears on your new iPhone.
Set up Face ID and add a passcode for security.
In the Restore Your Apps & Data panel, tap the Continue.
Select Restore from an iCloud backup.
Agree to the Terms and Conditions.
Tap Continue in order use the Express Settings.
Follow the on-screen prompts to complete the setup.
Once completed, your apps, files, data, and everything else will be transferred to the new iPhone. And if you have an Apple Watch paired to your old iPhone, you’ll be prompted to move it over to the new one. This makes it so you don’t have to go through the process of resetting and restoring your Apple Watch, and can get up and running even faster.
Transfer Data Using iCloud
The most popular method for transferring data between iPhones is to go through the iCloud Backup and Restore process. By doing so, your iPhone’s information is stored in iCloud, so you don’t have to worry about the backup taking up a bunch of space locally on your iPhone or on your Mac. But before you can restore the backup to your new iPhone, you’ll first need to create a fresh backup on your old phone.
Open the Settings app on your old iPhone.
Tap your name at the top of the page to open iCloud Settings.
Tap iCloud.
Select iCloud Backup.
Tap the Back Up Now button.
Wait until the backup is completed.
Turn off your old iPhone after the backup is completed.
Remove the SIM card from your iPhone.
After the old phone has been powered down and the SIM card has been removed, it’s time to go through the process of getting the new one set up.
Insert your SIM card into the new iPhone.
Turn on your new iPhone by pressing the Side Button.
Swipe up on the Home Screen to start the process.
Choose your language.
Follow the on-screen instructions to set up your Wi-Fi network.
Tap the Restore from iCloud backup button.
Sign into your Apple ID.
Once prompted, select the backup that you just created.
The biggest reason why some people try to avoid this method is that it can take quite some time. The speed of restoring the iCloud backup to your new iPhone is solely dependent on your internet speeds. So we don’t recommend using your cellular connectivity, and instead, make sure that you are connected to a Wi-Fi network.
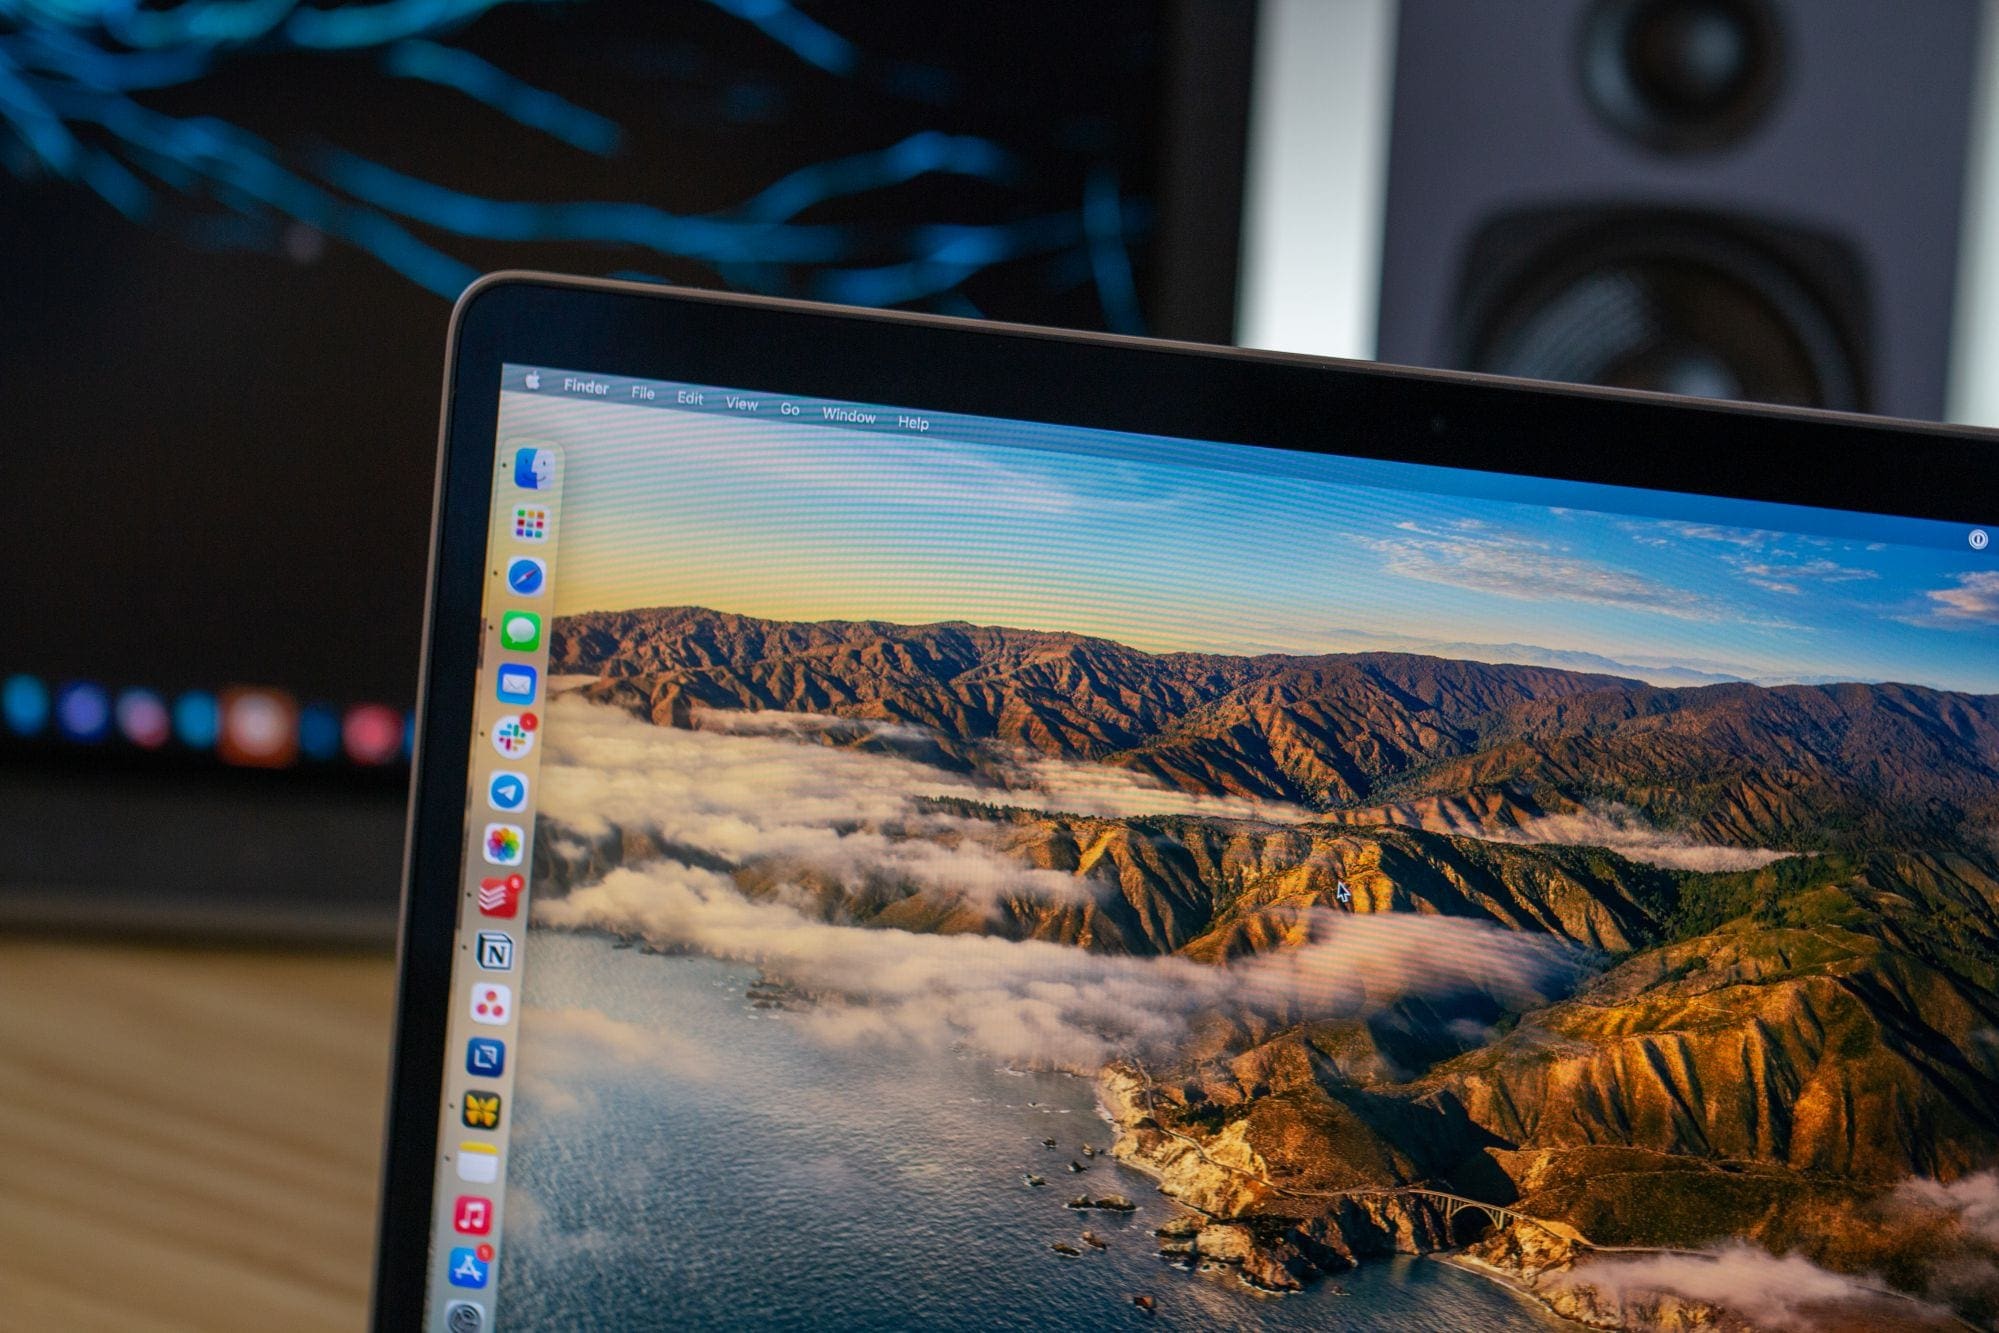
Transfer Data Using Your Mac
Although Apple is making it easier to do everything on your iPhone away from your Mac, you can still transfer data between iPhones the old fashioned way. But just like with using the iCloud Backup method, you’ll first need to connect your iPhone to your Mac and back it up locally.
Plug your old iPhone into your Mac.
Click the Finder icon in the dock to open a new Finder window.
Under Locations, select the name of your iPhone.
If prompted, click Trust in order to trust your iPhone.
You may be prompted to do the same thing on your iPhone if this is the first time you’ve connected it to your Mac.
Click the checkbox next to Encrypt local backup.
Create a password if you have not used encrypted backups before.
Click the Back Up Now button.
Once completed, unplug your old iPhone from your Mac.
Turn off your old iPhone completely.
Remove the SIM card from your old iPhone.
Once the backup has completed, it’s time to get your new iPhone all set up and ready to go using the Mac. But you will need to start the process from your iPhone, before you’ll be able to continue on the Mac.
Put your SIM card in your new iPhone.
Turn on your new iPhone.
Plug your new iPhone into the Mac.
Swipe up on the Home Screen to start the process.
Choose your language.
Follow the on-screen instructions to set up your Wi-Fi network.
Tap Restore from Mac or PC.
From your Mac, select your new iPhone in sidebar under Locations in Finder.
Click the Restore from this backup button.
Select your most recent backup.
Click the Continue button.
If your backup was encrypted, enter the password.
Click the Restore button.
Again, the process of restoring a local backup is likely to take a little bit of time. Go grab a cup of coffee, sit back and relax, and wait for your new iPhone to finish restoring. You’ll be prompted on both your iPhone and your Mac once the process is complete. From there, start using your brand new iPhone!
Andrew Myrick is a freelance writer based on the East Coast of the US. He enjoys everything to do with technology, including tablets, smartphones, and everything in between. Perhaps his favorite past-time is having a never-ending supply of different keyboards and gaming handhelds that end up collecting more dust than the consoles that are being emulated.


Write a Comment