With the iPhone 12 making its way to the masses, there are about to be a boatload of excited Apple fans. Bringing a refreshing design, paired with the fastest mobile processor and cameras that can rival a DSLR camera, the iPhone 12 has a lot to offer.
But unless you plan on turning the iPhone 12 into a paperweight or a rather expensive iPod Touch, you’ll want to get your SIM card installed. If you went through your carrier, then you won’t have to do anything in terms of removing the card from its housing. Instead, you’ll just need to power it on and follow the activation instructions.
Maybe you purchased the iPhone outright from Apple, or received it from someone else on a different account. Nonetheless, you’ll want to get your own SIM card installed into the iPhone 12 ASAP so you can enjoy Apple’s latest flagship iPhone. Here’s how you can add or remove the SIM card from your iPhone 12.
Add or Remove iPhone 12 SIM Card
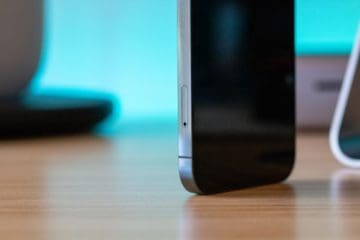
The SIM card tray is located on the same side as your volume buttons on the iPhone 12. Look at the right side of the frame, and both the tray and ejection hole are near the bottom. Here’s how you can remove the SIM Card from the iPhone 12.
Power the iPhone 12 off completely.
Locate the eject hole on the outer frame of the device.
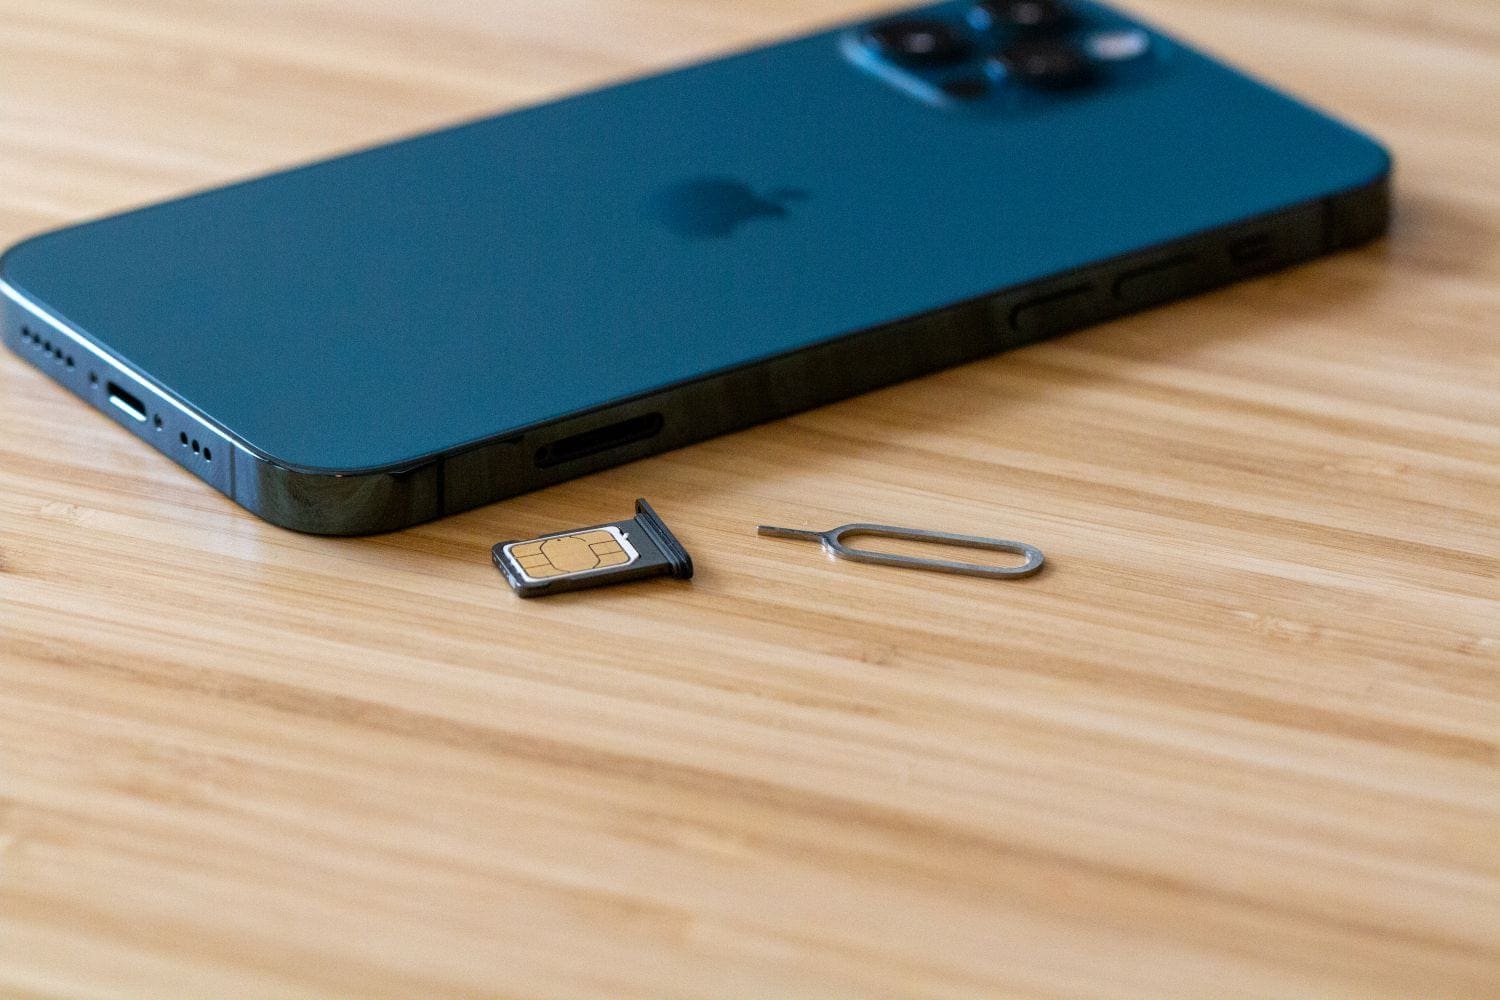
Using the SIM eject tool (or paper clip), insert it, and gently push the button inside.
The tray will eject.
Carefully remove the tray from the frame.
Remove the SIM card from the tray.
When it’s time to put a new SIM card back into the iPhone 12, it’s important to have the card lined up properly. If the phone is facing upwards, the gold contacts will be facing down. You can also line up the SIM Card with the outline in the tray.
Once the card is housed in the tray, line up the tray with the open hole on the outer frame. Gently push the tray back into place until it is flush with the remainder of the frame. Once the card is back, just turn it back on and you are ready to get back to business.
If you are going through the setup process for the first time, you will need to wait so that the iPhone can be activated on your network. Those who already went through the initial setup, will only need to wait a few moments until the carrier network bars appear in the top right-hand corner of the status bar. Then, your iPhone will show a message which says “iPhone is activated” and you are free to get started.
Andrew Myrick is a freelance writer based on the East Coast of the US. He enjoys everything to do with technology, including tablets, smartphones, and everything in between. Perhaps his favorite past-time is having a never-ending supply of different keyboards and gaming handhelds that end up collecting more dust than the consoles that are being emulated.
I switch from the iPhone 6 to iPhone 12 I moved all my data I synced them together but now I can’t receive phone calls or text message people that have androids there’s something in the set up I need to do? I can send FaceTime messages and do FaceTime calls


I switch from the iPhone 6 to iPhone 12 I moved all my data I synced them together but now I can’t receive phone calls or text message people that have androids there’s something in the set up I need to do? I can send FaceTime messages and do FaceTime calls