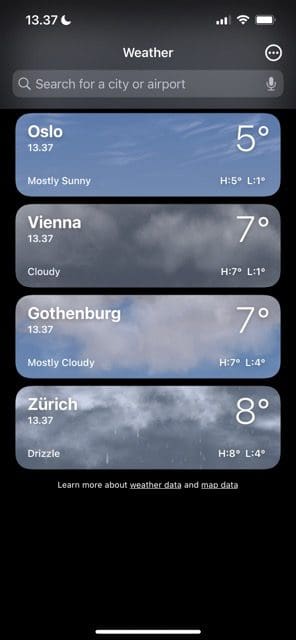
The Weather app is the go-to tool for many Apple users to check what’s going on in your local area. But in addition to looking at what the weather will be like where you currently are, you can also add forecasts for locations around the world.
If you want to add and remove locations in the Weather app, you’re in the right place. We’ll show you how to do both of these for iPhone, iPad, and Mac. These tips will work if you’ve got iOS 16, iPadOS 16, or macOS Ventura downloaded.
You might want to check the weather in different locations on your iPhone for several reasons. For example, you might be traveling somewhere in a couple of weeks. Similarly, you might be living away from your hometown and want to stay updated on what the temperature is like there.
Regardless of your reason, adding new locations in the Weather app on iOS is straightforward. Follow these steps:
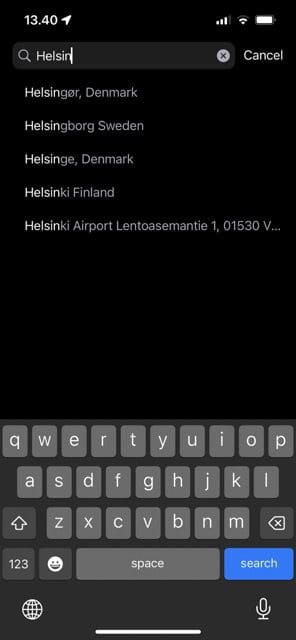
Open the Weather app and go to the search bar at the top.
Type the name of the location you’d like to add to your list of locations.
When you see it appear, click on it.
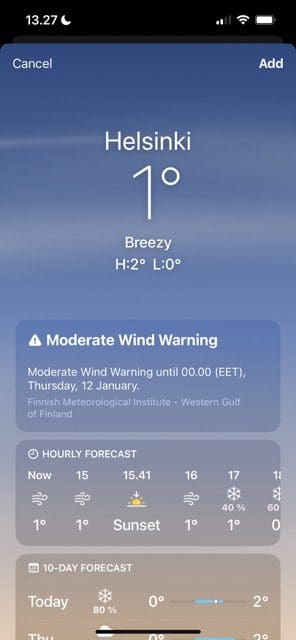
Select Add when the pop-up showing the location you want to add appears.
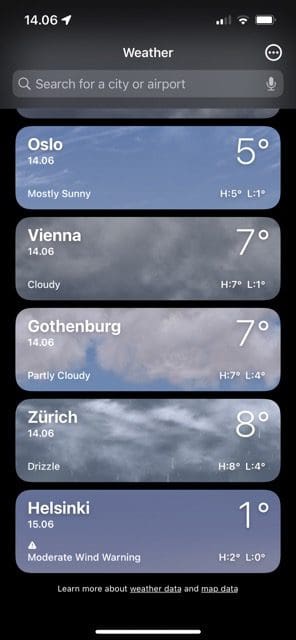
Once you’ve added the location, you’ll see it appear at the bottom of your list. You can hold on and drag it if you want to change the position.
How to Remove Locations in the Weather App on iPhone
If you later decide that you want to remove a location in the Weather app on your iPhone, getting rid of it is pretty simple. Go back into the Weather app and look for the place you’d like to take off your list.
Once you’ve found the place you’d like to remove, swipe to the left. A trash icon will appear.
Click on the trash icon, and your location will disappear from your list. You can always re-add it later by following the steps in the previous section.
How to Add Locations in the Weather App on iPad
Adding new locations in the Weather app on your iPad is a pretty similar process to doing so on your iPhone. Follow the steps below to achieve your desired result.
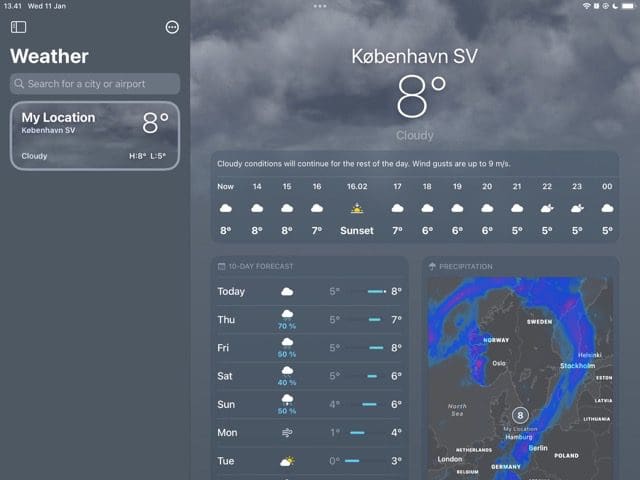
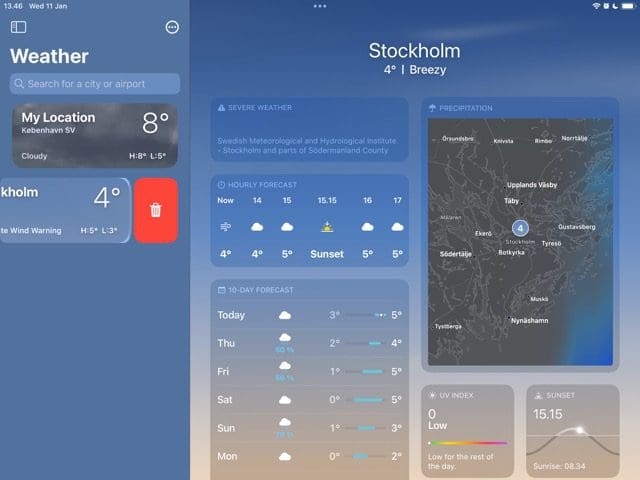
1. When the Weather app opens, go to the search bar. If your iPad is horizontal, you’ll see this on the left-hand side of your screen. And if your device is positioned vertically, you will need to click on the icon in the top left-hand corner to make it appear.
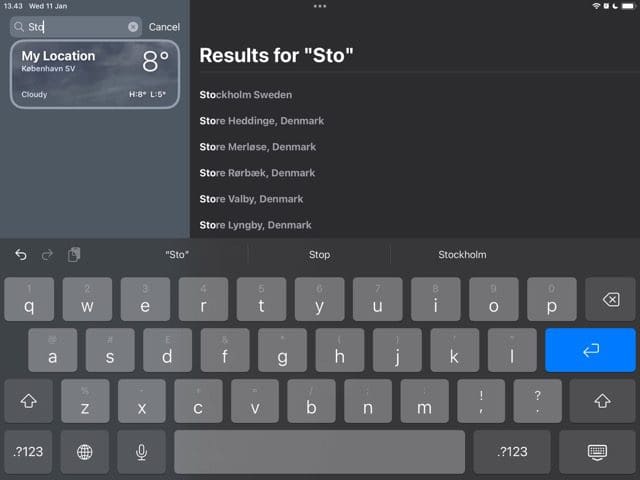
2. Start searching for your location. When you find it, click on it.
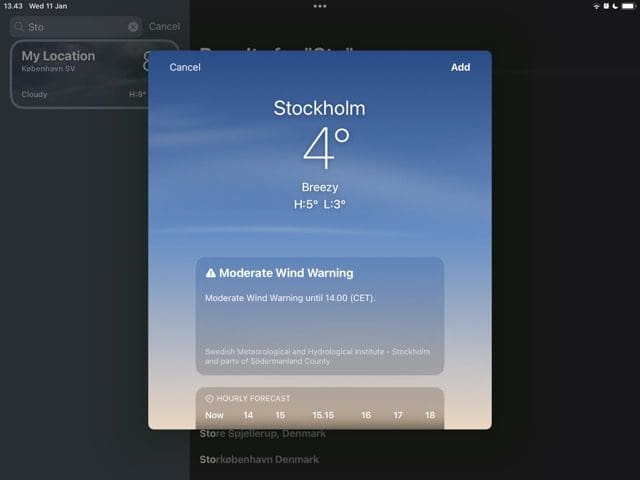
3. The place you want to add will appear in a pop-up window. When you see this, click on Add in the top right of that section.
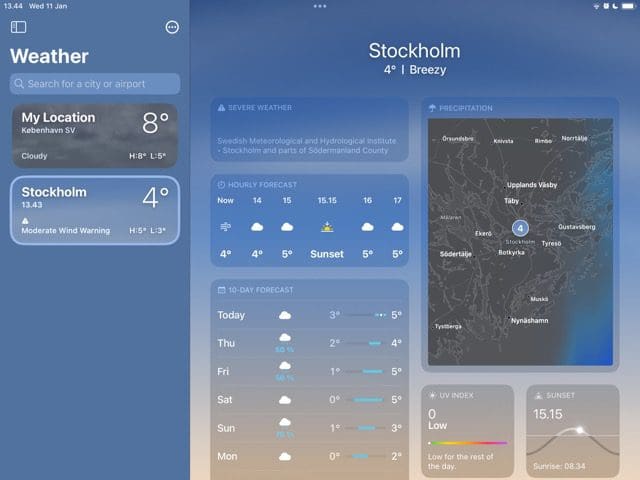
4. After completing the above steps, you’ll see the location under the Weather section on the left-hand side. Like on your iPhone, you can hold and drag it to move it about.
How to Remove Locations in the Weather App on iPad
Removing a location in the Weather app is just as easy on your iPad as it is on an iPhone. Swipe left, and the trash can icon will appear.
When you see the trash can icon, click on this and your device will remove the location from your list.
How to Add Locations in the Weather App on Mac
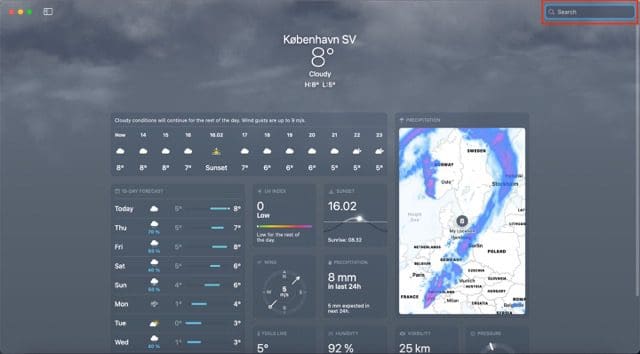
To add a location to the Weather app on your Mac, you’ll first need to open the app. When you do, you’ll see the search bar in the top right-hand corner of your screen. Follow these steps from there onward:
1. Start typing the name of the place you want to add to your list.
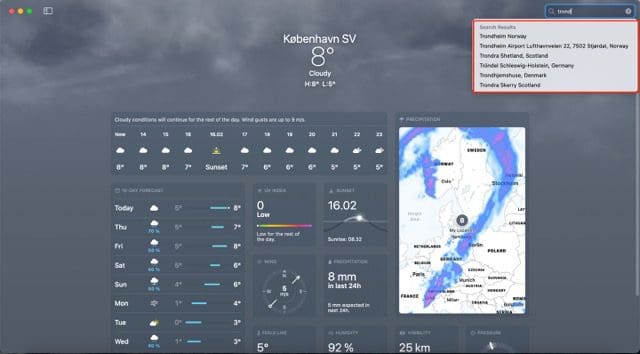
2. You will see a list of locations begin to appear in a gray bubble underneath the search bar. Click on the place you want to add to your list when it shows up.
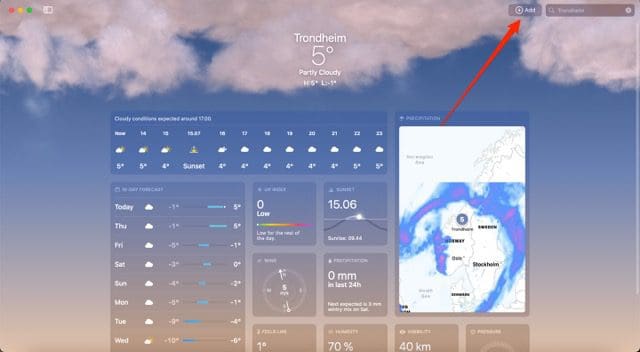
3. Next to the search bar, you’ll see a button titled Add; it’ll have a + icon as well as the text. Click on this to add the location to your list.
If your list of places doesn’t show up, select the icon in the top left-hand corner to make them appear. To move your location around, use your trackpad by clicking on and holding the place while moving it.
How to Remove Locations in the Weather App on Mac
Compared to iPhones and iPads, removing locations in the Weather app is a little different if you use your Mac. Follow the steps listed below.
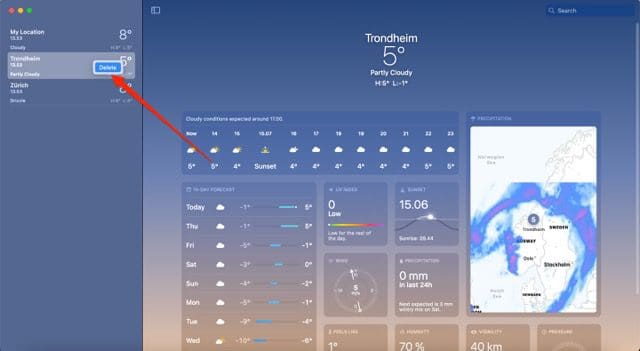
1. In the Weather app, Choose the location you want to remove. Then, hold the control button while also clicking with your trackpad.
2. A small Delete option will appear; click on this.
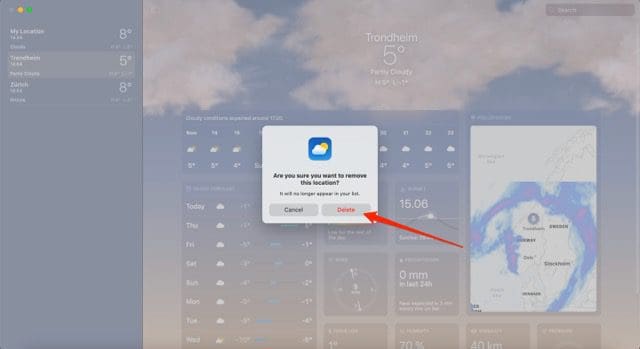
3. You’ll see a pop-up window asking if you want to delete the location from your list. When you see this, hit the red Delete button.
Adding and Removing Locations in the Weather App Is Easy
The process for adding locations is a little different on your iPad, Mac, and iPhone. But regardless of your choice, it’s not too difficult. The same is true for removing places if you decide that you’d later like to do that.
In this guide, you’ve learned how to add and delete locations in the Weather app across multiple Apple devices. One thing worth noting is that you might not see the place you want to add appear in the search. If this is the case, consider picking somewhere close by.
Danny has been a professional writer since graduating from university in 2016, but he’s been writing online for over a decade. He has been intrigued by Apple products ever since getting an iPod Shuffle in 2008 and particularly enjoys writing about iPhones and iPads. Danny prides himself on making complex topics easy to understand. In his spare time, he’s a keen photographer.


Write a Comment