Since being released onto our Apple devices, the Reminders app has made productivity much easier for millions of people worldwide. You can easily add important deadlines, along with giving yourself a nudge to respond to an essential email – plus much more.
Did you know that you can add extra accounts in the Reminders app? Doing so is quite simple, too. In this guide, we’ll show you how to add new accounts to Reminders on iPhone, iPad, and Mac.
How to Add Extra Accounts in Reminders on iPhone and iPad
If you want to add another account to the Reminders app on your iPhone, you can use these tips to complete the process. The process is identical if you use an iPad, so you can follow all of the steps if you use Reminders on your Apple-powered tablet instead.
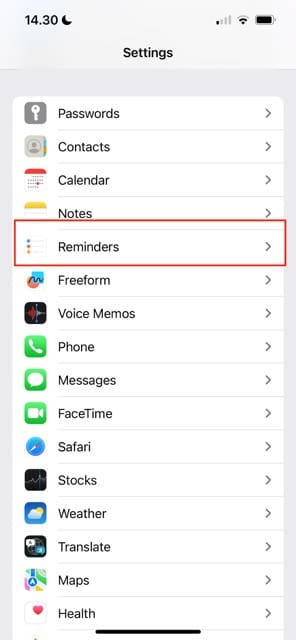
Open the Settings app on your iPhone. When you see Reminders, click on this.
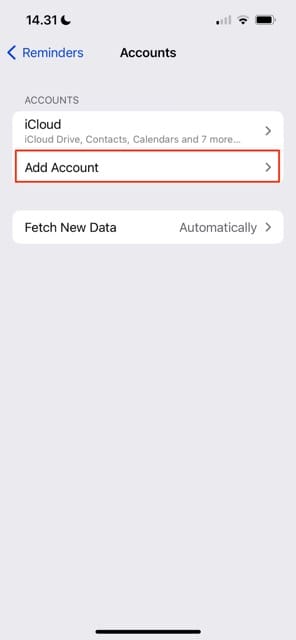
When the next window appears, you’ll see an option called Accounts; tap on that tab.
Select Add Account.
Choose the internet account that you’d like to add to your Reminders app.
Complete any authentication procedures that your iPhone asks you to do.
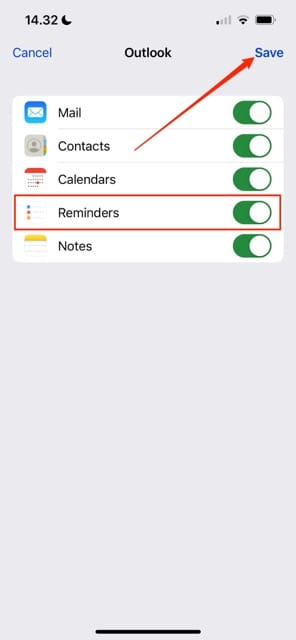
On the next page, you can customize whether you want to use the account with Reminders. The toggle is switched on automatically, so just ensure that it stays like that before tapping Save.
Besides using your account with Reminders, you can also use it with the Mail and Calendar apps – along with various others.
How to Add Extra Accounts in Reminders on Mac
If you want to add another account in the Reminders app on your Mac, the process is – while still straightforward – slightly different.
1. Click on the Apple logo in the top left-hand corner. When the dropdown menu appears, select System Settings.
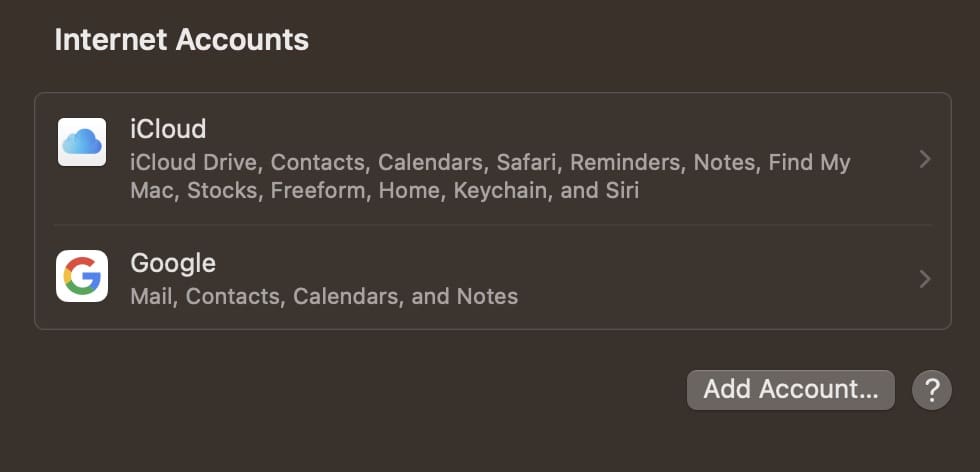
2. Go to Internet Accounts > Add Account.
3. Like on your iPhone, you’ll need to decide which platform you’d like to add an account from. Select this.
4. Complete the required verification process.
5. When the pop-up window appears, make sure that the box next to Reminders remains ticked. Once you’ve clarified that, select Done. you’ll then be able to use your account with the Reminders app on your Mac.
Now You Know How to Add Extra Accounts in the Reminders App
When you add extra accounts for the Reminders app, you have the added benefit of using them with other apps – such as Mail. Performing this action is also quite easy, regardless of the Apple device you use. Now that you’ve read this guide, you should be able to easily add new accounts in Reminders on your iPhone, iPad, and Mac.
You can refer to this guide whenever you need it, but consider trying the Reminders app out now and seeing if you can increase your productivity as a result.
Danny has been a professional writer since graduating from university in 2016, but he’s been writing online for over a decade. He has been intrigued by Apple products ever since getting an iPod Shuffle in 2008 and particularly enjoys writing about iPhones and iPads. Danny prides himself on making complex topics easy to understand. In his spare time, he’s a keen photographer.


Write a Comment