Apple waited a few years between the release of the original AirPods Pro and the AirPods Pro 2. The long wait seems to have been warranted as Apple not only improved the Active Noise Cancellation but also claims to introduce even longer battery life. According to Apple, the AirPods Pro 2 can now last for up to six hours on a single charge, along with an additional 24 hours with the included charging case. However, it seems as though one of the most recent updates is wreaking havoc and leaving users with AirPods Pro battery drain. Thankfully, there are a few different steps you can take to try and get things back in working order.
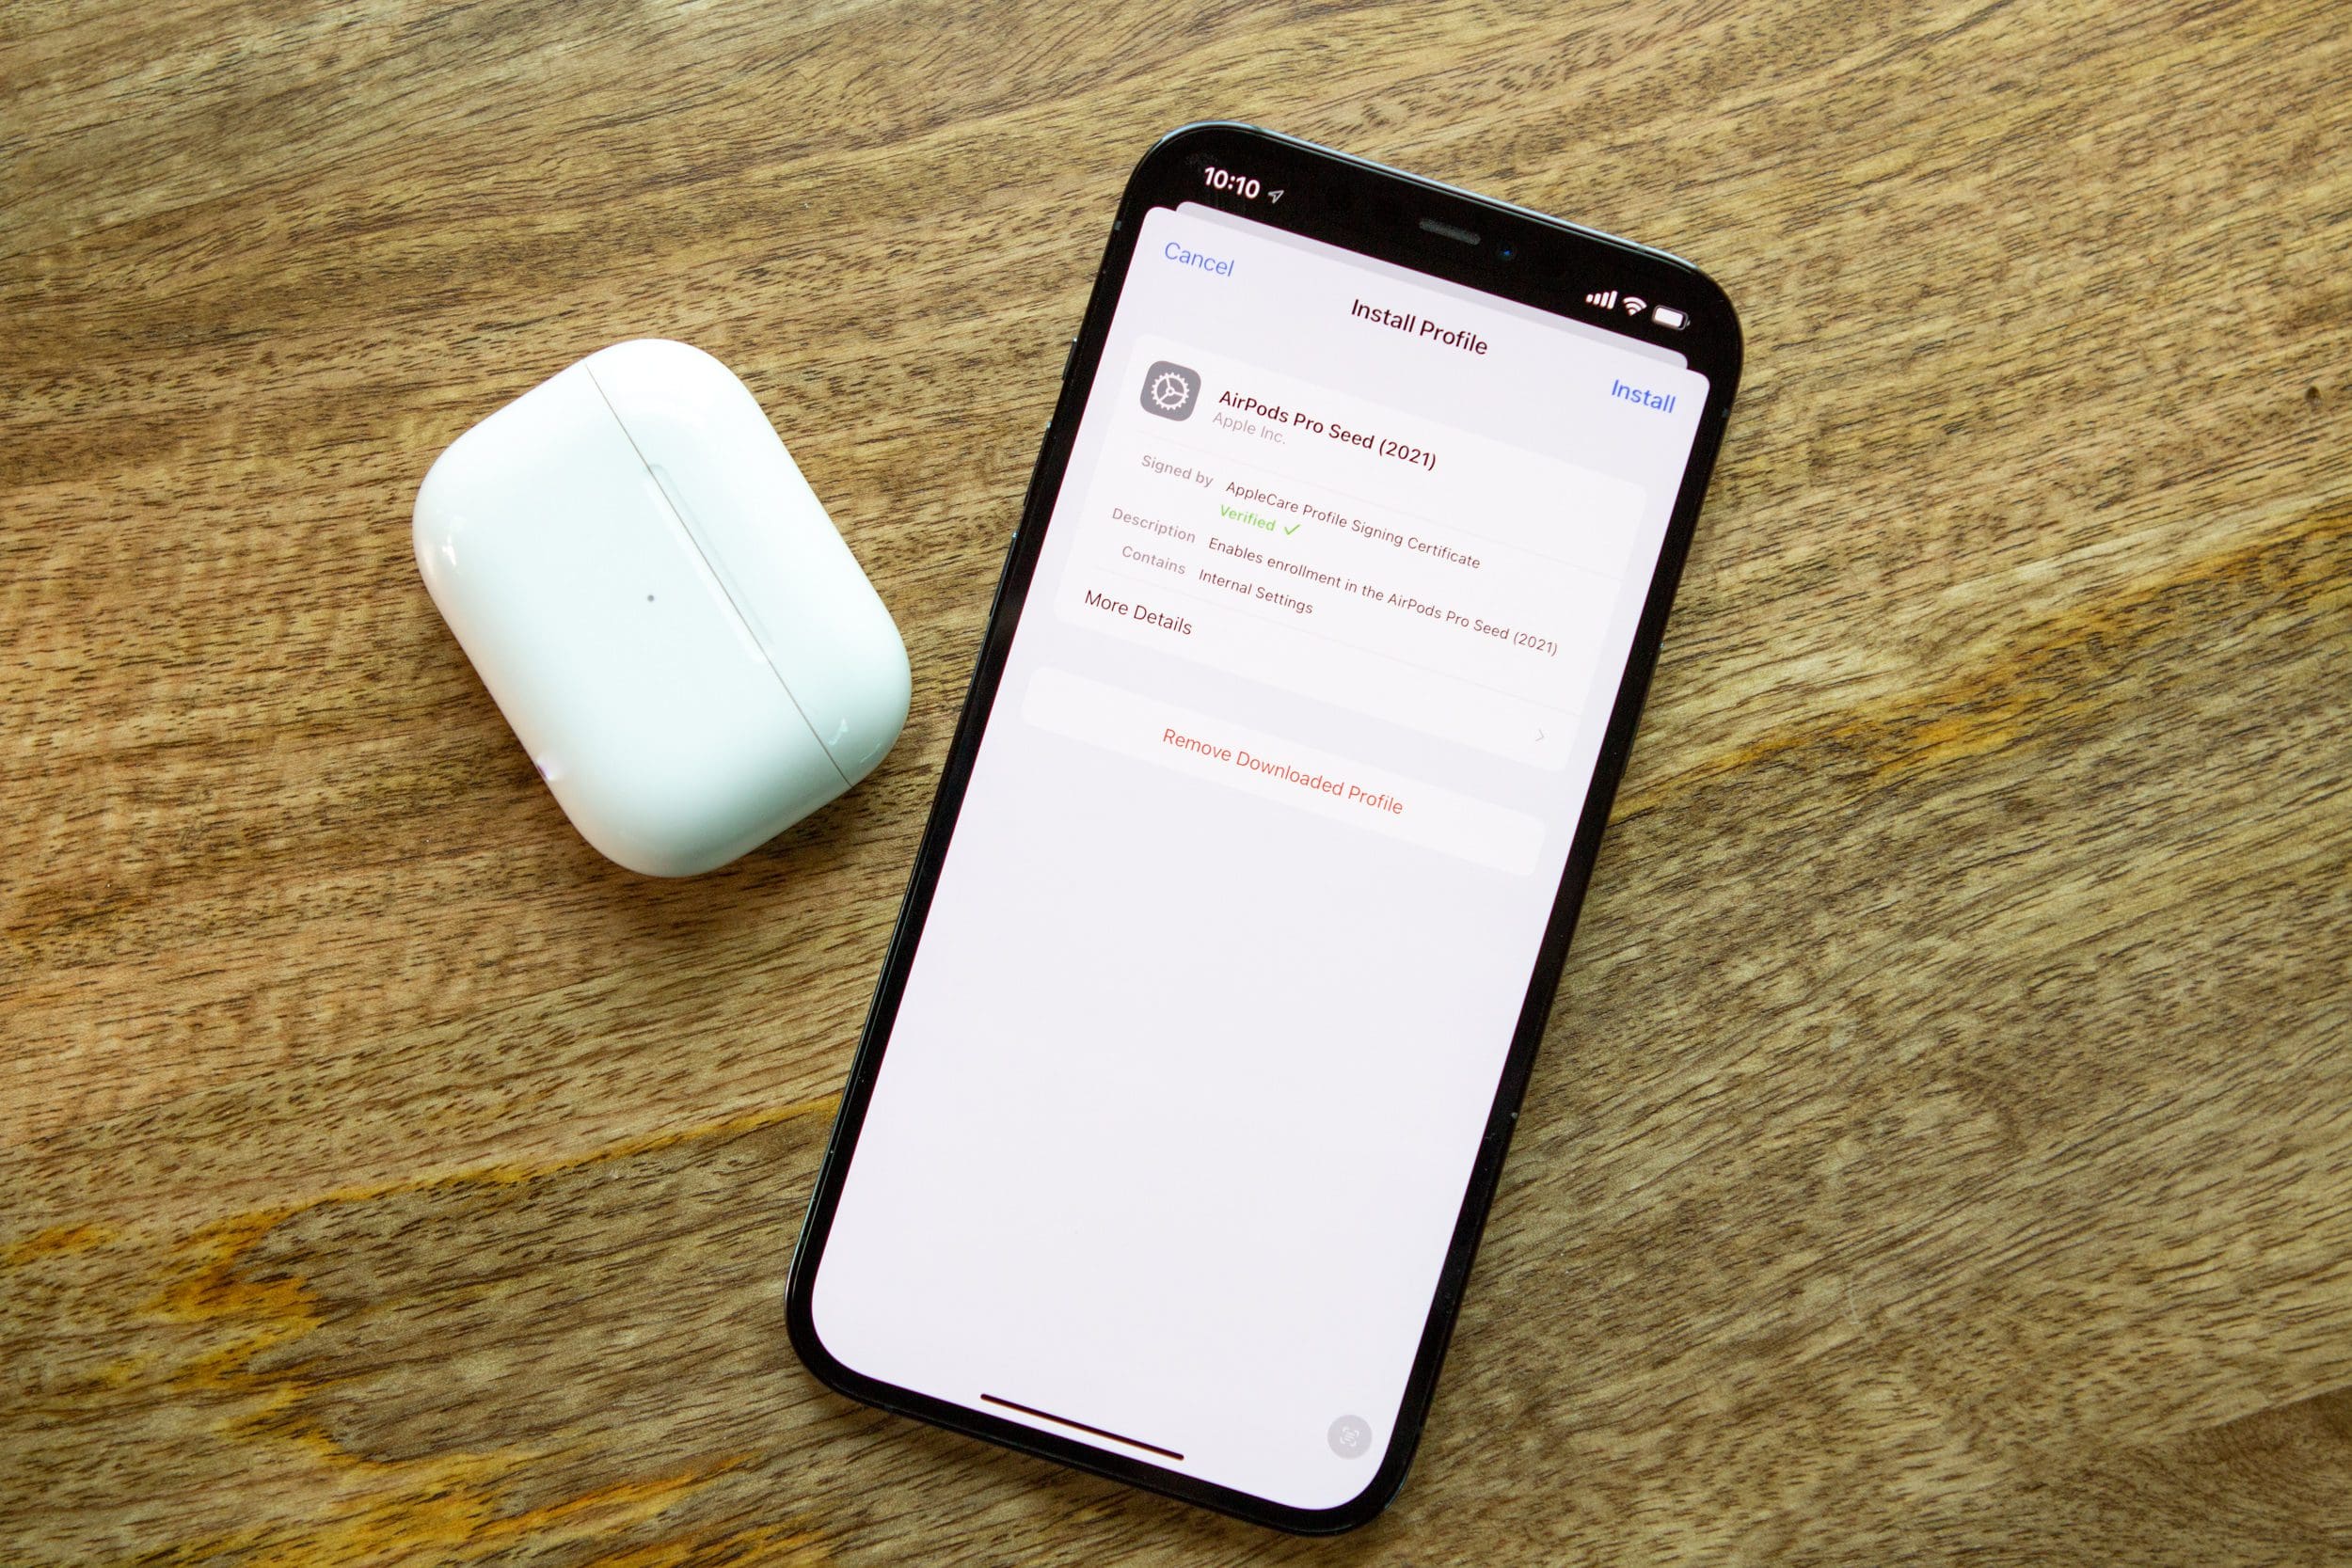
Before you start going down the path of troubleshooting how to fix AirPods Pro battery drain, the first thing that you’ll want to do is make sure your iPhone and AirPods Pro are updated. Many users found that updating their iPhone to iOS 16.3 solved the battery drain problems, meanwhile, Apple has also been rolling out an update to the AirPods Pro. Unfortunately, updating your AirPods Pro isn’t as easy as just tapping a “check for software update” button. Instead, here’s what you’ll need to do:
Ensure that your AirPods Pro 2 are paired and connected to your iPhone.
Listen to music for up to one minute.
Place the AirPods Pro 2 back into the charging case.
Connect the charging case to power via the Lightning port or on a wireless charger.
Charge your AirPods Pro 2 for at least 30 minutes.
Open the case lid and make sure that your AirPods Pro 2 are again connected to your iPhone.
Leave the lid of the charging case open to ensure that the AirPods are connected to your iPhone.
Wait.
If an update is available, it will be automatically downloaded and transferred to your AirPods Pro 2. In order to ensure that you are running the latest firmware available, there are a couple of steps to take. The first of which is to check Apple’s AirPods Firmware Updates page, which provides more information, along with the latest firmware versions for each model of AirPods.
Unpair And Pair AirPods Pro
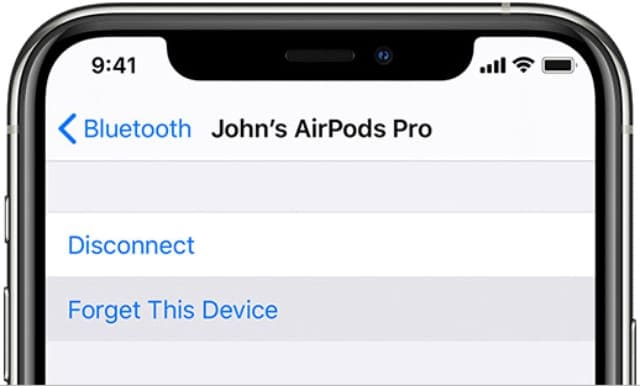
Remove and reconnect your AirPods from the Bluetooth settings.
The quickest way to fix AirPods Pro battery drain is to simply unpair and re-pair them with your iPhone, iPad, or Mac. This doesn’t perform a full-on reset, as that’s something we’ll touch on later. But it does reset the connection between your AirPods Pro and whatever Apple device you are using them with. The first set of steps below apply to those who are running at least iOS 16, which introduced a new way for interacting with AirPods that are connected to your device.
Open the Settings app on your iPhone or iPad.
Tap the name of your AirPods at the top of the page, below where it says [Your Name].
Scroll to the bottom of the page.
Tap Forget This Device.
To confirm, tap the Forget Device button.
The next series of steps is the more traditional method used for unpairing AirPods from an Apple device, as you’ll access the settings through the Bluetooth menu.
Open the Settings app on your iPhone or iPad.
Tap Bluetooth.
Under the My Devices section, locate your AirPods Pro.
Tap the i button to the right of your AirPods Pro.
Scroll to the bottom of the page.
Tap Forget This Device.
To confirm, tap the Forget Device button.
From there, it wouldn’t hurt to turn your iPhone or iPad off and then back on again before pairing your AirPods Pro. Hopefully, this will simply shake out any of the “cobwebs” that could be causing issues.
Toggle Optimized Battery Charging
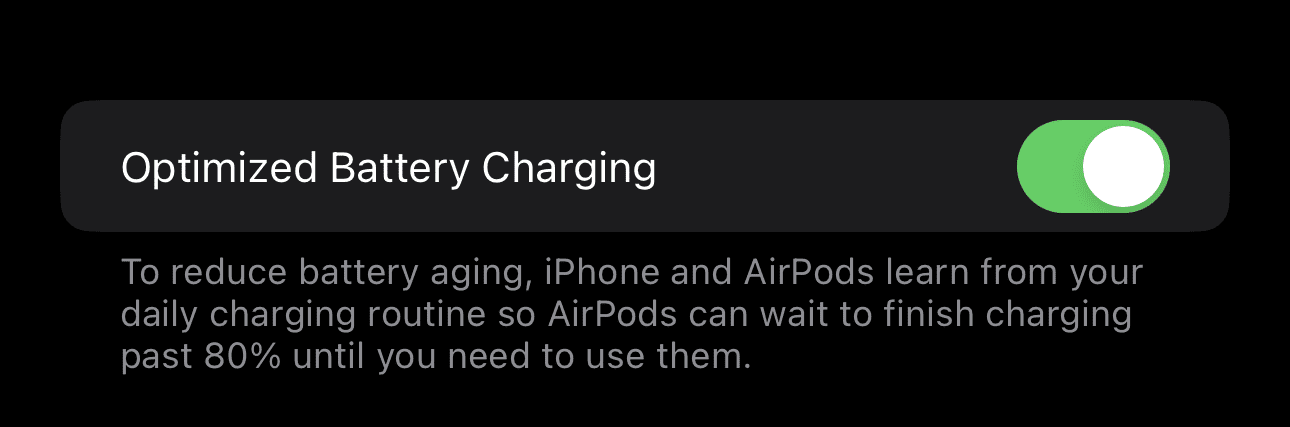
Shortly after the release of iOS 14.2, Apple introduced its Optimized Battery Charging feature for AirPods owners. This feature is designed to help improve the longevity of your AirPods Pro battery, in the same way that the feature is meant to work for iPhone users. Optimized Battery Charging is enabled by default after you pair your AirPods Pro to your iPhone, and will “learn from your daily charging routine so AirPods can wait to finish charging past 80% until you need to use them.” Here’s how to turn off Optimized Battery Charging for your AirPods Pro:
Open the Settings app on your iPhone or iPad.
Tap Bluetooth.
Under the My Devices section, locate your AirPods Pro.
Tap the i button to the right of your AirPods Pro.
Tap the toggle next to Optimized Battery Charging to the Off position.
It’s very likely that this feature, while beneficial in extending the life of your AirPods, potentially went haywire and is causing the AirPods Pro battery drain issue that are plaguing users. And if you find that the problem persists, we recommend going back and turning this feature on, just to make sure your AirPods last as long as possible.
Turn Off Automatic Ear Detection
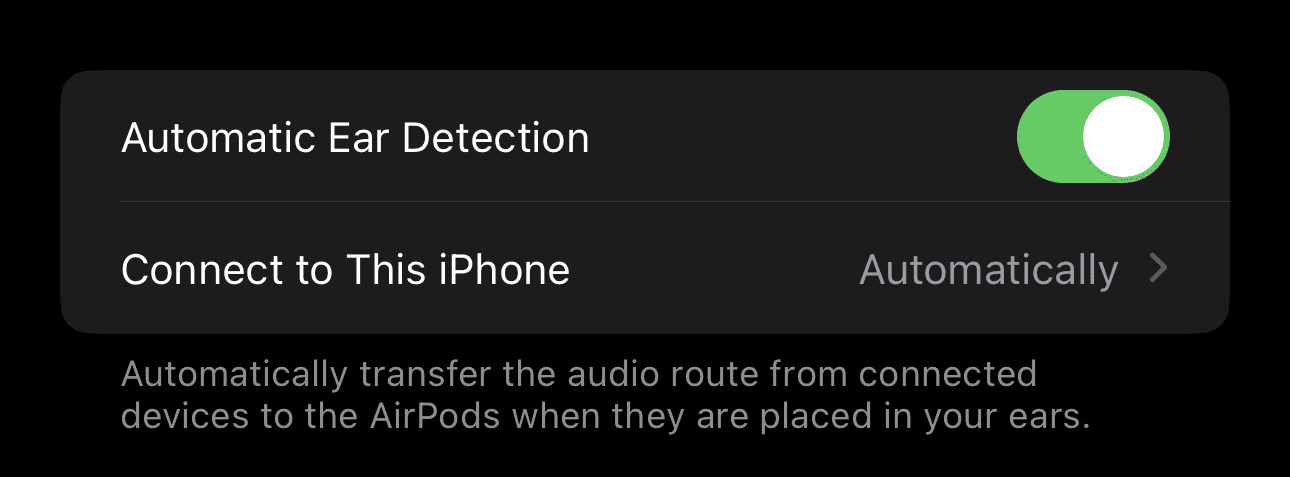
One of the best features of the AirPods Pro, and many of the best wireless earbuds, is that when you take one of the earbuds out, the music automatically pauses. Then, when you put the earbud back in, the music picks up right where it left off, so you don’t miss a beat. However, it seems as though some users have found that this has been the cause of AirPods Pro battery drain, and here’s how you can turn it off.
Open the Settings app on your iPhone or iPad.
Tap Bluetooth.
Under the My Devices section, locate your AirPods Pro.
Tap the i button to the right of your AirPods Pro.
Tap the toggle next to Automatic Ear Detection to the Off position.
Of course, this is one of those features that you likely won’t want to be without. But in order to try and get your AirPods Pro back in working order, we recommend turning it off to see if the issues continue.
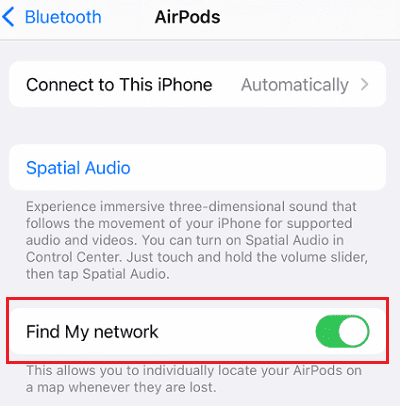
Turn Off ‘Find My’
Over the past few years, we’ve seen Apple integrate its Ultra Wideband chip into more and more devices. It’s essentially how the AirTag came to exist, with the same chip being found in the iPhone and other Apple products. And now, the same chip can be found in the upgraded charging case of the AirPods Pro 2. With this, you are able to pinpoint exactly where your AirPods Pro case might be. However, using this chip still eats up a bit of the battery and is one of the recommended methods to fix AirPods Pro battery drain.
Open the Settings app on your iPhone or iPad.
Tap Bluetooth.
Under the My Devices section, locate your AirPods Pro.
Tap the i button to the right of your AirPods Pro.
Scroll down and tap the toggle next to Find My Network to the Off position.
In some instances, those who were experiencing AirPods Pro battery drain, and turned off “Find My” found that battery life improved by 10% to 20%. It might be a good idea to leave this turned off until a software update arrives that fixes the battery problems for good.
Reset Your AirPods Pro
AirPods Pro update the firmware when they’re in the case.
If you’ve already tried the other solutions that we’ve mentioned, you might be best served by simply resetting your AirPods Pro. This removes any connections with your other Apple devices, and essentially makes the AirPods Pro “think” they are being paired with a device for the first time.
Place both AirPods Pro earbuds in the charging case
Ensure that the charging case has some battery remaining
Locate the small button on the back of the case
Press and hold the button for at least 15 seconds
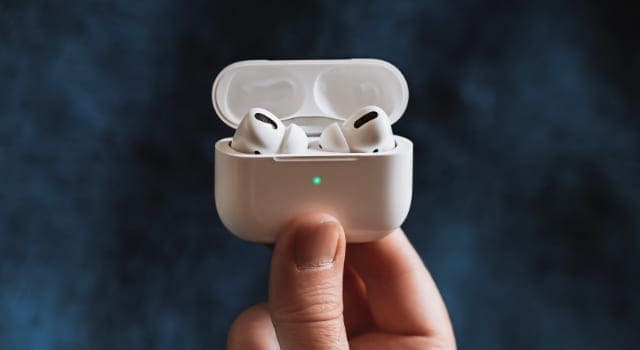
While you are pressing the button, watch the charging light on the front of the case. The light will flash white and then amber after a few seconds. Once the light turns amber, the AirPods Pro have been reset.
Then, just open the case, unlock your iPhone and pair the two products together just like you did on launch day. It’s important to note that the AirPods Pro will unpair themselves from any of your iCloud-connected devices, in addition to the iPhone.
Reach Out To Apple Support
Get support for any Apple device.
The steps above should work for most people, but there will be times when something breaks in the process. In the event that you can’t fix AirPods Pro battery drain, your last option is to reach out to Apple Support.
Chances are, the support person might have you perform some of the steps above again, just to be on the safe side. However, if a replacement is needed, then you’ll need to speak with the customer support representative about warranty options. Replacing your AirPods Pro will cost $29 if you have AppleCare+ or $89 if you are “out of warranty”. These are the same fees that apply if your wireless charging case needs to be replaced.
Andrew Myrick is a freelance writer based on the East Coast of the US. He enjoys everything to do with technology, including tablets, smartphones, and everything in between. Perhaps his favorite past-time is having a never-ending supply of different keyboards and gaming handhelds that end up collecting more dust than the consoles that are being emulated.


Write a Comment