Getting a new model iPhone while currently using the latest beta of iOS and wondering how to change iPhones with the beta installed on your phone? It’s not as complicated as you think! Follow our step-by-step guide on how to get your new iPhone enrolled in Apple’s iOS beta program.
Options When Updating An iPhone or iDevice That Runs an iOS Beta
Apple does not allow users to use newer iOS backups on devices that run older iOS versions.
For example, if you have an iOS backup from iOS 12.1 from your old iPhone, you cannot use it with a new iPhone XS or XR that runs iOS 12.0 or iOS 12.0.1
Options for Your New iPhone Model When Using a Beta On Your Old iPhone
Install the iOS Beta on your new iPhone after an initial set-up
Downgrade your old iPhone’s iOS and create a new backup (not recommended)
Manually copy your files and photos from your old iPhone to your new iPhone using iTunes, iCloud, or other cloud-based storage (like Dropbox or Google Drive)
#1 Update Your Old iPhone’s iOS
We need your old and new iPhones to ultimately run the exact same iOS version (including any minor release) to move your data and restore a back up to your new iPhone.
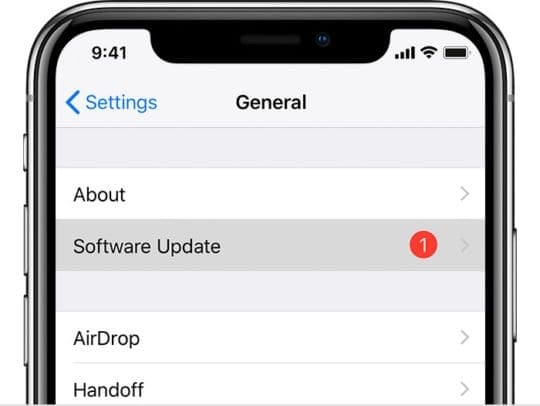
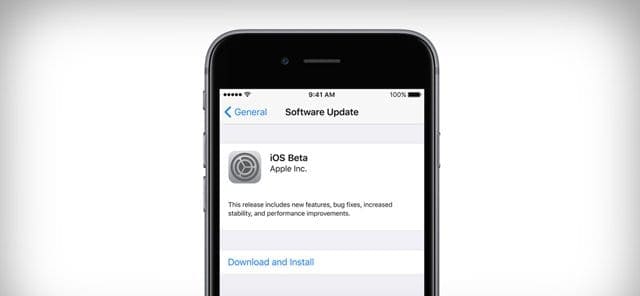
So go to Settings > General > Software Update and install any available beta software to your old iPhone first.
Take note of the version (for example, iOS 12.1)
#2 Back Up Your Data via iTunes (and iCloud to)
Just like you would (or should) do everytime you purchase a new iPhone (or another iDevice), you need to back up your data!
We highly recommend you backup via iTunes. But if that’s not an option, back up with iCloud. The important things are to make sure you back up all your iDevice’s data before proceeding to change your iPhone model.
Back Up Via iTunes
Connect your old iPhone to a Mac or Windows PC with the latest version of iTunes installed on it
Open iTunes
Tap the device icon (usually in the upper-left of the windows–just next to the drop-down menu)
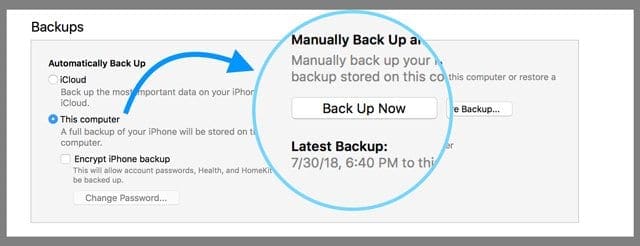
On the Device Summary page, select This Computer under Automatically Back Up
Tap on the Back Up Now button underneath Manually Back Up and Restore
If you want to save any Health and Activity data from your iDevice or paired Apple Watch, tick the option to Encrypt iPhone Backup
Check the box called Encrypt [device] backup
Create a memorable password and write it down or store it somewhere online for safekeeping–you need this password to recover ANY ENCRYPTED backups
Wait for the back up to complete
Archive Your iTunes Backup
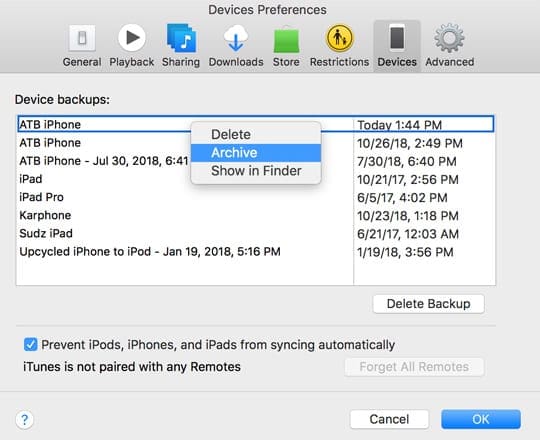
On your computer, go to iTunes > Preferences > Devices
For Macs
Locate the backup you just made by looking at the date and time
Control-click that seconds backup that you just made, then choose Archive
For Windows
Find your backup, copy it, and save that copy to another location
Close iTunes
For Extra Security, Back-Up Again
Create another backup following the instructions above, but don’t archive the backup
Back Up With iCloud
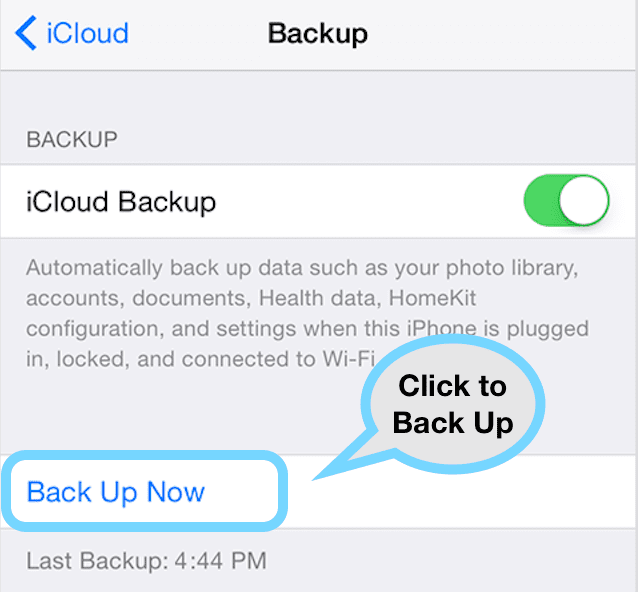
On your old iPhone, open Settings > Apple ID Profile > iCloud > iCloud Backup
Tap Back Up Now
Wait for the back up to finish
#3 Set Up Your New Model iPhone as New
Unbox your new iPhone–keep the box or take a picture of the back of the box so you have the serial number, model, and other information available for future reference
Place the old iPhone’s SIM card into your new phone (if needed)
Turn on your new model iPhone
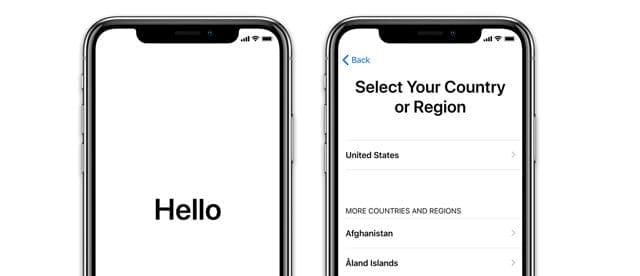
Wait for new iPhone to activate service and follow the on-screen instructions to set-up your region, language, and so forth
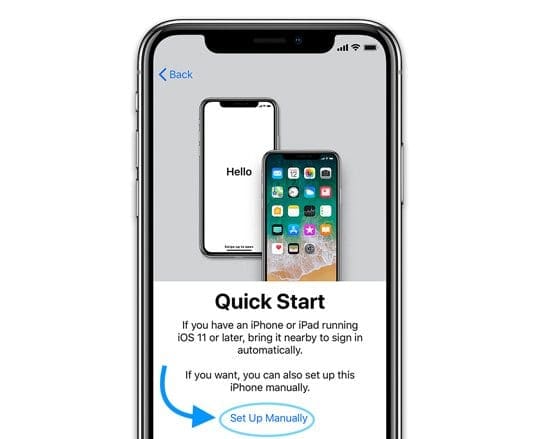
Ignore the Quick Start option and select Set Up Manually
Connect to an available WiFi or Cellular Network to activate your device
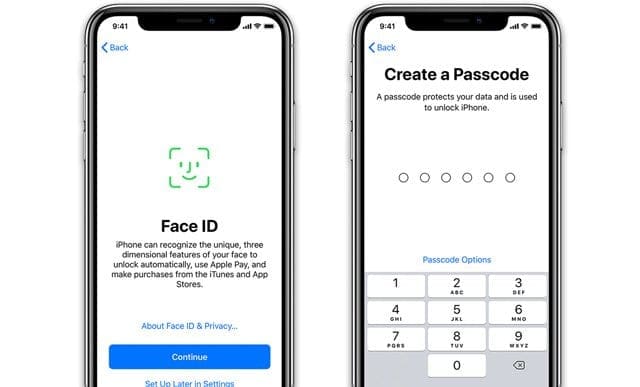
Set-up Face ID (or Touch ID for older models) and create your 6-digit device passcode
If you want a 4-digit passcode, custom passcode, or don’t want to use a device passcode, tap Passcode Options
When asked to restore from an iCloud or iTunes backup, press Set Up As New iPhone
Since your new model iPhone is not running the beta version of iOS, you cannot restore your backup–yet
If you try to restore a backup, you see a message that you cannot due to the iOS version not being the same
Sign in with your Apple ID
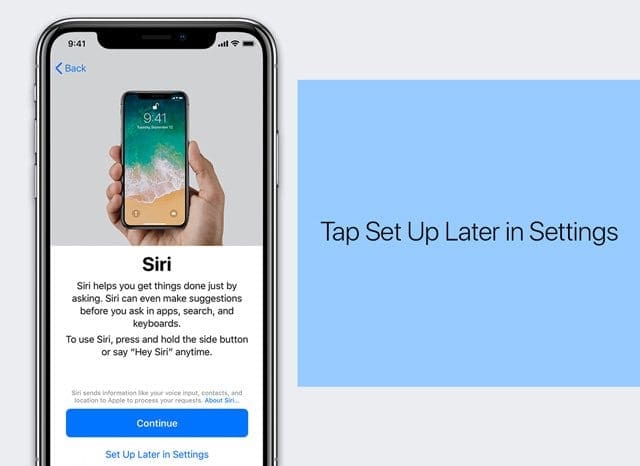
For Siri, Screen Time, Apple Pay, and others choose Set Up in Settings Later
Select Update Manually for automatic updates
#4 Enroll and Update Your New iPhone to the iOS Beta
After you set-up your new iPhone, you need to update it to the iOS Beta
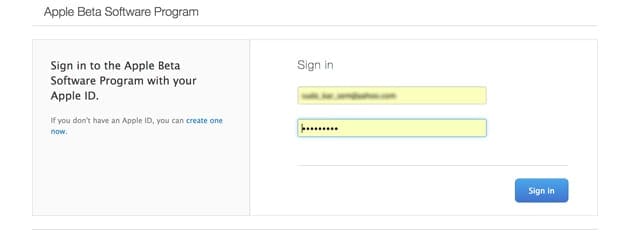
On your iPhone, open Safari or your browser of choice and go to the Apple Beta Site
This site is for desktop so you may need to zoom, pinch, and squeeze
Sign in with your Apple Developer credentials (usually your Apple ID)
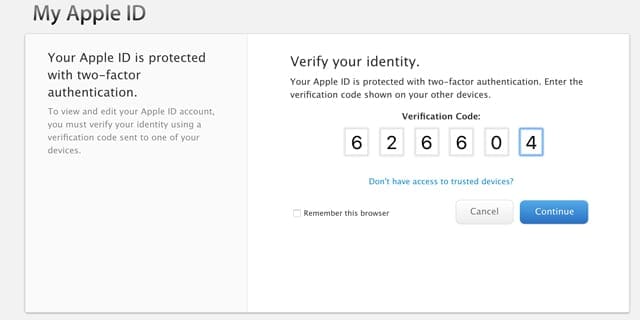
If you have two-factor authentication enabled, enter the verification code
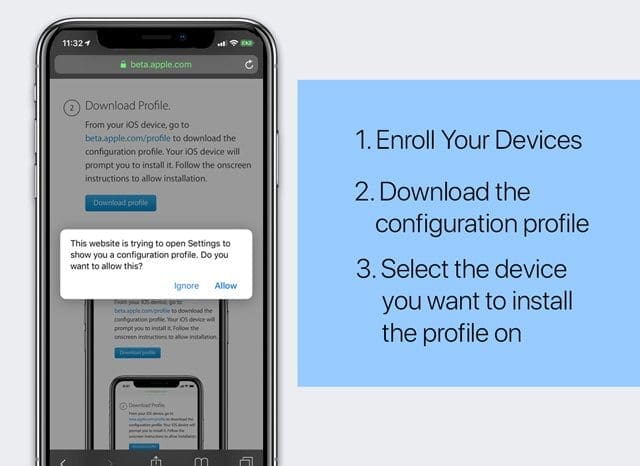
After signing into your beta account, tap the option to Enroll Your Devices
From your new iPhone, go to Apple Beta Profile for iOS to download the configuration profile onto your new iPhone
Sign into with your Apple ID, if asked
Enter a verification code, if needed
Look at the details of the beta and ensure it matches the current beta version on your old iPhone or iDevice
Tap Download Profile
Press Allow on the message asking you to confirm the installation of a configuration profile
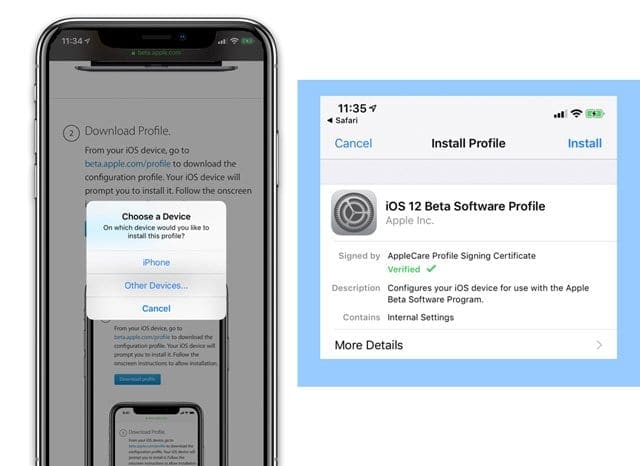
Select the device you want to install the profile on–in this case, iPhone
Tap Other Devices if the device you want doesn’t show up
Tap Install when you see the Beta Software Profile certificate on screen
Enter your device passcode to confirm
Press Install again to accept the terms and conditions
Agree to a restart to fully install the profile
After your device restarts, go to Settings > General > Profile to confirm the iOS beta configuration profile did indeed install on your new iPhone
#5 Update Your New iPhone’s iOS to the iOS Beta
On your new iPhone, tap Settings > General > Software Update to install the latest beta software
Check the version to ensure it matches your old iPhone’s beta version
#6 Restore Your New iPhone
We highly recommend using iTunes for this restore. It works consistently versus iCloud which seems to work only sporadically.
Restore Using iTunes
The last step is to connect your old iPhone’s data to your new iPhone.
Now that both iPhones (or whatever iDevice you use) run the exact same iOS version, it’s time to link that data!
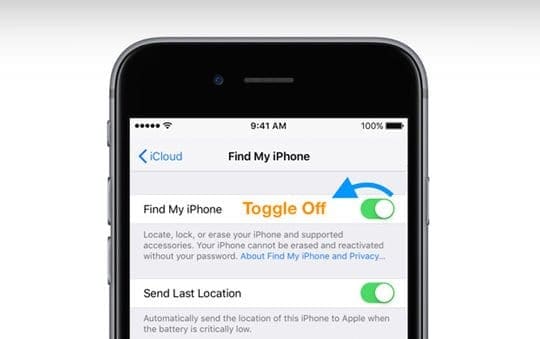
On your new model iPhone, go to Settings > Apple ID Profile > iCloud and toggle off Find My iPhone
Enter your Apple ID password to confirm
Open iTunes on the same computer you recently backed up your old iPhone to
Plug in your new iPhone to the computer
You should see a message on-screen to either Restore from a backup or start as new, choose Restore
If you don’t see this message, go to your device summary in iTunes and tap Restore iPhone
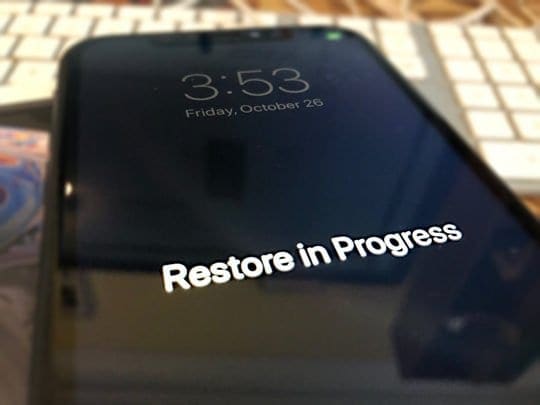
You see a message that a Restore is In Progress–do not touch the device or press any buttons
When Restore is complete, follow any on-screen instructions to finish the set-up
Restore With iCloud
On your new model iPhone, go to Settings > Apple ID Profile > iCloud and toggle off Find My iPhone
Enter your Apple ID password to confirm
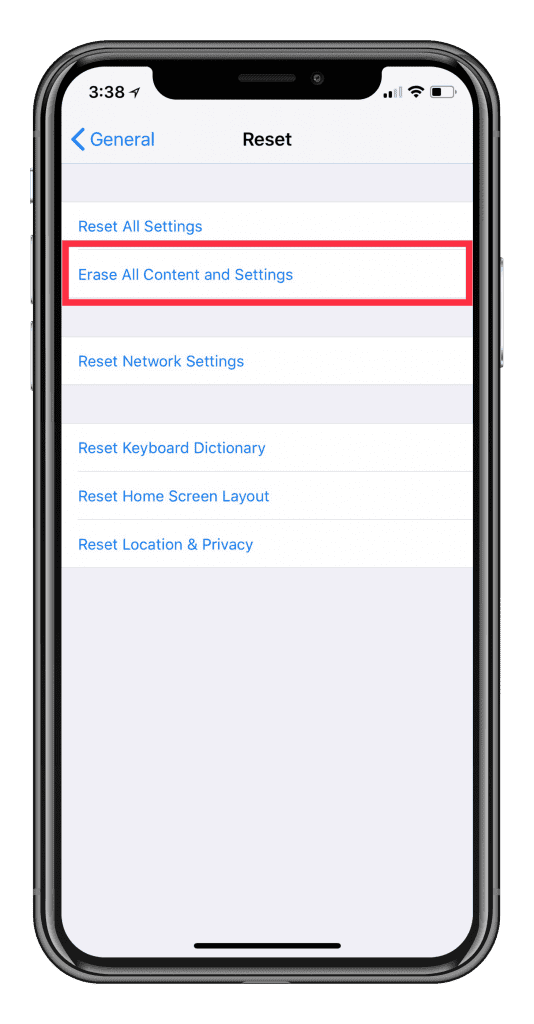
On your new iPhone, go to Settings > General > Reset and tap Erase All Content And Settings
Confirm
Follow the onscreen setup steps until you reach the Apps & Data screen, then tap Restore from iCloud Backup
Select the backup you recently created on your old iPhone, running the iOS beta
When done, your iPhone should automatically restart
After the restart, go to
Remember that apps and data can take a while to install on your device, so be patient and allow time for the device to finish everything, so your two phone now mirror each other.
Once totally done, go back to Settings > Apple ID Profile > iCloud > Find My iPhone. If it’s on, don’t do anything. But if it’s off, turn it on.
#7 Check Your New iPhone
Now that you restored your old iPhone’s backup to your new iPhone, it’s a good idea to check and ensure all your data, photos, apps, messages, and so forth successfully transferred over.
You’ll likely need to re-enter all your email account passwords for each of the accounts listed in Settings > Passwords & Accounts, so make sure you check that. If you encounter issues when re-entering passwords for your email accounts, see this detailed troubleshooting article.
#8 Back Up Your New iPhone
Lastly, it’s important to now back up your new iPhone. Do this via iTunes or iCloud. It doesn’t matter, as long as your information backs up.
For folks that want things done on auto-pilot, we suggest using iCloud to automatically back up your data routinely. Go to Settings > Apple ID Profile > iCloud > iCloud Backup and toggle it on.
For most of her professional life, Amanda Elizabeth (Liz for short) trained all sorts of folks on how to use media as a tool to tell their own unique stories. She knows a thing or two about teaching others and creating how-to guides!
Her clients include Edutopia, Scribe Video Center, Third Path Institute, Bracket, The Philadelphia Museum of Art, and the Big Picture Alliance.
Elizabeth received her Master of Fine Arts degree in media making from Temple University, where she also taught undergrads as an adjunct faculty member in their department of Film and Media Arts.


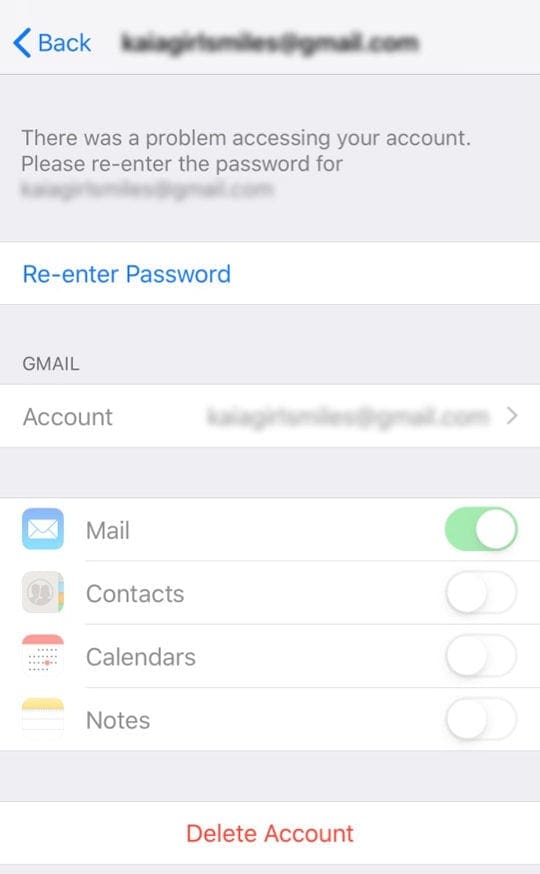 If you encounter issues when re-entering passwords for your email accounts, see this detailed troubleshooting article.
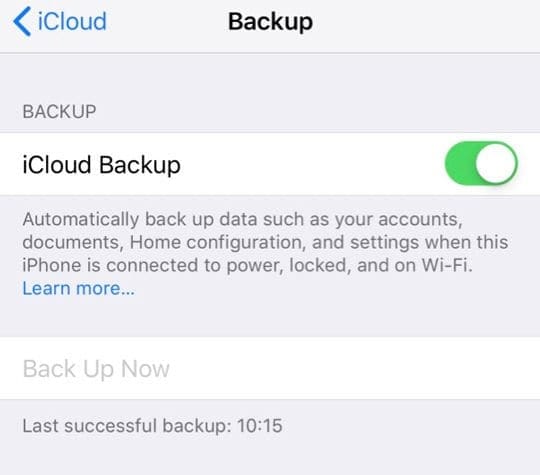


Write a Comment