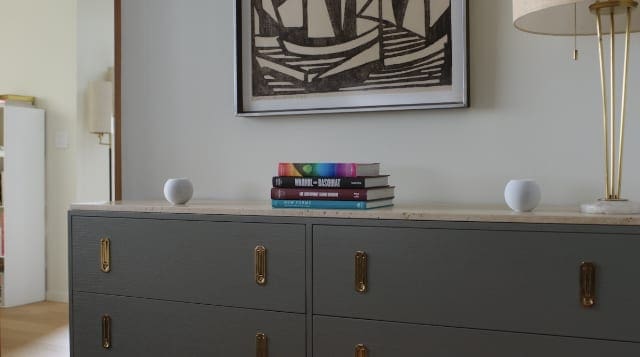
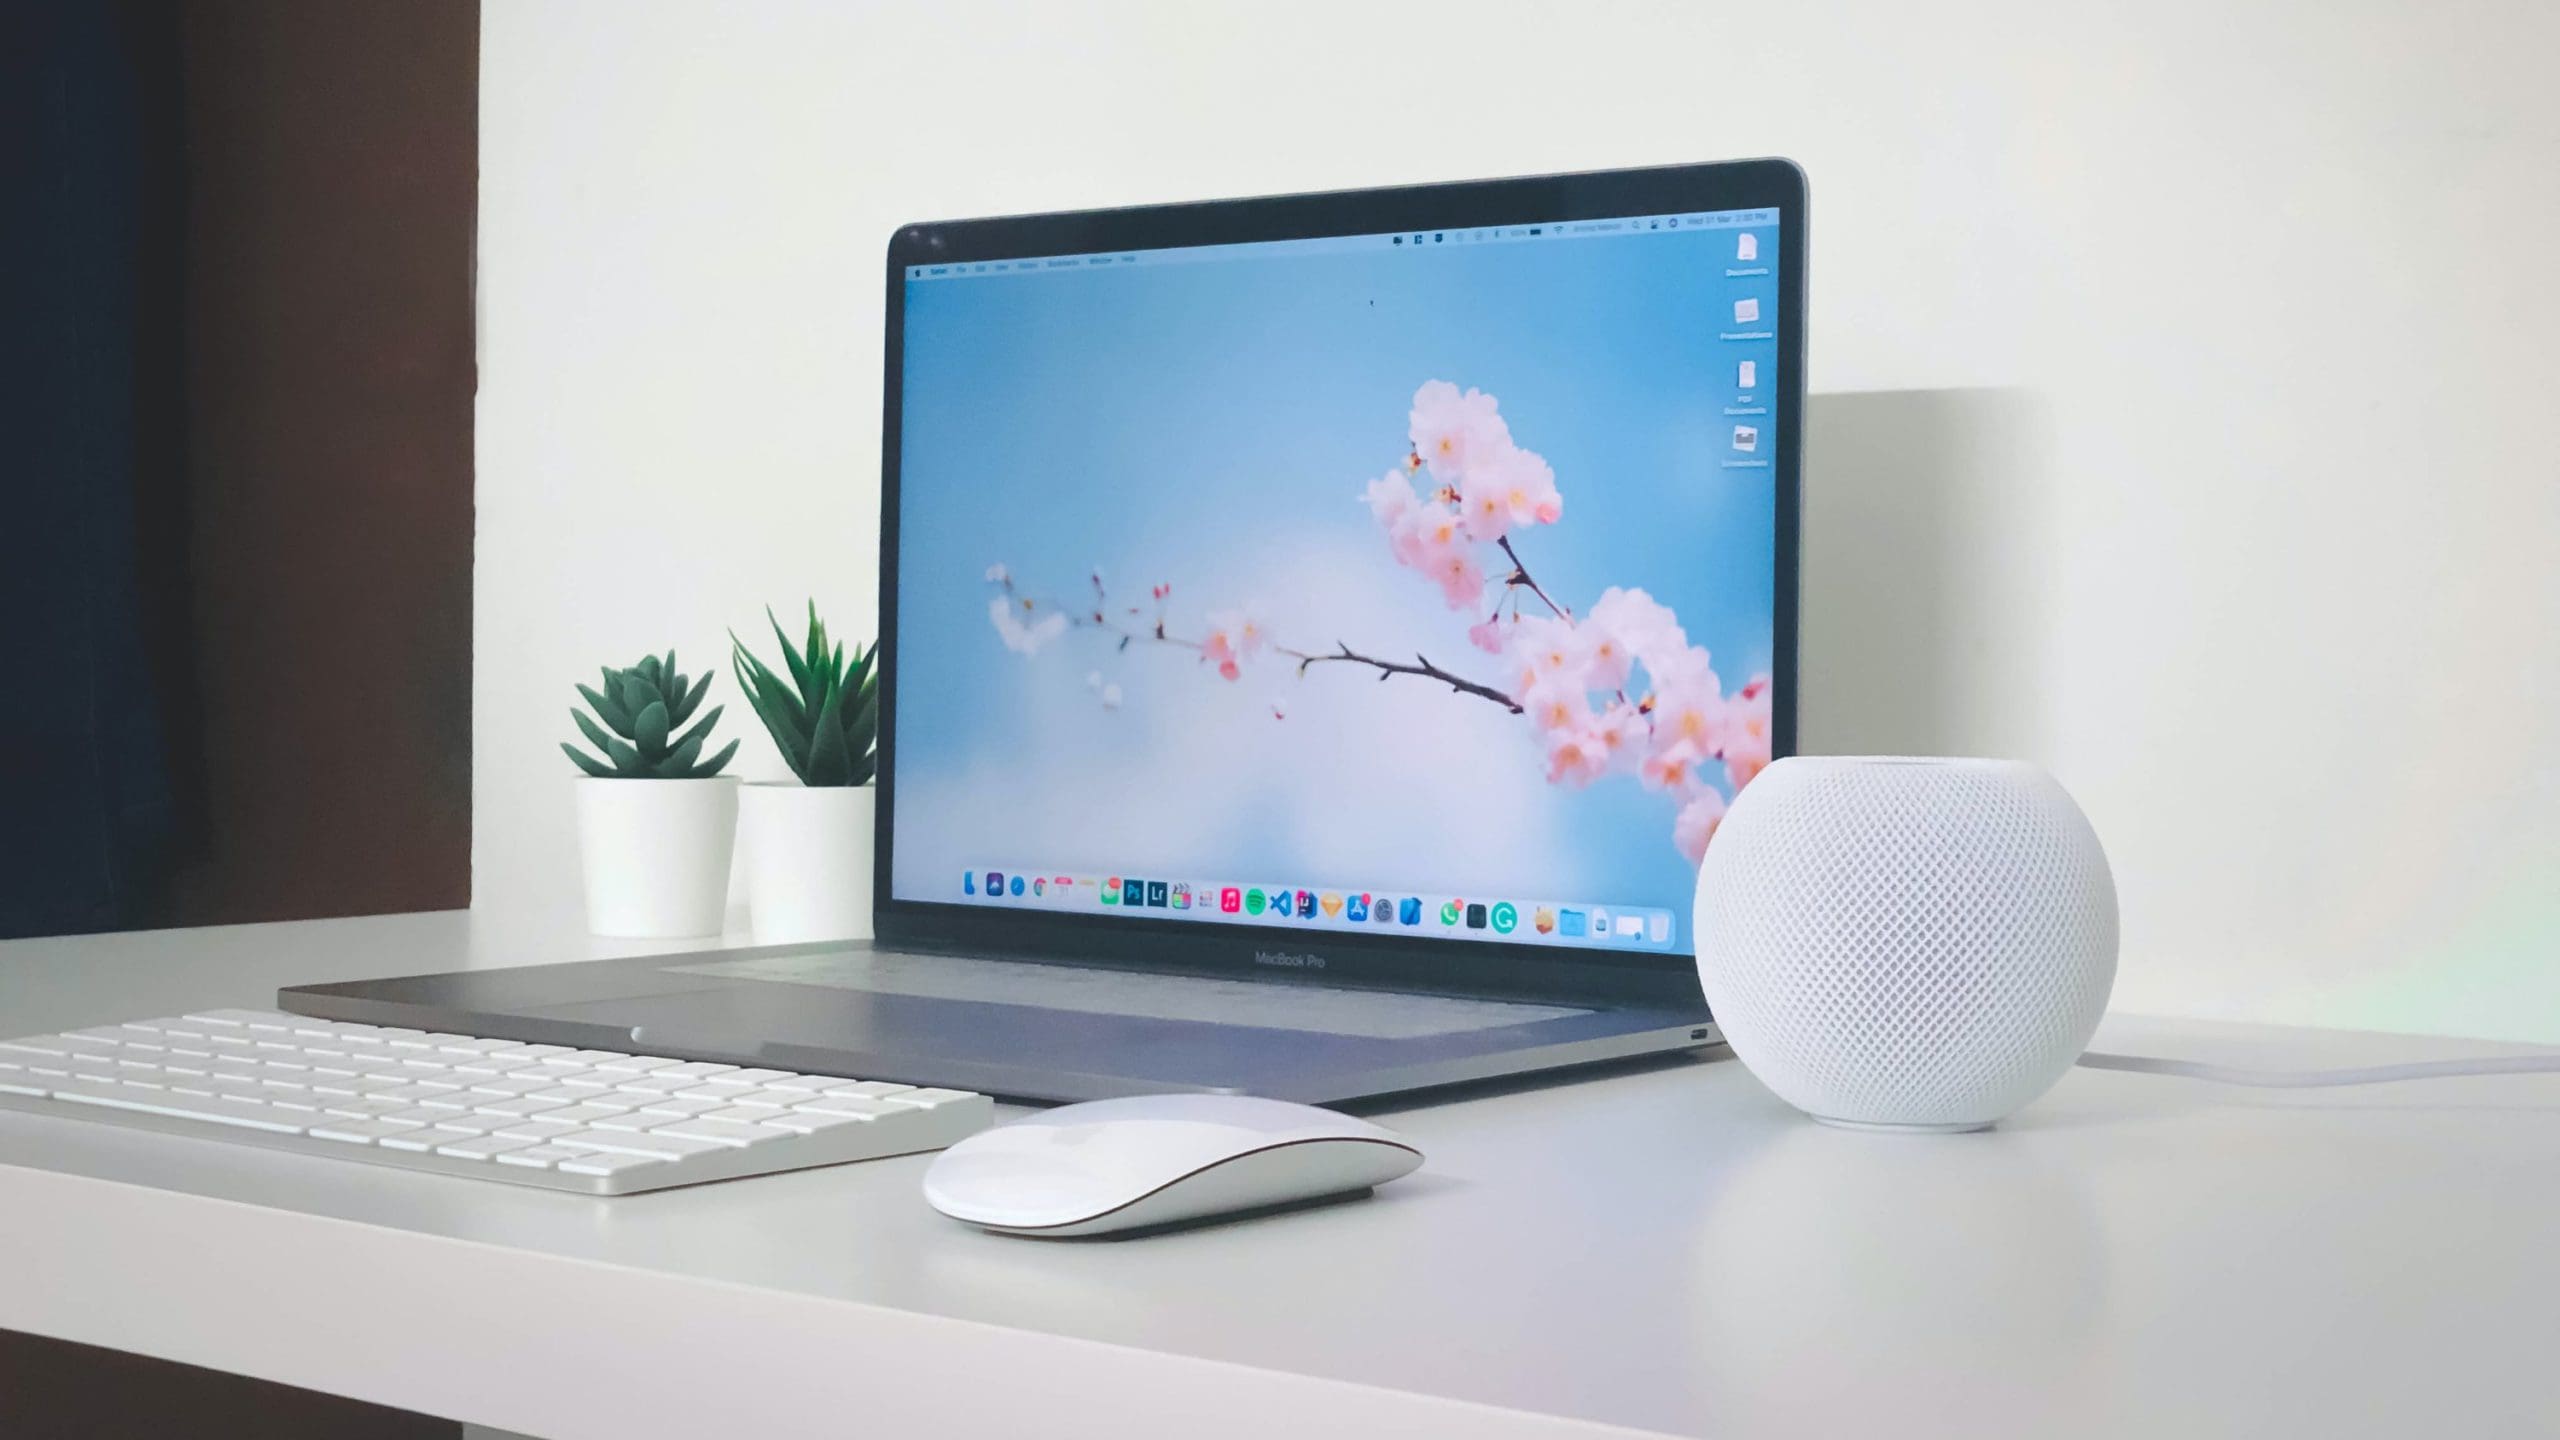
The HomePod Mini was first released way back in 2020 and has become a staple for those in the Apple ecosystem who want a Siri-powered smart speaker. However, following the announcement of the 2nd Generation HomePod, Apple has unlocked the ability to use temperature sensor in HomePod Mini.
The implementation of a humidity and temperature sensor in the HomePod Mini has been known for quite a while, but until now, it has not been accessible. With an upcoming update, you’ll not only be able to check the temperature and humidity levels in different rooms, but you’ll also be able to create automations based on the measurements.
How to Activate Temperature Sensor in HomePod Mini
In order to activate and use temperature sensor in HomePod Mini, you’ll first need to make sure your smart speaker is updated to the latest HomePod 16.3 software. At the time of this writing, this is only available as a beta, but once the update is rolled out, here’s how you can install it and use temperature sensor in HomePod Mini:
Open the Home app on your iPhone.
In the top right corner, tap the three horizontal dots within the circle.
From the Settings menu, tap Home Settings.
Tap Software Update.
If an update is available, tap the Update or Update All button.
You’ll be able to tell whether the update has started when you see a white spinning light on the top of your HomePod. It’s important to note that you’ll need to keep your HomePod Mini plugged in for the duration of the update. We also recommend making keeping your iPhone close by, just to avoid any potential disruptions as the update is downloaded and installed.
Once the update is finished being installed onto your HomePod Mini, it will reboot. After a few moments, you’ll be able to open the Home app again on your iPhone, iPad, or Mac, and will see two new options at the top of the room where your HomePod is located within.
Provided that everything went according to plan with the update, you’ll see the Temperature and Humidity in the room. That’s really all there is when it comes to those who want to use temperature sensor in HomePod Mini.
Create Home Automations
But something else that you can do with the HomePod Mini and 2nd Generation HomePod is create various automations. The most obvious of which is for those who have a HomeKit-enabled smart thermostat. Essentially, you can create an automation that will start your HVAC system whenever the temperature reaches a certain threshold.
Arguably the best part of this is the fact that you can do so right from the Home app. Surprisingly, creating Home Automations doesn’t require you to use Apple’s built-in Shortcuts app. Nevertheless, here’s how you can create Home Automations based on the temperature sensor in the HomePod Mini.
Open the Home app on your iPhone, iPad, or Mac.
Select the room where the HomePod Mini is located.
Tap the Temperature Humidity buttons at the top of the room.
From the menu that appears, tap Add Automation.
Tap either Rises Above or Drops Below.
Rotate the dial to select the temperature at which the automation will be activated.
Under the Time section, select one of the following:
Any time
During the day
At night
Specific times
After making your selections, tap the Next button in the top right corner.
From the list of devices, locate and select your thermostat.
Tap Next in the top right corner.
At the top of the page, change the name of your automation.
Under the Accessories section, set the action that you want your thermostat to perform.
Tap the Done button in the top right corner.
With this automation created, your thermostat will automatically perform whatever action was set when the specified temperature is reached. Of course, you can create multiple automations using the new climate controls within the Home app if you own the HomePod Mini or 2nd Generation HomePod. Unfortunately, if you have the original HomePod, updating to the HomePod 16.3 software won’t unlock any hidden sensors.
Andrew Myrick is a freelance writer based on the East Coast of the US. He enjoys everything to do with technology, including tablets, smartphones, and everything in between. Perhaps his favorite past-time is having a never-ending supply of different keyboards and gaming handhelds that end up collecting more dust than the consoles that are being emulated.


Write a Comment