There could be several reasons for changing an admin account name. Someone new might be using the computer. You might just want to change your account name to reflect a new marital or maiden name. Or you might want to switch who has admin privileges on the computer. Below we’ll show how to change the admin account name on the macOS.
How to Change the Admin Account Name
To change the account name in macOS, you’ll have to change the user account and home folder name. Both the user account and home folder names must be the same for the changes to fully take effect.
Be aware, you cannot change the home folder name while using file sharing.
It’s also important to perform some type of backup before performing this operation. The Users & Groups menu will give you a message that reads, “WARNING: Changing these settings might damage this account and prevent the user from logging in. You must restart the computer for the changes to these settings to take effect.“
These instructions also work in OS X Yosemite or later.
To start, rename the home folder:
You’ll have to start by logging out of the account you wish to rename and then log into a separate administrator account. You may need to create another administrator account if you do not have one.
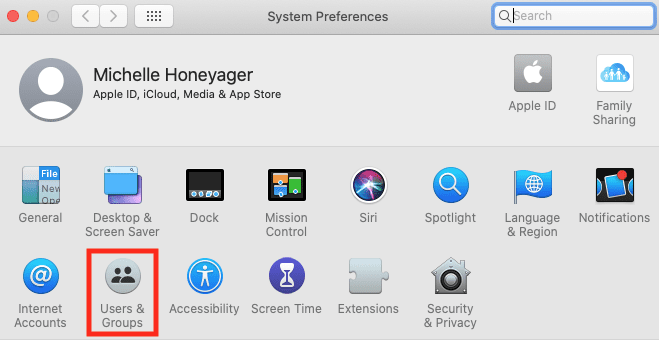
If you need to create another administrator account, click the Apple icon > go to System Preferences > click Users & Groups. You may have to click the padlock at the bottom to make changes. At the bottom of the users list, you’ll see a + button to add new users.
After clicking the +, follow the prompts to add another administrator account, which you should be able to select in a pop-up menu. Enter the required information, and hit Create User. Log into the new account.
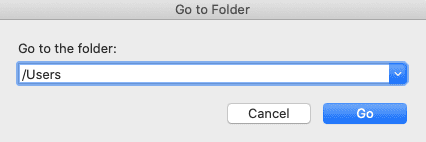
Within the other administrator account you are not changing, go to the Users folder on the startup disk. To get there, select Go on the top menu > Go to Folder > enter /Users
Select the user’s home folder name you wish to change by either selecting the item and hitting return or force clicking the item’s name. Then you can type in a new name without spaces and hit return. You may be asked for the administrator name and password to make this change.
Now you can rename the account itself:
Select the Apple icon.
Go to System Preferences.
Click Users & Groups.
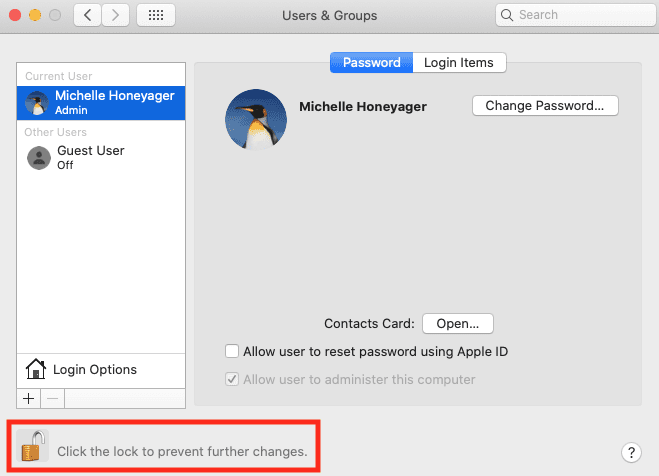
Then you should click the padlock icon if it’s closed, which will prompt you to enter the user name and password for the separate account you are logged into. The padlock should then appear open.
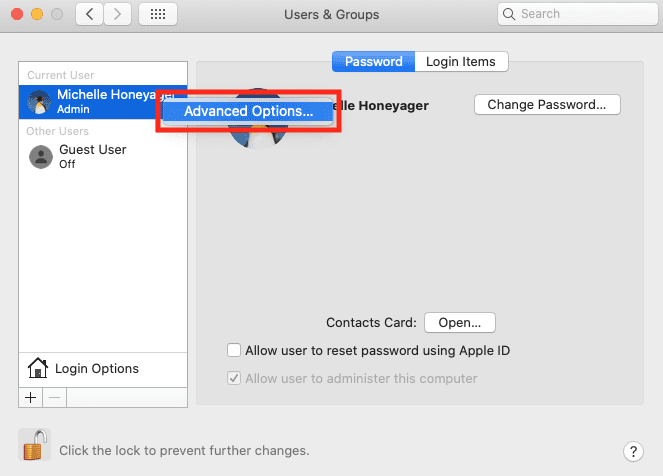
On the list of users to the left, hit the control key and click the account you wish to rename.
Select Advanced Options.
On the next screen, you’ll see a list of information. Change the field next to Account name to match what you entered for the home folder with no spaces.
In the Home directory field, change the name after /Users/ to match the new name.
You can also change the Full name field, which allows for spaces and can be a different name.
Click OK.
Restart the Mac.
You should be able to log in to the renamed account.
Take time to verify that the account is working and that all files are accessible and visible.


Write a Comment