One thing that you should know about me before diving into this is that I’m a sucker for a good “battle station”. I spend far too much time browsing and perusing the likes of the r/MacSetups and r/Battlestations subreddits, as they just give me ideas of how I can rearrange my own home office.
When Apple announced the Studio Display, I wanted to get it on my desk as fast as possible. I’ve wanted to see what a 5K display would look like and if it would help to reduce some of the clutter that I’ve built up with my current setup. There’s a saying, “a cluttered desk leads to a cluttered mind”, and I’ll be darned if I don’t fall into that category. So I was determined to try something completely different with the Studio Display.
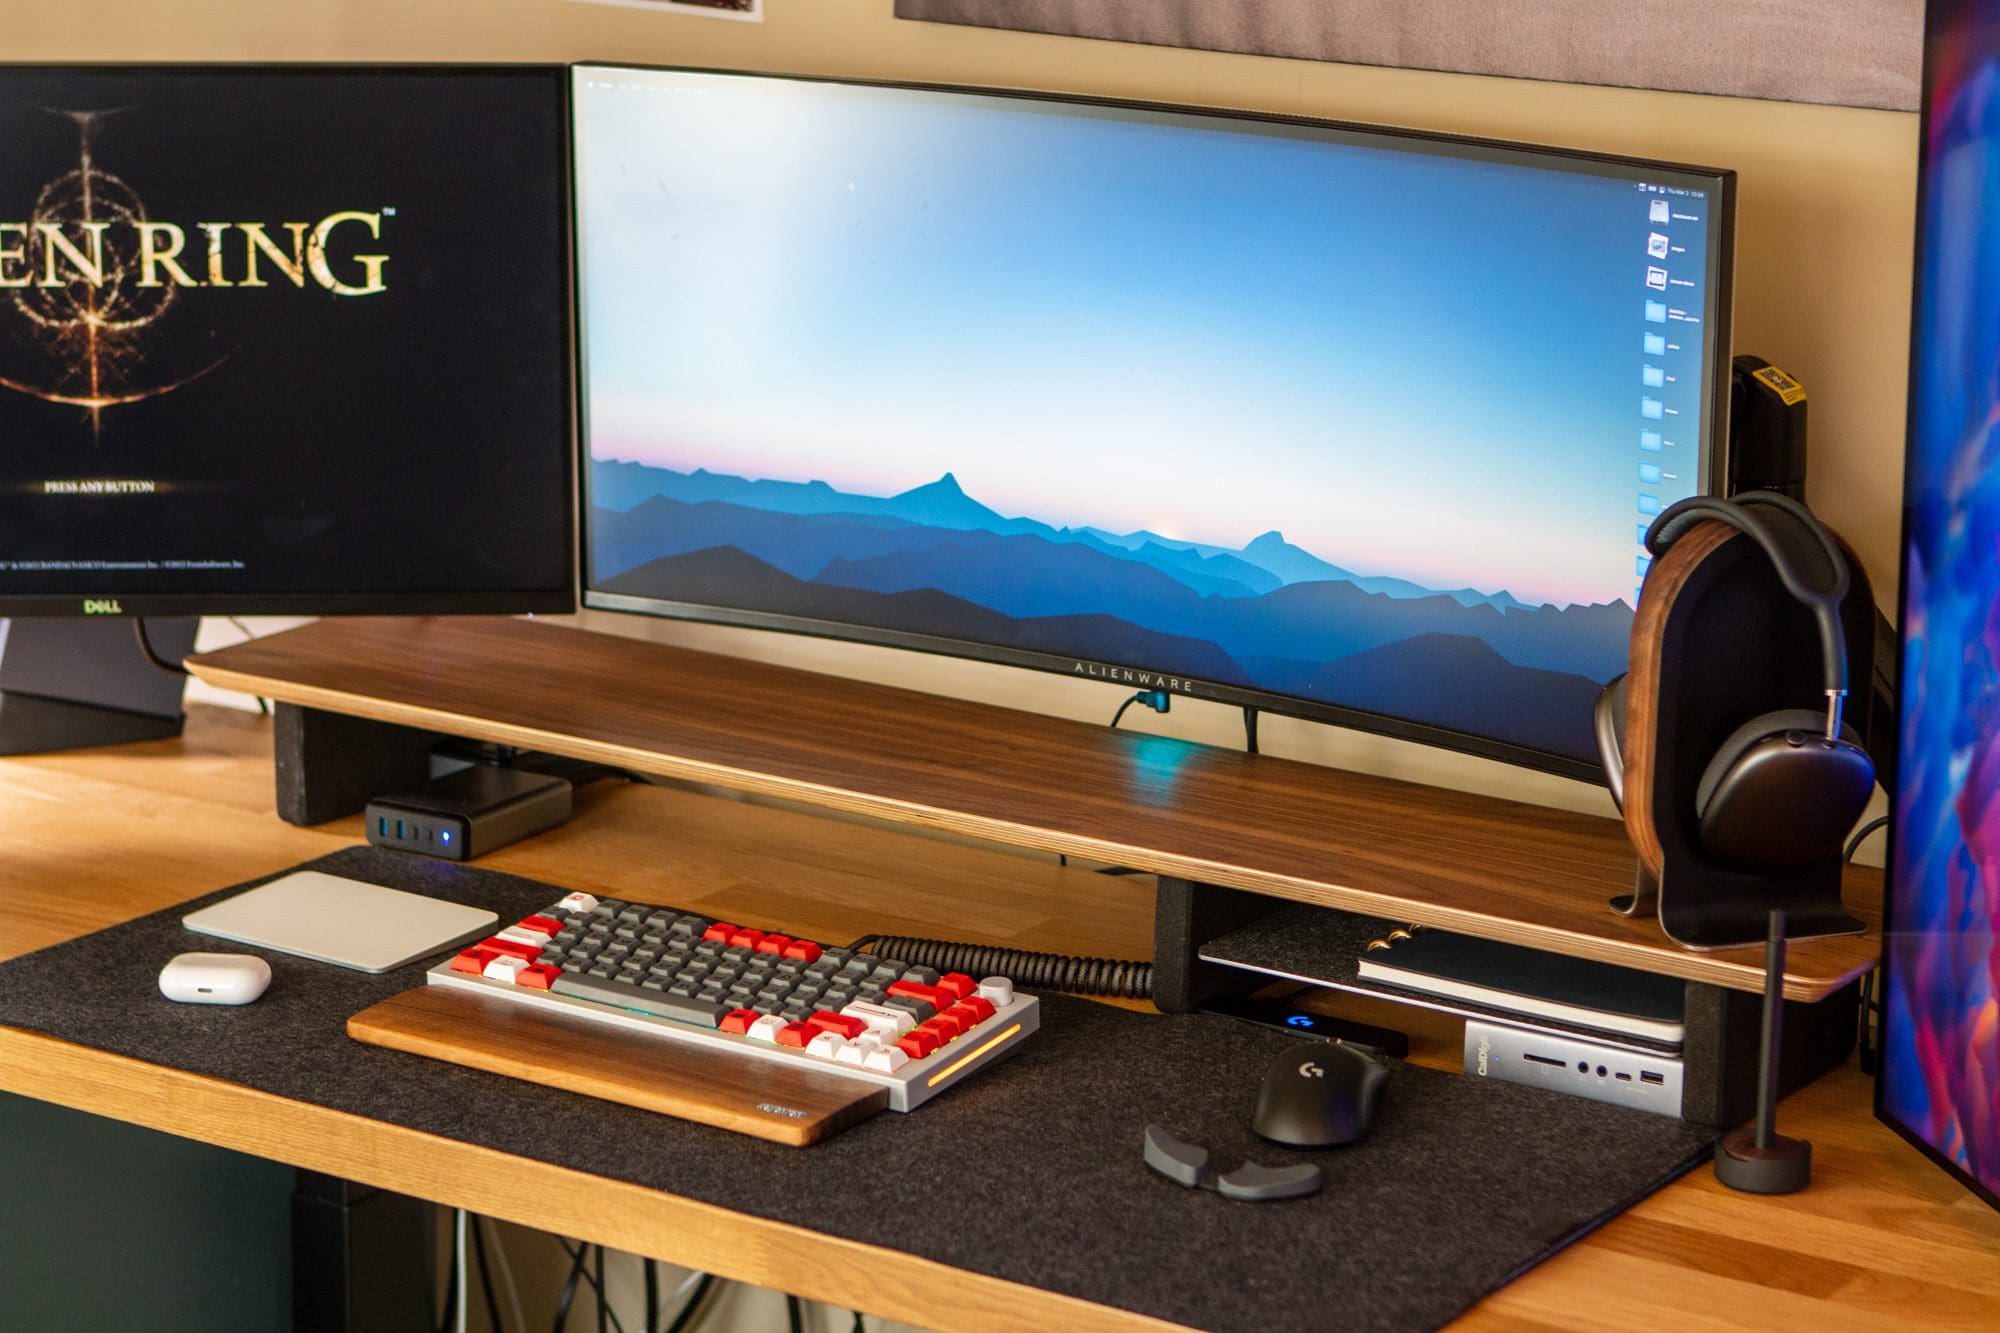
Before the Studio Display was announced, my setup consisted of a triple monitor setup with a 34-inch QHD ultrawide in the middle and two 27-inch QHD monitors off to either side. Because I use both macOS and Windows, the cable management is a convoluted mess that drives me insane on a regular basis. I know that there are monitors with built-in KVMs, but I just couldn’t find one that I really wanted to end up purchasing.
Instead, I have relied on a USB switch and a separate DisplayPort switch allowing me to keep my favorite peripherals connected without actually needing to swap cables around. It’s been a workflow that has just worked, but it’s also one that I haven’t been extremely happy with. Over the course of the past year alone, I have probably rearranged the office in my apartment at least five or six times trying to find something that would stick.
And honestly, this most recent setup has been comfortable and reliable, cable management aside. That is until the Apple Studio Display was announced.
Clearing The Clutter
Unfortunately, I wasn’t able to jump on the pre-order train to get one on launch day, and that’s honestly, probably for the better. At the time of this writing, even the standard version with its tilt-adjustable display is incredibly difficult to purchase in-store. And if you were to try and order that version, you wouldn’t receive it until the end of April, at least.
Luckily, I was able to find a Best Buy about an hour and a half away that actually had one in stock. So I jumped in the car and drove up there to not only test drive it but to hopefully pick one up. After making the long trek back home, I was finally able to try out a 5K monitor for the first time. But instead of just trying to tack on the monitor to my current setup, I opted to use a spare desk that I have and create a “work-focused” setup.
This one is powered by a 16-inch 2021 MacBook Pro with the M1 Pro chip paired with 16GB of RAM and 1TB of onboard storage. I also have my trusty CalDigit TS3 Plus, which doesn’t have any issues with the MacBook Pro despite not using Thunderbolt 4. Thank goodness for backward compatibility.
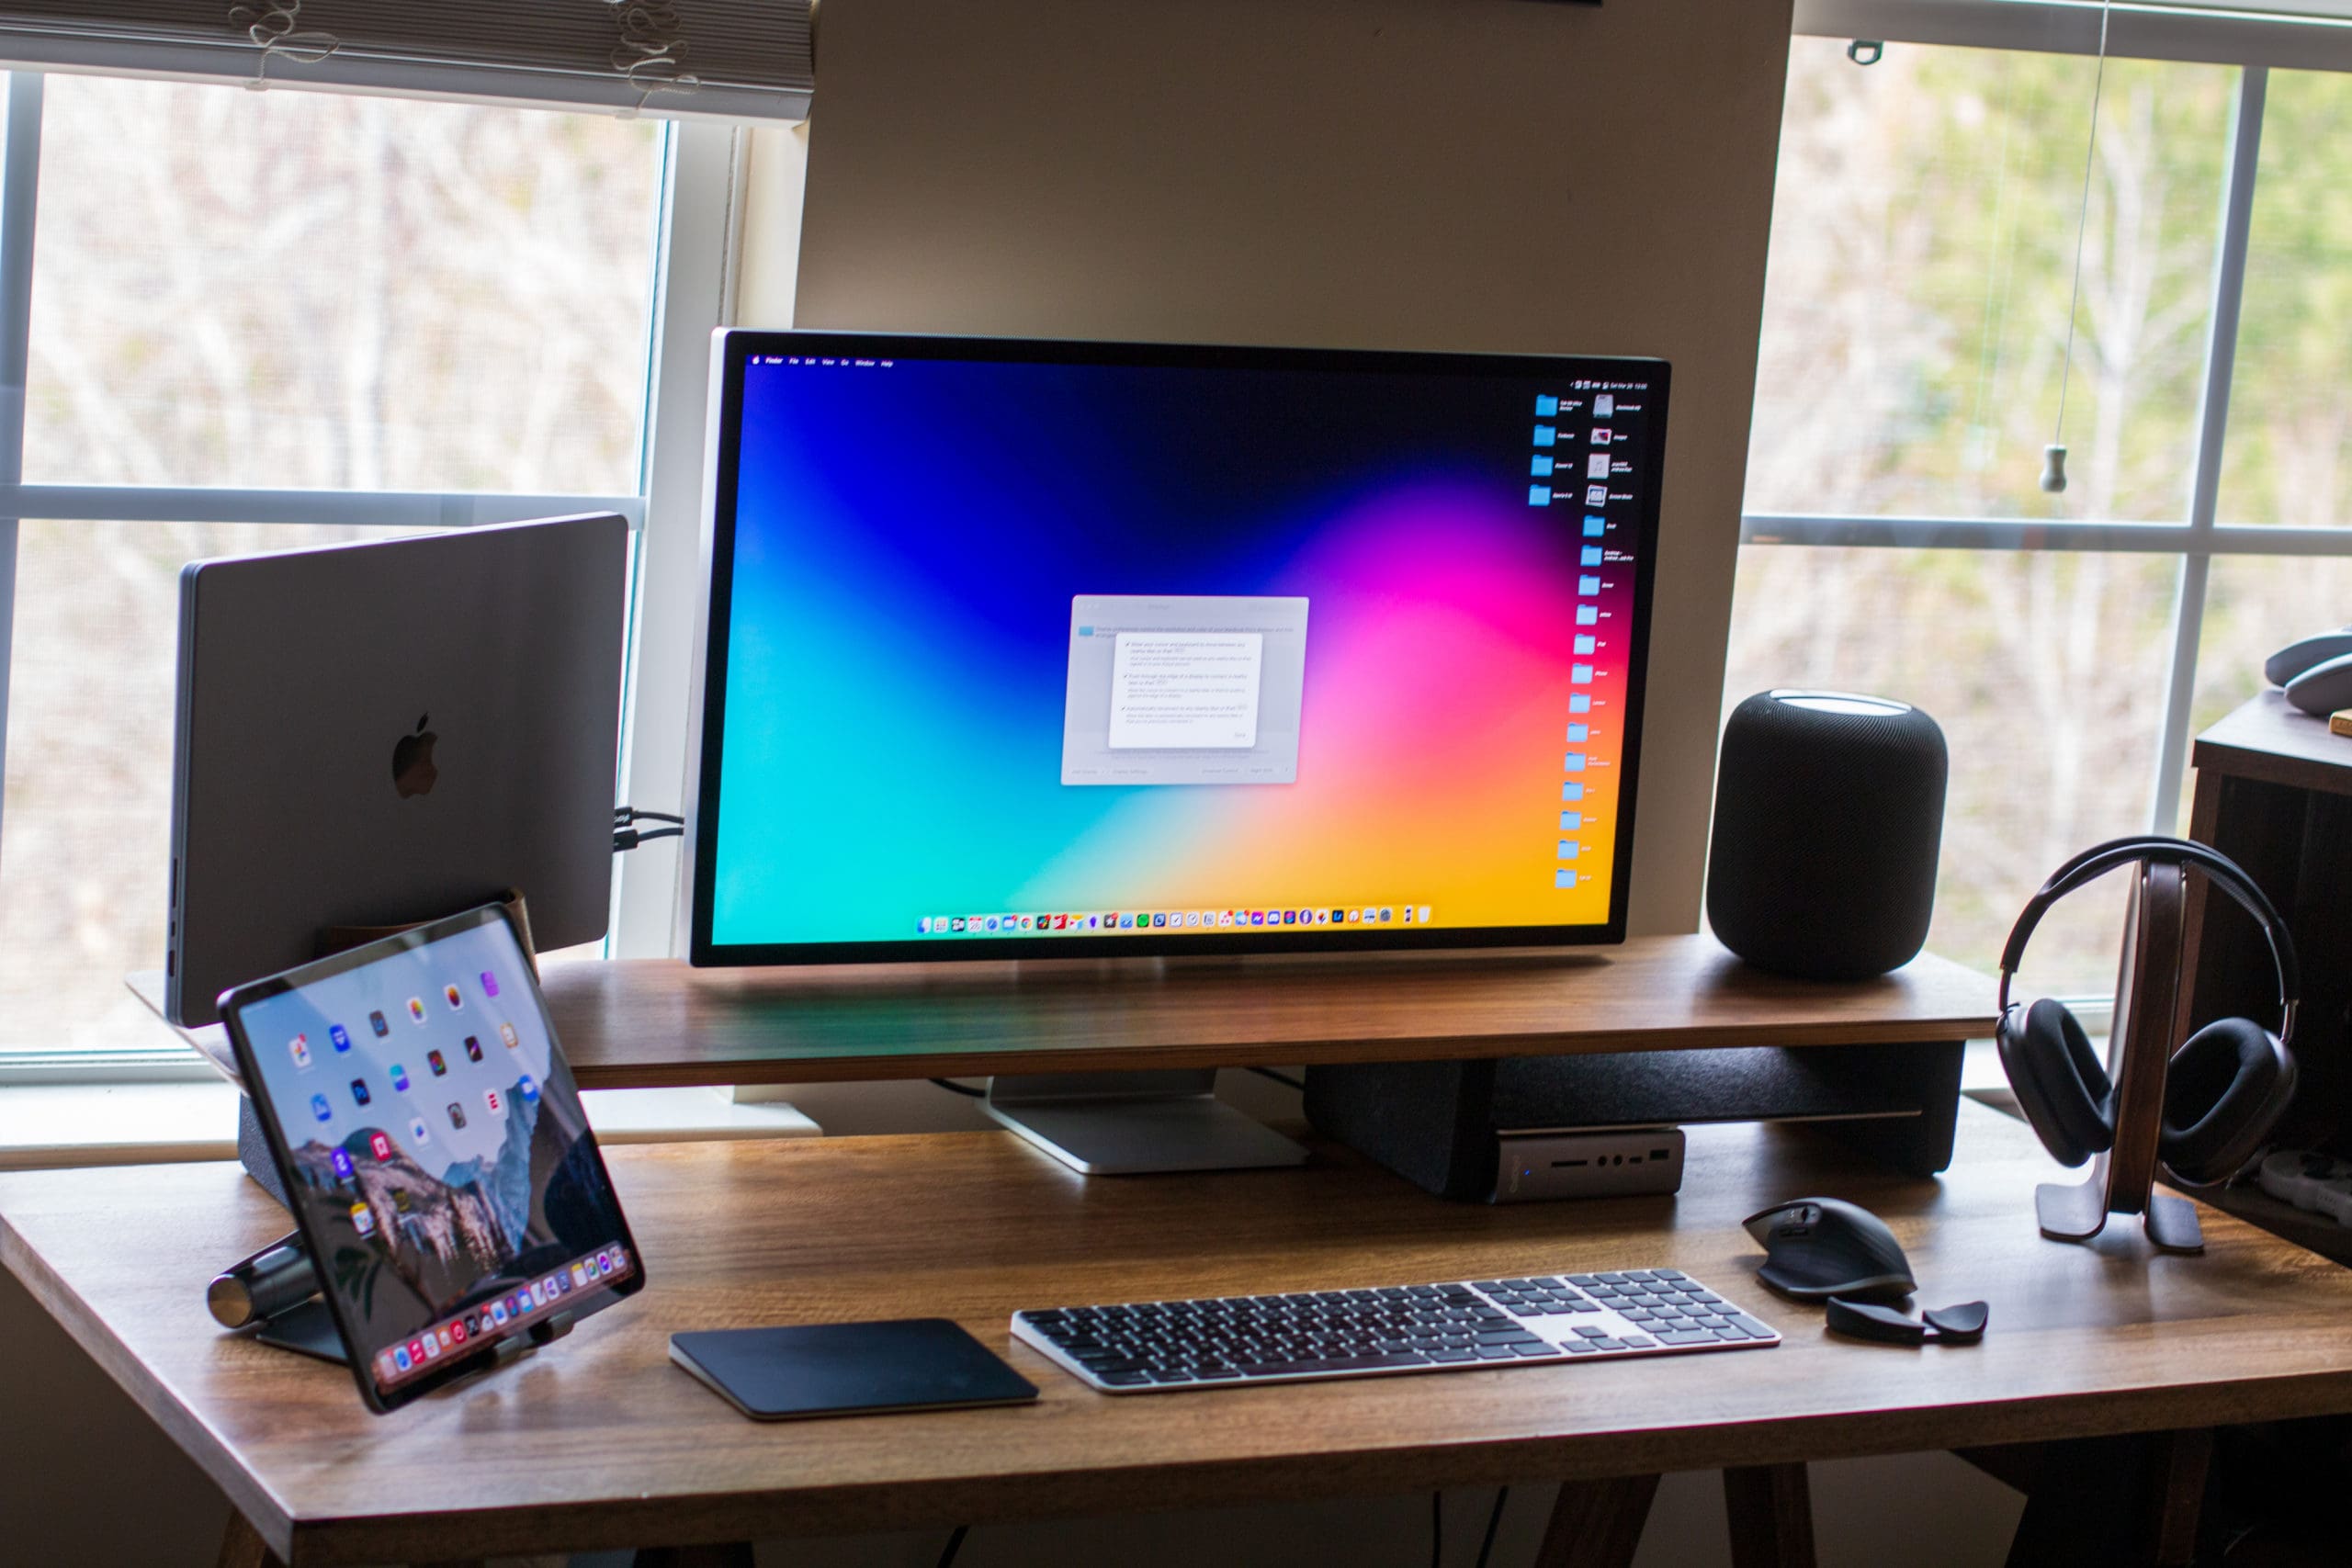
With the Studio Display in place, I then set out on creating a desk setup that would be useful, and versatile for my needs, while clearing out the clutter. To help with the visual aesthetics, that’s where my Grovemade Desk Shelf came in, as it hides a few of the cables that come out of the TS3 Plus. This is still a necessity for me, as I am constantly taking pictures and heavily rely on the SD card reader that is built into the front.
I also tried a couple of different configurations at first, because I thought that the braided Thunderbolt cable that is included was going to be too short. Thankfully, that wasn’t the case, so I wasn’t “stuck” with the initial setup that I had. This consisted of trying to use the MacBook Pro as a secondary display off to the side, propped up on a mStand from Rain Design.
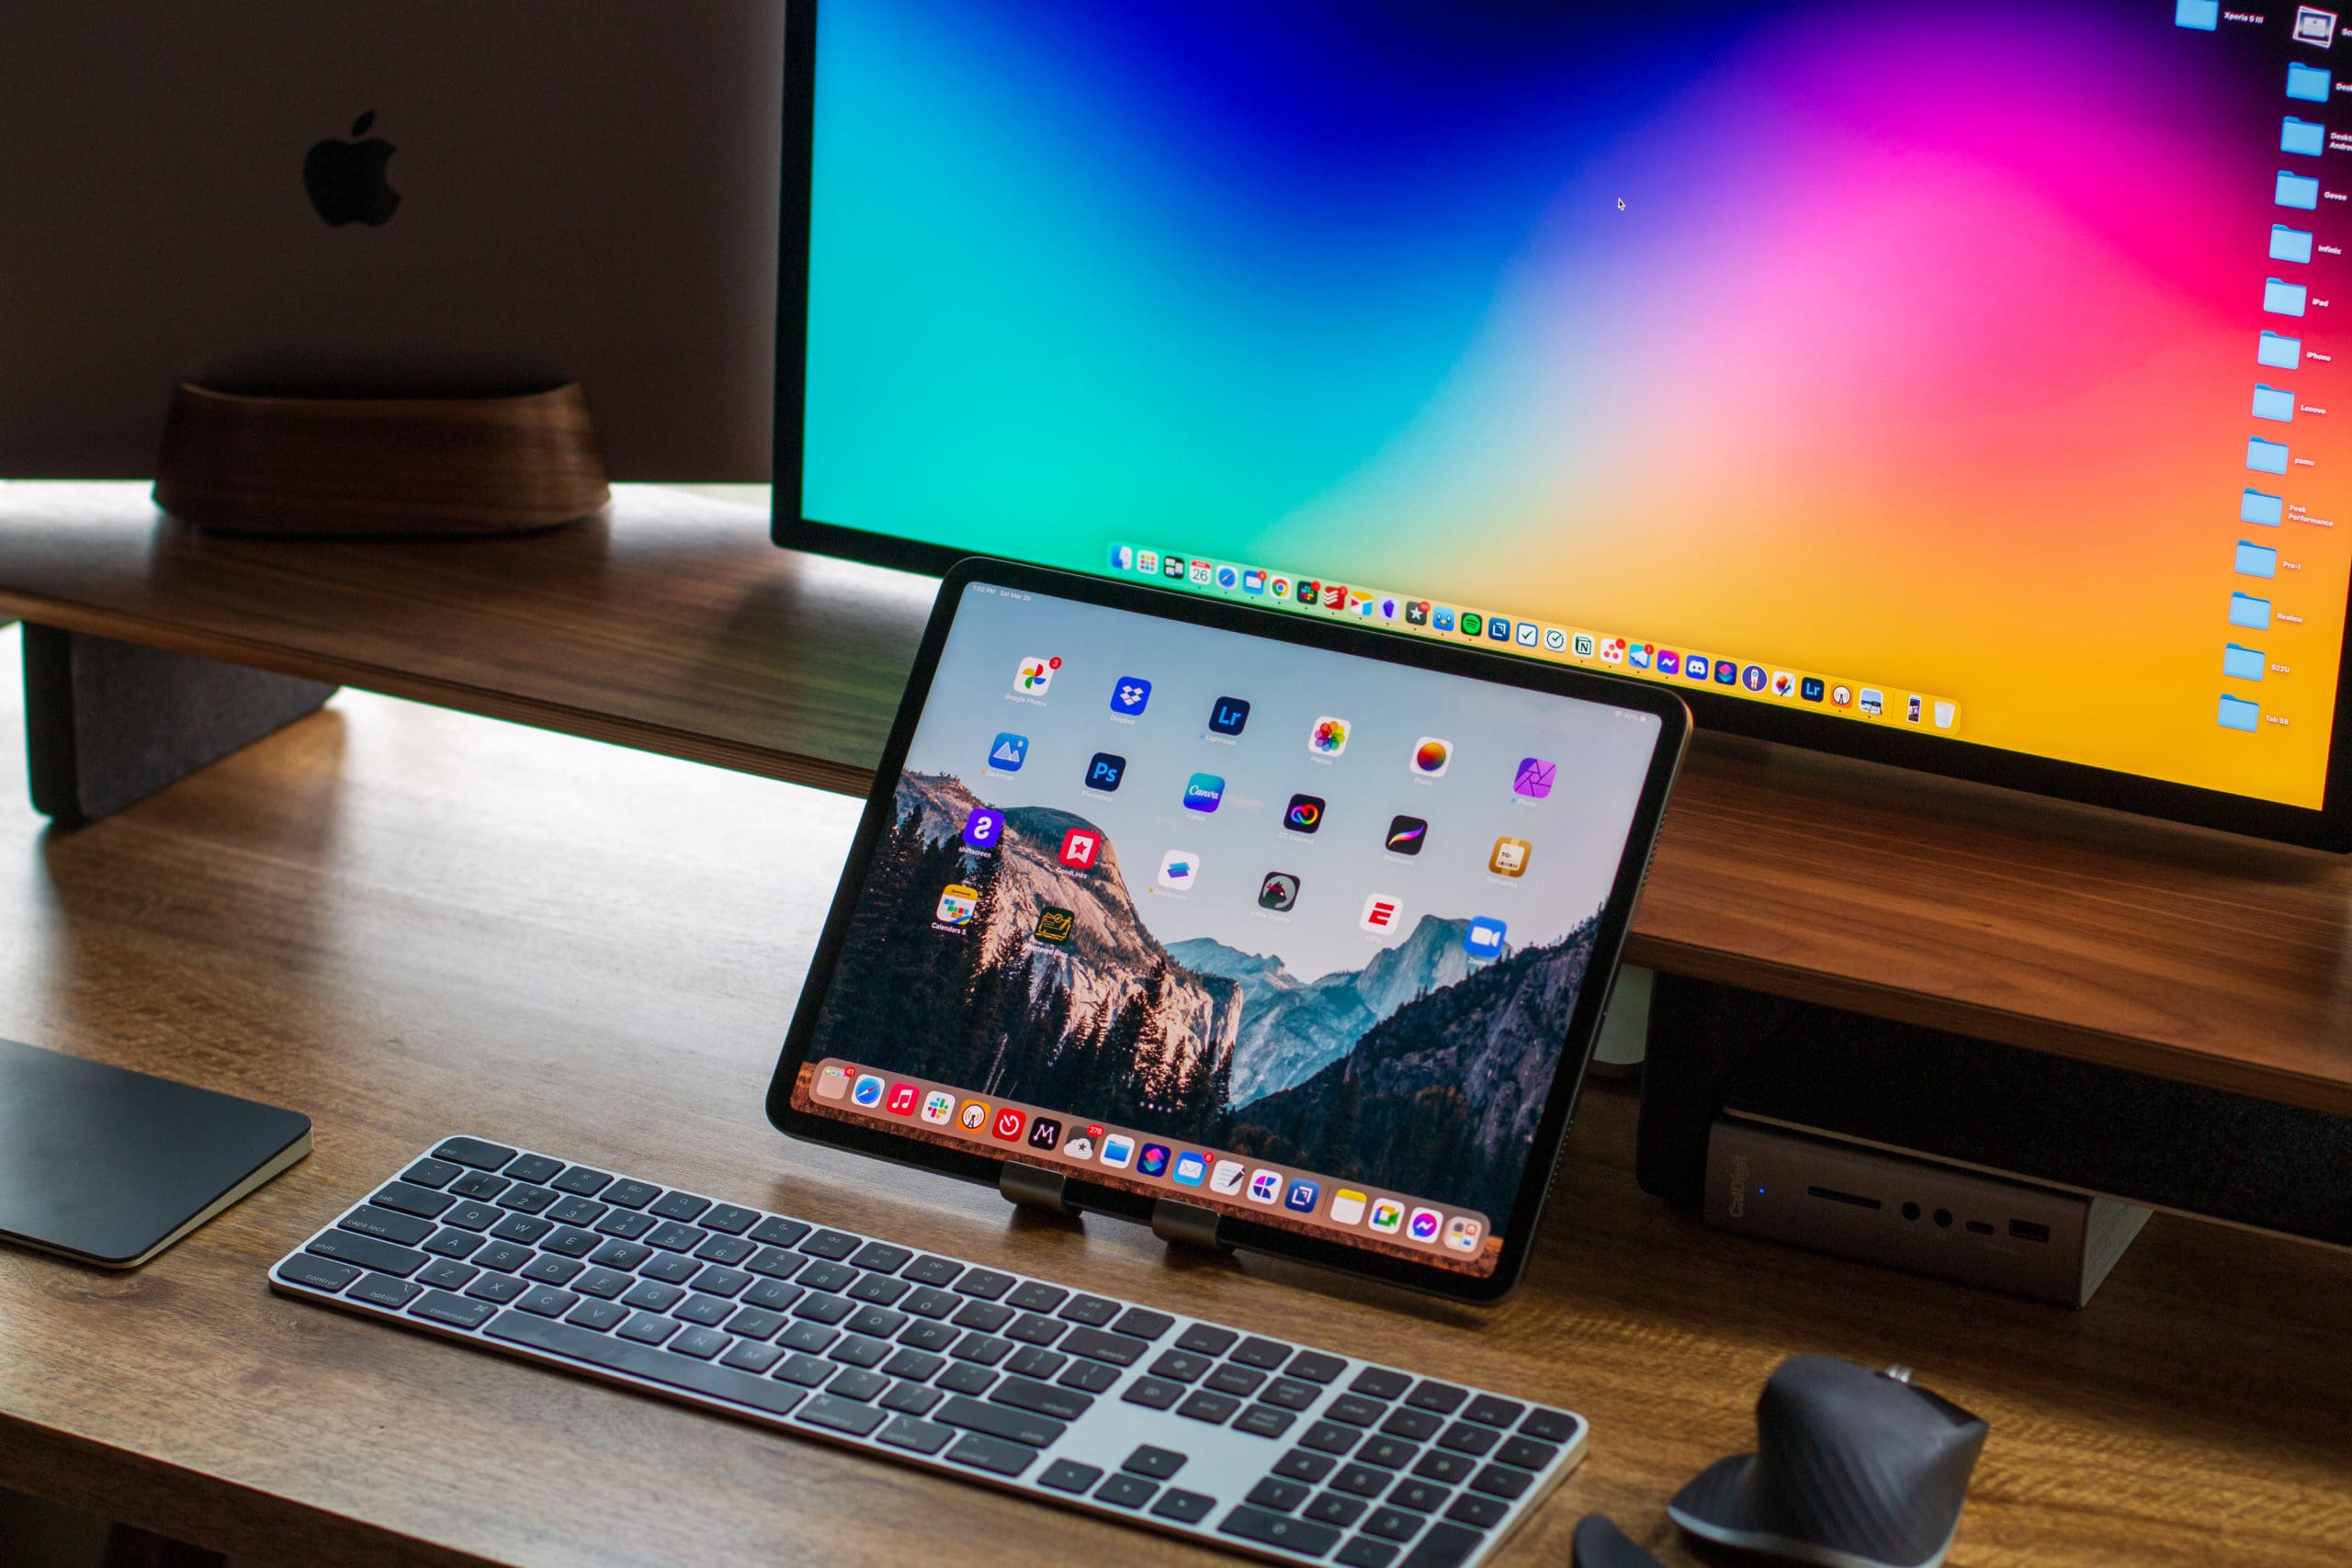
What I ended up with is what you see here. The Studio Display as the centerpiece, with the MacBook Pro placed in a vertical dock off to the left, my HomePod on the right, AirPods Max within arms reach, and my iPad Pro propped upright in front of my keyboard.
Hesitations
As someone who is firmly entrenched in the cross-platform world, my eyes have become accustomed to higher refresh rates for pretty much everything. There isn’t a phone that I own that doesn’t include this, and both my iPad Pro and Galaxy Tab S8 Ultra are also equipped with variable refresh rates. This sentiment also rings true for my “old” triple monitor setup, with the two 27-inch models being capable of reaching 165Hz refresh rates, while the 34-inch ultrawide maxes out at 120Hz.
The fact that Apple did not release the Studio Display with ProMotion is something that definitely gave me a bit of pause. We’ve all heard the arguments about how you can get some pretty great monitors with 4K resolution and fast refresh rates. But the truth is, none of them come close to offering the same integration with macOS as the Studio Display does.
Something else I was a bit concerned with was how my eyes would adjust to the 5K resolution as opposed to the QHD resolution I have become accustomed to. It’s definitely something that’s really only related to me, but my eyesight has been going downhill in recent years, so I just wasn’t sure how I would adjust to the 5K / 60Hz panel.
Using The Studio Display
Let me just get this out of the way. This might be the most beautiful piece of hardware that I’ve ever purchased from Apple. I’ve owned many iPhones over the years, several different MacBook models, the Mac Mini, iPad Mini, iPad Pros, and none of them stack up. Perhaps I feel this way because I never wanted (or could afford) the 2019 Mac Pro, which the design is clearly derived from. But the Studio Display is just beautiful to look at.
The tilt-adjustable hinge is the smoothest and most fluid hinge monitor mount that I’ve ever used. You don’t need to apply an enormous amount of pressure just to tilt it forwards or backward. Just push it a bit from either side, and it will move with ease.
With everything in place, it was time to sit down and start to get some work done. I mean, what’s the point of having this expensive piece of hardware, if I’m just going to avoid using it?
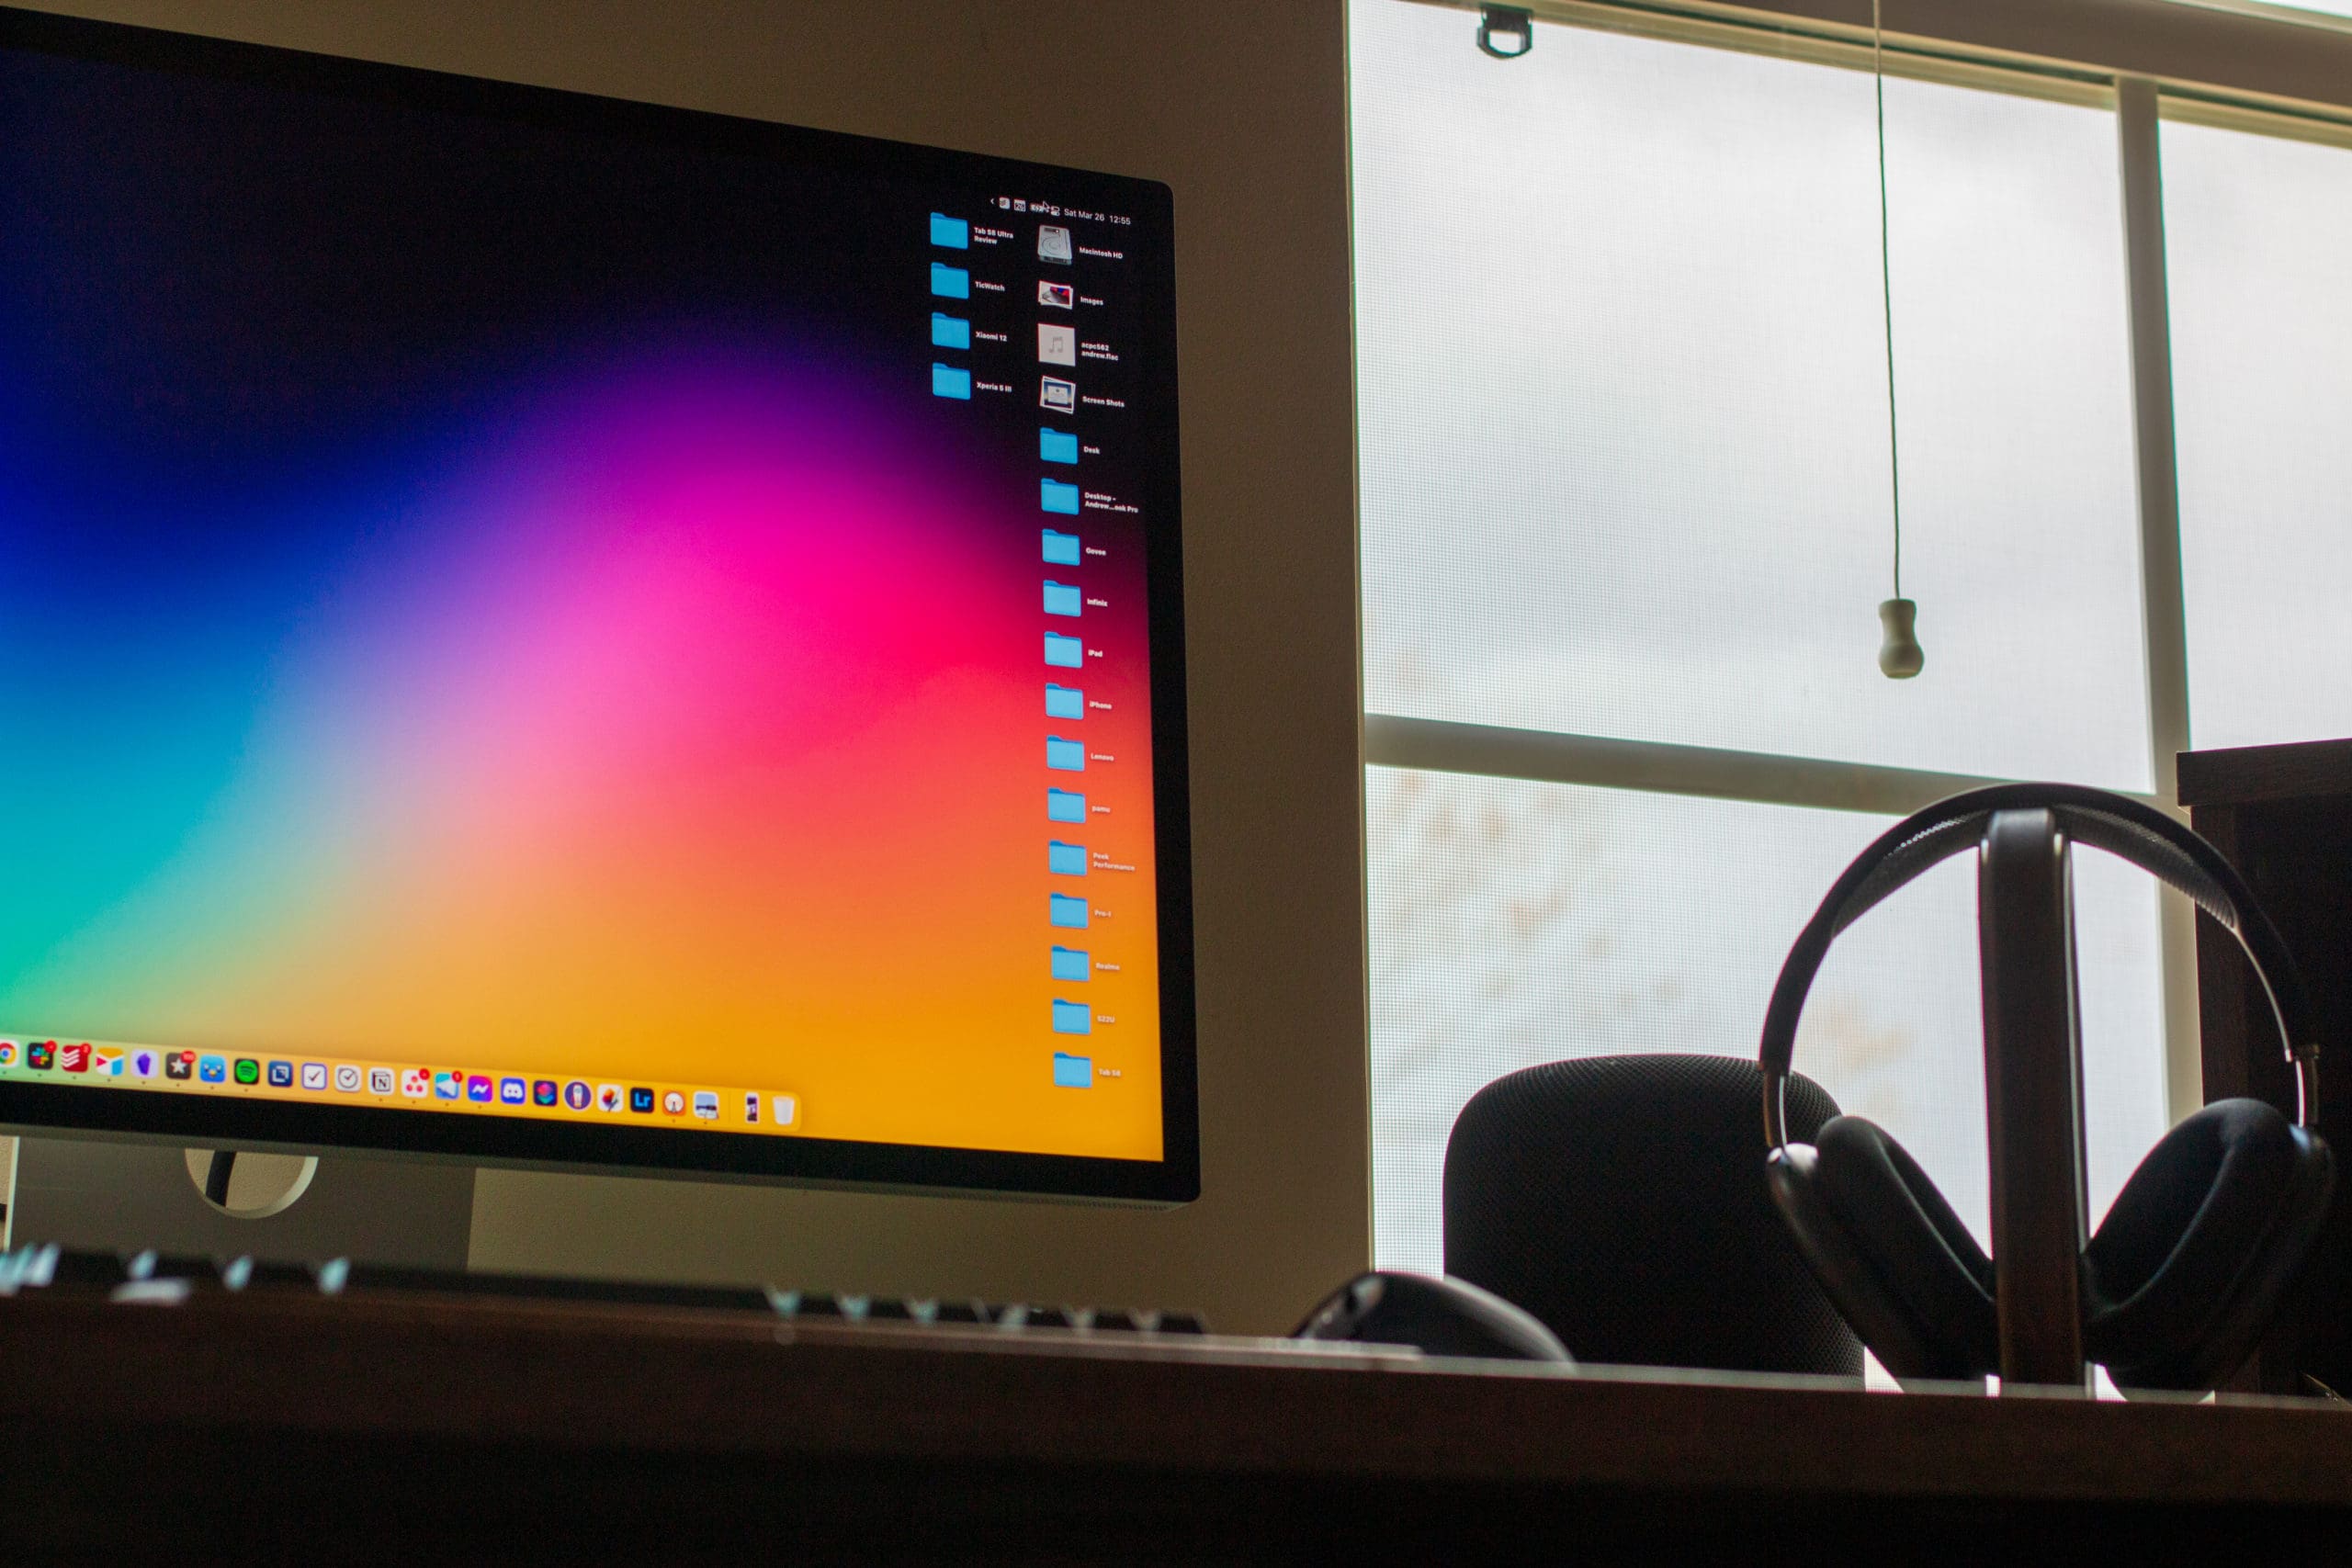
First things first, the 5K resolution is absolutely, positively, incredible. Forget 4K. Give me 5K for everything. The text looks crisp and clean, editing pictures in Lightroom don’t look grainy and I don’t feel the need to “accidentally” increase the brightness of pictures just because my old monitor didn’t offer the same amount of clarity.
The speakers on the bottom may not be the most earth-shattering experience, especially if you already have a decent set of desktop speakers. But they serve the purpose just fine for those who primarily use AirPods or Bluetooth headphones and just want to watch a YouTube video or listen to a podcast from your Mac instead of your headphones.
Quirks
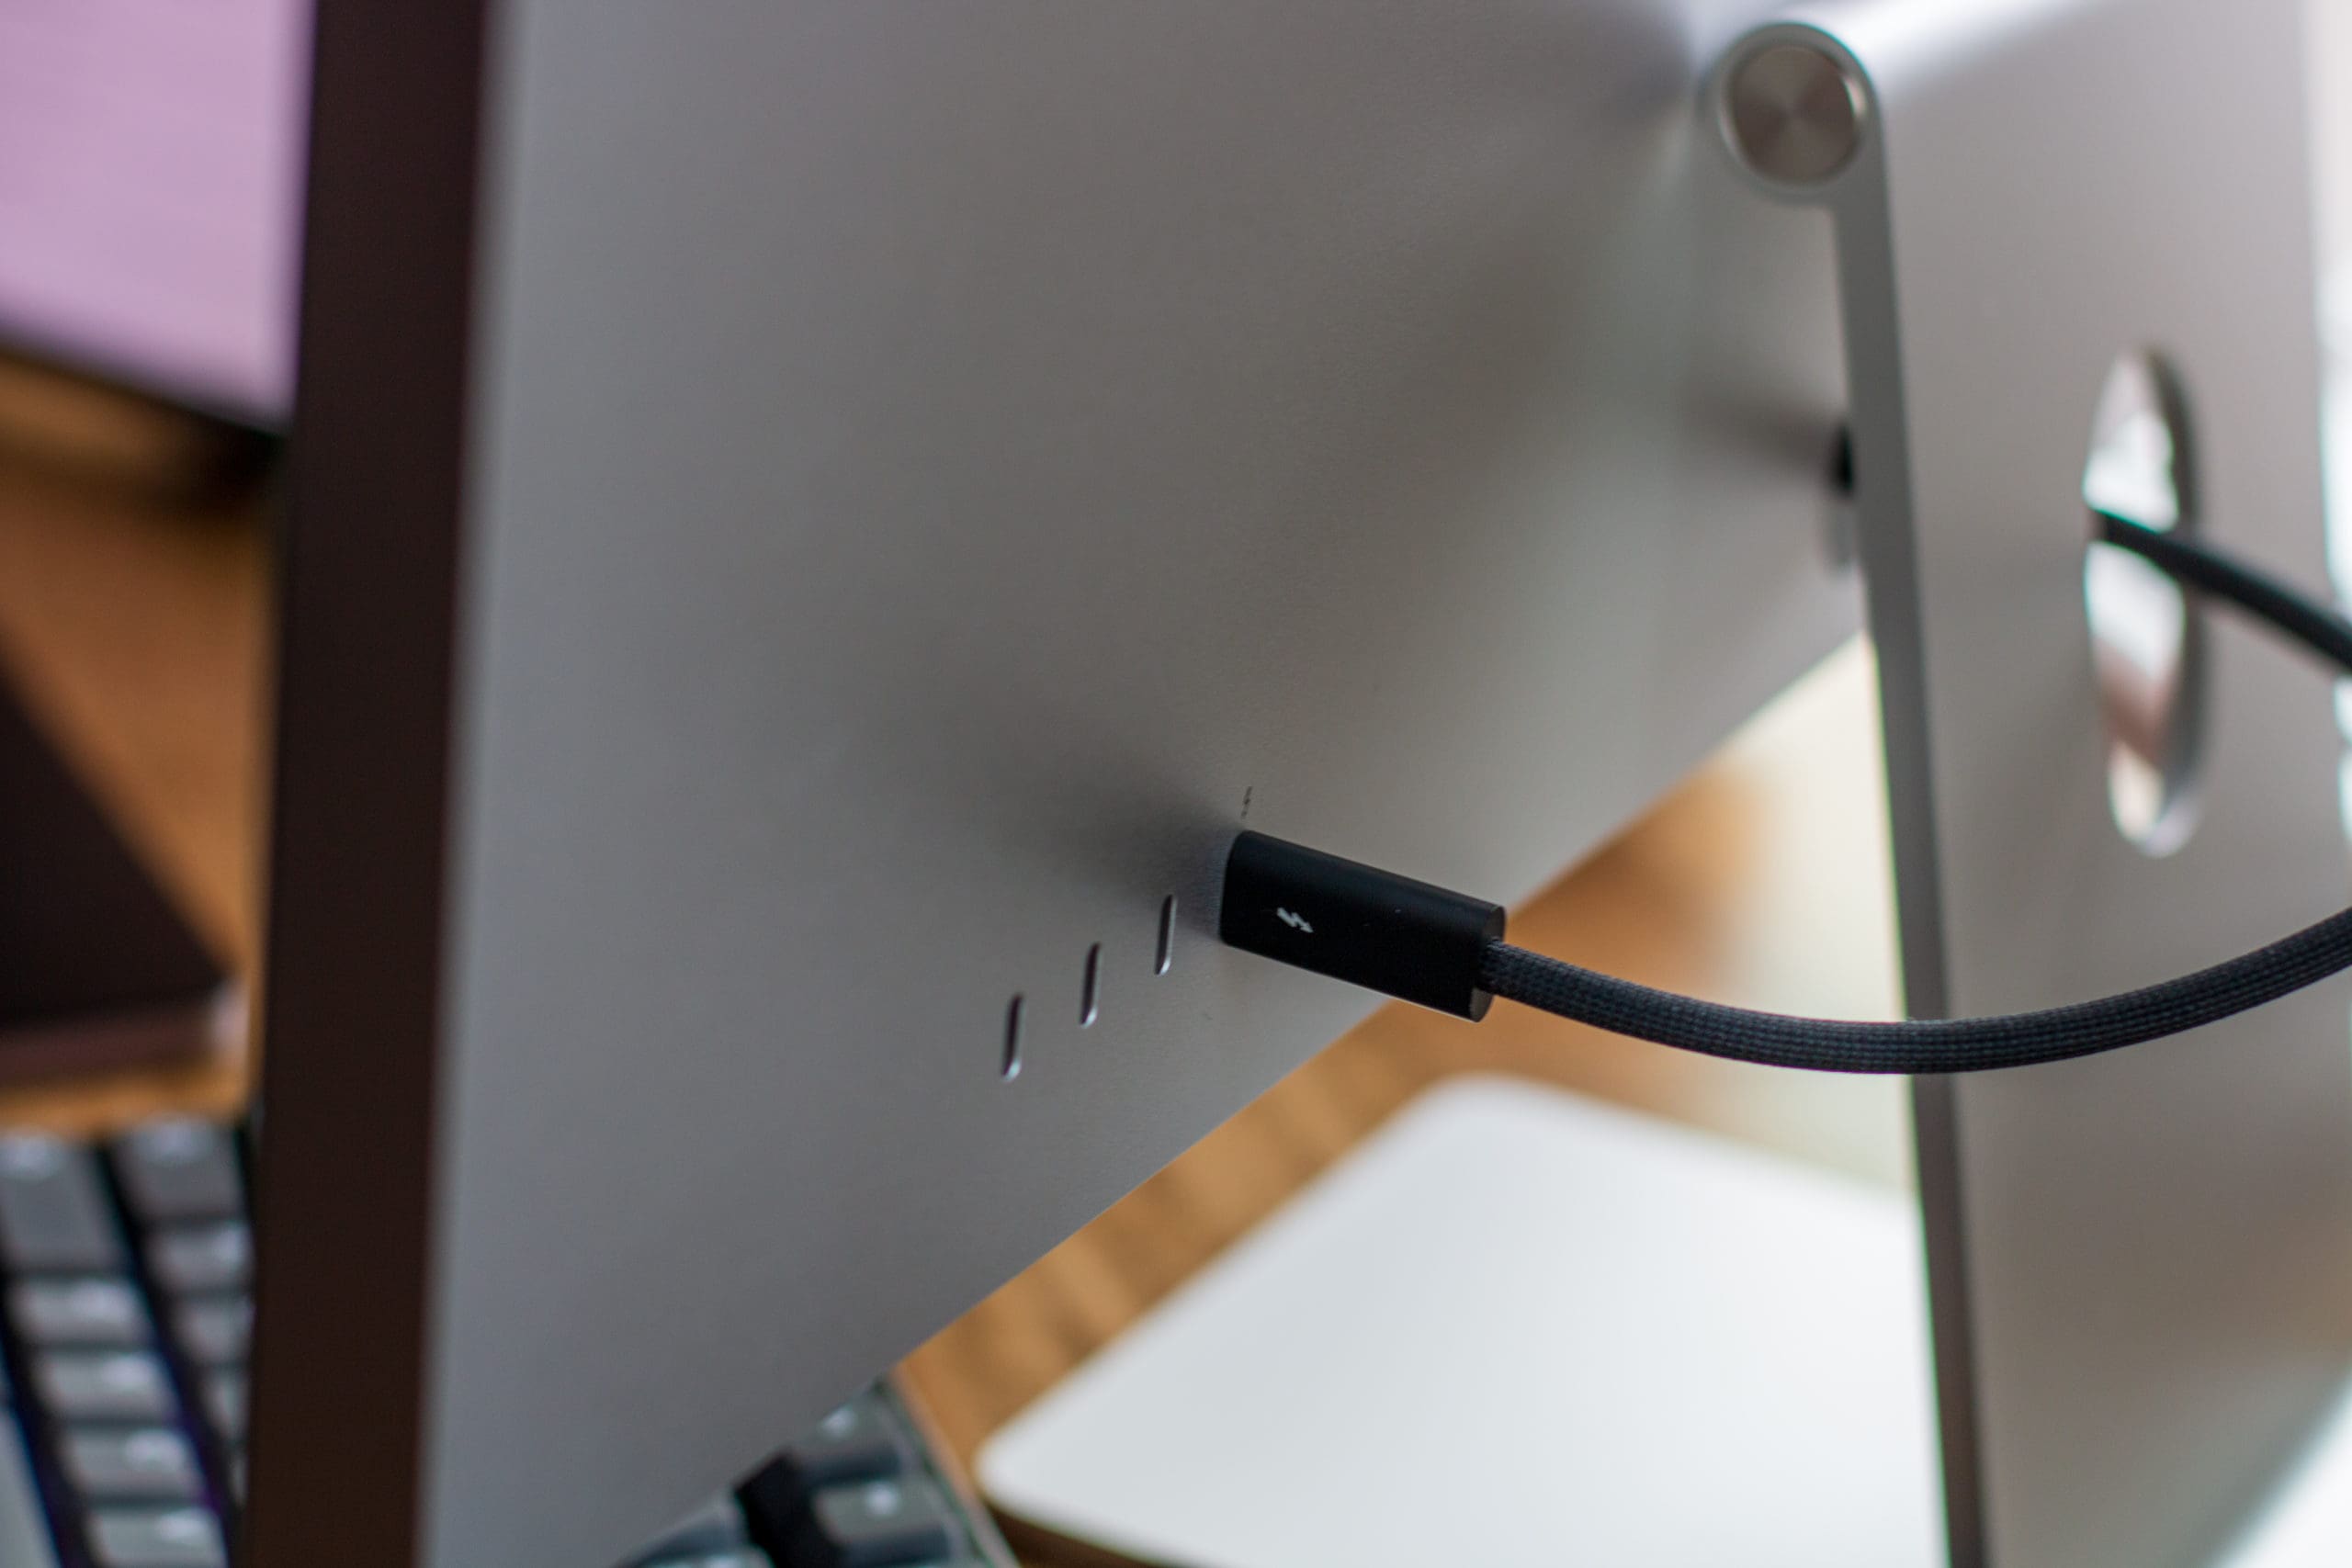
When I went through the initial process of setting up the Studio Display, I immediately ran into some “problems”. The first of which was the fact that I could not actually plug my CalDigit TS3 Plus dock into the USB-C ports on the back. Instead, I was greeted with an unpleasant message saying that the Thunderbolt cable would not work.
Because I need fast transfer speeds for image editing, I didn’t want to just switch to a USB-C connection. Instead, I just ended up plugging the dock into one of the other Thunderbolt ports on my MacBook Pro. Sure, it sucks to not have the “single-cable solution”, but at least this works and still doesn’t look nearly as cluttered as my old setup.
Something else that I came across happened after I was trying to take some pictures of the Studio Display. At one point, I disconnected the Thunderbolt cable from the back, only momentarily, before plugging it back in. Then, while I was editing pictures, I fired up some music to play in the background only to find that the sounds were coming from my MacBook Pro speakers. Considering that the MacBook Pro is in clamshell mode, this isn’t the most pleasant sounding experience out there.
Diving into the System Preferences app left me even more confused. The Studio Display was not actually listed under the Input or Output option for either the speakers or the microphone. And since the Studio Display doesn’t have a dedicated hardware button, the only way I could remedy this was to actually restart my MacBook Pro.
Lastly, I’m also still awaiting the arrival of the latest software update that is intended to “fix” the webcam issues along with providing a few bug fixes. At the time of this writing, I still have not received the update, but hopefully, it will show up in the coming days.
Studio Display Final Impressions
There’s a lot to like about the Studio Display, provided that you are in the Apple ecosystem. You can finally control display brightness and sound levels from the keyboard. It’s one of those “quality of life” improvements that you don’t really think about until something doesn’t work as you expect. The 5K resolution is sublime and I already know that I don’t want to go back to QHD or even 4K displays anymore.
But there’s one big problem with this monitor, and it’s the fact that it’s a $1,600 monitor. Sure, it has the A13 built-in, with 64GB of storage, and is essentially an iPad 9 with a much larger screen. But it’s $1,600. That’s a tough pill to swallow, even if you don’t care about faster refresh rates and the fact that you can’t just take off the stand yourself to switch over to a VESA mount or the height and tilt-adjustable stand.
Truth be told, as much as I want to keep the Studio Display and completely rearrange my entire office to accommodate a dual desk setup, it’s just not practical. Ignoring the refresh rate and stand compromises, the Studio Display is an over-engineered screen with an enormous price tag. Should you buy it? Probably not. But if you need or even want the 5K resolution to pair with your Mac, this is the way to go, especially over LG’s UltraFine 5K option (once it comes back in stock).
Sadly, I’ll be taking this back to Best Buy sometime over the next few days, and will probably just try to get a dedicated KVM solution instead.
Andrew Myrick is a freelance writer based on the East Coast of the US. He enjoys everything to do with technology, including tablets, smartphones, and everything in between. Perhaps his favorite past-time is having a never-ending supply of different keyboards and gaming handhelds that end up collecting more dust than the consoles that are being emulated.


Write a Comment