If you’re starting to run out of storage space on your iPhone or getting a new model, you might be thinking of ways to import iPhone photos to Mac to make sure they are tucked away and won’t get deleted. There are three “basic” methods to import photos to Mac with additional options if you want more control over the process.
Option 1: How to Import iPhone Photos to Mac Using a Cable
Sometimes, simplest is best, and using a cable is by far the fastest method to import iPhone photos to Mac if you need to go through many files at once. That’s because the cable connection itself has the biggest throughput compared to uploading or downloading files.
Step 1. Connect your iPhone to the Mac via a compatible cable (usually USB-C to Lightning).
Step 2. Open the Photos app on your Mac. It might open automatically once the Mac detects an iPhone has been plugged in.
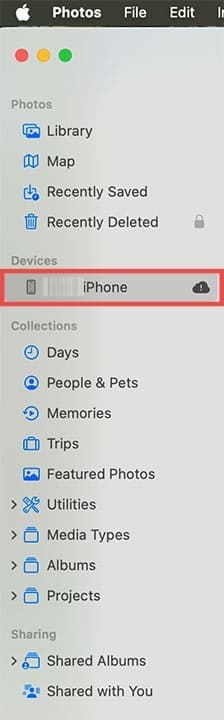
Step 3. In the “Devices” section on the left sidebar, select your iPhone.
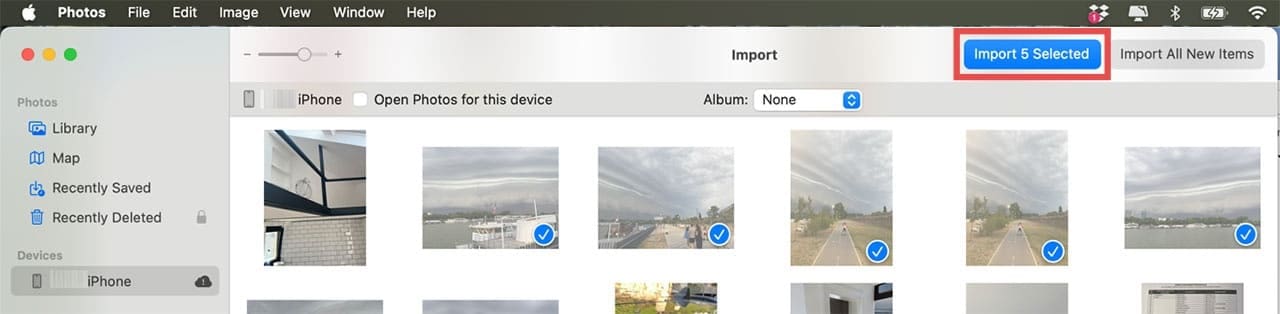
Step 4. Select the images you want to import, then click “Import Selected.”
On newer Macs, you can also directly drag and drop photos from your phone’s storage onto anywhere else within Finder’s file systems.
Option 1 Alternative: Use Image Capture
By default, your Mac will put imported photos to “My Album,” but you can change this through the dedicated “Image Capture” utility.
Step 1. Connect the iPhone to the Mac with a cable.
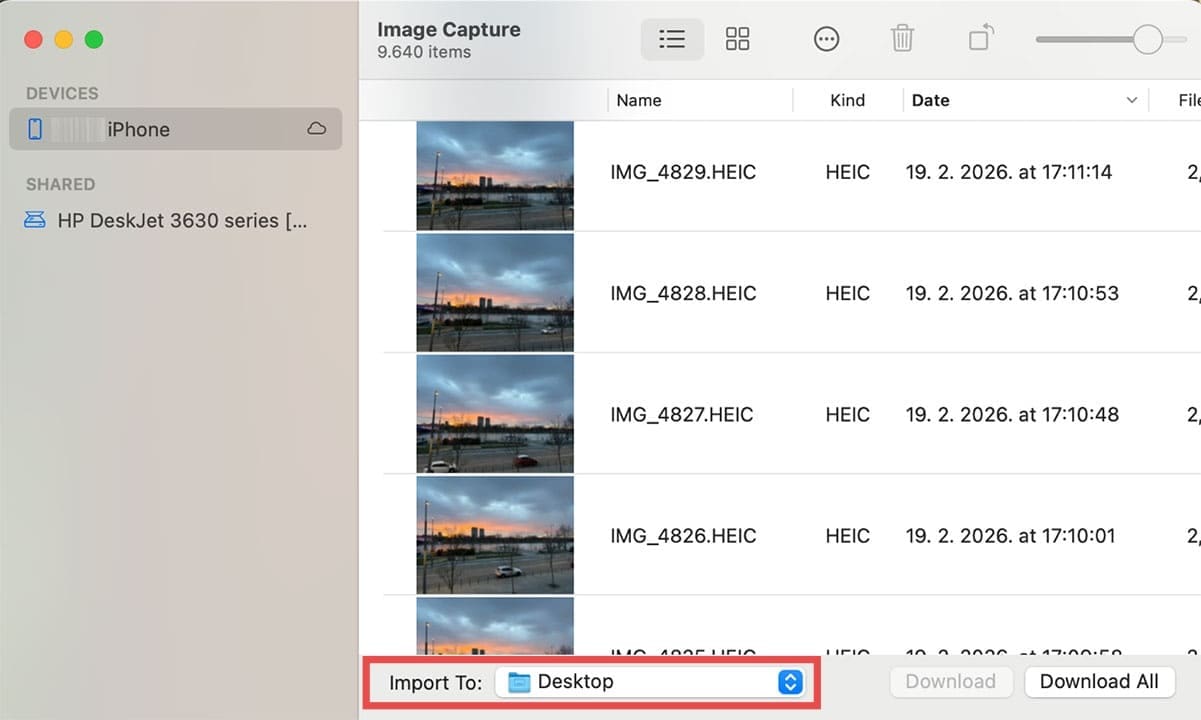
Step 2. Open the “Image Capture” app on your Mac.
Step 3. Select the iPhone on the “Devices” list on the left.
Step 4. In the “Import to” field on the bottom, select the folder or destination.
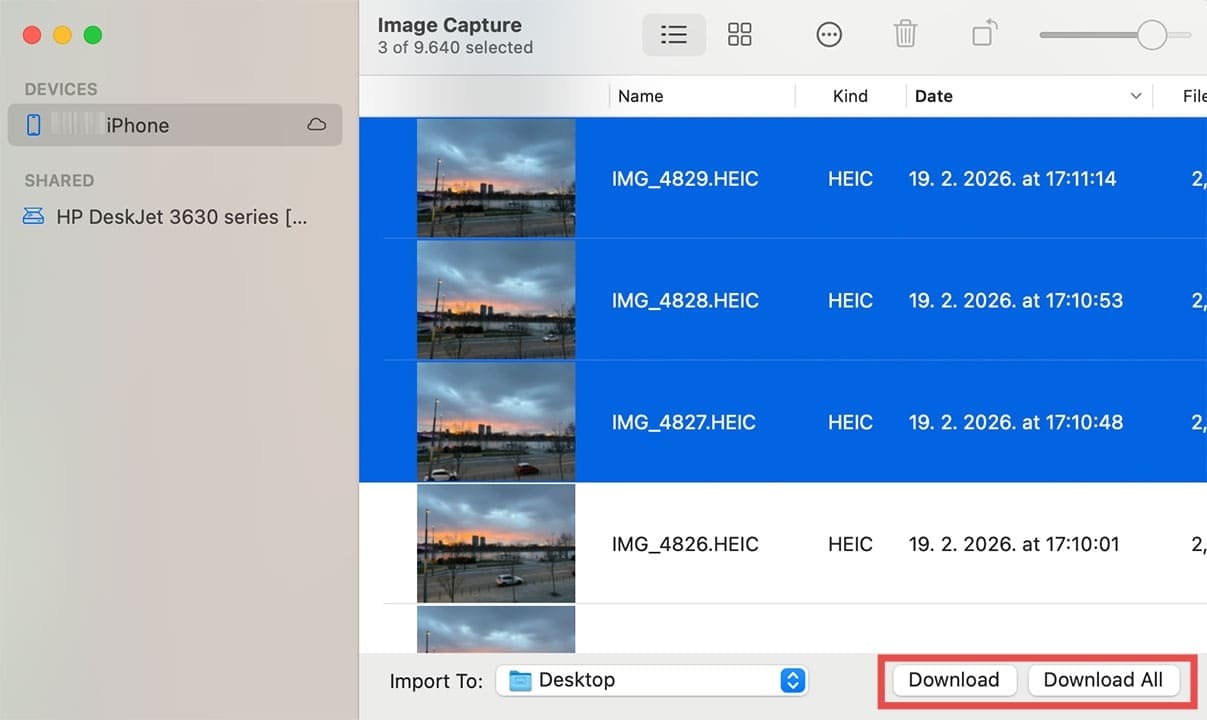
Step 5. Click on the images you want to import and hit “Download” or “Import.” If you want to put everything on the Mac, select “Download all” or “Import all” instead.
Option 2: Import iPhone Photos to Mac Through iCloud
iCloud allows you to automatically sync between your devices. If you set it up correctly (e.g., sign in with your iCloud account on both the iPhone and Mac and turn on syncing), your devices should update the cloud storage database with new photos and download anything they can find periodically.
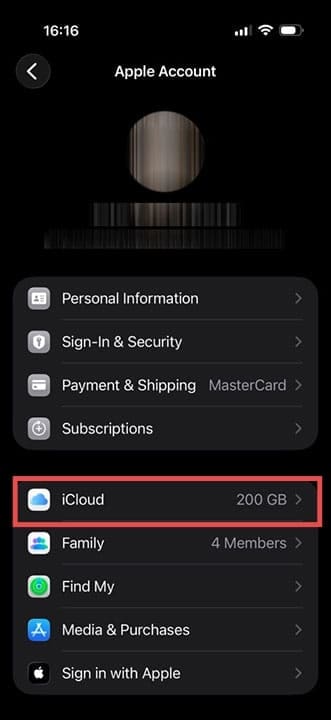
Step 1. On your iPhone, go to Settings, then click on your Apple ID.
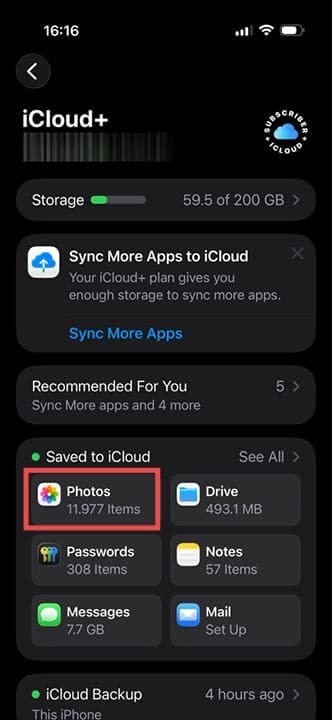
Step 2. Go to “iCloud,” then to “Photos”, then toggle the “iCloud Photos” option on.
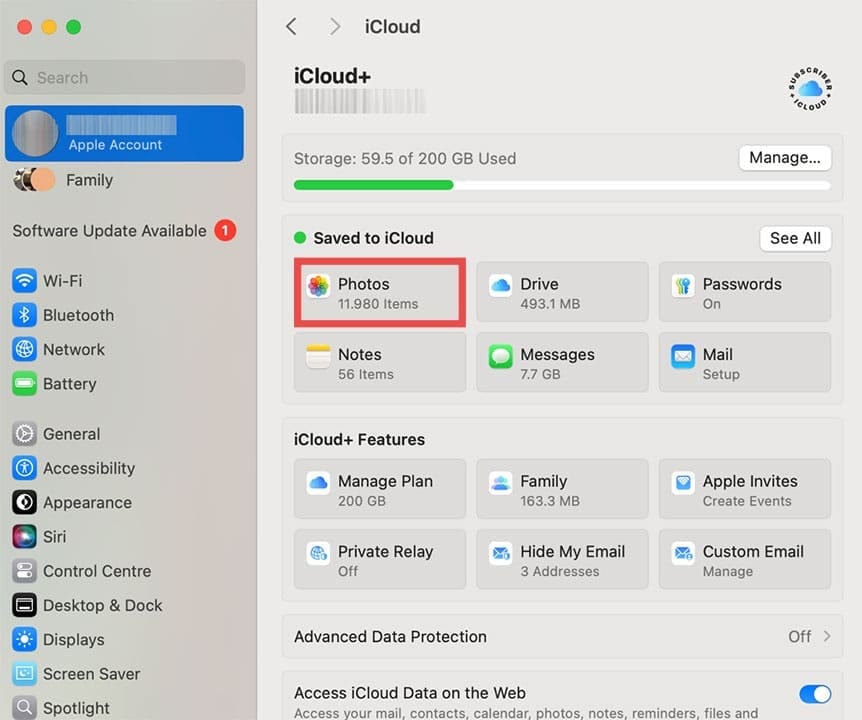
Step 3. On your Mac, go to System Settings and turn on iCloud.
Step 4. Go to “Photos” and click on “Options” next to the entry.
Step 5. Check the box “iCloud Photos”, then hit “Done.”
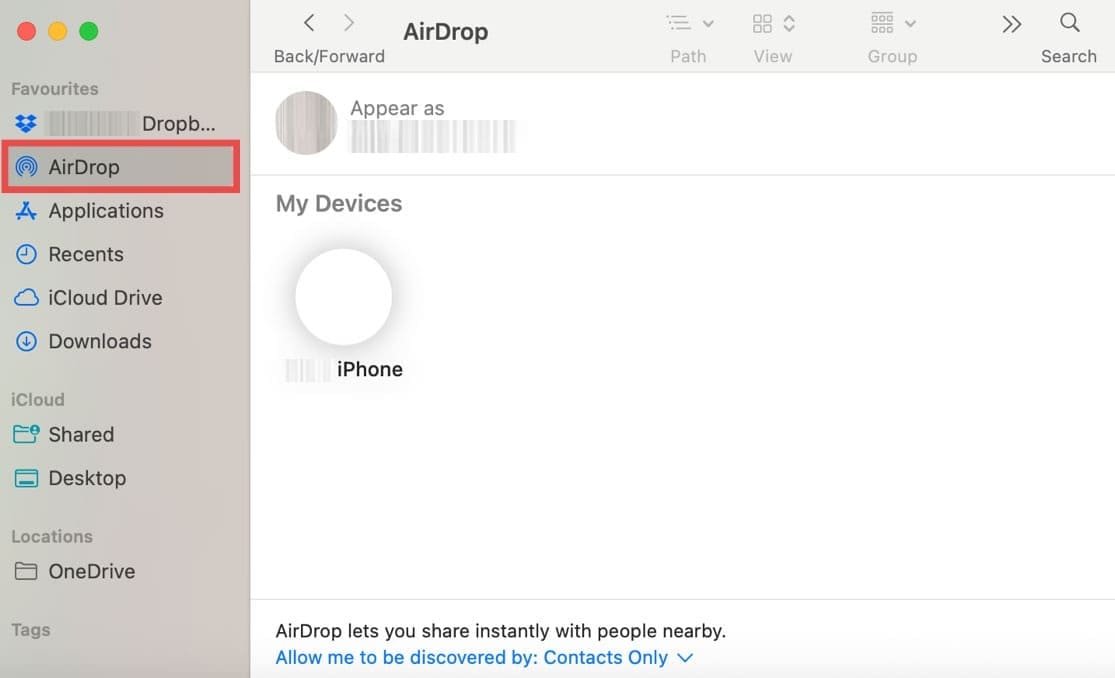
Option 3: AirDrop Images from iPhone to Mac
This is a good option if you’ve got a few images or don’t have iCloud enabled on the Mac. This option uses either Bluetooth or Wi-Fi.
Step 1. Turn on AirDrop on both the iPhone and the Mac.
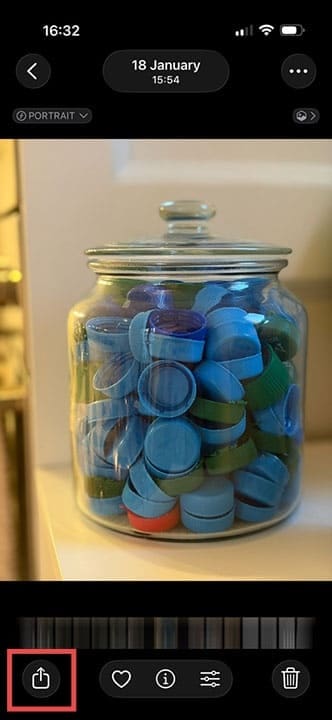
Step 2. Go to the Photos app on the iPhone and select the images by long-pressing and tapping on them.
Step 3. Select “Share” and choose “AirDrop.”
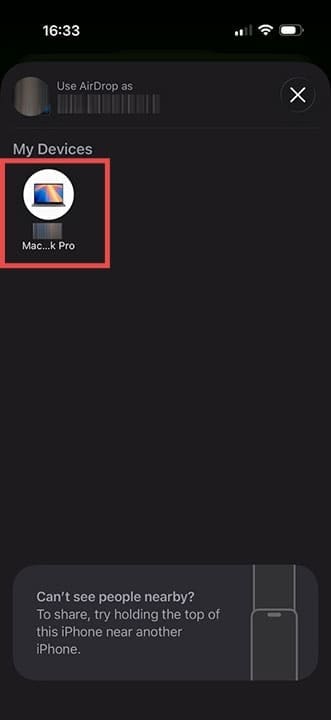
Step 4. Find and tap the Mac’s name on the list.
Step 5. Confirm the file transfer on the Mac and wait for the process to finish.
Option 3 Alternative: Using Email
Alternatively, you can send a few images at a time via email. All you have to do is select the images then choose to share them via the “Email” option. You can make the email to yourself, then log into that email from the Mac to download them.
Note that emails have relatively low file size limits which is why this method can be slow. On the plus side, it can instantly send images to far-off Macs.
Option 4: Third-Party Apps or Cloud Services
There are plenty of third-party apps for storage and photo gallery management you can find on the App Store.
Notably, this includes options like Google Photos, OneDrive, and Dropbox, all of which have online storage that can import and export many photos at once. Additionally, most of these are available on Windows and Android devices, so you can sync between different systems altogether.
As an avid gamer, I’ve run into my fair share of error codes and weird faults that have forced me to find fixes to problems I never anticipated. That gave me a passion for sharing those fixes with others so we can all game without feeling like our hardware is rebelling against us.


Write a Comment