If you have both a Windows PC and a Mac, you can use one external hard drive that you swap between the two. However, if that hard drive is formatted to certain file types, you may find that your external hard drive only works with Windows but not Mac.
This guide teaches you how to make sure your hard drive is cross-platform compatible.
Before diving into the technical stuff, it’s worth ruling out basic connection or settings issues on the Mac. Check cables and ports to make sure everything is securely connected. It’s also worth trying another cable just in case.
1. Verify Finder Settings
Your Mac may be detecting the drive but not showing it on the desktop. Follow these steps to verify :
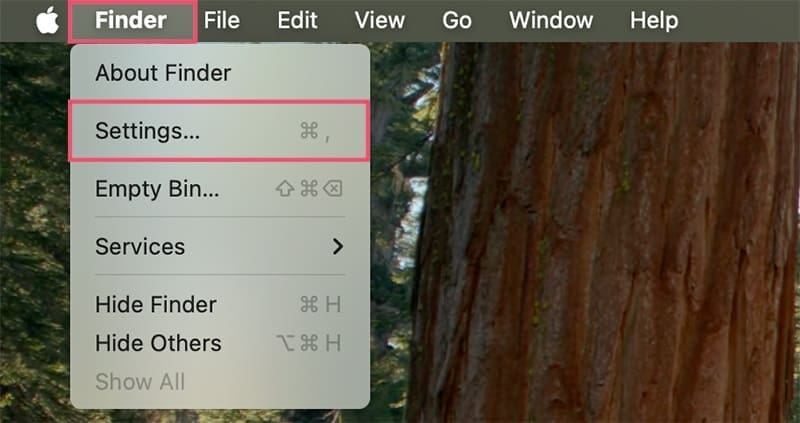
Step 1. Open Finder.
Step 2. Navigate to the Finder menu (top left) and click on Settings (This might be Preferences if you’re using an older OS).
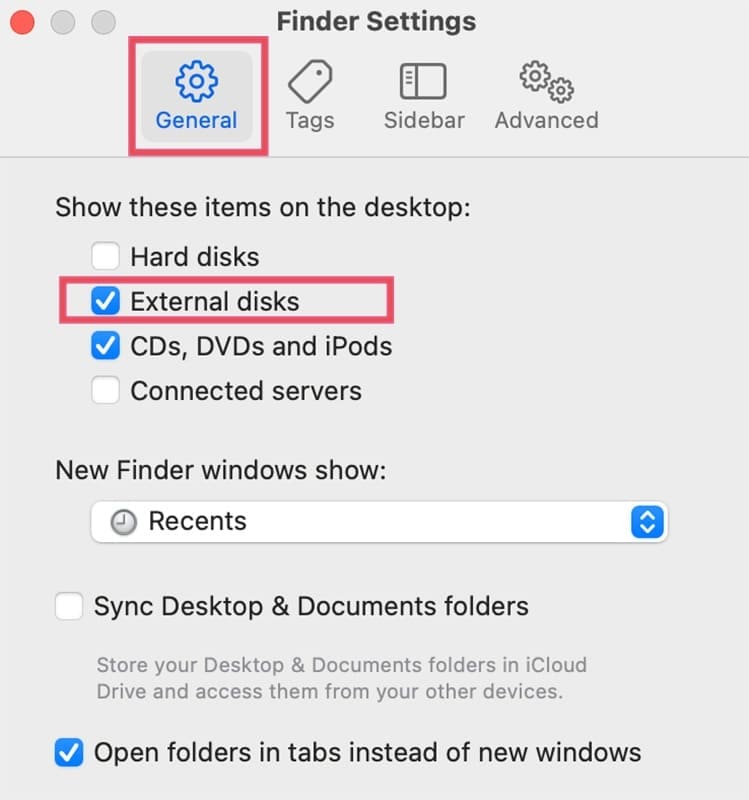
Step 3. Under the General tab, make sure External disks is checked under “Show these items on the desktop”.
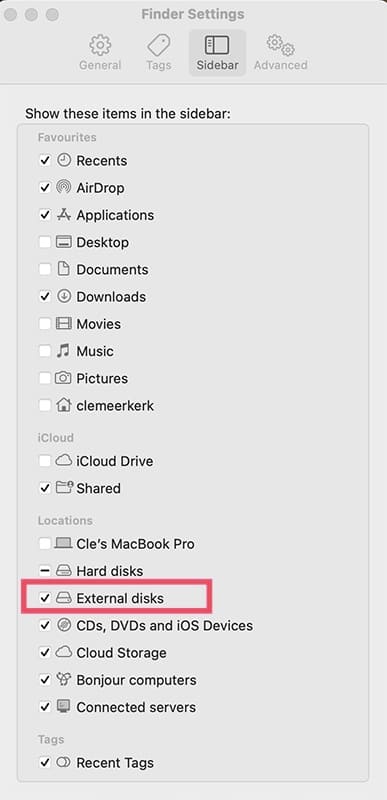
Step 4. Go to the Sidebar tab and ensure External disks is checked under “Locations”.
2. Check Disk Utility
The drive might have been detected and not properly mounted.
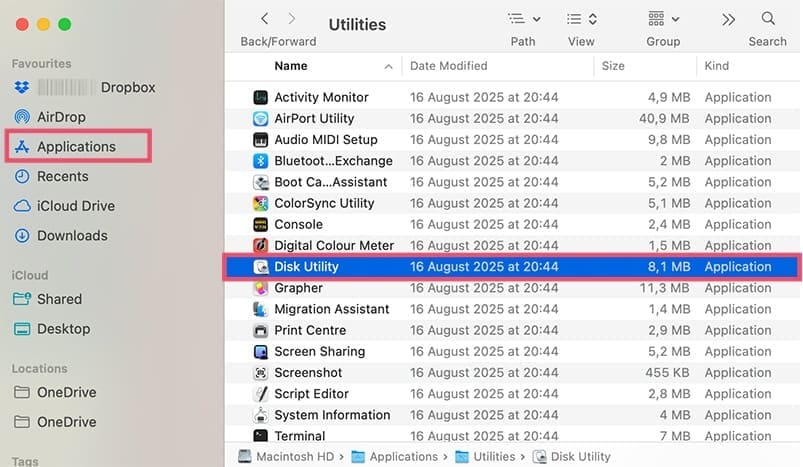
Step 1. Go to Applications > Utilities and then open Disk Utility.
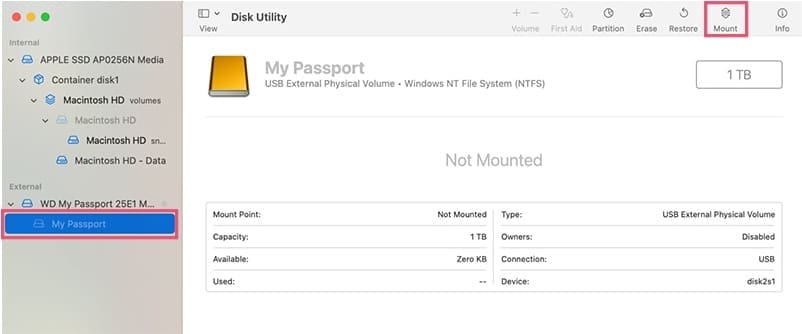
Step 2. Check to see if the external drive is listed in the sidebar. If it’s listed but greyed out, try clicking the Mount button on the toolbar.
Address File System Compatibility (The Most Likely Cause)
If the drive is listed in Disk Utility, check how it has been formatted. If it’s NTFS, this is the problem. There are two options to fix this, depending on whether you’re happy to reformat the drive or not.
Option 1: Install a Third-Party NTFS Driver and Retain the Windows Format
You can install a third-party app such as Mounty to enable full read/write access to a Windows-formatted NTFS drive on your Mac. This is the option to choose if you need to continue using the drive primarily in Windows, or cannot erase and reformat the drive.
Note: Some third-party NTFS drivers might be paid software, and free versions may have limitations.
Option 2: Reformat the Drive (For Full Cross-Platform Compatibility)
If you’re intending to share the drive equally between Mac and Windows, you’ll need to reformat it to the exFAT file system. Remember that reformatting the drive will erase ALL data.
Step 1. Back up your data from the drive onto your Windows PC first.
Step 2. Connect the drive to your Mac.
Step 3. Open Disk Utility (Applications > Utilities).
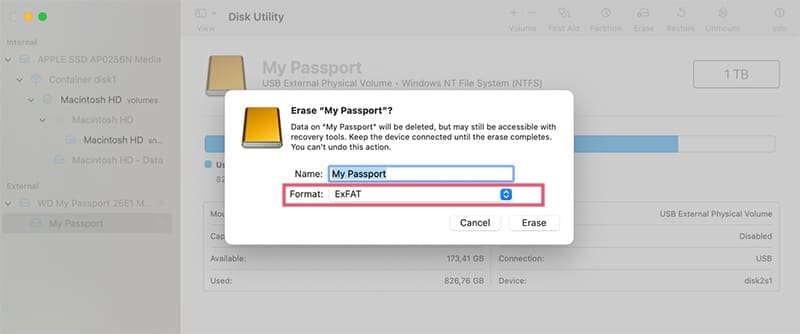
Step 4. Click the Erase button.
Step 5. For the Format, Choose ExFAT.
Step 6. For the Scheme, choose Master Boot Record (MBR) or GUID Partition Map. The latter is generally better for Macs, but the former can be better for older Windows systems.
Step 7. Click Erase to begin the reformatting process.
As an avid gamer, I’ve run into my fair share of error codes and weird faults that have forced me to find fixes to problems I never anticipated. That gave me a passion for sharing those fixes with others so we can all game without feeling like our hardware is rebelling against us.


Write a Comment