Throughout your time as a Mac owner, you’ll probably find yourself needing to connect to multiple Wi-Fi networks. You might get a new network provider at home, for example, or perhaps you’ve just started a new job.
Adding a Wi-Fi network on your Mac requires little effort; follow the steps below.
1. Click on the network icon in the top right-hand corner of your computer.
2. Choose the network you want to connect to from the dropdown list.
3. If prompted, enter any login details you might need.
Alternatively, you can manually add your own network by following these steps:
1. Go to the Apple logo and select System Preferences.
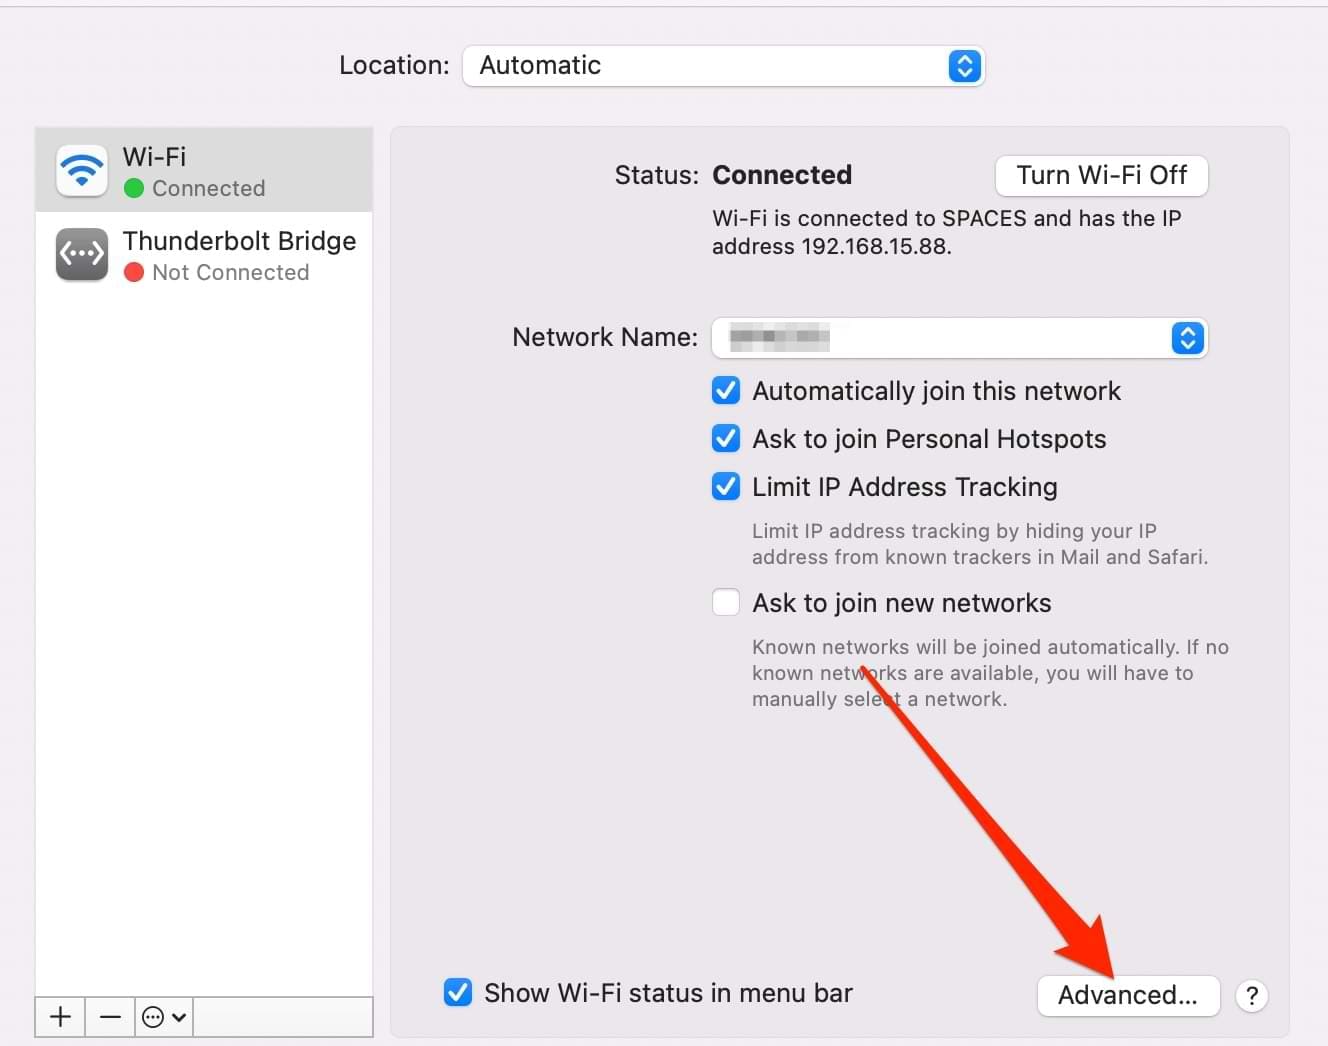
2. Click on the Network icon.
3. Select Advanced.
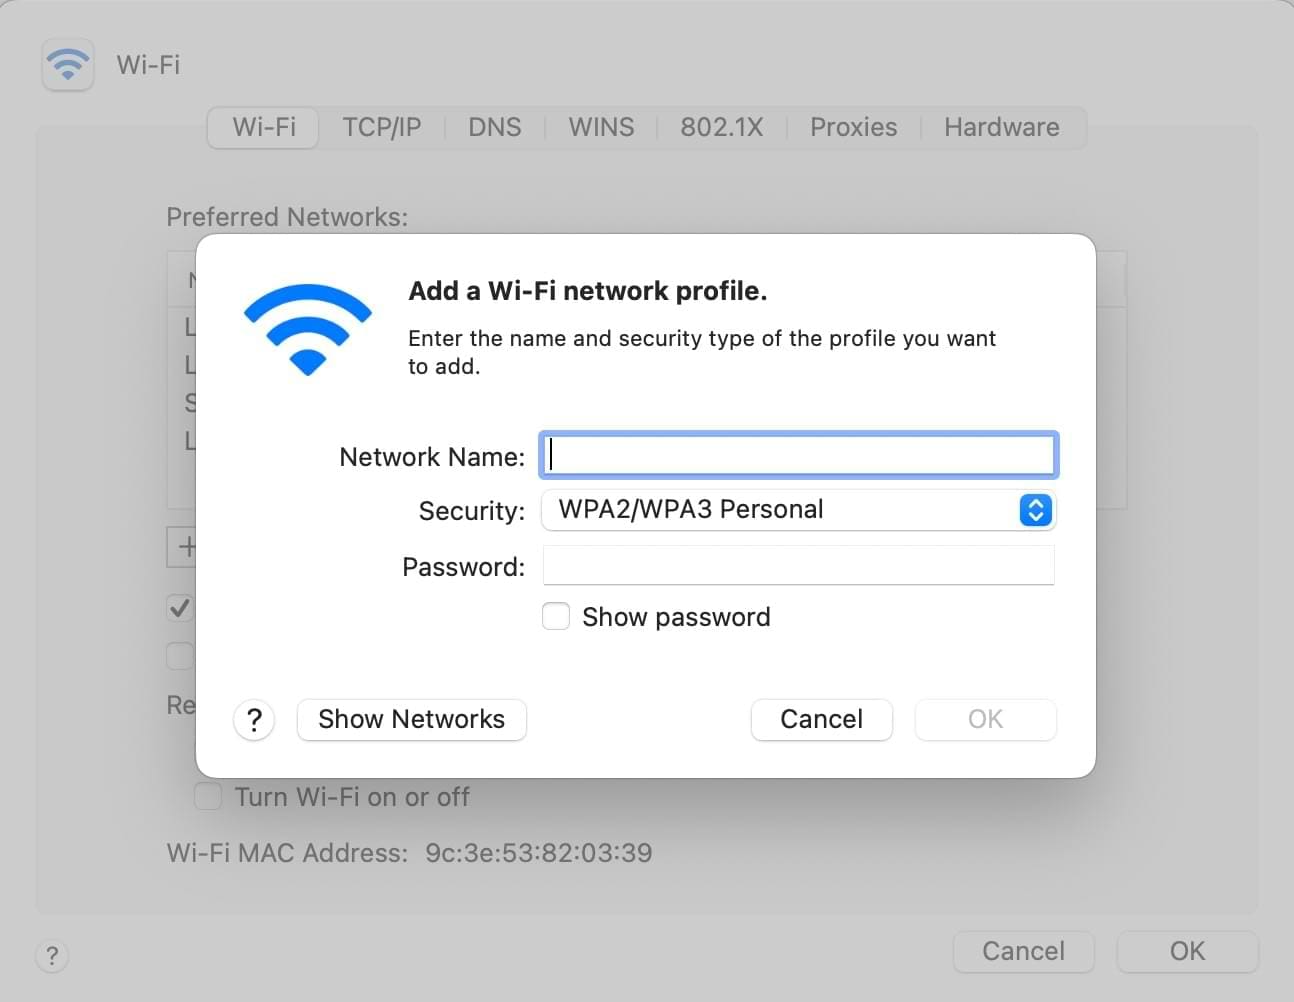
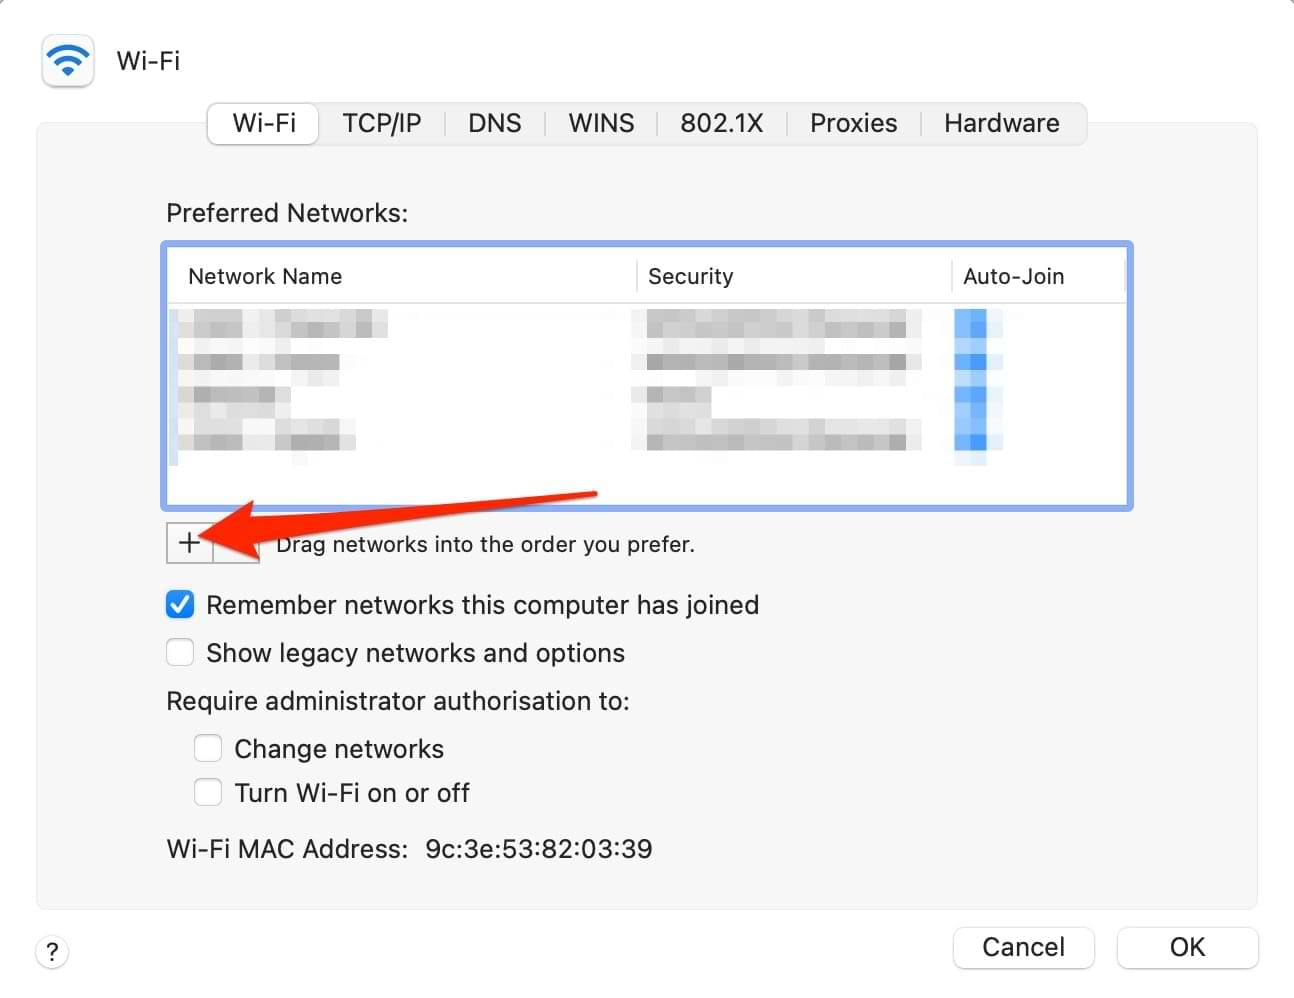
4. Click on the + button in the bottom left of the next window.
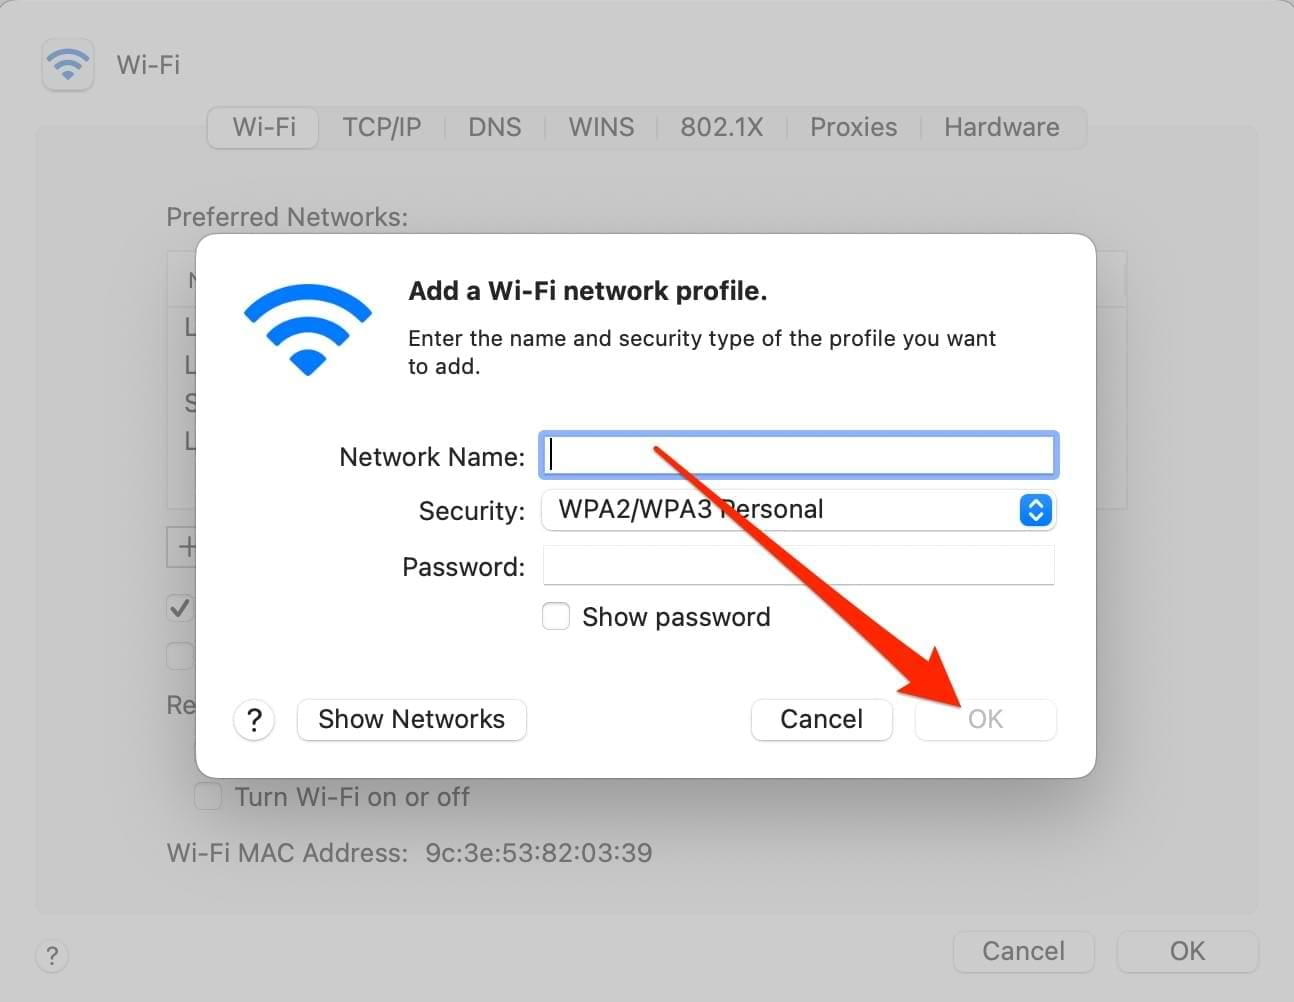
5. Enter the required information and click on OK.
How to Remove Wi-Fi Networks From Your Mac
You might want to remove Wi-Fi networks from your Mac for several reasons. For example, you may simply not use it anymore – or you could have security concerns.
Regardless of why you want to, Wi-Fi networks from your Mac is not difficult. Follow the instructions listed below to achieve your desired result.
1. Go to System Preferences > Networks.
2. Like when adding a network manually, click on the Advanced button in the Networks window.
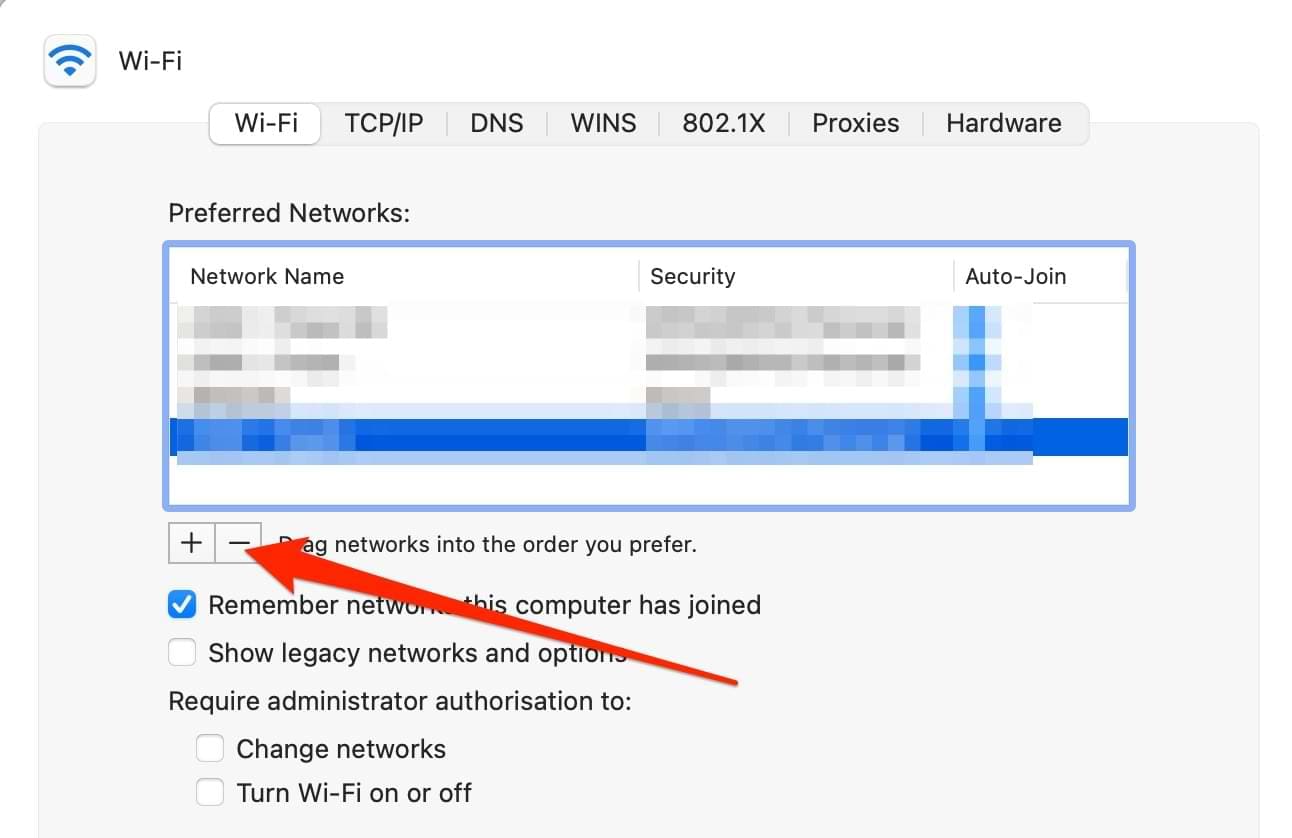
3. Click on the Wi-Fi network you want to remove. Then, hit the – button.
4. A popup window will appear and ask you to confirm your choice. Hit the blue Remove button; your changes will take effect immediately.
Managing Wi-Fi Networks on Your Mac Is Easy
Adding and removing Wi-Fi networks on your Mac is important; luckily, both are very simple. You can connect to networks wherever you are, regardless of whether that’s at your house or someone else’s. And if you want to control which networks you connect to automatically, you can easily do that in your System Preferences.
Every six months or so, you might want to consider going through the networks you’ve connected to on your Mac. You can choose to remove any that you no longer use, which will keep everything organized.
Danny has been a professional writer since graduating from university in 2016, but he’s been writing online for over a decade. He has been intrigued by Apple products ever since getting an iPod Shuffle in 2008 and particularly enjoys writing about iPhones and iPads. Danny prides himself on making complex topics easy to understand. In his spare time, he’s a keen photographer.


Write a Comment