Usually, if something goes wrong with macOS, it’s an easy fix. Restarting your computer or removing a problematic piece of software can fix plenty of issues. That said, what happens when something goes really wrong, like your computer won’t boot at all?
This is the type of problem where you need to resort to drastic measures. If nothing else is bringing your Mac back to life, you may need to restore your Mac’s firmware. While this sounds scary, it’s a fairly simple process.
Contents
Before You Start
Reviving or restoring your Mac firmware is an involved process, so make sure you actually need to go this far. Try starting macOS Recovery and see if there’s any other way to get your computer working again, like Internet Recovery.
If trying macOS Recovery fails, or if you can’t even get that far, that’s when it’s time to repair your Mac’s firmware. You can do this in two ways: reviving your firmware and recovering your firmware.
These sound similar, and they are. The difference is that reviving your firmware means there’s a chance that you may be able to regain access to your data. Recovering your firmware, on the other hand, fully erases your Mac’s internal storage, meaning you’ll never be able to access that data again.
What You Need to Restore Mac Firmware
To restore your Mac firmware, you’ll need two computers: the computer you’re trying to repair, and another computer running macOS to initiate the firmware recovery.
Note that this process only works with newer Macs. In order for this process to work, the computer you’re trying to repair needs to either be a modern M-Series Mac, or it requires the T2 security chip. These Macs largely began shipping in 2018, so if you have a model from that year or later, you’re likely in luck.

There are also some requirements for power and the type of cable you use. The Mac you’re attempting to repair needs to be plugged into power, and this can’t be from the computer you’re using to repair. Finally, you have to make sure you’re using a USB-C cable to connect the two computers. Thunderbolt cables won’t work.
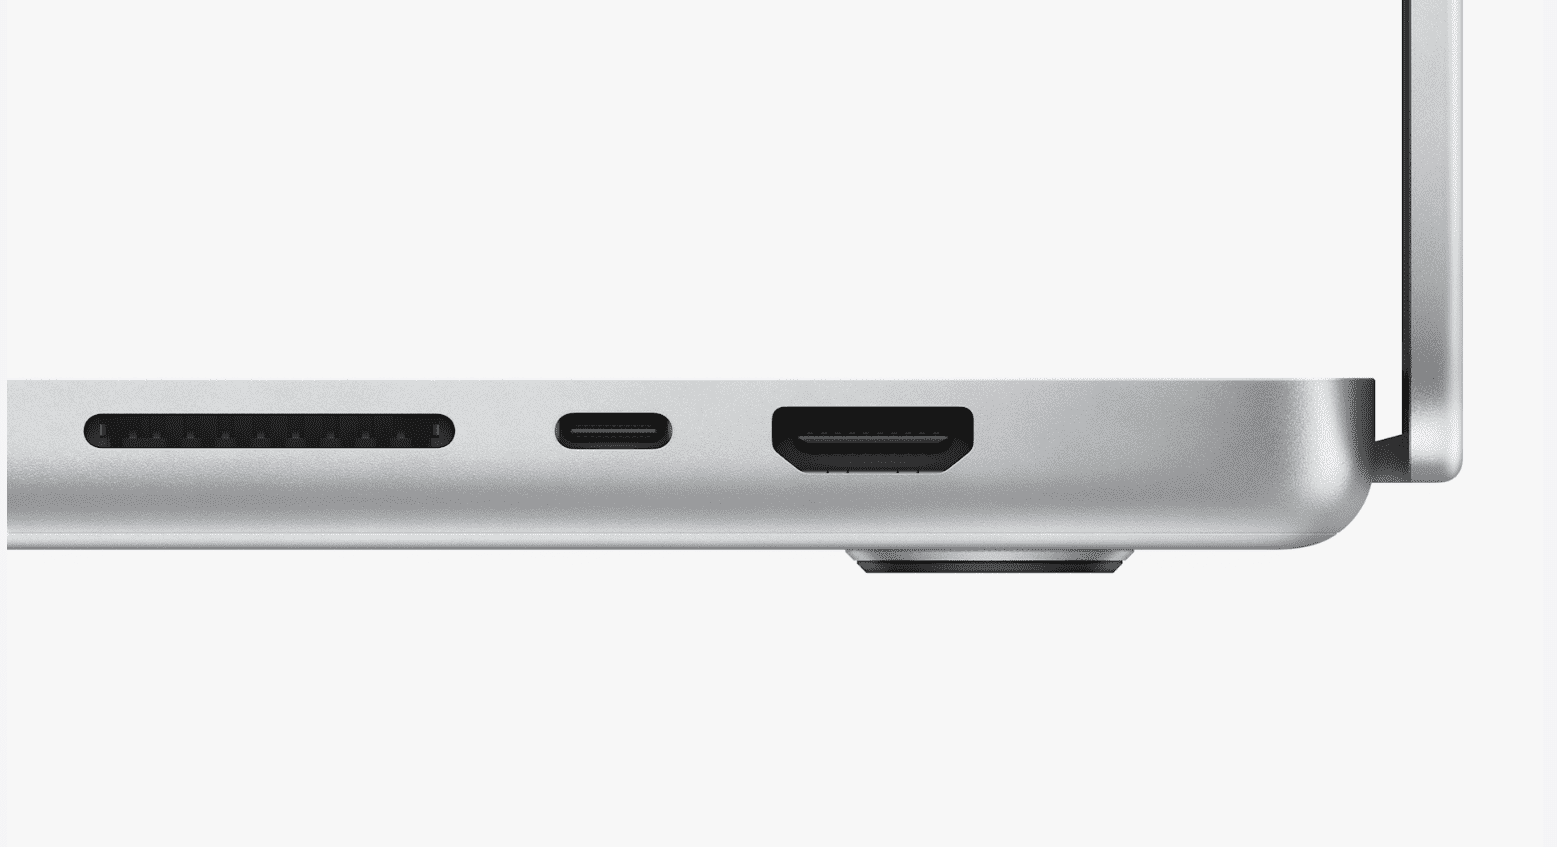
To restore your firmware, you’ll need to plug into a specific Thunderbolt port on the Mac you’re repairing. Apple has documentation on where to find this on both Intel Macs and M-Series Macs.
Preparing to Revive or Restore Mac Firmware
Whether you’re aiming to revive or restore your Mac firmware, the early steps are the same. First, download and install Apple Configurator 2 on the computer you’re using to attempt the rescue.
At this stage, disconnect the Mac you’re repairing from power. If your Mac is a laptop, hold the power button down for several seconds to make sure it’s powered down.
Next, connect the USB-C cable between the Mac you’re using to do the repair and the Thunderbolt port you identified earlier. Now it’s time to power on your Mac, but how you do this varies by model.
On M-Series Mac laptops, press and release the power button, then immediately press it again and hold it down. As you do this, hold down the left Control and Option keys, plus the right Shift key. The side each key is on matters.
On Intel Mac laptops, plug the computer in, then hold down the power button along with the left Control and Option keys, as well as the right Shift key. Again, the side of the keyboard is key is on matters.
If you have another Mac, you can find power on instructions in the Apple support for Intel Macs and M-Series Macs.
How to Revive Mac Firmware
To attempt to revive your Mac firmware, open Apple Configurator 2 on the computer you’re using for the rescue. The Mac you’re repairing should appear. Select the Mac, then choose Actions > Advanced > Revive device.

This process will take a while, and it can be stressful. Occasionally, you’ll see the Apple logo pop up on the screen of the Mac you’re repairing. This is normal and means the process is working as intended.
If the device is successful, your Mac will now reboot. Keep in mind, even though the firmware revive worked, your Mac may still not be in perfect running order. This will vary depending on a variety of factors.
At this point, you can remove the cables between both Macs. If the revived Mac still needs work, try booting into Recover OS to attempt to further repair your computer.
How to Restore Mac Firmware
If you weren’t able to revive your Mac firmware, there is one final option, the restore. As we mentioned earlier, this isn’t a step to take lightly, as it will erase all data on your Mac. If you have data you hope to recover, make sure to do this before restoring your firmware.
On the Mac doing the rescue, open Apple Configurator 2. Navigate to Actions > Advanced > Restore, then click Restore. As with reviving firmware, this process takes a while, and the computer won’t give you much of an idea what’s happening.
After the process is complete, the process will reboot. Depending on the type of Mac you have, you may instantly know whether the process was simple, or you may have to follow one final step.
It’s easier if you have an M-Series Mac, as once your computer reboots, you’ll be greeted by the macOS Recovery Assistant. At this stage, follow through the prompts to continue repairing your computer.
If you have an Intel Mac, the process is a little more involved. Hold down Shift-Option-Command-R and press the power button to reboot your computer and start installing the version of macOS that it shipped with. From here, you can upgrade to the newest version of macOS if you wish.
Kris Wouk is a writer, musician, and whatever it’s called when someone makes videos for the web. He’s an Apple nerd with a fondness for hi-res audio and home theater gear.


Write a Comment