If you’re an Apple Watch owner, you know Apple places its Digital Crown on the right side of the device itself. At least, by default.
For the most part, Apple likely went with this design decision to mimic how actual watches are set up. That way, users switching from an analog watch to the Apple Watch would find the device familiar and comfortable to use.
But just because the Apple Watch comes out of the box this way doesn’t mean that you have to stick with it.
In fact, there’s another way to wear your Apple Watch that may come with its own set of benefits. Here’s how to reverse your Apple Watch orientation, along with some reasons why you might want to.
Reverse Crown Orientation isn’t its actual official name, but that’s pretty much how it works. That name was first coined by app and web developer Craig Hockenberry on his personal blog.
Basically, Reverse Crown Orientation is exactly what it sounds like. Instead of the Digital Crown being on the top-right of the Apple Watch, it’ll be on the lower-left.
That may not sound like it does you much good, but there are some benefits associated with it — as we’ll outline in the section below.
Some of the Potential Benefits of Reversing Apple Watch Orientation
Flipping the Digital Crown’s orientation on your Apple Watch is not just an aesthetic change. And don’t worry, your screen and apps won’t be upside down.
Here are just a few benefits that users who rock reverse crown orientation reported.
The Ergonomics are Better
When Hockenberry first wrote about the so-called “reverse crown” orientation, he noticed that there was a positive ergonomic change.
Some users find the natural position of the Apple Watch to be somewhat awkward, requiring fingers or thumbs to be placed and used unnaturally.
With reverse crown orientation, you’ll naturally want to use your thumb to activate and scroll the Digital Crown. The other finger is used for stability and can quickly tap and scroll on the display itself — without ever having to move your thumb off the Crown.
It Could Make Your Voice Clearer
Because of the way the Apple Watch’s externals are situated, flipping it over may bring its built-in microphone closer to your mouth.
That’s a boon for Siri voice command recognition. But it could also bump up your clarity when using an Apple Watch for phone calls or other audio-related activities.
It Can Help Mitigate Accidental Siri Activations
Some users, particularly those with physically demanding jobs, may find themselves inadvertently activating Siri at inopportune times.
That’s where this reverse orientation can come in handy. With the Digital Crown flipped to the right side, there’s less of a chance that it’ll be pressed accidentally.
Are There Any Downsides to Reverse Crown Orientation?
According to users who use reverse crown orientation, the downsides are really few and far between. But there are a couple worth noting.
For example, many apps will expect the Digital Crown to be in the upper-right — and will show you scroll indicators and other UI elements that reflect that.
Still, it’s a relatively minor gripe and not really a deal breaker. And Apple could always fix it in an upcoming watchOS patch.
How to Set Up Reverse Crown Orientation on Apple Watch
If you’re curious about reverse crown orientation at this point, you may want to give it a try for yourself. It’s fairly easy to do.
Here are the steps you should follow:
Unlock your Apple Watch and tap on your Digital Crown. This will reveal all of the apps on your device.
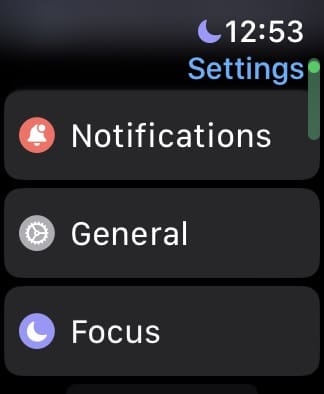
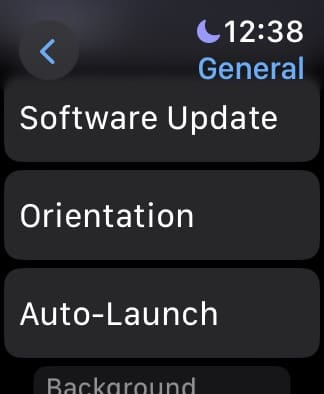
Select Settings and go to General.
Scroll down to and tap Orientation.
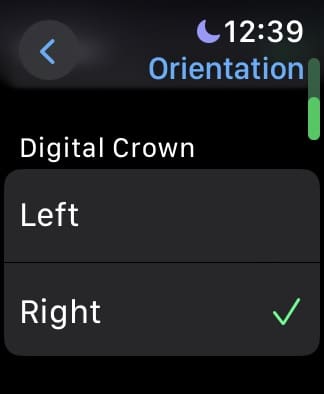
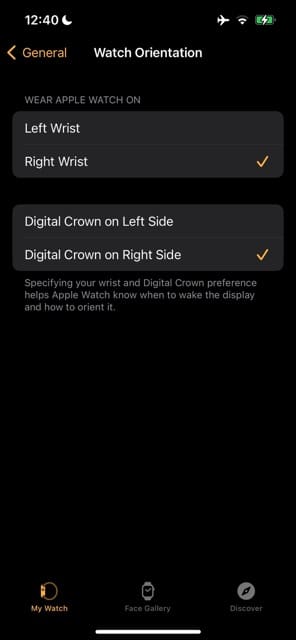
At this point, you’ll see options for wrist orientation.
But you’ll also find a little-used option to set which side the Digital Crown is on.
Most users ignore or aren’t aware of this option, but it’s how you’ll set your Apple Watch to its “reverse orientation.”
For reverse orientation:
Select Digital Crown on Left if you wear it on your right wrist.
Select Digital Crown on Right if you wear it on your left wrist normally.
Unless you’re changing wrists, leave the wrist selection alone.
Of course, you’ll also need to flip your watch over by taking off the band and putting it back together “in reverse.”
Change Apple Watch Orientation Using the Watch App!
In addition to changing your Apple Watch’s orientation via your device, you can do the same from your iPhone. Here’s how to do that.
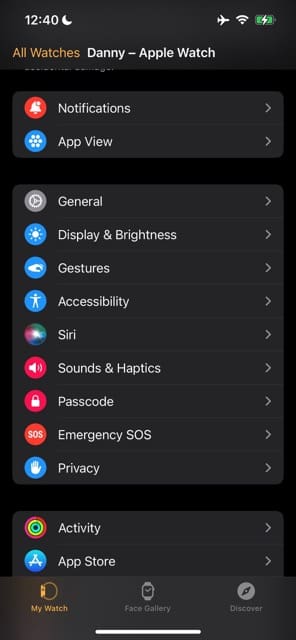
Open the Watch App and make sure you’re on the My Watch tab at the bottom of your screen.
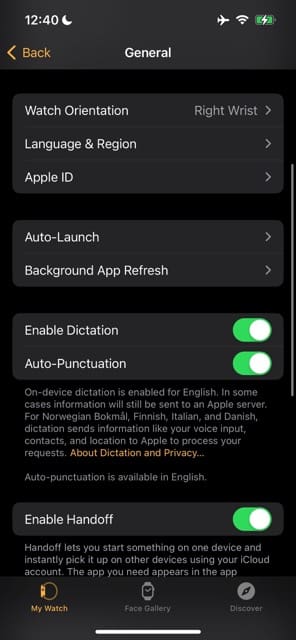
Select General.
Choose Watch Orientation.
Tap Digital Crown on Left Side or Digital Crown on Right Side, depending on your preference.
Use These Tips to Change the Digital Crown Orientation on Your Apple Watch
Using Reverse Crown Orientation on your Apple Watch is incredibly simple. And what’s even better about it is that you can change it on both your Apple Watch and iPhone, so you don’t need to worry too much about needing your device always on you.
Keep in mind that you’ll probably need some time to get used to the changed positions. But don’t give up right out of the gate. Give it a few days and check in to see if your Apple Watch experience has improved.
For many people, it will. But luckily for those who aren’t fans, it’s extremely easy to return the Apple Watch to its default crown orientation. Just follow the steps in this guide again to get your specific preferences.
Mike is a freelance journalist from San Diego, California.
While he primarily covers Apple and consumer technology, he has past experience writing about public safety, local government, and education for a variety of publications.
He’s worn quite a few hats in the journalism field, including writer, editor, and news designer.


I tried this and i love it!
So much easier to move the dial with my thumb. I used to always hit one of those two buttons by mistake but now i think thats over.
Thank you Mime for a great tip and guide on how to do it.
This setting should be the default not the option.
Lucy