Setting up the sync is the easy part. But iCloud Photos keeps one library in sync across everything signed into your Apple Account. Your PC is not a separate destination that receives copies, but just another way to get into the same library.
That means that all changes to the library happen both ways, even PC to phone. If you decide to “tidy up” the folder on your computer by deleting photos, you may delete those items from your iCloud Photos library and other devices as well. Here is how to sync iCloud Photos to a Windows PC properly and avoid potentially infuriating mistakes.
Step 1. On your iPhone, open “Settings,” tap your name, then go to “iCloud” and “Photos.” Turn on “Sync this iPhone.”
Step 2. On your PC, install iCloud for Windows from the Microsoft Store and sign in with your Apple ID.
Step 3. Click the arrow next to iCloud Photos, then turn on “iCloud Photos.” Turn on “Shared Albums” as well if you want access to them on your PC. Click “Done.”
Step 4. In iCloud for Windows 14.2 or later, you can also tick “Download High-Efficiency format photos and videos” or “Download HDR videos” at this point.
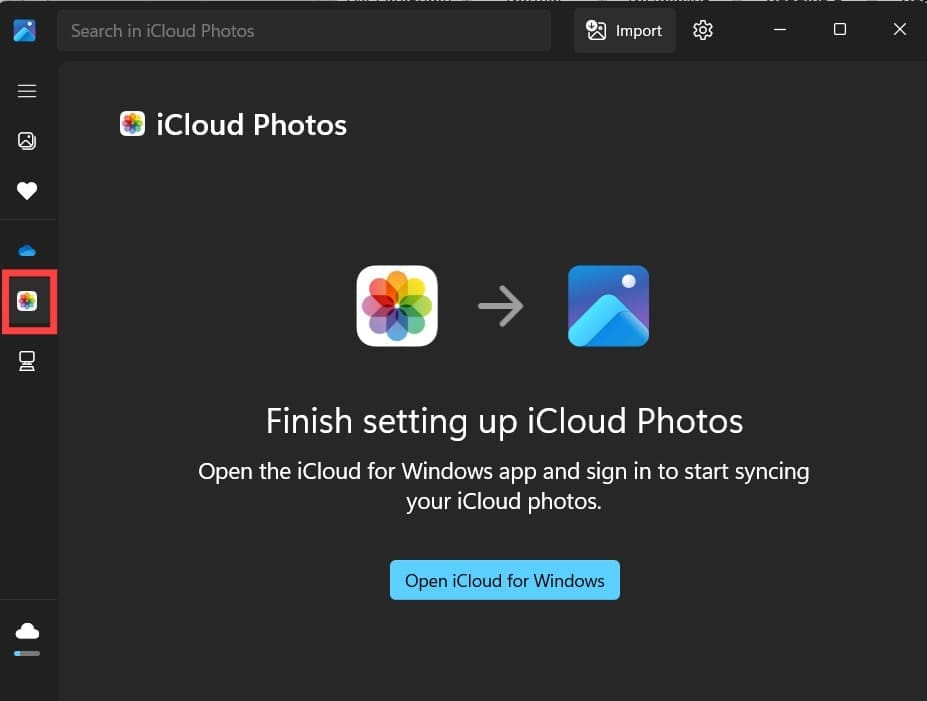
Step 5. Your files should land in “C:\Users\[your name]\Pictures\iCloud Photos\Photos.” On Windows 11, open the stock Photos app and choose “iCloud Photos” in the left pane.
Once properly set up, the files will “download” automatically, and opening a photo pulls down the full-resolution file.
With that in mind, here are some pitfalls to avoid.
Mistake 1 – Treating the Sync as a Backup
You can right-click any photo and choose “Always keep on this device” to pin it. From then on, it can be accessed more easily. The file will remain downloaded, but it is still part of the synchronized iCloud Photos library.
That means if a photo or video is deleted on another device with iCloud Photos turned on, it is deleted from the PC as well, even if it is pinned.
A real backup means copying photos into a different folder, ideally on a different drive, where no sync agent is watching them. Do that once for the photos that matter before you change anything else.
Mistake 2 – Deleting Files to Free Up Space
Dragging a few gigabytes of old photos to the Recycle Bin means you’re deleting them from the iCloud Photos folder entirely. This removes the file from iCloud Photos on all devices.
To reclaim space without deleting the item from iCloud Photos, right-click the downloaded photo or video and choose “Free up space.” That clears the local copy while leaving the item in your library so it stays available to download again.
If you have already deleted something, check the Windows Recycle Bin first and restore from there. Alternatively, you can sign in at iCloud.com and look in “Recently Deleted,” where items stay recoverable for 30 days before they go for good.
Mistake 3 – Trying to Use an External Drive
While you can change where Shared Albums are stored, iCloud for Windows only saves on the C: drive and nowhere else. Your only option is to download the files, create a backup copy, and then move that copy to an external drive.
Mistake 4 – Editing Photos in Place
There’s one caveat to the “shared library” aspect. While editing photos on Apple devices propagates the change to Windows, the other way doesn’t work. To reclaim space without deleting the item from iCloud Photos, right-click the downloaded photo or video and choose “Free up space.”
This also means you might spot duplicates, usually because a photo was edited in the Photos app on an iPhone or Mac before it downloaded to your PC. Do not mass-delete those to tidy up. You are deleting from the library itself.
Why Are My iCloud Photos Not Syncing to PC Windows 11?
Start with the iCloud icon in the notification area, which shows upload and download progress and will tell you whether anything is moving at all. Then check that the Microsoft Photos app is updated through the Microsoft Store, since the iCloud integration arrives with the app update rather than with Windows itself.
As an avid gamer, I’ve run into my fair share of error codes and weird faults that have forced me to find fixes to problems I never anticipated. That gave me a passion for sharing those fixes with others so we can all game without feeling like our hardware is rebelling against us.












Write a Comment