Those who like to keep their devices safe are aware of using two-factor authentication, but there’s one common worry that all two-factor users share: what if you change your phone? What happens to your Google Authenticator when you change your phone? For those that know, whenever you log in to a service that uses Google Authenticator, you’re supposed to go into the app on your registered device and put in the code. Fortunately, clever people developed the application and accounted for this possibility. So, read on if you’re an iOS 16 user looking to transfer Google Authenticator to your new device.
Google Authenticator is a specialized two-factor authentication application. Most times, services require you to verify your identity by sending you a text message. Once you copy the code from your texts, you can then use the service as normal. There are instances, however, where an intruder may have access to your text messages and may use that two-factor authentication message as bait to steal your account details. Google Authenticator can help you get around that mess. It has its own downsides, especially if you delete the app or switch phones, but all-in-all it’s a much safer way to do two-factor authentications.
iOS 16: How to Transfer Google Authenticator to Your New Device
So if you’ve changed your device recently and are looking to transfer your Google Authenticator to it, you can follow these simple steps:
Install Google Authenticator on your new device.
Open the app on your old phone.
Tap the ellipses button on the top right.
Tap Export Accounts.
Follow the on-screen instructions.
You’ll see a QR code. On your new device, open Google Authenticator.
Scan the QR code on your old device.
Now you don’t have to worry about any issues that may arise when you do two-factor authentication in the future!
Other iOS 16 Security Tips
Here are some other iOS 16 security tips that can help you secure your device completely.
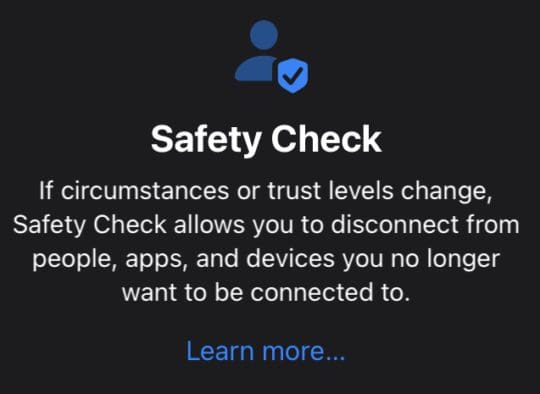
Safety Check
iOS 16’s new safety check is a great way to see which apps have access to what data. With Safety Check, you can change passwords, review app permissions, and do an overall check-up on your iPhone’s security health. To access this feature, head over to Settings > Privacy & Security > Safety Check. Apple will take you through the process step-by-step so that you fully understand everything you’re doing. If you don’t want an app to have certain access to your data, you can simply shut it off. If you haven’t changed a password in a long time, you can change that easily too. The other nuclear option next to Safety Check is Emergency Reset. This resets all app permissions and basically puts your phone to factory settings (only with all your photos, music, etc.). We wouldn’t recommend this unless you truly believe someone’s gotten access to your phone.
Disable Ad Tracking
Ad tracking is a modern problem that’s come to fruition due to third-party services packaging our user data and selling it off to advertisers. Not everyone wants their personal data flung around like a fresh fish at a market, so Apple has decided to empower their users a bit more by allowing them to disable ad tracking. To turn this on, go to Settings > Privacy & Security > Tracking. You can then toggle if you want to allow apps to request if they can track your data. If you turn it on, each app will need your permission to track data. We strongly recommend all iOS 16 users turn this feature on.
Security Response
On previous iOS versions, you’d have to perform a full update if you wanted to have the latest security firmware and updates. Security Response allows you to secure your iPhone better without having to go through tedious updates. We all know that everyone thinks updating their iPhones is a tedious process. To enable Security Response, follow these steps:
Open the Settings app.
Navigate to the General tab.
Tap on Software Update.
Tap on Automatic Updates.
Toggle Security Responses & System Files.
Protect Photos and Notes
It’s always annoying having people hover over your shoulder looking at your phone when you’re scrolling through your photos or notes. It’s even worse when someone tries to access sensitive data on your device. You can actually protect certain photos and notes with Face ID. If you move the photos or notes into the Hidden folder, anyone who wants to access it will require Face ID. To do this, follow these steps:
Open the Settings app on your iOS device.
Head to Photos.
Turn on Use Face ID.
Go to the Photos app.
Tap on a photo, tap on the ellipses icon at the top right, and tap on Hide.
Go to the Hidden and Recently Deleted categories on your Photos app. You’ll need a Face ID to unlock them.


")


Write a Comment