You can quickly take crisp pictures using your new iPhone camera, especially since it automatically defaults to opening the camera. And you can use the latest iOS 14 to set default exposure conveniently. Thus, you can open your device’s camera to several exciting options.
This can include setting the camera to Standard Mode, Time Lapse, Slow Motion, Square, Video, Panorama, and Portrait. But before doing this, you’ll need to install the iOS 10.2 on your iPhone or iPad. This enables you to set the default exposure mode appropriately. We’ll walk you through updating your device to accommodate this new feature.
Learn to Successfully Set Default Exposure Settings on iOS 14
It is easy to set the default camera mode in iOS 14! Just follow these steps.
- Go to the “Settings App” and open it
- Open “Photos and Camera”
- Click on “Preserve Settings”
- Toggle the switch beside the “Camera Mode” to on
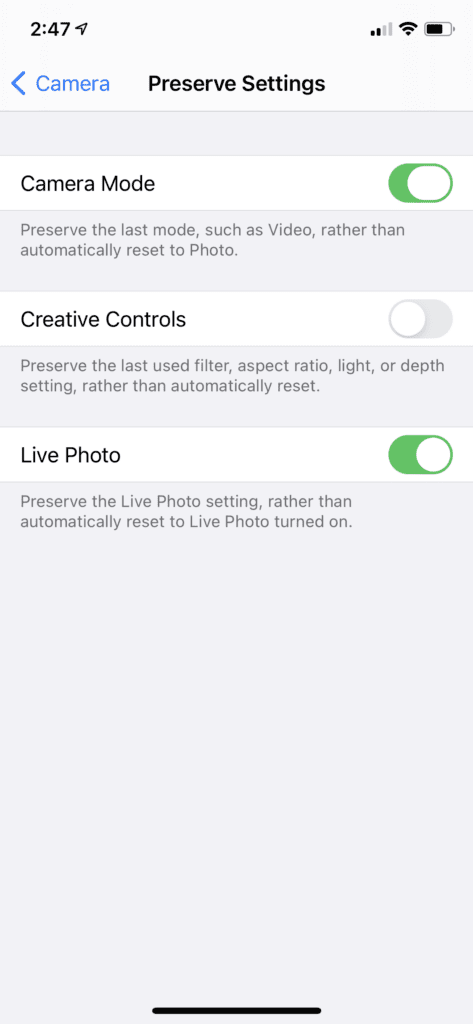
You can also instantly set the default exposure mode with preserve camera settings in your iOS device:
Using your iPhone or iPad:
- Open the “Camera app”
- Select the desired “Camera Mode”
- Set the Camera Mode to Square, slow motion, video, panorama, portrait, time-lapse, or photos

Your most recent camera mode will automatically set as default the moment you open it. So if Photo was last used, when you open the camera, the device will default to opening Photo mode. If you last used video, the video recorder will become the default camera mode when the camera app launches.
Basically, if you often use your iPhone camera to shoot in a specific mode (like square format or video shooting), you’ll definitely find the new feature beneficial.
Set the iOS 14 to Deliver High-Quality Handheld Night Mode Pictures
Previously, if you wished to shoot a perfect Night Mode picture, you needed to keep your phone camera as still as possible.
The iOS 14 comes with an excellent new guide that keeps your phone steady whenever you want to capture crisp handheld Night Mode pictures.
How does it work?
If the device senses that you have moved the phone a bit too much, you will see a yellow and white pair of crosshairs coming up on your screen.
You can proceed to adjust your manner of holding the handheld device until the twin crosshair guides meet. In this way, the iPhone camera is made steadier. It can deliver sharper pictures.
The iOS 14’s new guides for the Night Mode reminds you of the simple crosshair guides that usually appear whenever you take top-down images.
Set the iOS 14 to Take Mirror-Image Selfies or Reversed Version Portraits
Usually, whenever you do a selfie, the iPhone automatically sets to invert the Photo, enhancing readable texts. Remarkably, with the iOS 14, you can take perfect selfies that are essentially your own mirror image.
Indeed, you may even take a picture, which is a reversed version of your own face. Moreover, if the Photo features a text printed on your shirt, just like it is with a mirror, it will appear backward.
To set the iOS 14 camera to deliver perfect mirror selfies or have inverted images with your iPhone, follow this process:
- Go to “Settings.”
- Then “Camera.”
- “Composition Section.”
- “Mirror Front Camera”
- “Turn on.”

This feature works with both videos and photos. Take note, however, that the onscreen preview will not come mirrored.
Thus, if you want to use the camera selfie for applying makeup, your image will appear flipped until you take a photo or record a video.
Set the iOS 14 Exposure Compensation Dial to Adjust Picture Brightness
With iOS 13, it was a bit tedious to try adjusting the picture brightness. Both the exposure and focus are typically locked together. This is shown in the little yellow square that comes up whenever you tap the home screen.
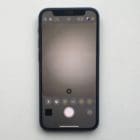
Thankfully, the iOS 14 comes with an additional exposure compensation dial, conveniently attached to the camera app. This new feature is located above the device shutter button. And there is a small light indicator tucked on the left side of the camera screen.
With these improvements, iOS 14 has solved the picture brightness puzzle. Hence, it is easy to adjust a photo to become brighter or darker, according to preference.
Here’s how to do it quickly:
- Go to the device “Shutter Button.”
- Go to “Camera Tool Drawer.”
- Open the “Camera Tool Drawer.”
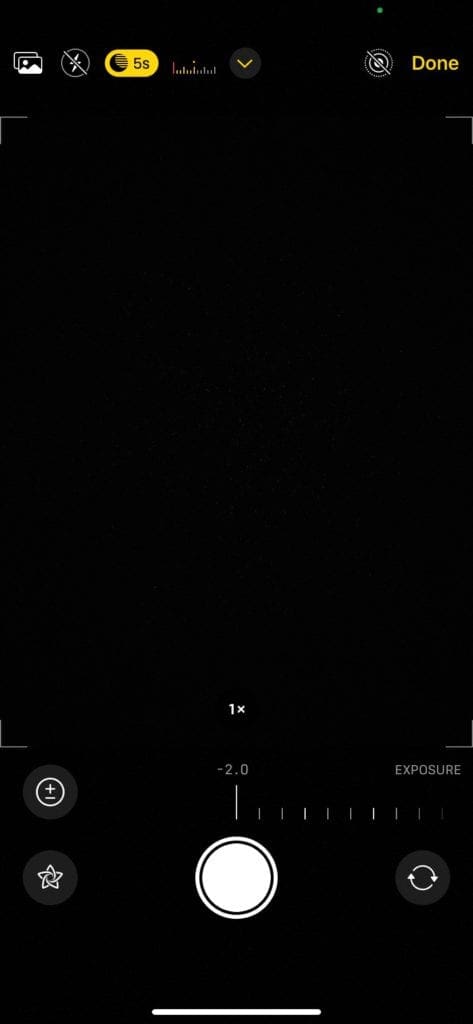
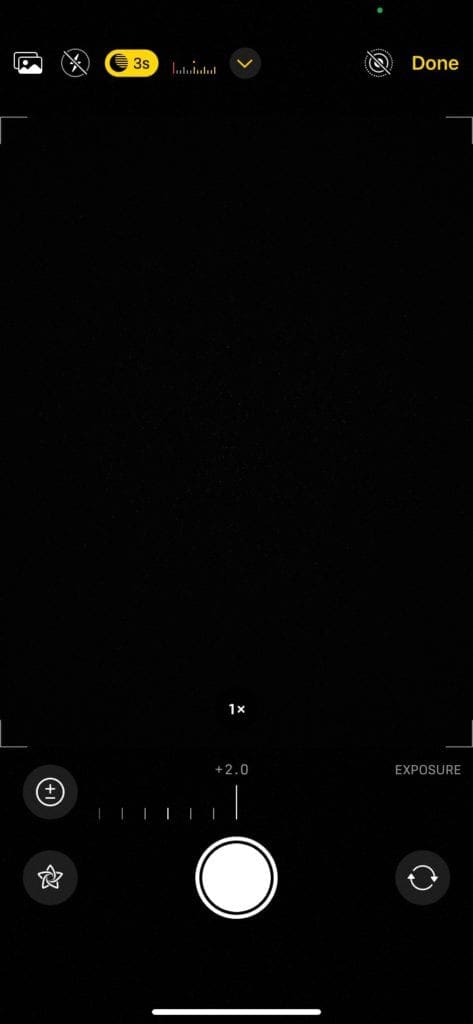
- Find the “Exposure Compensation” icon (it appears as a circle featuring + and – signs in the middle).
- To open the dial, click on the icon.
- Swipe it to the right or left (this decreases or increases exposure).
- When you open the “Exposure Dial, ” a tiny meter will pop up on the display’s left side. Thus, it is possible to see the progress of the changes made as you proceed with the adjustments.
- Click on the “Tiny Meter” (the EV will display).
Conclusion
IOS 14 allows you to take high-quality pictures faster. It gives you total control over the exposure. Plus, it can help you keep still and hold the device better while you’re shooting.
Without a doubt, all these improvements make it way more fun to use the iPhone camera app. Yes, with the iOS 14, it is easier to adjust the brightness of photos and adjust settings without the extra hassle.



Write a Comment