Microsoft Intune is used by many businesses and organizations to manage and secure their apps and resources and control who can access those resources. It’s not just for Windows devices, either. You can enroll iOS devices to Intune, like your personal iPad or company iPhone.

How to Enroll iOS Devices to Intune – Personal Devices
If you’re enrolling your personal iOS device to Intune follow these steps:
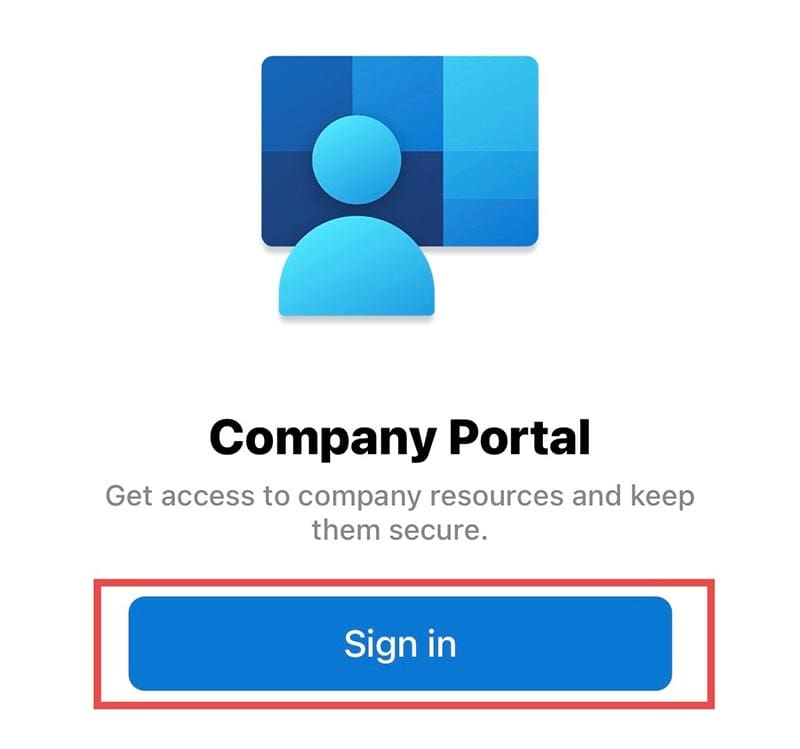
Step 1. Install and open the (you can find it in the App Store).
Step 2. Sign in with the credentials provided by your work or organization.
Step 3. Tap “Begin” on the “Set up access” screen.
Step 4. Select “I own this device” on the next page.
Step 5. Choose your preferred security method. “Secure entire device” will secure all the apps and info on your device, while “Secure work-related apps and data only” just focuses on protecting work-related content. For personal devices, many people prefer to use the “Secure work-related apps and data only” option, so the next steps will apply to that.
Step 6. You’ll be prompted to download Microsoft Authenticator (unless you already have it). Download and install it. Go back to Company Portal and click “Continue” once the Authenticator app is ready.
Step 7. Click “Continue” on the “Device management and privacy” page.
Step 8. Safari should open the Company Portal website. Tap “Allow” to download the necessary profile data, and “Close” when the download is done.
Step 9. Tap “Open” when prompted to access the Company Portal again and read through the instructions listed under “How to install Management Profile.”
Step 10. Open the Settings app and tap the “Enroll in <your organization name>” button. Otherwise, you might see a “Profile Downloaded” button to tap instead.
Step 11. Tap “Enroll My iPhone” on the next screen, then type in your device password and select Install.
Step 12. On the “Sign in” page, enter your Apple ID password (usually the same one used for your organization account) and tap “Sign in.”
Step 13. Go back to the Company Portal app, and wait while it syncs. You may have to tap “Continue” once or twice during this, and you’ll eventually see green checkmarks next to all the listed items. Hit “Done” to finish.
How to Enroll iOS Devices to Intune – Company Devices
If you’re working with a company-provided device, like an iPad given to you at work, enrolling it is much the same as it would be with a personal device, but with a couple of slight differences. Just make sure that you keep a steady Wi-Fi connection throughout the process – if you lose internet access, the Intune app might close itself.
Step 1. Download, install, and open the Intune Company Portal app.
Step 2. Log in with your official credentials.
Step 3. Tap “Begin” under “Set up access.”
Step 4. Select “<company name> owns this device.”
Step 5. Tap “Continue” on the “Device management and privacy screen.”
Step 6. Safari will open, and you’ll need to tap “Allow” to download the necessary files, then “Close” when done.
Step 7. Tap “Open” to go back to Company Portal and read through the “How to install Management Profile” info.
Step 8. Open the Settings app and hit the “Enroll in <your company/organization name>” button or the “Profile Downloaded” button.
Step 9. Tap “Install,” enter your password, and then “Install” again.
Step 10. Tap “Done” once the installation is over and go back to Company Portal. It’ll need a moment to sync up, and you may have to press “Continue” during the process until all the listed items have green checkmarks next to them.
Step 11. Press “Done” to finish.

As an avid gamer, I’ve run into my fair share of error codes and weird faults that have forced me to find fixes to problems I never anticipated. That gave me a passion for sharing those fixes with others so we can all game without feeling like our hardware is rebelling against us.


Write a Comment