While there’s a lot of focus being placed on the iPhone and iPad with iOS 16 and iPadOS 16, you might have thought that the Mac was being forgotten. But that simply is not the case, as Apple even went so far as to introduce its new M2 silicon which powers the upcoming 2022 MacBook Air and 13-inch MacBook Pro.
And from a software standpoint, macOS Ventura aims to provide some much-needed quality-of-life improvements to the platform. Apple is also bringing the heat with some new features that we weren’t expecting. Today, we’re taking you through the steps to download and install macOS Ventura.
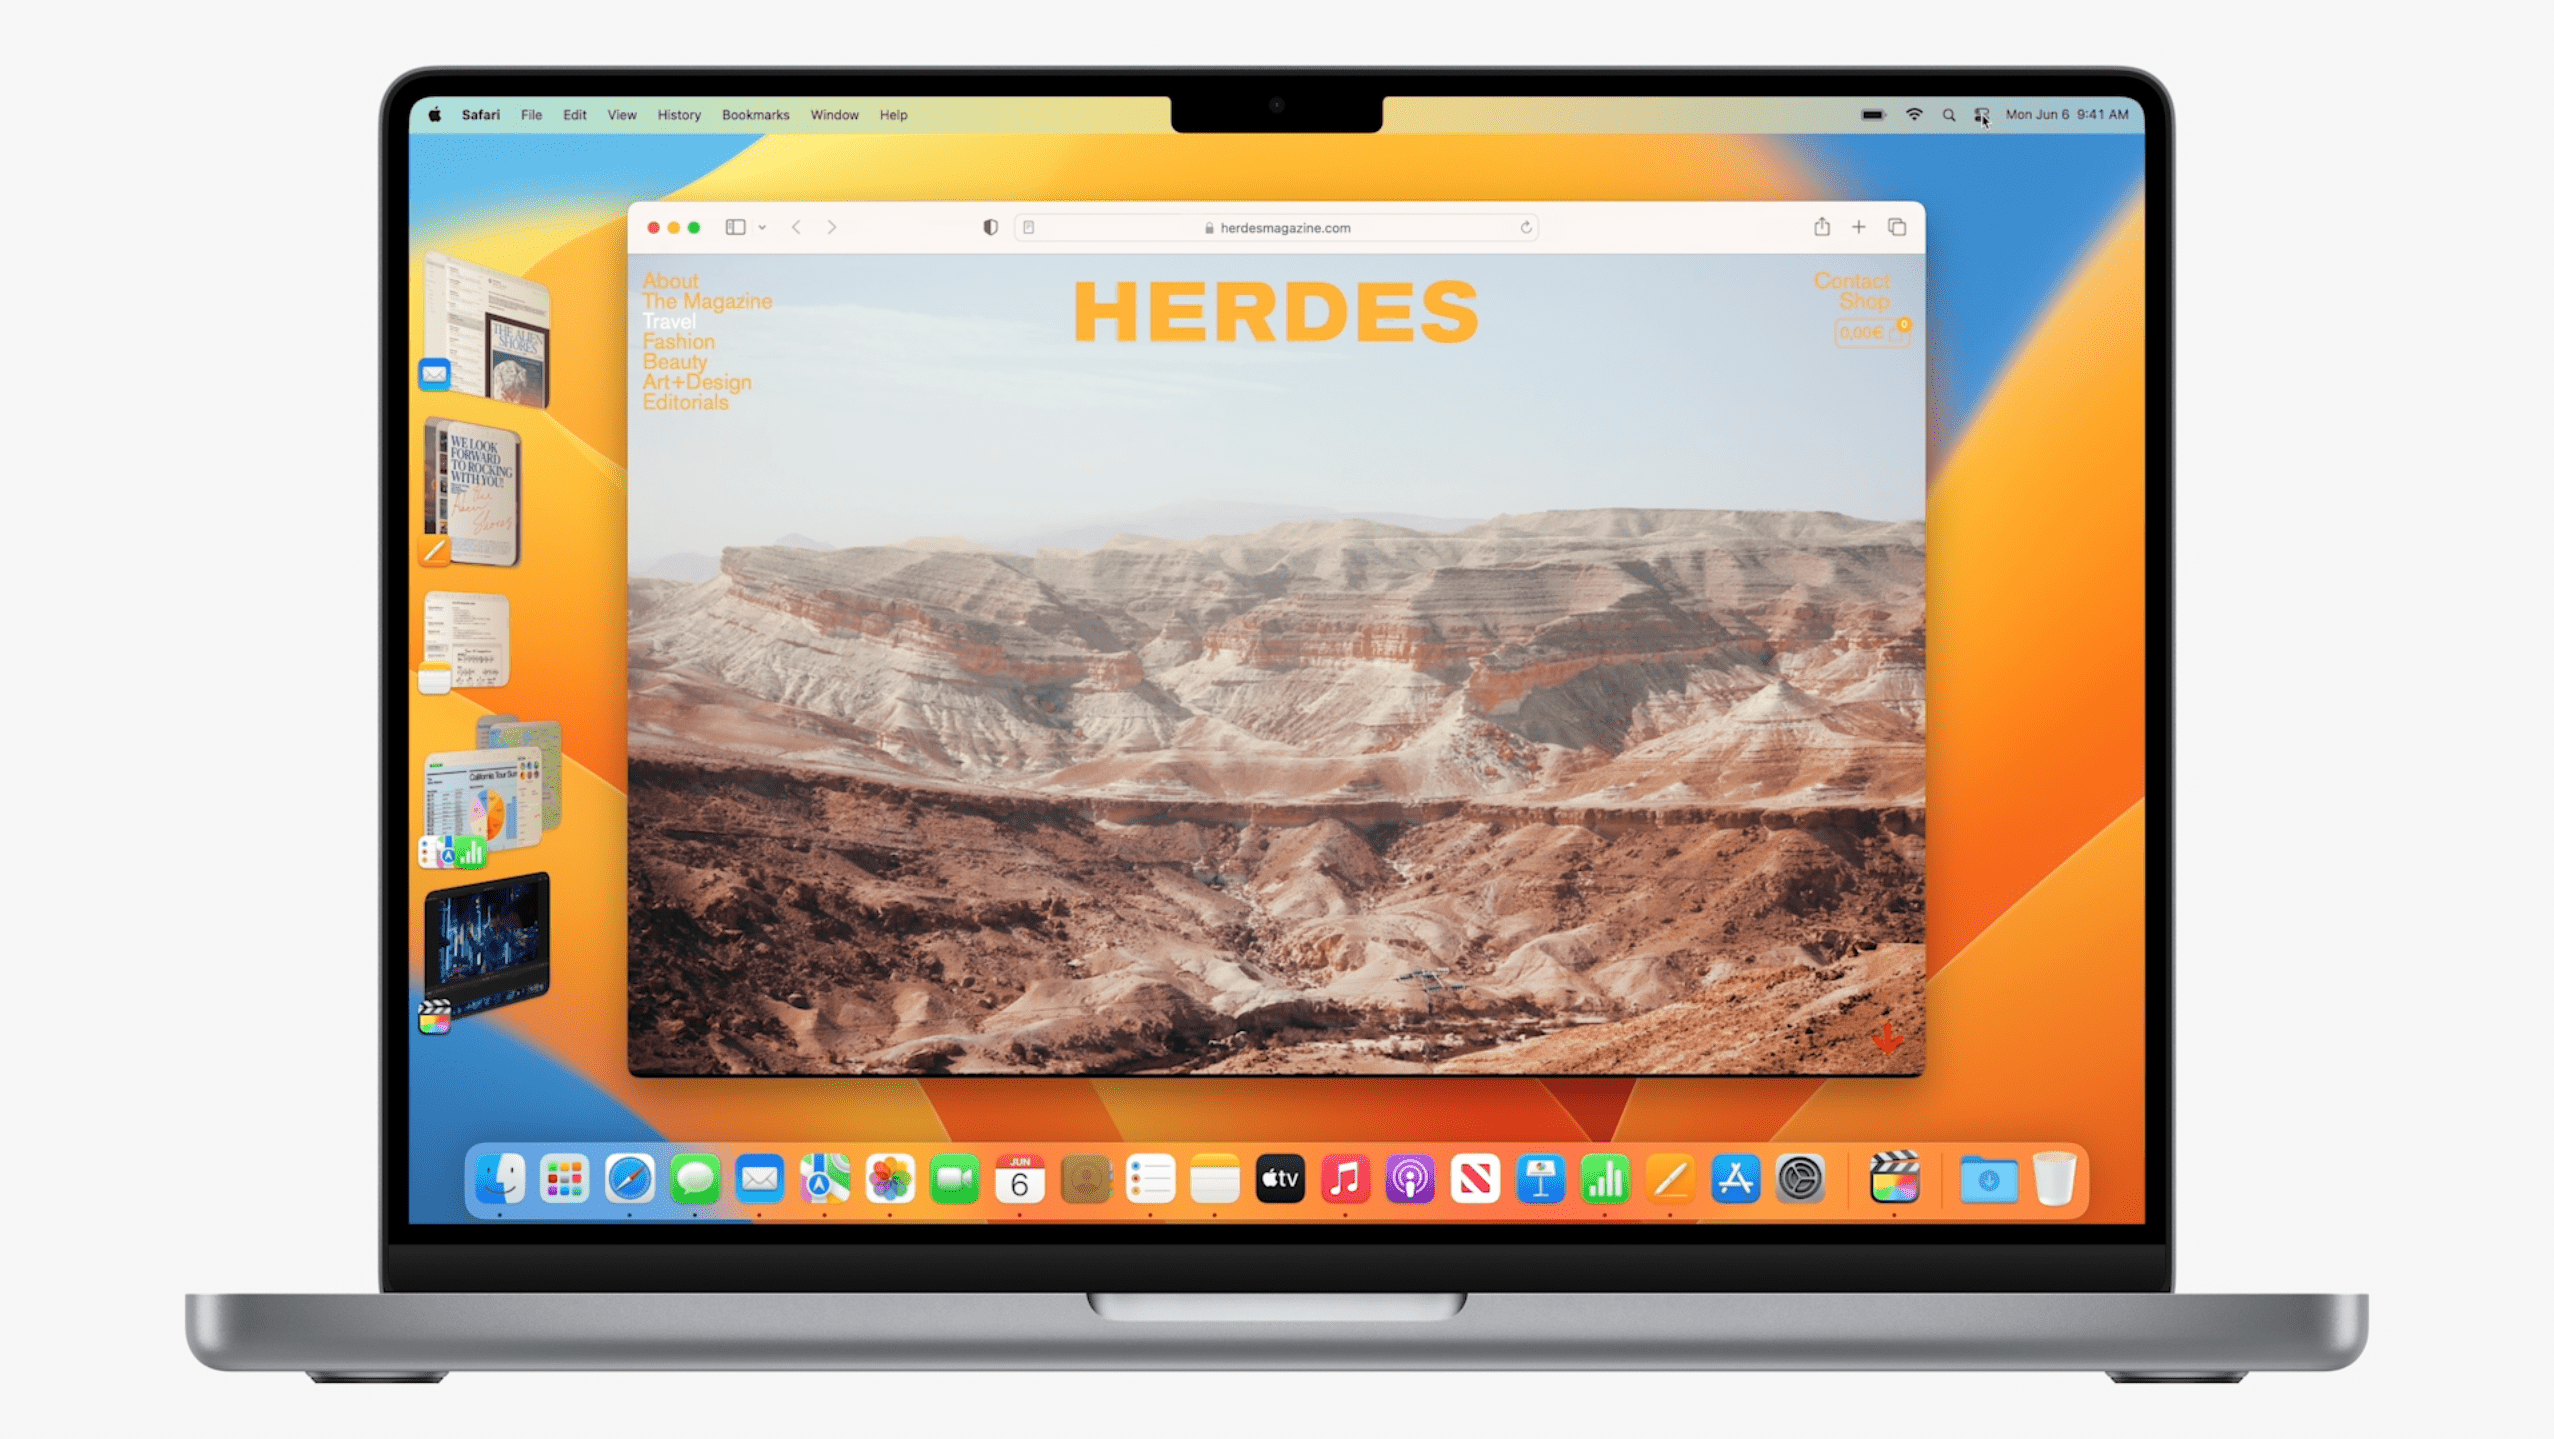
With macOS Ventura and Stage Manager, all of your recently-opened apps will appear on the side, with a single app focused in the middle of the screen. From there, you can tap on different apps to replace them, or you can create stacks of apps to “create your ideal workspace”. These different windows can be rearranged and resized, making it simple and painless to multi-task.
Spotlight
Spotlight now offers an “enhanced image search”, providing results right from Spotlight, even those from a web search. Live Text integration means that you can search for an image based on the text inside it, without needing to open another app. It has also been slightly redesigned, offering “richer search results”, along with the ability to quickly preview files just by pressing the Space bar (Quick View).
Mail
The Mail app on macOS Ventura, iOS 16, and iPadOS 16, offers a much-needed improvement for Search. Now, as soon as you start typing, Search will begin providing potential results and suggestions. This expands to typos and misspellings, as it will fix the typo for you, or provide results that are closest to what it thinks you meant.
There’s More
We won’t go over every single detail that macOS Ventura has to offer, but needless to say, there’s a lot. From being able to natively use your iPhone as a webcam to finally having a built-in Clock app. macOS Ventura brings plenty of new features to enhance your overall experience.
macOS Ventura Compatibility
The biggest question posed whenever a new software version is announced is what devices will be compatible. Apple’s well-known for providing software updates long-past their expected retirement date. And this spreads across the iPhone, iPad, Apple Watch, and of course, the Mac. Here’s the list of Mac computers that you can install macOS Ventura on:
iMac: 2017 and later
iMac Pro: 2017
MacBook Air: 2018 and later
MacBook Pro: 2017 and later
Mac Pro: 2019 and later
Mac Mini: 2018 and later
MacBook: 2017 and later
As for the Mac devices that will not be able to run macOS Ventura, the list includes the beloved 2015 MacBook Pro and more.
iMac: 2015
MacBook Air: 2015 / 2017
MacBook Pro: 2015 / 2016
Mac mini: 2014
Mac Pro: 2013
MacBook: 2016
If you own one of those older Macs that will not be supported, it might be time to consider upgrading ahead of the final release.
How to Install macOS Ventura
Don’t Forget To Back Up Your Data
If you have a Mac that Apple is supporting with macOS Ventura, then the very first step you should take is to make sure everything is backed up. There are obviously a few different ways that you can do this, including making use of iCloud Drive or a third-party cloud storage option.
While those are great and useful options, something else we definitely recommend is to backup your backup. This can be backing things up to an external hard drive, or using Apple’s Time Machine in order to back everything. But it’s still important to do so, in the event that you end up with missing files after the upgrade to macOS Ventura is complete.
Install macOS Ventura
Provided that you have a compatible Mac, and have already backed up all of your important files, it’s almost time to make the jump. However, in order to download and install macOS Ventura, you’ll need an Apple Developer account. It’s free to sign up for an account, and you can choose to just use your Apple ID to sign in.
However, in order to gain access to the necessary files needed to download and install macOS Ventura, you’ll need to fork up the $99 Developer Fee. This is charged to every Developer, regardless of what platform you are trying to install. Essentially, signing up to be an Apple Developer will also provide access to the iOS 16, iPadOS 16, and watchOS 9 Developer Betas.
Here’s how you can install macOS Ventura on your Mac today!
Log in with your developer credentials, usually your Apple ID.
When prompted, enter the 2FA code, and hit the Trust button to trust the device.
Once you are logged in, click the Downloads button in the sidebar on the left.
Scroll down until you see macOS 13 beta.
Click the Install Profile button on the right side.
Once the button is clicked, you should see a file named macOSDeveloperBetaAccessUtility.dmg begin downloading.
After the .dmg file is finished downloading, double-click it to open it.
Click the Continue button.
Click the checkbox to accept the Terms & Conditions.
When prompted, click the Install button.
After the installation is finished, the System Preferences app should automatically appear.
Click Software Update.
Click the Upgrade Now button.
Once complete, you will be able to choose whether you want to install macOS Ventura on a partition. If so, click the Show All Disks button, then select the hard drive you want to install it on.
Click the Install button.
The entire process may take a little while, and the act of downloading macOS Ventura will depend on your internet connection along with Apple’s servers. Not as many people should be downloading macOS Ventura as there were following the Keynote announcement, so it should be a relatively speedy process.
Let your Mac do its thing as you’ll see it reboot and show a blank screen with the Apple logo and a progress bar. Make sure that your Mac is connected to power for the entire duration of the installation. After your Mac reboots for the final time, you’ll be able to log in and start enjoying what macOS Ventura has to offer.
Andrew Myrick is a freelance writer based on the East Coast of the US. He enjoys everything to do with technology, including tablets, smartphones, and everything in between. Perhaps his favorite past-time is having a never-ending supply of different keyboards and gaming handhelds that end up collecting more dust than the consoles that are being emulated.


Write a Comment