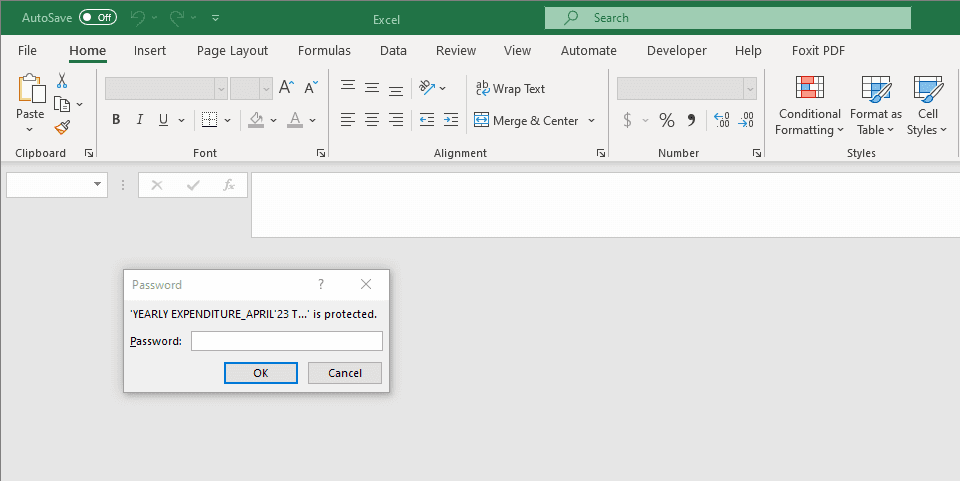
You must learn how to password protect an Excel file on MacBook and iMac to protect Excel workbooks from people with malicious intentions.
Microsoft Excel is one of the most widely used apps for data analysis, visualization, and storage. It’s equally liked by Windows PC and Mac users. On Mac, Excel offers almost all the features that you find on a Windows PC including data protection and security features.
If you’re new to Microsoft Excel or Excel on Mac and don’t know how to use the Excel password protect feature, keep reading this article until the end. I’ll explain all the methods that you can use on a Mac to protect worksheets, worksheet elements, worksheet content, and workbooks on Excel using a password.
Anyone can open an Excel file and make changes to the content of the document. They can do it on your computer or their computers. The change to the Excel file could be deleting critical data tables, manipulating data to increase or decrease performance, moving data so your Excel file becomes empty, and so on.
To help you defend such unsolicited modifications of your Excel file, Microsoft lets you password protect the file. The password protection could be at the worksheet level or the entire workbook level.
Find below why you should always protect Excel files with a password:
You must encrypt or password protect a work-related Excel file when emailing someone. It prevents unintended recipients of the email from opening and accessing sensitive work data if you accidentally send the email to the wrong recipient.
In data entry centers or Excel files containing a large database, you may want to protect critical sections of the file using a strong password. Thus, data entry operators can’t delete the database accidentally.
You’re sharing a project plan via Excel Gantt chart with team members. You should lock the cell ranges of the worksheet with a password so that the team members can only get a read-only view of the file.
Suppose, you’re storing sensitive private data, thoughts, ideas, program codes, passwords, and so on in an Excel sheet. You might want to protect it with a password. Without the password, there’s no way to unlock the workbook.
Now that you know the utility of the Excel password protect feature, let’s explore various options to lock an Excel file with a password. You’ll also learn the steps to unlock an Excel file.
How to Password Protect an Excel File on Mac: Excel for Mac App
Encrypt With Password Using Save As
If you’re about to save an Excel workbook before sharing it with your team and forgot to password protect it, it’s not late. You can still set a password to open and modify the file by following these steps:
Click Shift + Command + S to start saving an Excel file on Mac.
Alternatively, click File and then select Save As from the context menu.
The Save As interface will pop up.
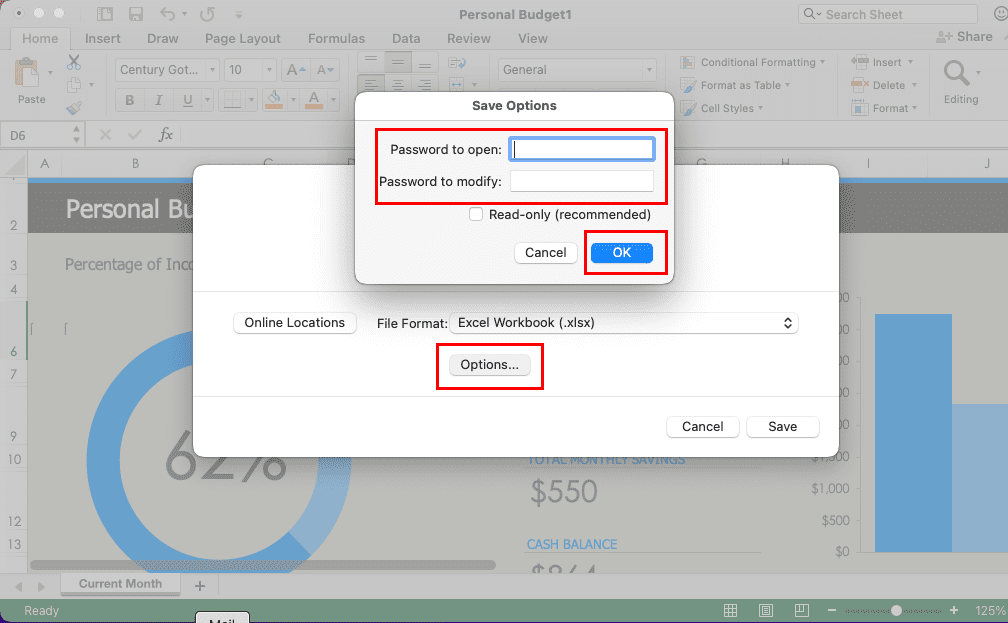
How to use Excel password protect from Save As
There, give a name to the file you want and click Options.
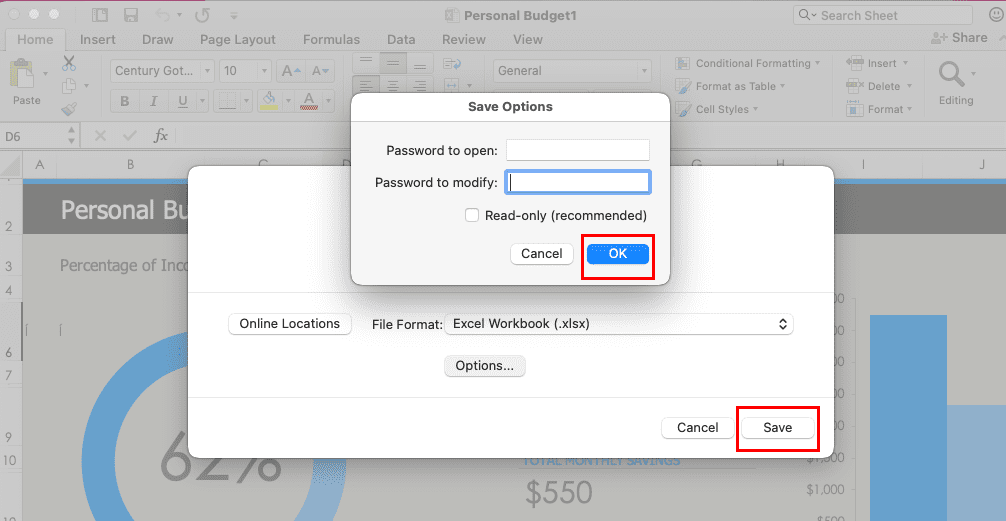
Enter a password for the following option. You can use the same or different passwords:
Password to open
Password to modify
How to remove passwords from Excel
When you want to delete the password protection, simply open the file with your existing password. Now, save it again from Save As and click Options. Then, remove the passwords and save the file.
Use the File Menu on Mac Toolbar
Here’s how you can find the Excel password protect functionality from the Mac toolbar:
Open the Excel file that you want to encrypt with a password.
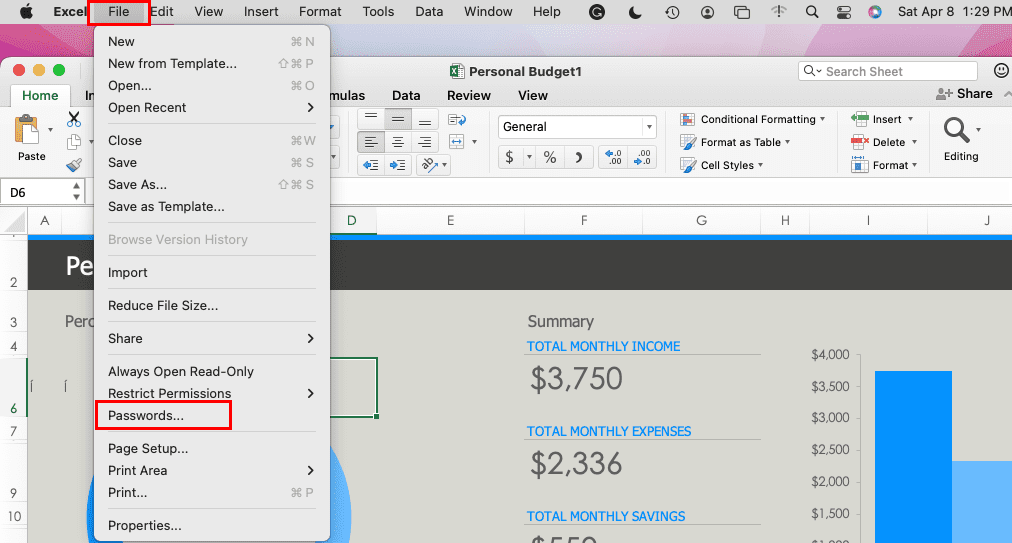
The Passwords menu on File in Mac toolbar
Click the File menu to open a context menu.
Now, click Passwords.
Enter the same or different password for the Password to open and the Password to modify option.
Click OK.
You need to re-enter the above passwords for confirmation.
That’s it! You’ve successfully encrypted your Excel document.
Now, if you’d like to know how to remove passwords from Excel from the File menu, simply repeat the above steps. In the form where you need to enter a password, delete the existing ones and click OK to remove encryption.
The above methods to password protect an Excel file don’t let you customize the Excel worksheet or workbook content you can lock. If you need to use advanced encryption, follow these steps:
Open the target file on Excel for Mac and click the Review tab on the ribbon menu.
Inside Review, you’ll find two options for encryption and these are:
Protect Sheet: to lock worksheets but leave the workbook open
Protect Workbook: to lock the entire workbook
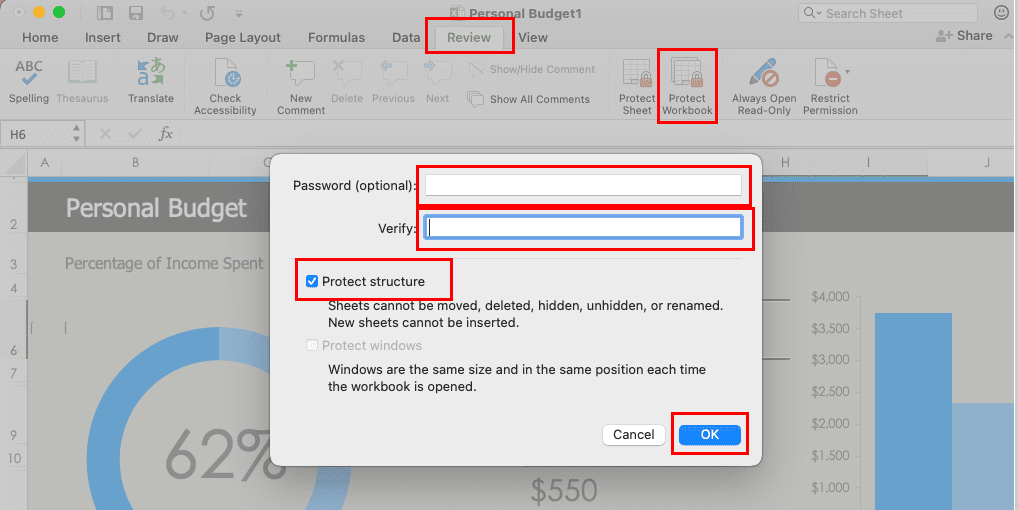
Excel password protect using Protect Workbook
If you select Workbook, enter a password and verify it. Then, checkmark the checkbox for Protect structure and click OK.
Learn how to password protect an Excel file on Excel for Mac app
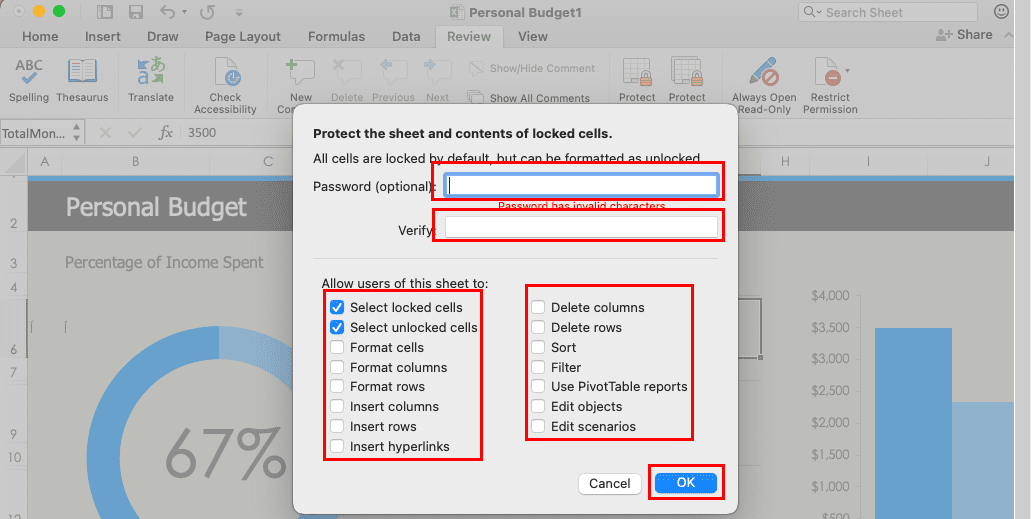
Alternatively, you can click Protect Sheet on the Review menu and enter a password to lock all cells.
Here, you can checkbox the features that Excel won’t lock even if you encrypt the worksheet using a password.
That’s about password protecting an Excel file. You must engage Protect Sheet and Protect Workbook together for maximum protection against data theft or manipulation.
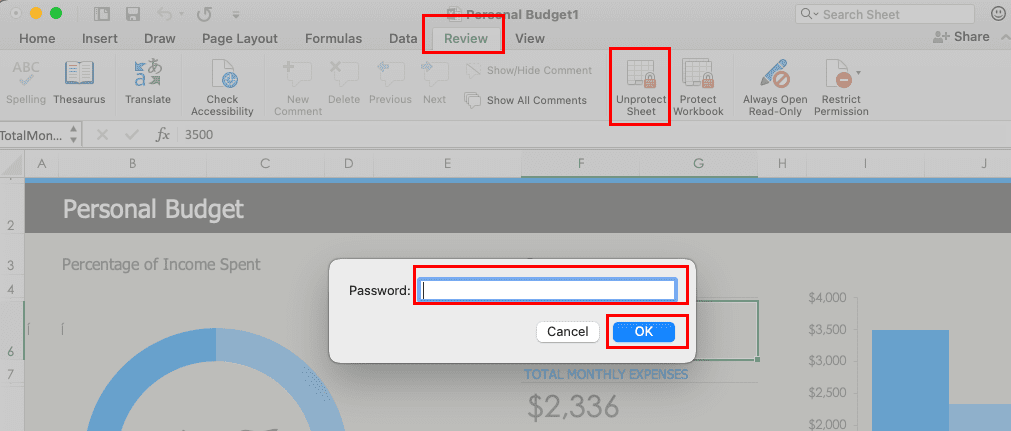
How to remove password protection on Excel for Mac
To unlock the Excel workbook or worksheet, go to Review and click Unprotect Sheet. This will remove password protection. Don’t forget to save the Excel file after disengaging the encryption.
How to Password Protect an Excel File on Mac: Excel Web App
Find below the methods to encrypt your Excel spreadsheet with a password. The steps are valid for all the macOS editions because you’re accessing a cloud-based Excel web app online.
Use Excel Password Protect From Review
Find below the steps to encrypt Excel web documents:
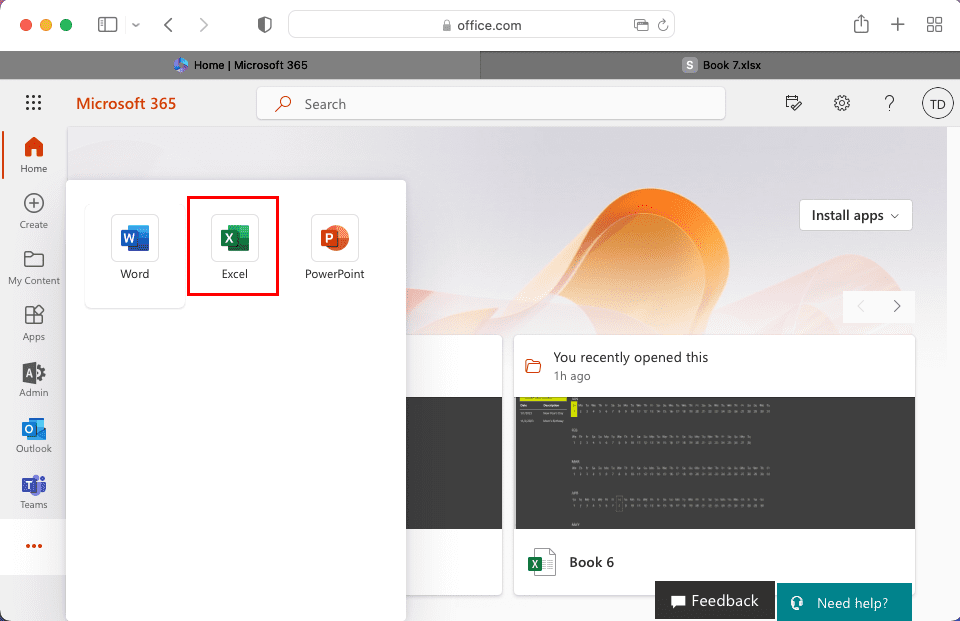
Access the Microsoft Office portal on Safari using your Microsoft 365 subscription account ID and password.
How to open Excel from Microsoft Account on the Web
Click on the Excel icon on the left-side navigation pane to open its online version.
You can create a new Excel workbook or load an existing workbook from your Microsoft account.
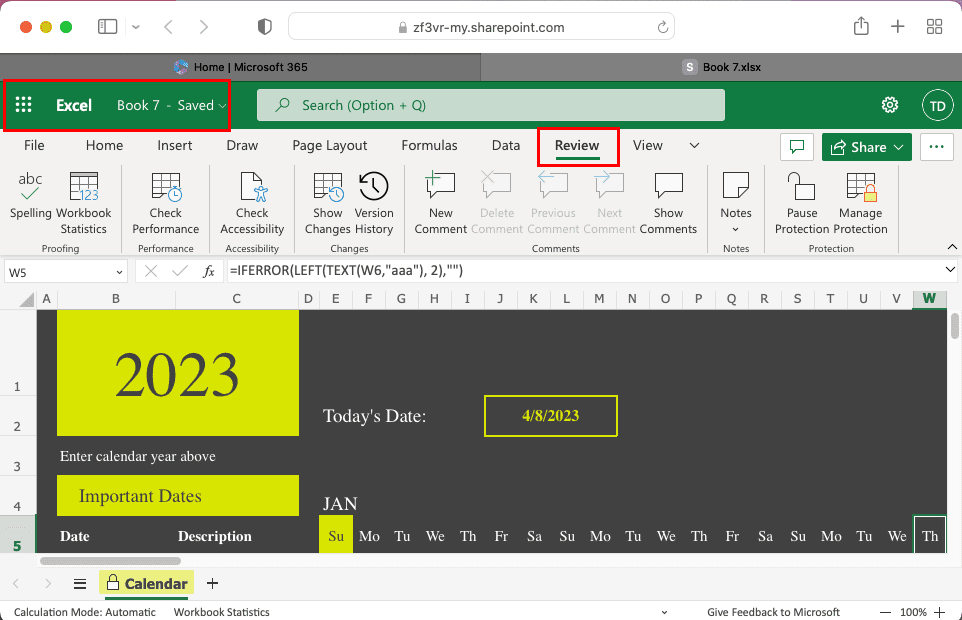
The Review pane of Excel on the web or Excel web app
While inside the Excel web app, click the Review tab on the Excel ribbon menu.
Inside the Protection command menu, you should find Manage Protection. Click on that.
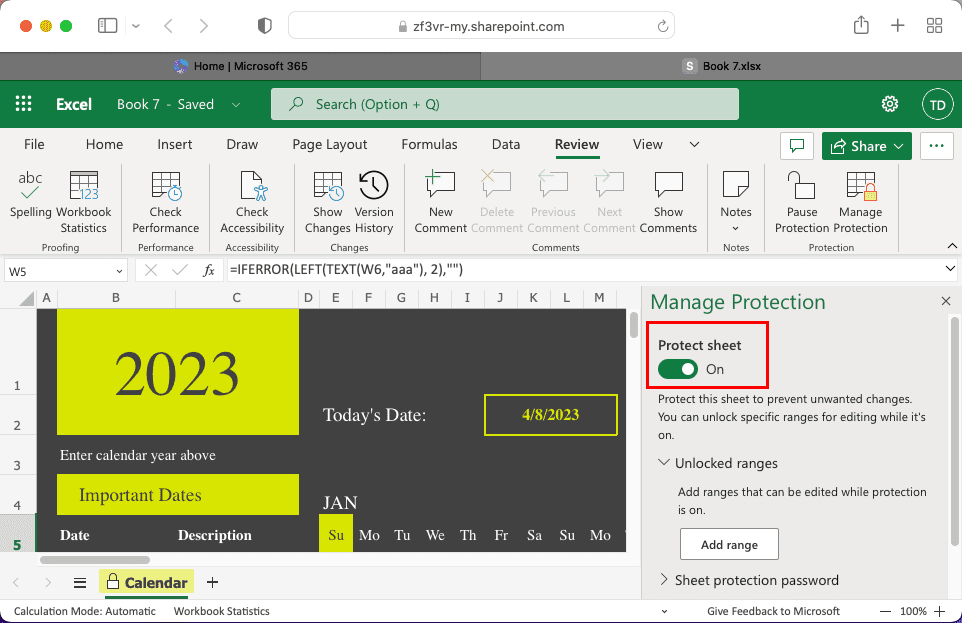
The Protect sheet option on Excel web app
A right-side navigation pane will open. There, toggle on the Protect sheet option.
Now, scroll down and expand the Sheet protection password option.
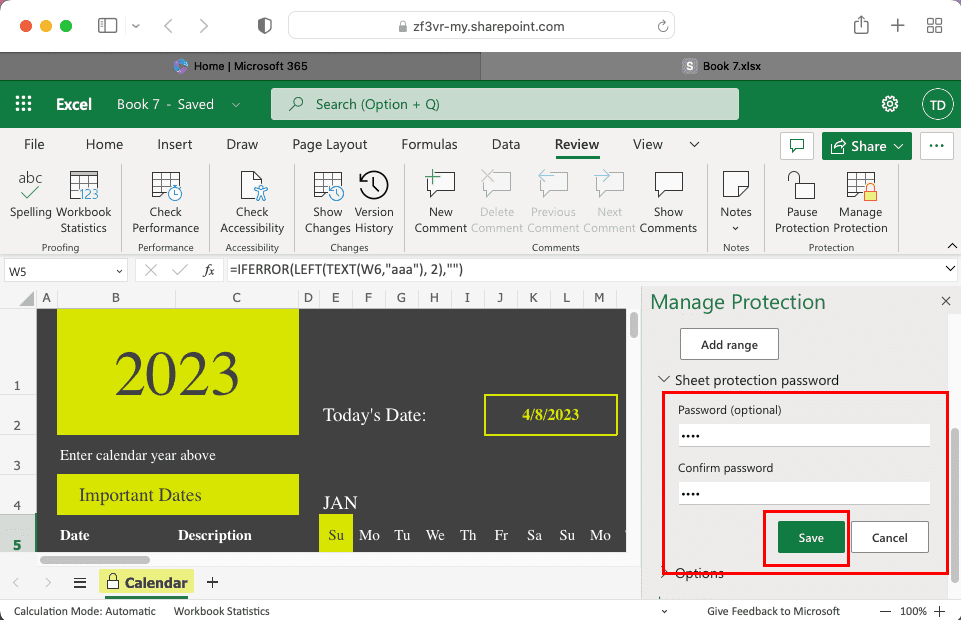
Enter a password and confirm it.
Learn how to password protect an Excel file on web
Click the Save button.
If you need to change or remove the password protection, here’s how you can do it:
Open a password-protected Excel document on the Excel web app.
Click Review and then select Manage Protection.
Select the Change Password button in the Sheet protection password section.
You can now enter a new password or just click Save to remove the password.
Don’t forget to toggle off the Protect sheet option.
Use Excel Password Protect From Share
You can instantly add a password to a sensitive Excel file while sharing from Excel on the web app. Here’s how:
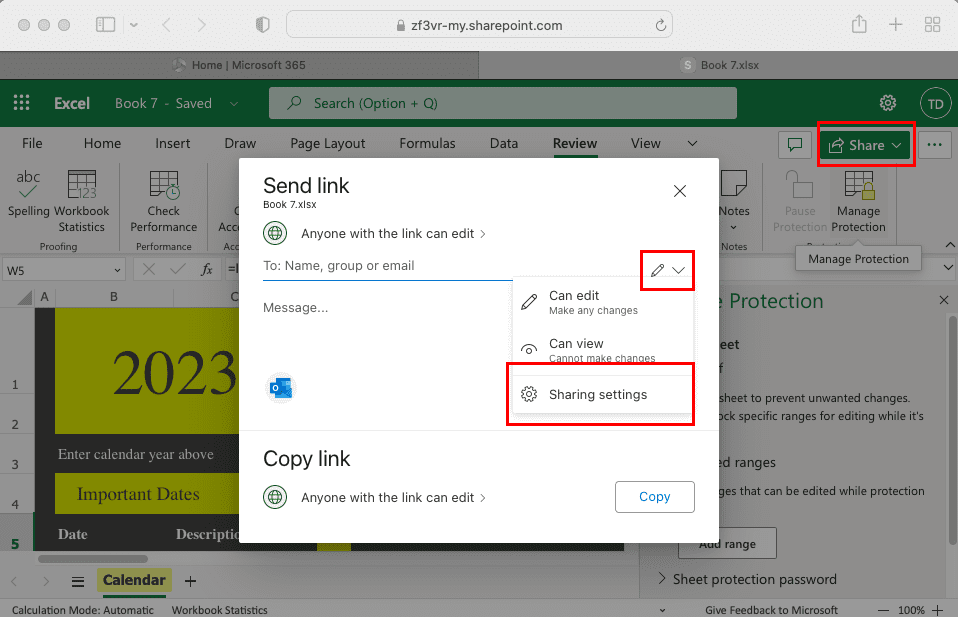
Open the target Excel file and click the Share button in the top-right corner.
Again click on Share on the context menu.
Click the Can edit or Pencil icon.
How to access Share settings on Excel web app
Choose the Share settings option.
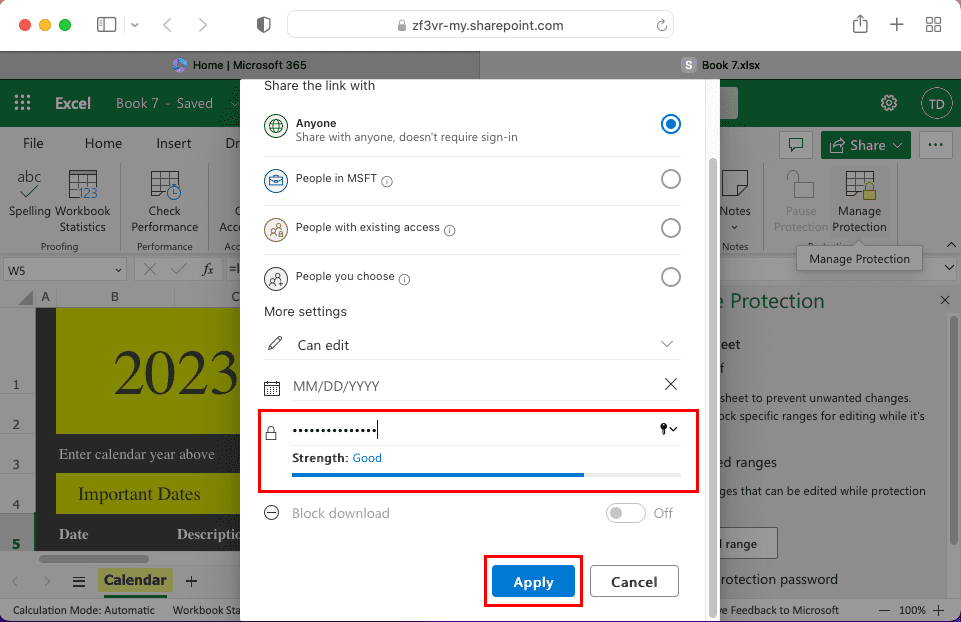
On the form that opens, scroll down and click the Set password field.
Learn how to use Excel password protect
Type in a password and click the Apply button to encrypt the document.
Don’t forget to share the password along with the document-sharing link with the recipients.
Want to know how to remove passwords from Excel on the web document-sharing link? Simply, create another shareable link without setting up a password.
The Drawbacks of Excel Password Protect on Mac
The process to password protect an Excel file on Mac is pretty straightforward. You won’t find any flaws with the naked eye. But, if you deep dive into the password protection feature of Excel on Windows PC and Mac app, you’ll find a major flaw.
The Excel for Mac app only accepts worksheet or workbook passwords up to 15 characters. You won’t be able to punch in a stronger password than 15 characters. For the same reason, Excel files password protected elsewhere using more than 15 characters won’t open on Excel for Mac app.
You must use Excel for Windows to unlock the file and re-encrypt it with a 15-character or less password. Then import it to the MacBook or iMac and you’ll be able to unlock the Excel document again on macOS.
Conclusion
Now you know how to password protect an Excel worksheet or workbook on MacBook and iMac. If you like to use the Excel for Mac app, then try the methods mentioned for the desktop app. Alternatively, you can check out the method to protect an Excel file using its web app.
If you know any other methods to password protect an Excel workbook, don’t forget to comment below. Share the article with your friend or colleagues who often works on Excel for Mac app. They’ll thank you for this help!


Write a Comment