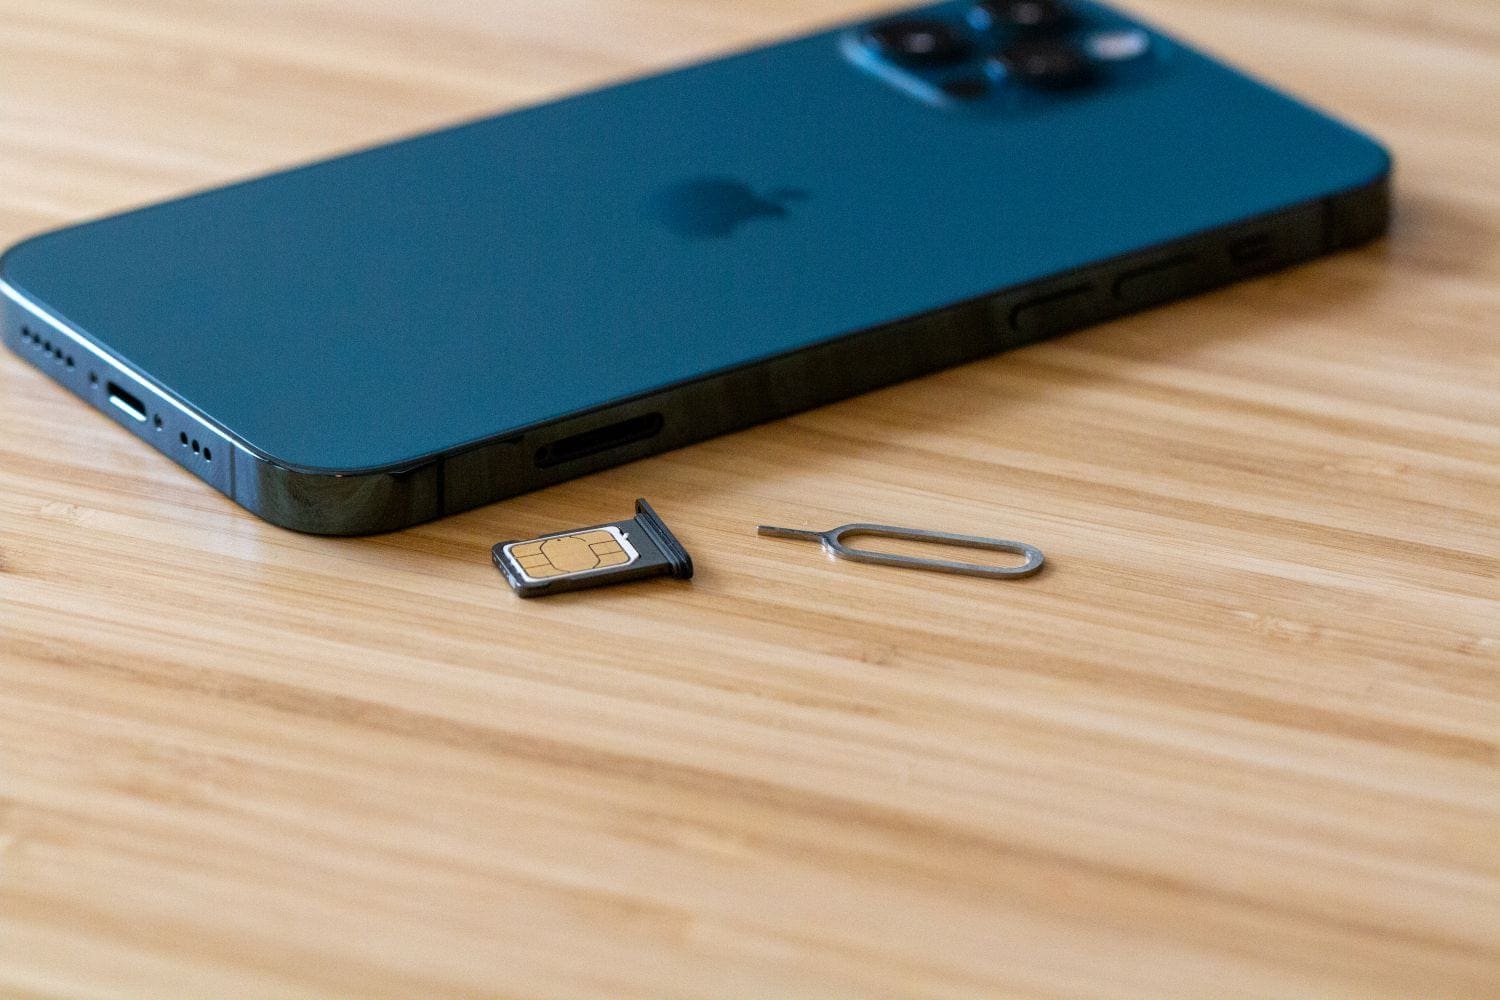
We’ve come a long way from when SIM cards were larger than tic-tacs, and looked like a small stick of gum. Now, SIM cards are smaller than your fingernail, and unlock the ability to access your carrier’s network with ease. But there’s also a new way that smartphone makers, including Apple with the iPhone, have been making things easier when connecting a phone to a cellular network. And this is called an eSIM.
eSIM is short for Electronic SIM cards, and removes the need for you to open the SIM card slot on your iPhone. Instead, setting up your network connection can be done right from the Settings app on your iPhone, removing some of the potential headaches found with setting up a device.
The first iPhone to be released that used an eSIM was the iPhone XS and XS Max back in 2018. Since then, just about every new iPhone model ships with eSIM capabilities, provided that the functionality is available in your country. Other countries make use of a dual SIM card slot, wherein you actually insert two SIM cards into the same tray, and can switch between them.
eSIM functionality is also what Apple uses to provide cellular connectivity with the Apple Watch. By doing so, Apple was able to ditch the need of a traditional SIM card slot. This allows for the design to be slimmer and lighter, while still offering network connectivity.
How To Remove eSIM from iPhone
Whether you are upgrading to a new iPhone or just switching over to a new carrier, you might need to remove eSIM from iPhone. The process for doing so is pretty straightforward. However, if you are using a physical SIM and an eSIM, you’ll need to make sure you are selecting the correct account during the removal process.
Open the Settings app.
Tap Cellular.
Under Cellular Plans, select the phone number being used with the eSIM.
Tap Remove Cellular Plan.
Confirm.
After you have confirmed that you want to remove the eSIM profile from your iPhone, there’s one more step to take. Once you return to the Cellular settings screen, tap the number that you just removed again.
A prompt appears that will ask you to Update Contacts, tap the button, and then the eSIM profile will be completely removed. As a reminder, doing this essentially merges the contacts saved on the eSIM with whatever new SIM card is being used. So you might want to go through your contact list and double check it for any duplicate entries.
Andrew Myrick is a freelance writer based on the East Coast of the US. He enjoys everything to do with technology, including tablets, smartphones, and everything in between. Perhaps his favorite past-time is having a never-ending supply of different keyboards and gaming handhelds that end up collecting more dust than the consoles that are being emulated.
Thank you! I have been trying for over a year to figure out why deleted eSIMs don’t disappear from the SIM list, but was afraid to do the “Update Contacts” step. It was really annoying to have these items cluttering the list. Much appreciated!


Thank you! I have been trying for over a year to figure out why deleted eSIMs don’t disappear from the SIM list, but was afraid to do the “Update Contacts” step. It was really annoying to have these items cluttering the list. Much appreciated!