Copying your files manually can take a massive chunk of your time. Sometimes, you can miss a few essential files and end up with several versions of your data in different locations.
If you own two Mac devices and want to sync data between them, having a system that can update your files automatically is a necessity. Having folders and files updated on both devices makes your work more manageable.
Ideally, there are three ways you can sync your files on Mac: cloud-based services and apps, built-in sync Terminal utility, and Rsync combined with Automator.
Apps and Cloud-Based Services
If you want to sync your files and folders, then cloud-based services and apps are an excellent choice. Apps offer you several features that effectively sync your pictures, files, music, and bookmarks.
Google Backup and Sync
With Google Backup and Sync, you can use your Mac to back up your local files to Google Drive seamlessly.
The app enables you to sync data with the cloud automatically. However, if you want to schedule your file sync during offline hours, it would be best to use the Windows task scheduler. This is because the app does not give you an option to schedule your file sync.
To start your file sync:
On the taskbar, open Google Backup and Sync.
From the menu, select Preferences.
Go to Settings.
On the System Startup checkbox, uncheck Open Backup and Sync.
Finally, click OK.
Using Google Backup And Sync With Task Scheduler
In the search field, type “Task Scheduler.” Open the application when it appears.
From the action menu, select Create a Task.
Type the name for your task on the General tab.
Select the Triggers tab.
Click New.
Click OK.
At this point, you can specify when you want to start the Backup and Sync process, for example, daily at 2:00pm. If you need to modify your scheduled settings:
Open Task Scheduler.
Open the Scheduler Library.
Edit your scheduled tasks.
ChronoSync Express
The ChronoSync Express application allows you to sync files on two macs quickly.
First, ensure your devices are using the same version of Mac OS.
Check that their applications are also updated to the same version.
Synchronize the files in the user Home folder, except for data in the library folder.
Forklift
If you like taking a manual approach, Forklift is an excellent choice to sync your files. The app can synchronize and transfer files between Macs within the same network. It is also designed to manage FTP servers.
Syncing and transferring files between your devices on the same network are also possible. This is what you should do:
First, connect your Mac using SMB (Server Messaging Block) or AFP (Apple File Protocol). AFP is native to Mac computers.
Log in with your username and password.
In your Favorites in the Forklift app, add the folder you want to synchronize.
To ensure the same data is maintained in both folders, use Forklift’s sync tool.
Rsync Utility
Rsync is an app built in your Mac OS X that allows two sets of different files to synchronize. It can also sync data over a network.
To sync data using Rsync:
In your Utilities folder or Spotlight, click the terminal.
Type “rsync-aE-delete~/<source folder>/”<destination folder>” in the terminal window.
Since Rsync has several command-line options, you should consider reading the user manual for in-depth knowledge of the commands.
You can access the manual by opening up the user terminal and typing in “man rsyn.”
Using Rsync Utility With Automator
If you have multiple folders in different locations that need to be synchronized, using Rsync and Automator makes your job simpler.
To sync your files:
From your Applications folder open Automator > Preferred Workflow.
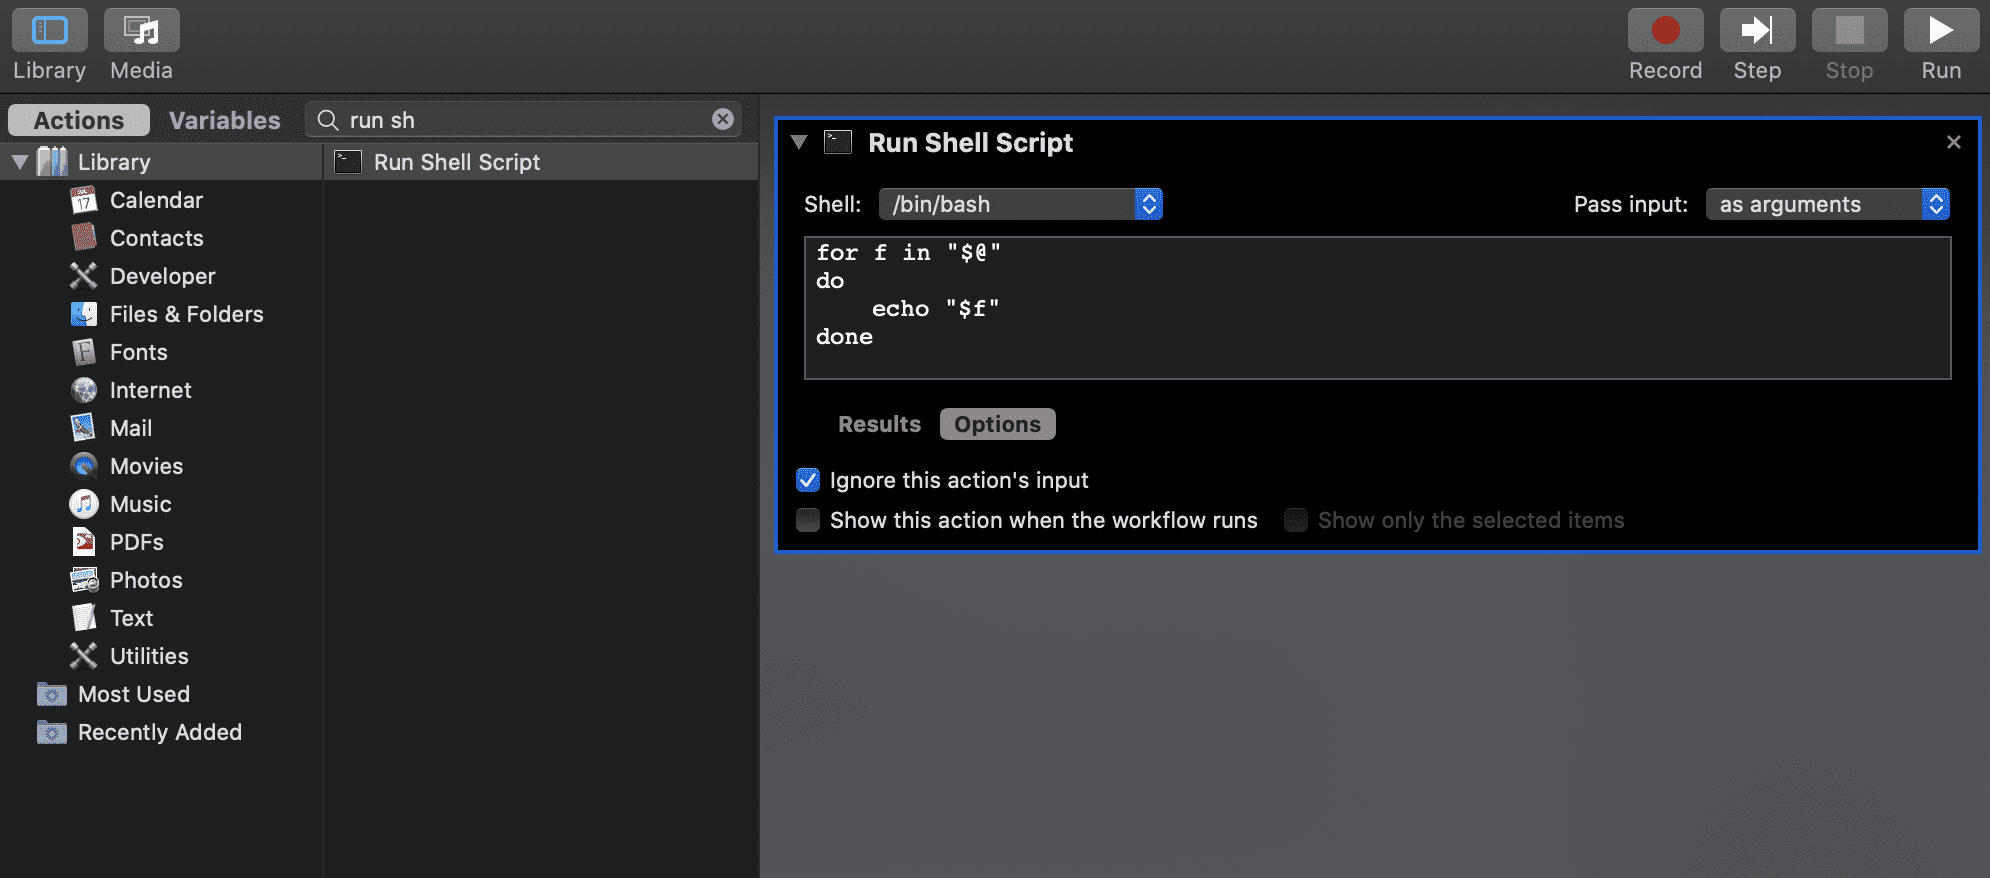
In the search field, select the Run Shell Script and drag the icon into the main window on your right-hand side.
In the Run shell Script dialogue box, select the Pass Input to the Drop-Down field as an argument.
Select the checkbox labeled ignore this action input under options.
After that, delete the commands in the Run Shell Script dialogue and then replace the right sync commands. You must specify the correct source and destination folders.
At the file menu, click save. This saves your workflow as an application.
Run your application. You can do this whenever you want to sync your selected files and folders.
If you want your files to sync whenever you log in, add the sync app to your login items. Alternatively, you can copy the app into your startup items folder to run every time your Mac starts.
Conclusion
Having several folders and files without a convenient method to automate synchrony is a hassle. But by syncing your files and folders following the suggestions above, it can be a whole lot easier.


Write a Comment