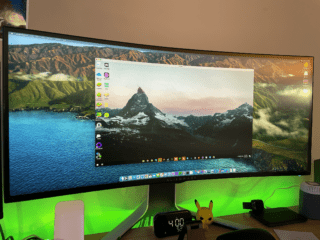
Despite how wonderful and powerful the M1-powered Mac is, there is one glaring problem that needs to be solved. macOS may be the end-all-be-all for many, but it’s not the only operating system out there and Windows is still required for some.
But until now, that wasn’t possible as Apple ditched Boot Camp with the M1 Mac. This has left folks waiting for some type of solution to come through. Well, the wait is finally over, as we now have a few methods for accessing Windows on M1 Mac.
Just last week, the Parallels team pushed the latest update to its software, up to version 16.5. With this, you’ll finally be able to use Parallels with the M1 chip. Previously, you were limited to only being able to use it with an Intel-powered Mac.
Since ARM is still in development by Microsoft, there are no “official” builds available. Instead, you’ll need to join the Windows Insider Program in order to access the ARM64 build of Windows. Once you’ve joined the program, how you can use Windows on M1 Mac with Parallels.
Download the latest version of Parallels to your Mac (version 16.5).
Once downloaded, install it to your Mac, and follow the prompts to allow access.
Click the Windows 10 Client ARM64 Insider Preview – Build 21354 button.
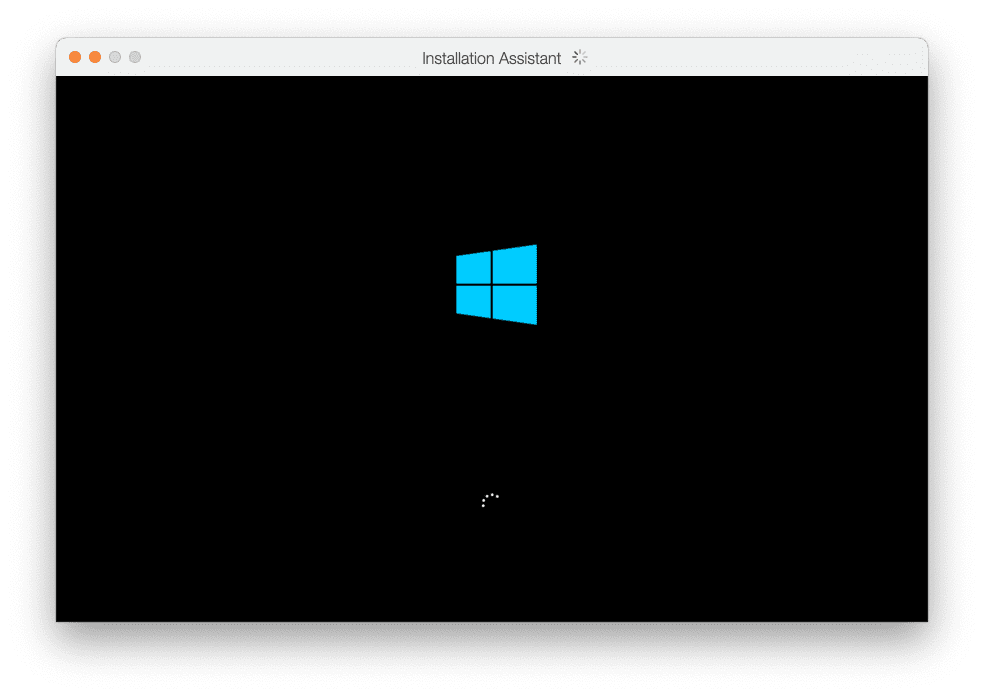
Wait for the Windows 10 ARM build to finish downloading.
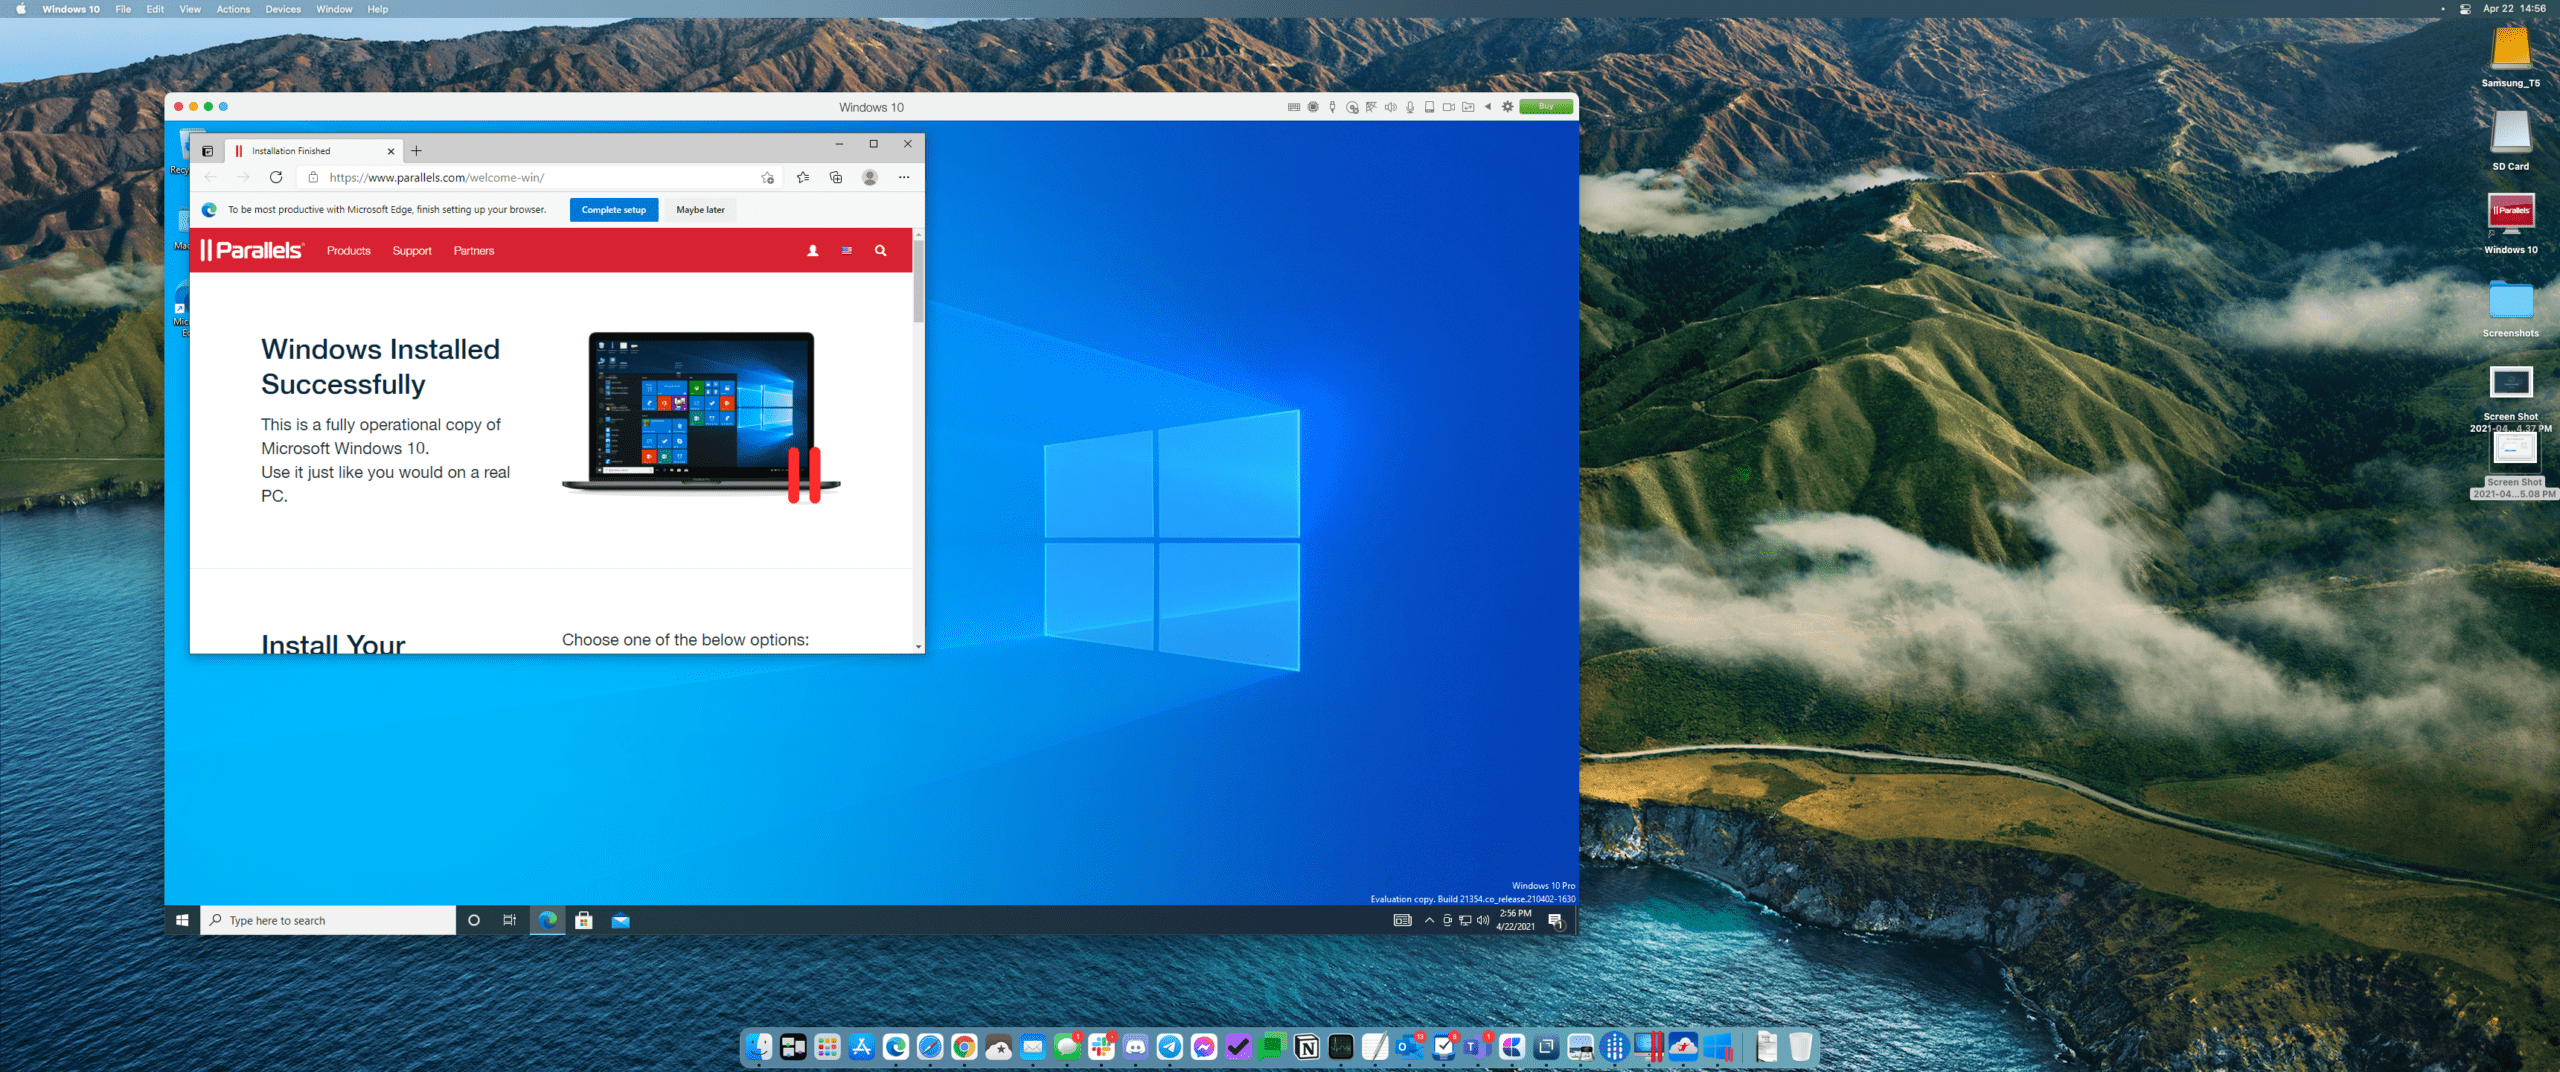
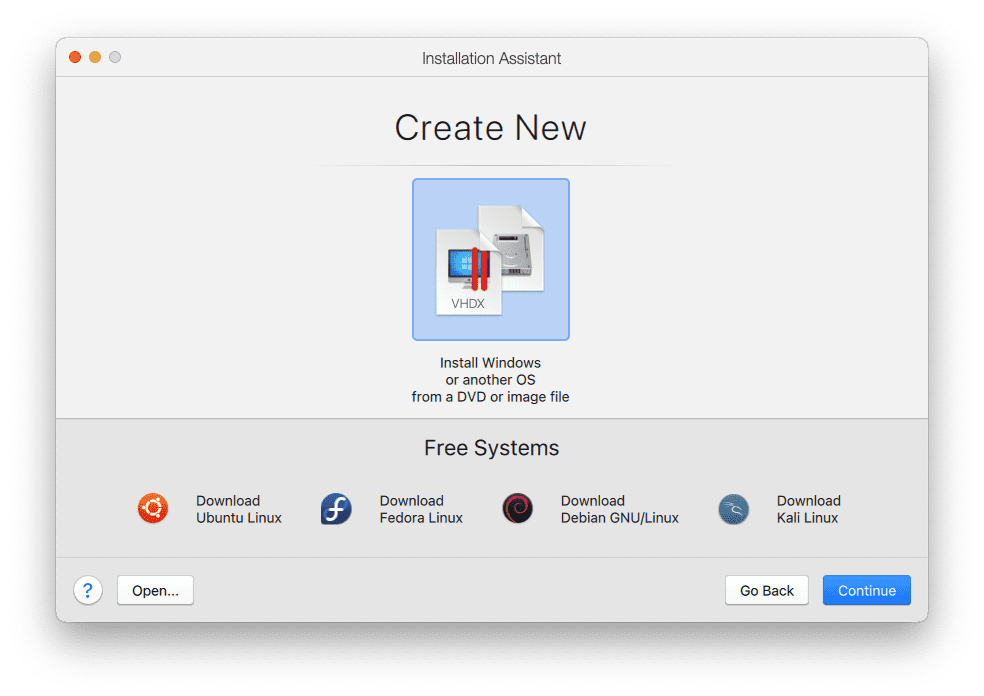
Open Parallels back up, and select Create New.
Drag and drop the Windows ARM file to the Parallels page.
Click Continue.
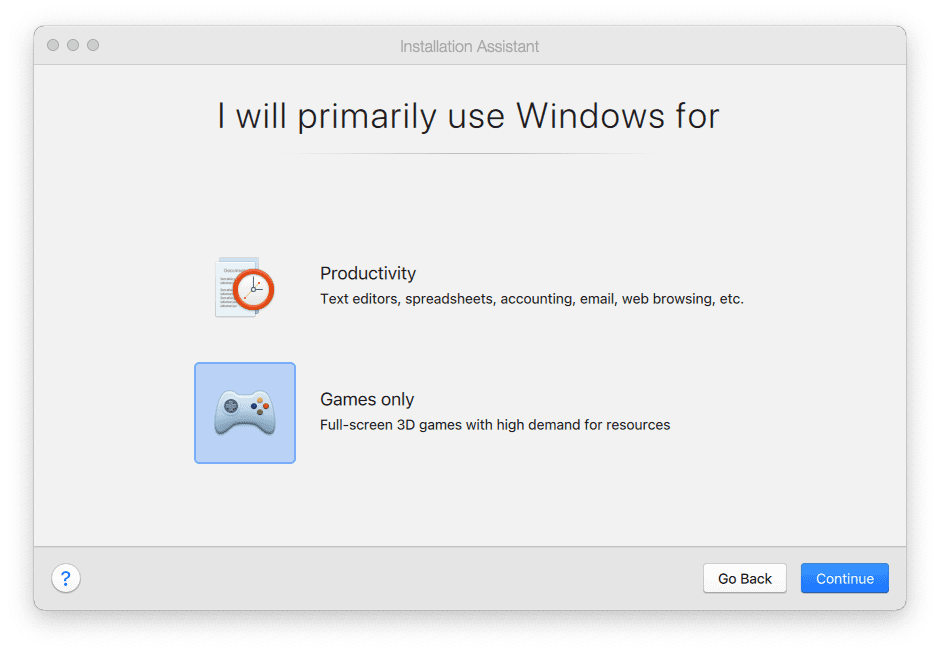
Choose whether you plan to use this for Productivity or Games Only and click the Continue button.
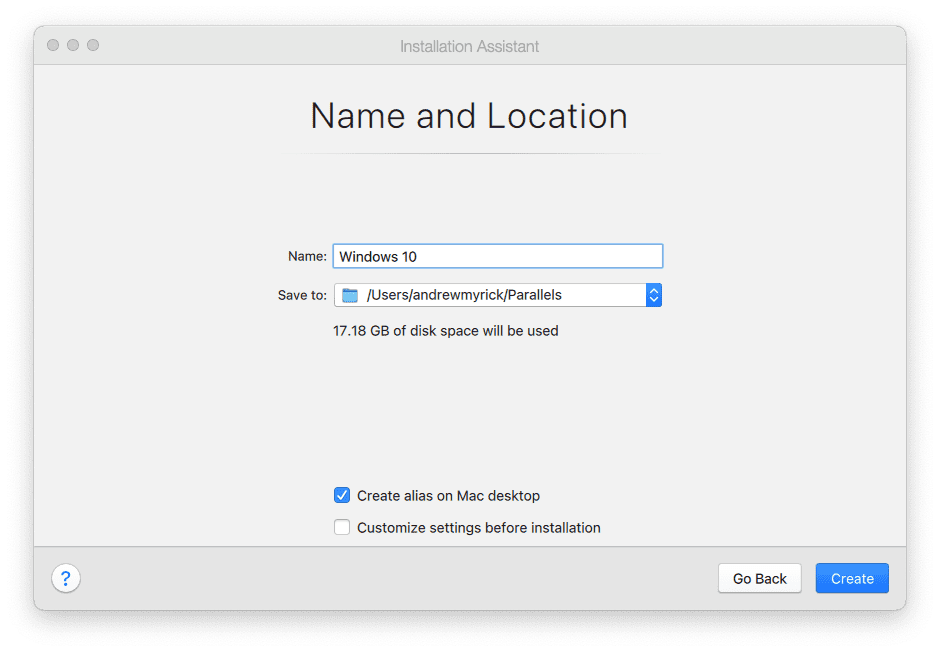
Enter a name and location that you wish to have the VM installed and press Continue.
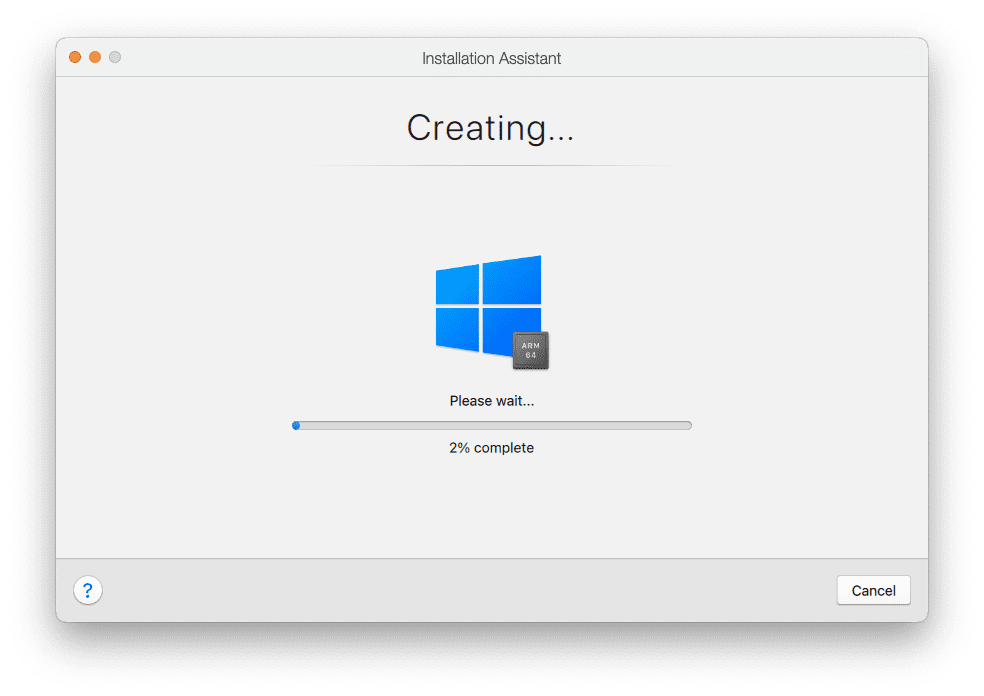
Go grab a cup of coffee or a quick snack while the Parallels installs Windows.
Allow access to your Bluetooth devices, microphone, and webcam (if applicable), when prompted.
After the installation is completed, create or sign into your Parallels account
Enjoy!
Since Parallels makes use of the resources on your M1-powered Mac, you may want to adjust some things. Namely, you can adjust the number of cores that are utilized, along with how much RAM the virtual machine can use.
Now, we wouldn’t exactly recommend using anything more than 4 cores, as the M1 is only equipped with eight. However, if you have 16GB of RAM we would recommend using up to 8 or maybe 10GB. But it just depends on what you plan on using the VM for. If it’s for some casual gaming, then you’ll likely be fine with the recommended settings. But if you plan on playing something more intense, then you’re likely going to want to bump things up a notch or two.
Windows on Mac using Jump Desktop
The next method for “running” Windows on your M1 Mac is kind of cheating, as you actually need access to a Windows computer. Instead of running a virtual machine using up much of your precious resources, Jump Desktop is a remote desktop client (RDC). This requires you to download the app to both your Mac and Windows desktop in order to work seamlessly.
However, after you’ve installed Jump on both devices, you can open the app on your Mac to create an account. This ensures that the connection will remain, even if you use Jump on something like an iPad to access your PC.
After Jump Desktop has been set up on both your Mac and Windows computer, you’ll see your computer listed in the main view. A simple double-click will open the PC in a new window on your Mac. From there you can use the PC just as you would under normal conditions.
In our experience, this has been the best way to easily access or download files on the PC, instead of using the Mac. It also works quite well for many tasks, although you might not want to use it for gaming. Latency issues can come and go, depending on the internet speeds in your home and how many devices are connected.
Jump Desktop is $29.99 in the Mac App Store, $14.99 on iOS, and $4.99 on Android. The Windows client is completely free, but make sure you create an account using your Mac before finishing the setup. Oh, and if you are already subscribed to Setapp on your Mac, then you’ll get Jump for free on the Mac.
Windows on Mac using VMWare
The final option is not yet available, but it is slated to be coming soon. VMWare is an alternative to Parallels, and has been around for quite some time. However, the developers have remained pretty quiet on providing the ability to use its application on an M1-powered Mac.
That all changed recently though, as one developer revealed that a progress update is “coming soon”. The company has been hard at work ensuring that VMWare will work as seamless as you would expect. However, the primary Twitter account has only stated that there is not a timeline, “but it’s something we’re working on diligently”. So it’s only a waiting game at this point.
How to Use Windows on Mac with Windows
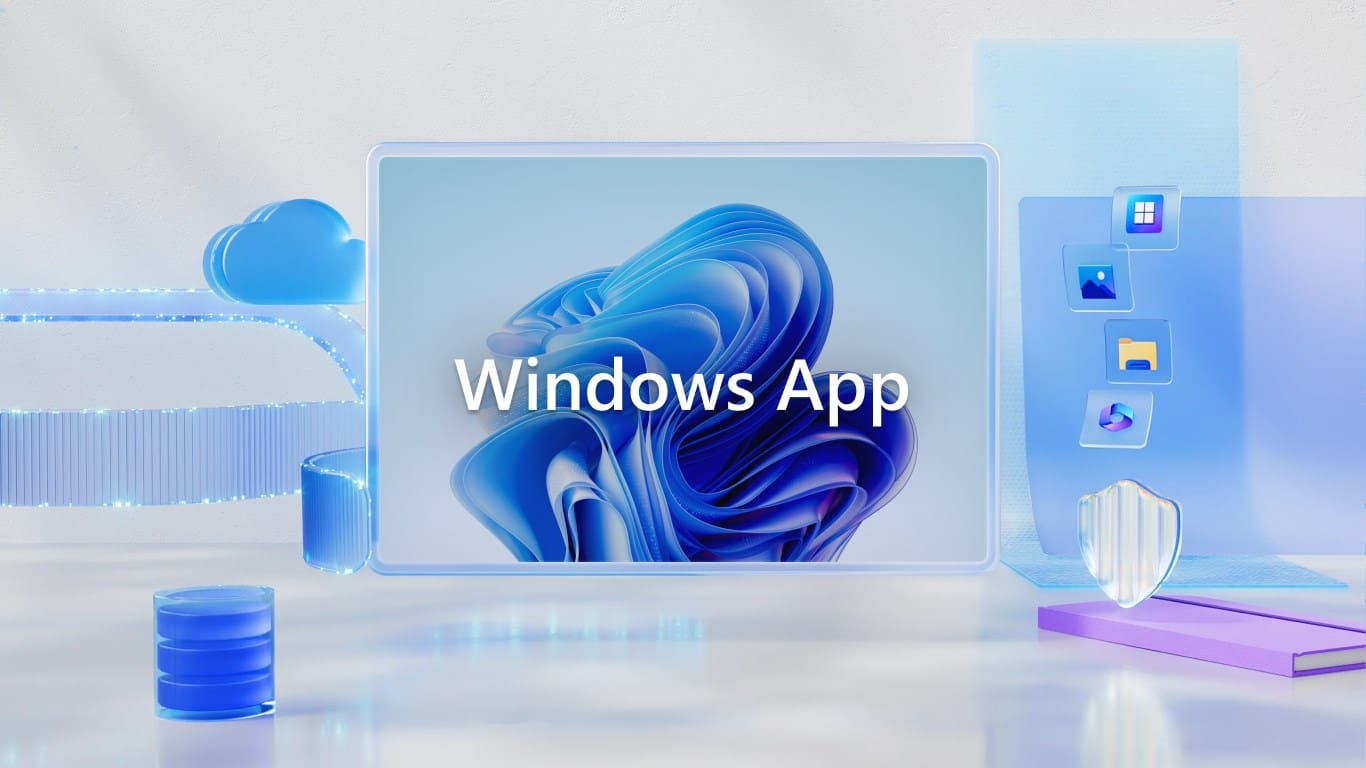
During the Microsoft Ignite 2023 event, the company introduced the all-new “Windows App” for Mac, iOS, iPadOS, the web, and, surprisingly, Windows. The only platform left out of the mix, at least for the time being, is Android, which comes as quite a bit of a surprise given how well Android and Windows work together with apps like Phone Link.
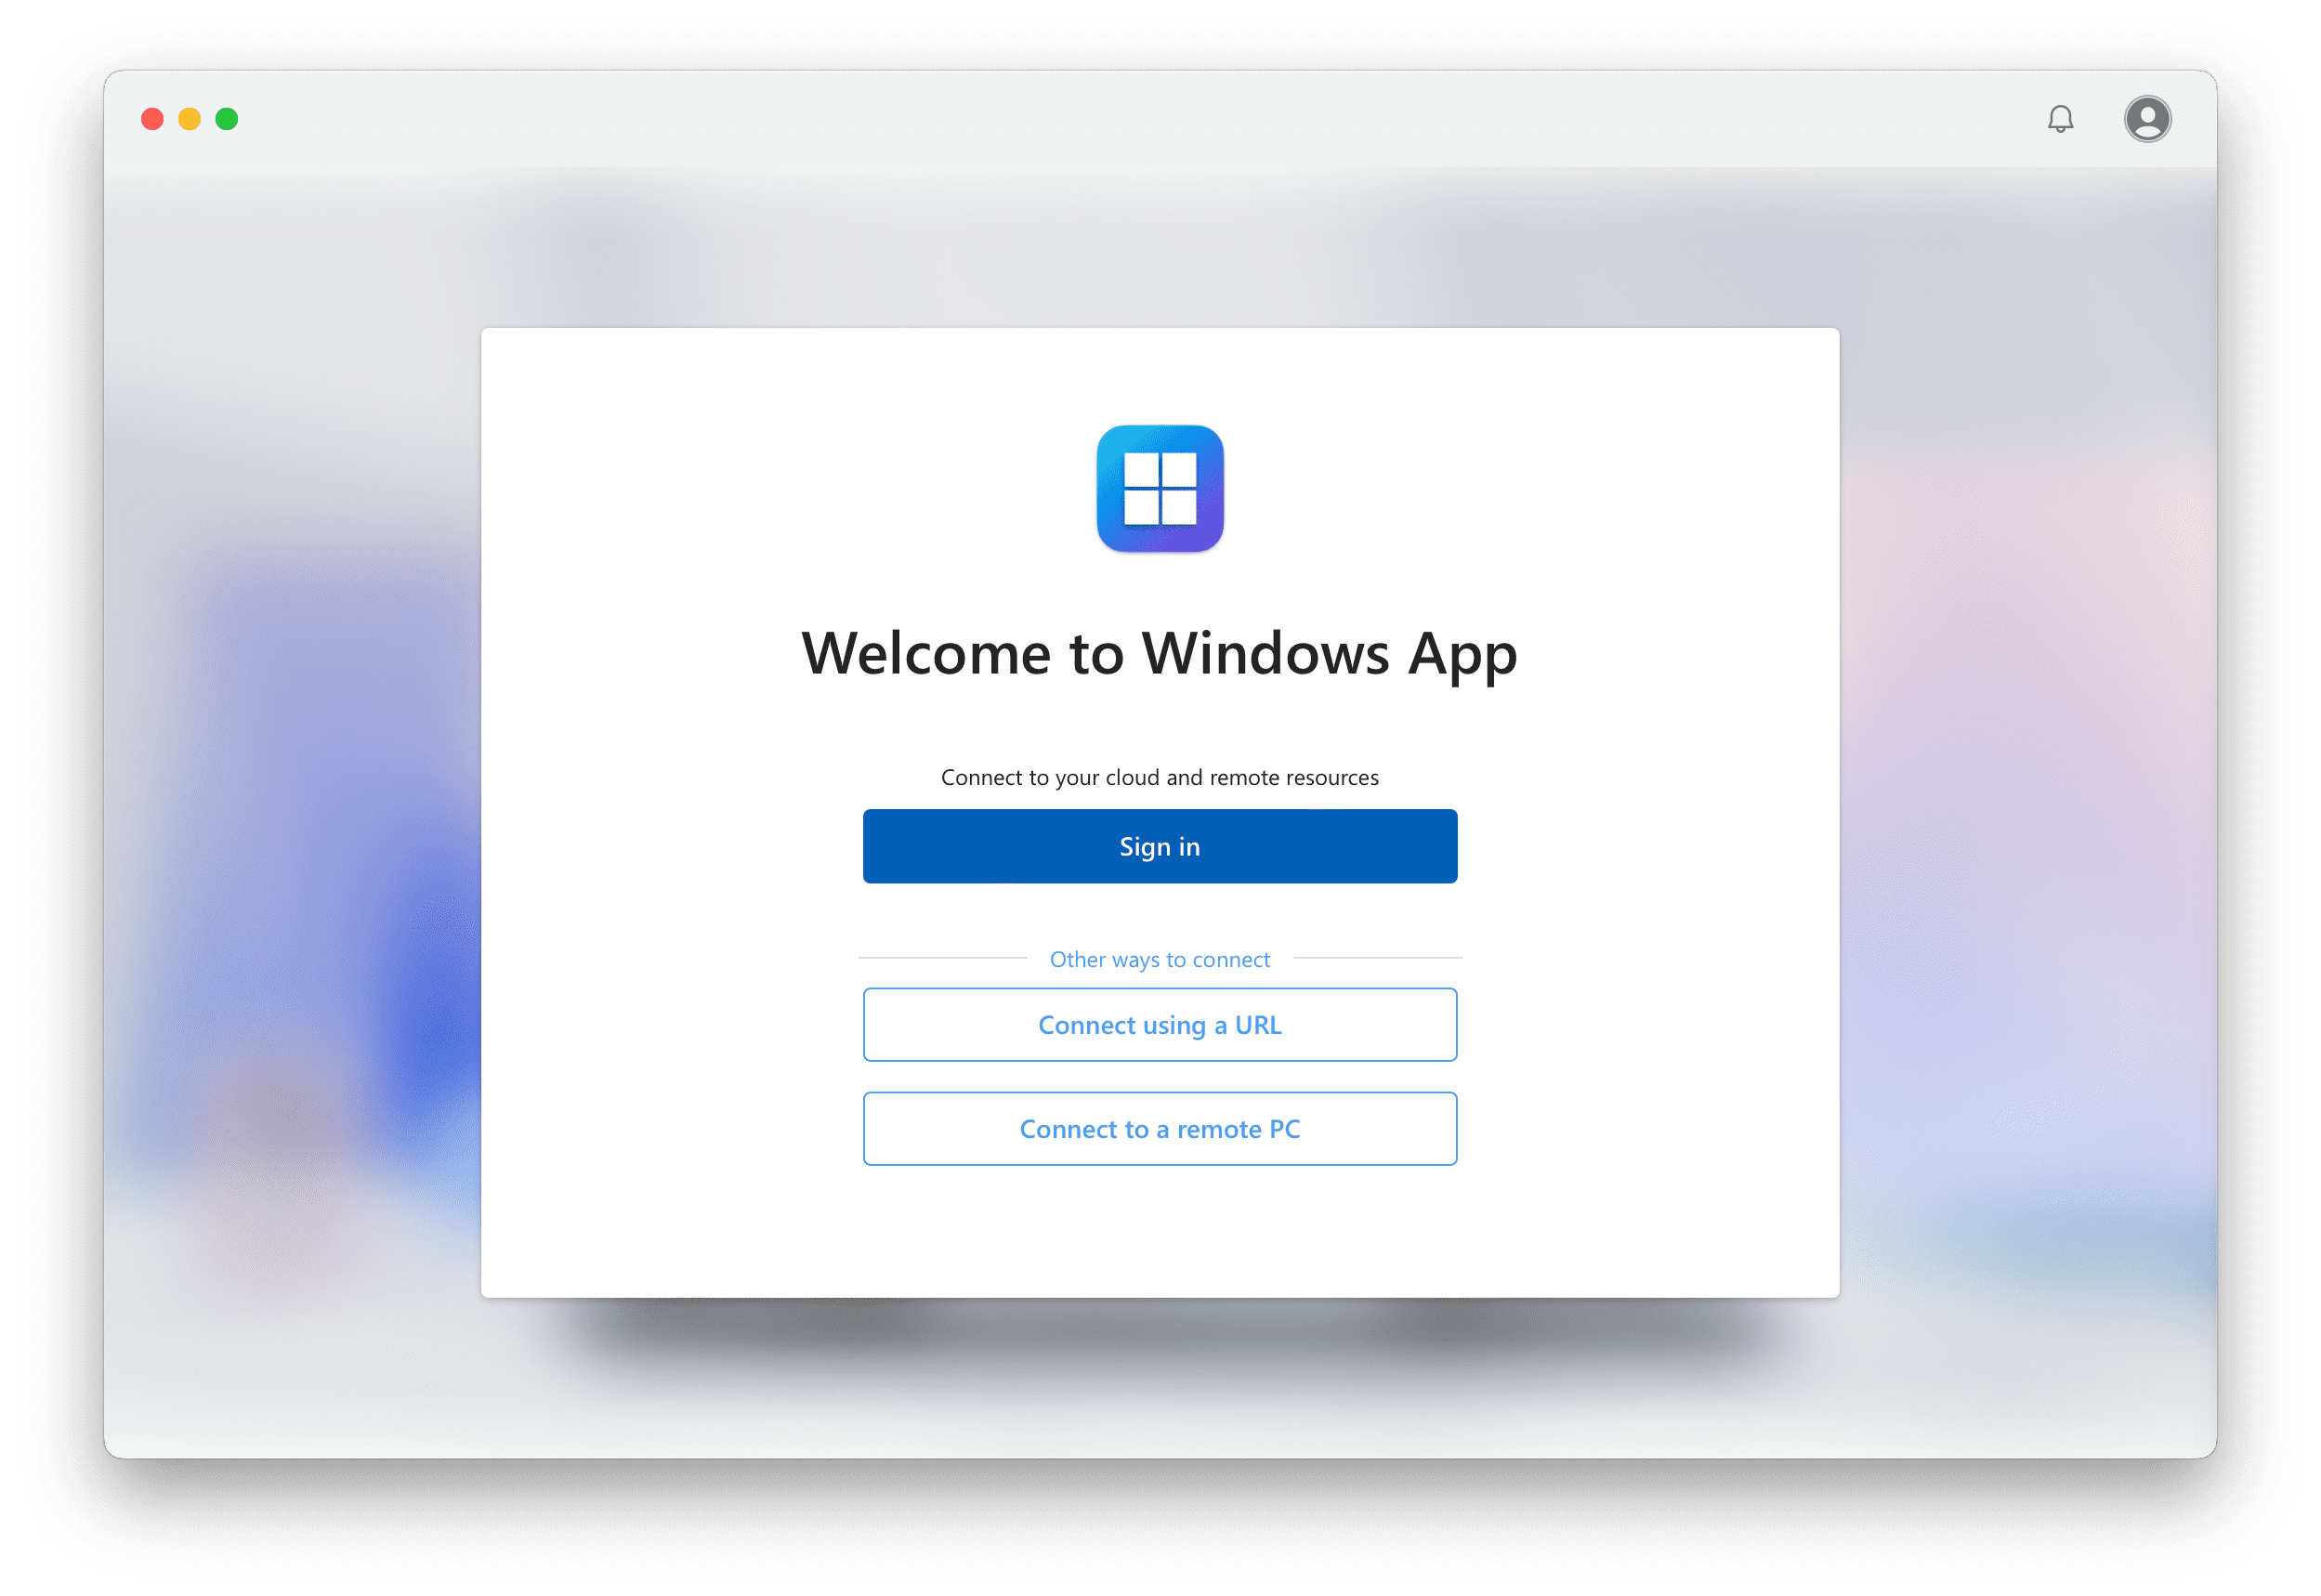
Nevertheless, if you want to use Windows on Mac, we recommend first clicking the link below to join the Windows App Mobile TestFlight. The reason why we recommend this over trying to use the web client in your browser is that you’ll need a Work or School account in order to use this new feature, as it won’t work with personal accounts. The only potential catch is that Microsoft’s explainer page states “participation is on a first-come, first-served basis. If you’re accepted into the preview from TestFlight, we might not be able to accommodate your availability for its full duration.”
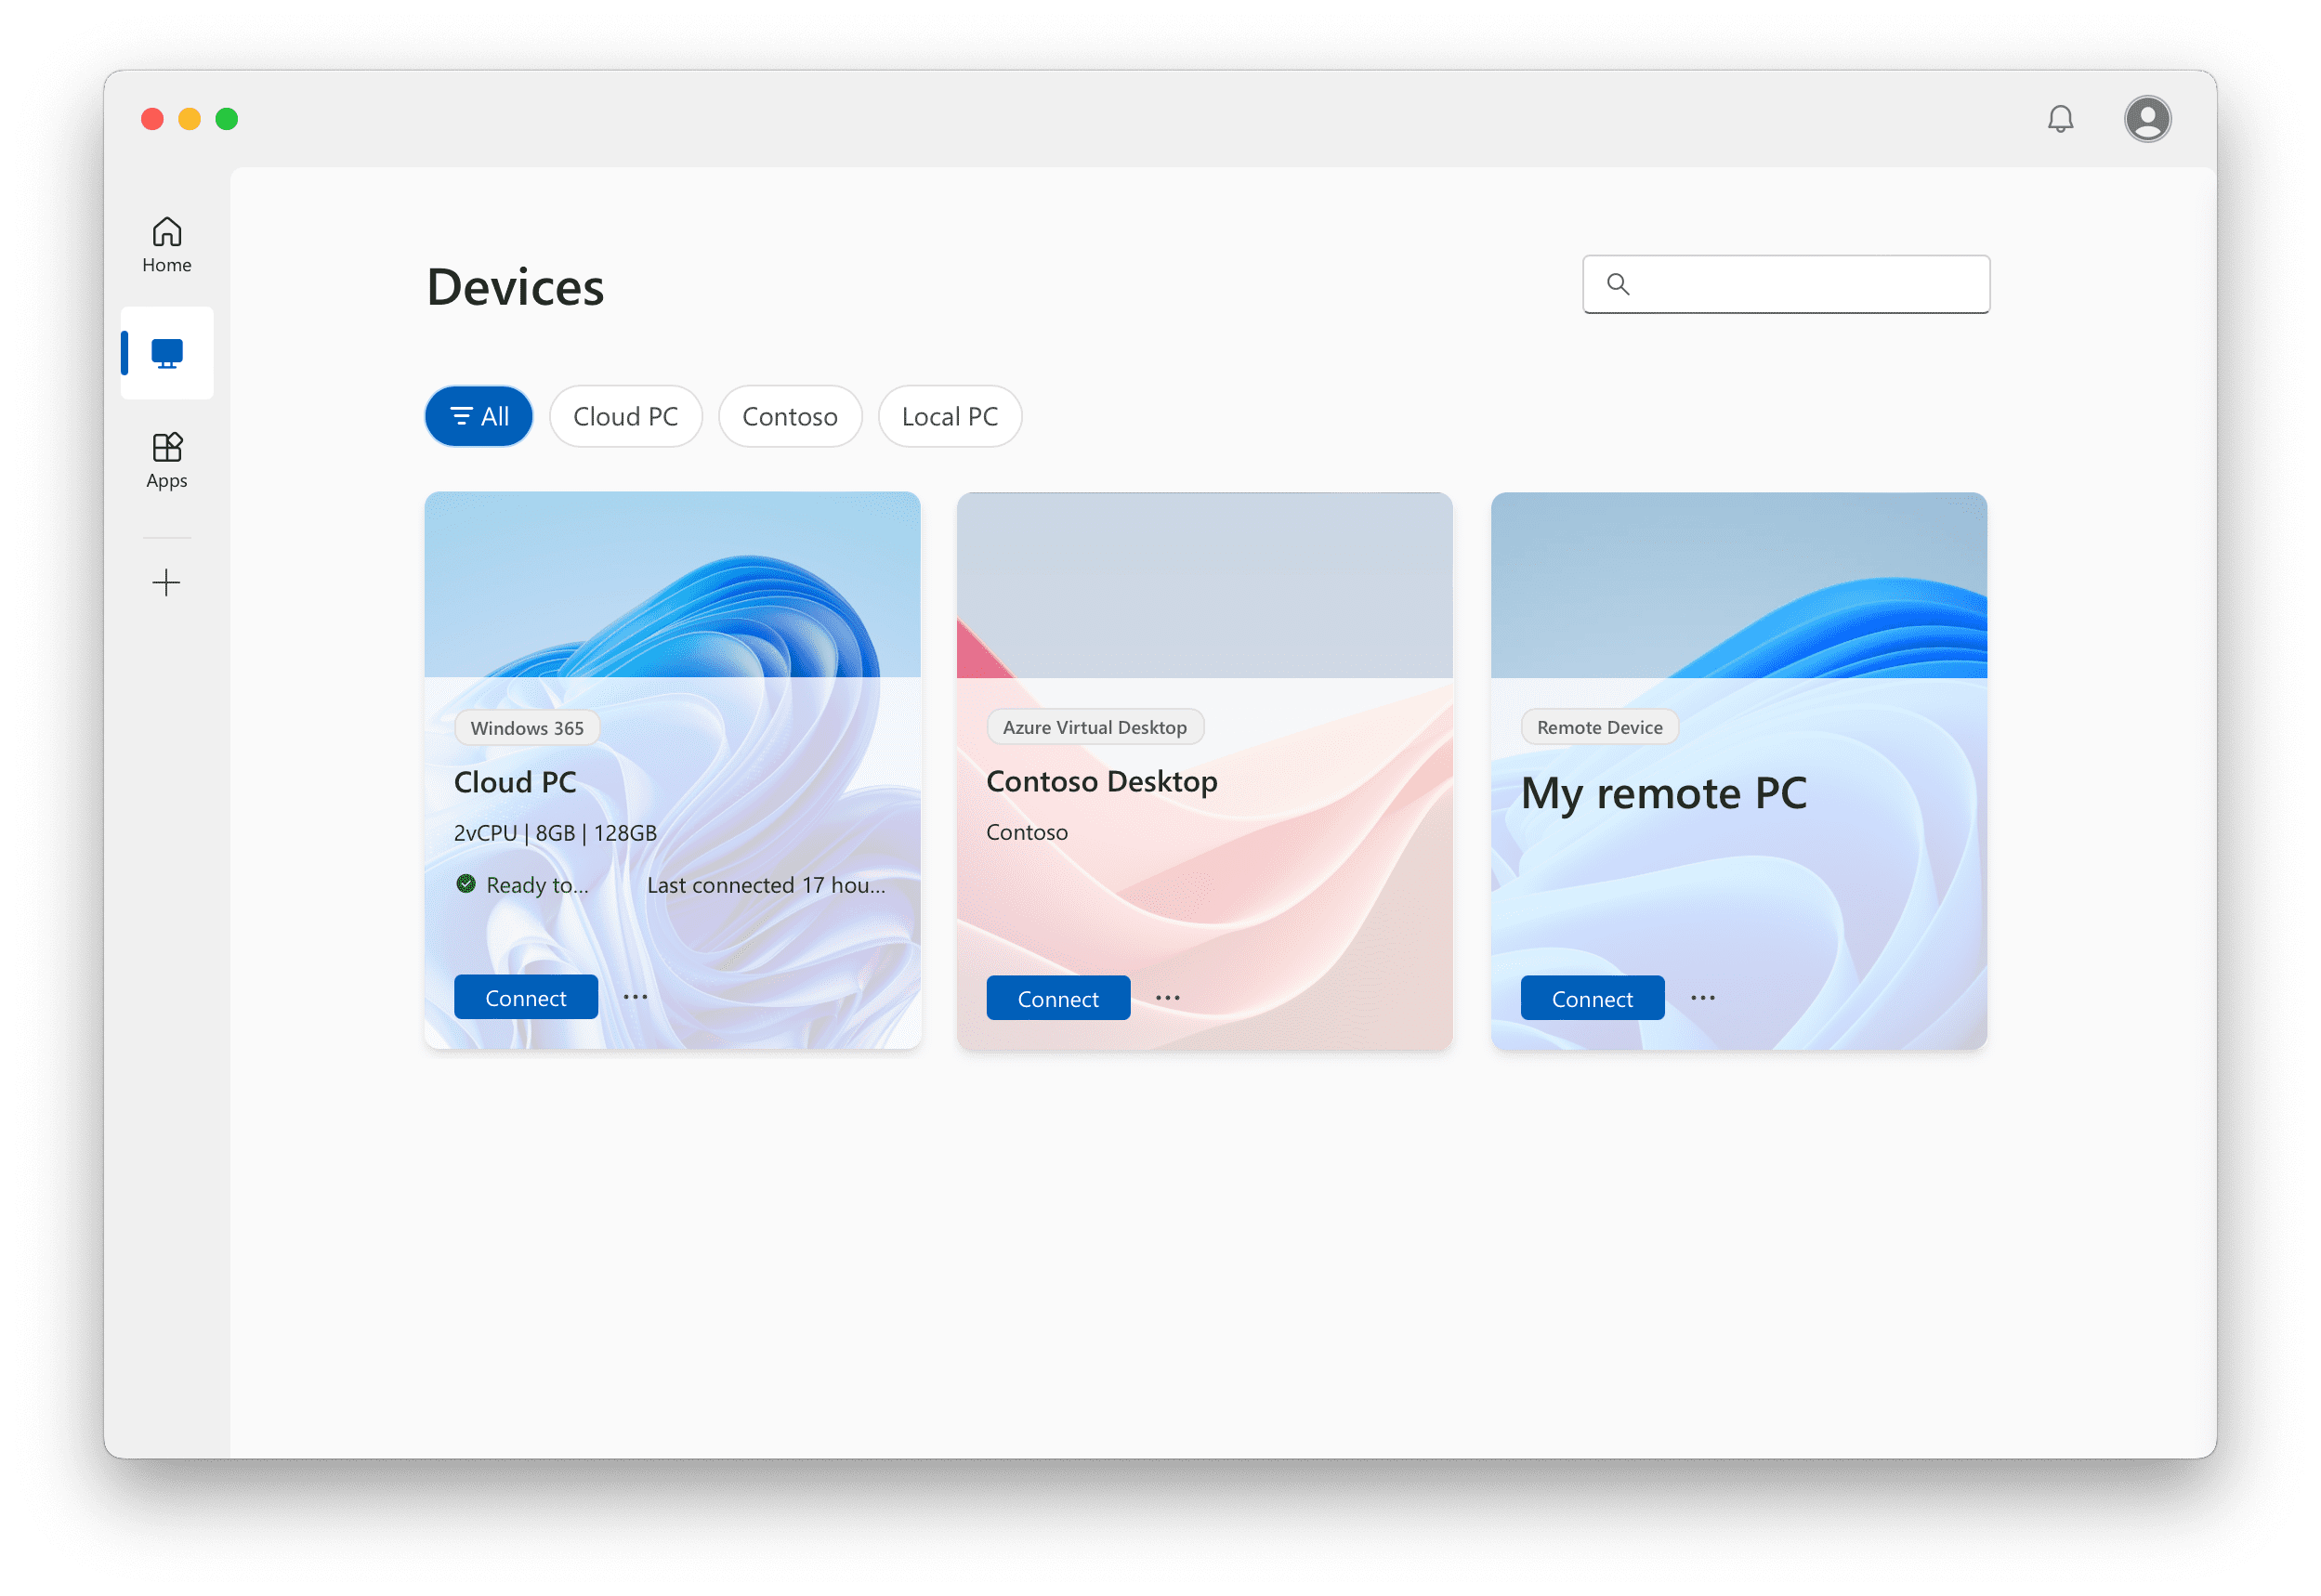
Provided that you managed to make it into the TestFlight Program and are able to download and install the Windows App onto your Mac, the only other requirement to get things working properly is that you’ll need your own Windows PC. This is the case for those who are trying to use this with a personal account, while those using a Work or School account will be able to use Microsoft’s Cloud PC services, such as Remote Desktop, Azure Virtual Desktop, Windows 365, and Microsoft Dev Box.
With all of that being said, here’s how you can use Windows on Mac with Windows app:
Download and install the Windows App Mobile app on your Mac.
Once installed, open the app.
From the main page under the Other ways to connect section, click the Connect to a remote PC button.
Enter the PC name.
Click the drop-down menu next to Saved credential.
Select one of the following:
Ask when required
Add saved credential
If selecting Add saved credential, provide the necessary information from the Add a Saved Credential window that appears.
Once complete, click the Add button.
From the General tab, enter a Friendly name.
Add a Gateway, if applicable. Otherwise, you can click the checkbox to Bypass for local addresses.
Toggle the following features on or off based on your preferences:
Reconnect if the connection is dropped
Connect to an admin session
Swap mouse buttons
Click the Display tab.
Enable and/or customize the following options:
Resolution
Use all monitors
Start session in full screen
Fit session to window
Color quality
High (32 bit)
Medium (16 bit)
Optimize for Retina displays: Only recommended for connections to Windows 10, Windows Server 2016, and later.
Update the session resolution on resize: Only available when connecting to Windows 8.1, Windows Server 2012 R2, and later.
Click the Devices & Audio tab.
Enable and/or customize the following options:
Redirect
Printers
Smart cards
Microphone
Cameras
Clipboard mode
Disabled
Bidirectional
Local to Remote only
Remote to Local only
Play Sound
Never
On this computer
On the remote PC
Click the Folders tab.
Enable and/or customize the following options:
Click the check box if you want to “Choose the folders that you want to access in the remote session.”
If enabled, click the + button in the bottom left corner to add the folders you want to be able to access.
Once you have finished customizing and setting everything up, double-check the Gateway and IP information.
Click the Add button in the bottom left corner.
After a few moments, the Windows App will open in full-screen, and you’ll be able to log in and use Windows on Mac without fiddling around with virtual machines. When you go through and set everything up for the first time, any and all of your connected devices will appear on the main screen of the Windows App. From there, you can just click the Connect button and begin to use Windows on Mac.
In conclusion, the ability to run Windows on your Mac opens a world of opportunities, bridging the gap between two different computing philosophies. Whether you’re a professional needing specific Windows-only applications, a student juggling between different software requirements, or a tech enthusiast exploring the best of both worlds, the methods we’ve discussed in this article – virtualization software like Parallels or VMWare Fusion, and remote desktop solutions – offer flexibility and efficiency.
The seamless integration of Windows on macOS, not only showcases the power and versatility of Mac computers but also underlines Apple’s commitment to providing a comprehensive and user-friendly experience. By choosing the right method for your needs, you ensure that your Mac becomes the ultimate tool for productivity and entertainment, transcending the boundaries of traditional operating systems.
Andrew Myrick is a freelance writer based on the East Coast of the US. He enjoys everything to do with technology, including tablets, smartphones, and everything in between. Perhaps his favorite past-time is having a never-ending supply of different keyboards and gaming handhelds that end up collecting more dust than the consoles that are being emulated.
Why would you pay for jump desktop when there’s a free windows remote desktop app for mac? Makes no sense to waste money when Microsoft does it for free
This isn’t really good enough. Many Windows apps will not run on an Arm processor. As a result, many useful programs still cannot be run on an M1.
I think Apple did the world a big disservice, and hurt my efforts a lot, by not providing a true Intel VM environment for the M1, or getting another company, such as VMWare to do so. VMWare has said that it will not do so – not worth their time.
This is bad. I will be forced to either buy an obsolete Intel Mac and run VMWare, or buy a Windows machine. Sadly, I’ll probably do the latter. SO Apple is driving me to buy Windows hardware. How many people will just give up on Apple computers as a result of this?


Why would you pay for jump desktop when there’s a free windows remote desktop app for mac? Makes no sense to waste money when Microsoft does it for free
https://apps.apple.com/us/app/microsoft-remote-desktop/id1295203466?mt=12
This isn’t really good enough. Many Windows apps will not run on an Arm processor. As a result, many useful programs still cannot be run on an M1.
I think Apple did the world a big disservice, and hurt my efforts a lot, by not providing a true Intel VM environment for the M1, or getting another company, such as VMWare to do so. VMWare has said that it will not do so – not worth their time.
This is bad. I will be forced to either buy an obsolete Intel Mac and run VMWare, or buy a Windows machine. Sadly, I’ll probably do the latter. SO Apple is driving me to buy Windows hardware. How many people will just give up on Apple computers as a result of this?