You just installed a new printer, but now you have to add a printer to your OS so that the Mac can read it. Below we’ll cover how to add a printer and get your Mac to print. However, you may need to use different methods depending on what type of printer you have. Options include adding a USB printer, a WiFi or network printer, using an IP address, adding a Bluetooth printer or using a configuration profile printer.
It’s important to note that macOS works automatically to install any printer software, or drivers. So you don’t need to install the driver yourself. For all of these steps, make sure you’re running the latest macOS version you can by updating your software. Click on the Apple icon on the top left of the screen and by System Preferences it will tell you if there is an update to run. Go into System Preferences and click on Software Update to run the update, if there is one.
macOS often detects these types of printers and updates any software. Simply plug in the printer using the USB connection cable. Mac currently uses a USB-C port.
Your Mac may give a pop-up saying it needs to download new software for the printer. Download and install it.
WiFi or Network Printer
If you connected your printer and your Mac to the same WiFi network, the Mac may automatically pick it up. To see if you can already use the printer:
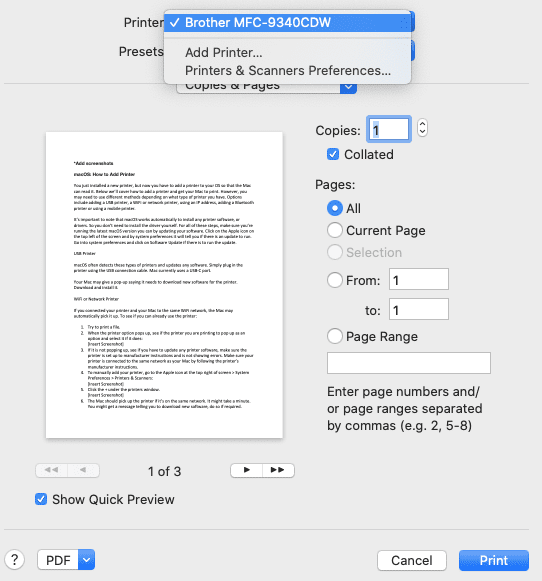
Try to print a file.
When the printer option pops up, see if the printer you are printing to pops up as an option and select it if it does:
If it is not popping up, see if you have to update any printer software, make sure the printer is set up to manufacturer instructions and is not showing errors. Make sure your printer is connected to the same network as your Mac by following the printer’s manufacturer instructions.
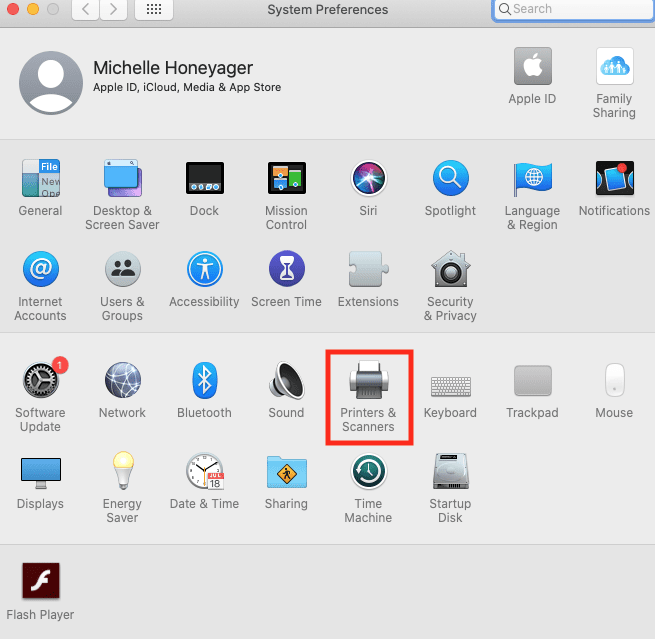
To manually add your printer, go to the Apple icon at the top right of the screen > System Preferences > Printers & Scanners:
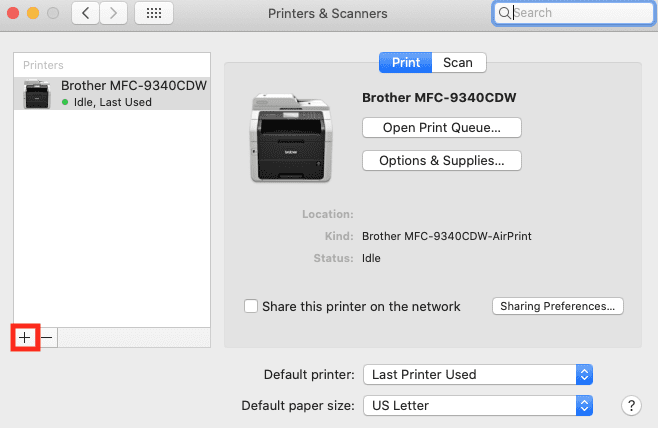
Click the + under the Printers window.
The Mac should pick up the printer if it’s on the same network and show on a list. Select it and click Add. It might take a minute. You might get a message telling you to download new software, do so if required.
If the printer does not show up on your network, you may have to manually add it by designating the IP address of the printer.
Using an IP Address
You can also add a printer as an IP printer. According to the Apple Support page, the printer must support these protocols: AirPrint, HP Jetdirect (Socket), Line Printer Daemon (LPD) or Internet Printing Protocol (IPP).
You must have a few pieces of information to add a printer:
The printer’s IP address or hostname
Printing protocol
Model number or printer software name
You may need a queue name if there is a special queue it uses
You can get the information above from the manufacturer’s website, instruction manuals or someone who manages the printer or server.
Start by updating the printer software if needed, setting up the printer by manufacture instructions and connecting the printer to the same network as the Mac, if you have not already done so.
To add the printer using the IP:
Click the Apple icon on the top left of the screen.
Select System Preferences.
Click Printers & Scanners.
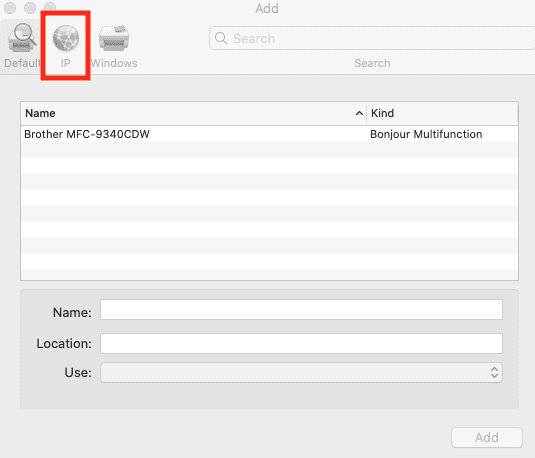
Click the + at the bottom of the printer list.
Click the IP button, which looks like a little globe:
Enter the printer information manually.
To add a Bluetooth Printer or Printer with Configuration Profile
Start by updating printer software for the Bluetooth printer. For the configuration profile, download the printer profile and follow the prompts to install it.
To add either of these types of printers, follow the steps above until you’re at the Printers & Scanners window (Apple icon > System Preferences > Printers & Scanners). Click the + and them hit the Default button, which looks like a little printer:
The printer should appear. You may have to search for it. If it does not appear, make sure the latest driver is installed for Bluetooth. Check that the network path is correct and the latest profile is installed for the configuration profile printer.


")

Write a Comment