Windows and Apple devices exist in two separate ecosystems, but there may be situations when you need to connect one to the other, like hooking up your iPhone or iPad to a Windows computer or laptop. Unfortunately, this may not always work as it should. You may have an error where Windows 11 doesn’t detect iPhone, despite it being plugged in via a USB cable.
This guide looks at what to do when your iPhone won’t connect to PC.
Windows 11 Doesn’t Detect iPhone Solutions – First Things to Try
Before we look at some of the more in-depth solutions to the problem when Windows 11 doesn’t detect iPhone, there are a few simple, immediate fixes you can try first that should only take a matter of seconds, such as:
Making sure your iPhone is unlocked
Checking that the USB cable you’re using isn’t frayed or damaged
Putting the cable into a different USB slot on your device
Restarting your phone and restarting your computer
Using a different USB cable, if you have one (note that official Apple cables work best)
Temporarily turning off or pausing your antivirus, as this might be blocking the connection
If none of these fixes work, proceed to try the solutions below.
Fix 1. Update Your Operating Systems
Connectivity issues with iPhones and Windows machines may occur if the operating system on one device or the other is out of date. Updates bring bug fixes and performance improvements, so it’s always worth installing them.
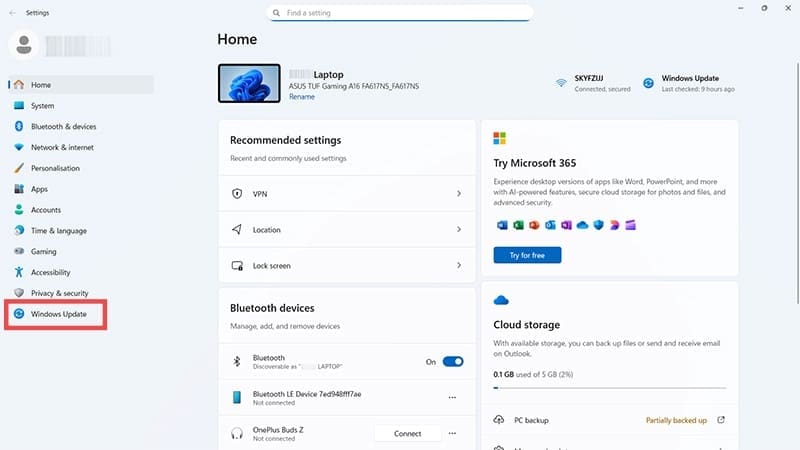
Step 1. On your Windows computer, press “Windows” and “I” together to open the settings.
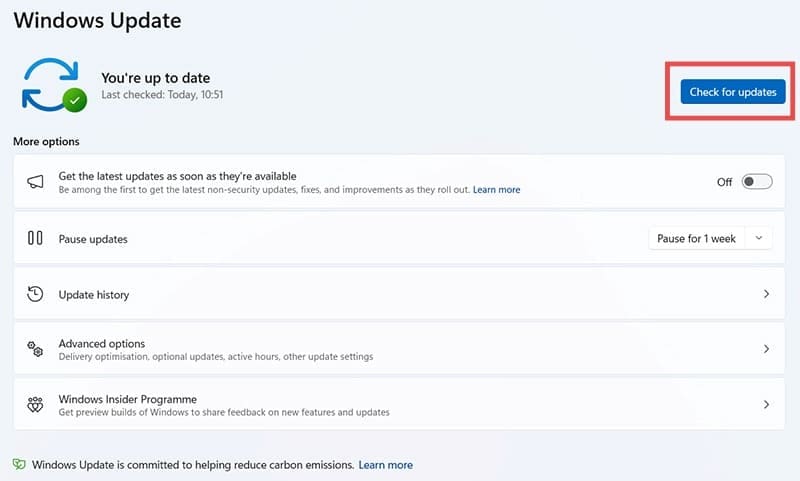
Step 2. Click on “Windows Update,” then “Check for Updates.” If any updates are available, install them and let your device restart to complete the process.
Step 3. On your iPhone, open “Settings” and go to “General.”
Step 4. Tap on “Software Update.” If any updates are available, install them.
Fix 2. Update iTunes
iTunes is the main app that Apple devices like iPhones use when connecting to Windows, so you also need to make sure your version of iTunes is fully up to date if you’re experiencing any connection problems.
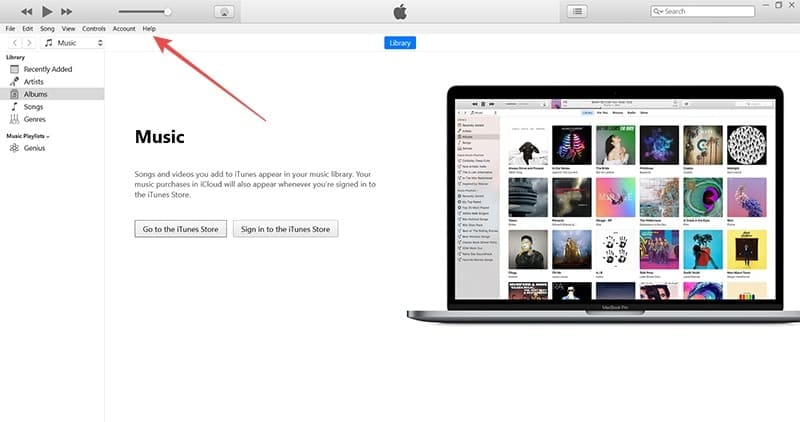
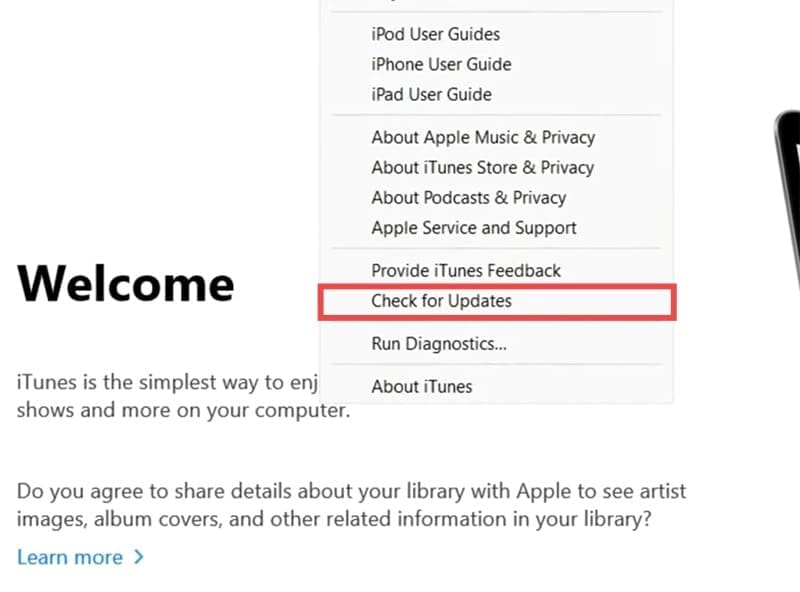
Step 1. Open the iTunes app.
Step 2. Click “Help” in the menu at the top, then find the option to “Check for updates.”
Fix 3. Update Drivers
You might also have out-of-date drivers on your Windows PC, preventing the iPhone from connecting correctly. To fix this, do the following:
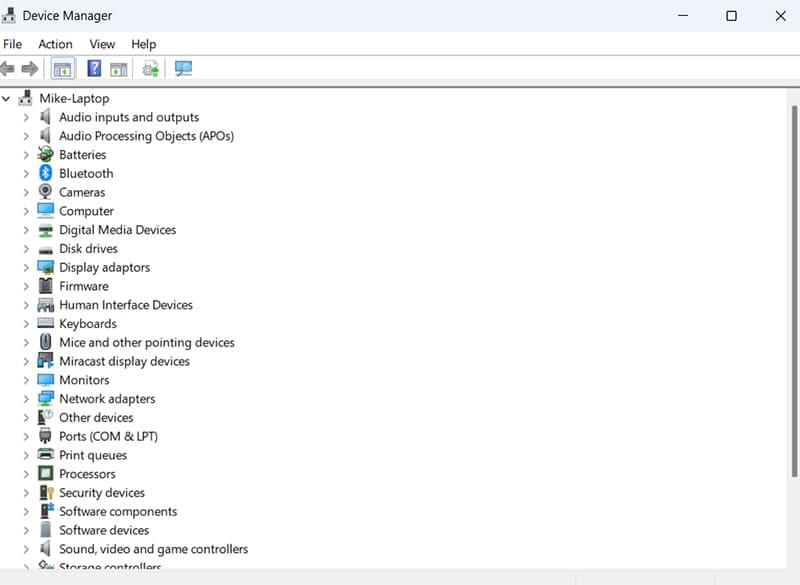
Step 1. Open the “Device Manager” tool. You can do this by simply typing “device manager” into the search bar and clicking the icon to launch it.
Step 2. Scroll down the list to find “Portable devices” and see if the iPhone appears there. If it does, right-click it and select “Update driver.” Then follow the on-screen prompts to update the necessary files.
Fix 4. Reset Your iPhone’s Location & Privacy Settings
Usually, the first time you connect an iPhone to a PC, a pop-up box appears on your phone asking if you want to “Trust This PC.” If that box never appeared or you refused permission at that stage, you might have issues connecting your iPhone and PC in the future. Fortunately, you can reset this problem so the “Trust This PC” pop-up appears by changing your iPhone settings.
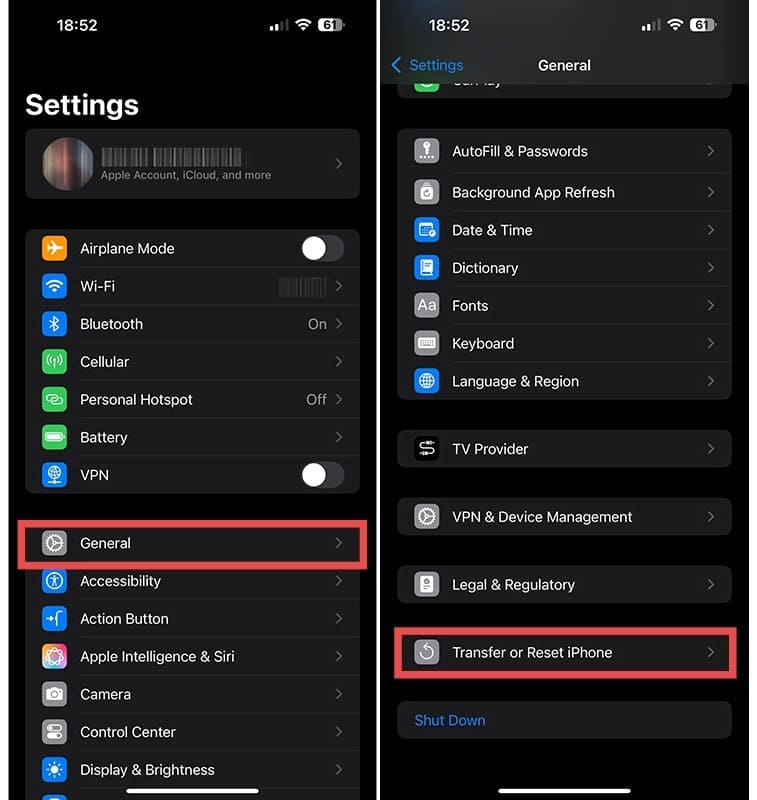
Step 1. Open “Settings” on your iPhone and tap on “General.”
Step 2. Find the “Transfer or Reset iPhone” setting and select it.
Step 3. Tap on “Reset” and then “Reset Location & Privacy.” After that, try connecting the iPhone again. Should the “Trust This PC” box appear, make sure to tap the “Trust” button.
As an avid gamer, I’ve run into my fair share of error codes and weird faults that have forced me to find fixes to problems I never anticipated. That gave me a passion for sharing those fixes with others so we can all game without feeling like our hardware is rebelling against us.


Write a Comment