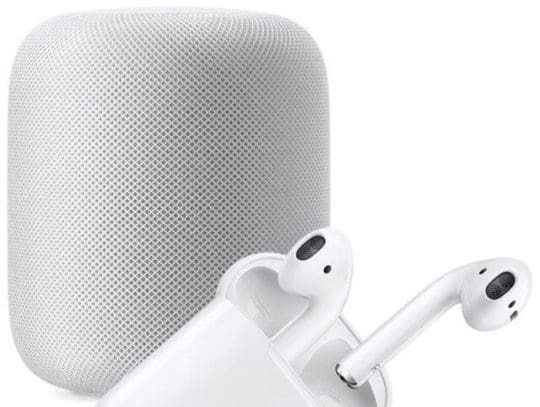
Apple’s first-party audio accessories, like its HomePod and AirPods devices, are designed to work seamlessly with other Apple products.
For the most part, this seamless connection is focused on iPhone and other iOS devices. But both HomePod and AirPods can be used with computers devices like your Mac or MacBook.
While they don’t connect quite as easily with Apple’s computers, it’s still a straightforward process. Here’s how to do it.
Apple baked the option to use HomePod or AirPods with your Mac into the macOS audio controls.
It’s easily accessible in the top menu bar once you set it up. But, by default, Mac audio controls are not enabled for the menu bar.
Enable Your Mac’s Audio Controls
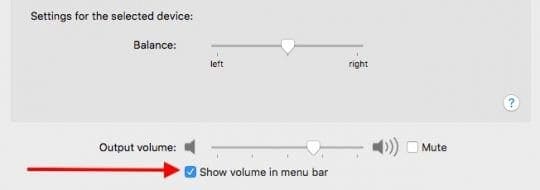
Open System Preferences.
Click on Sound.
In the next menu, click on the Output tab.
Near the bottom, you’ll see a checkmark box next to Show volume in menu bar.
Click the box to enable it.
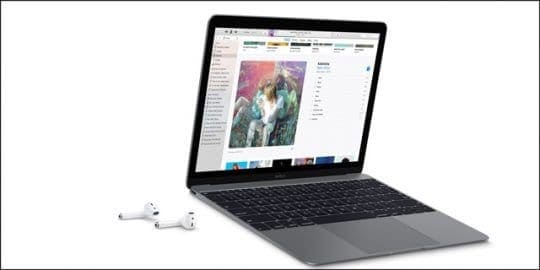
How to Connect Airpods to MacBook Pro, Air, or any Mac
AirPods are well-known for their ease of use. They connect pretty effortlessly to a user’s Apple Watch or iPhone.
As stated earlier, you can also use your AirPods with a Mac. But doing so requires a few extra steps, like adding AirPod controls via the volume icon in your Mac’s menu bar as mentioned above.
We’ll assume that you’ve already set up your AirPods. If you haven’t, open the AirPods case next to your iPhone and follow the setup steps.
When you have them set up, follow these steps.
Turn on Bluetooth, if it’s not already enabled.
Make sure you’ve added volume controls to the menu bar (see above).
Click on the volume icon in the top menu bar.
Under Output Device, select AirPods.
Note: AirPods will only appear on this list when they’re set up, charged, and in relative proximity to your Mac. Also remember to make sure that you enable Bluetooth on your Mac.
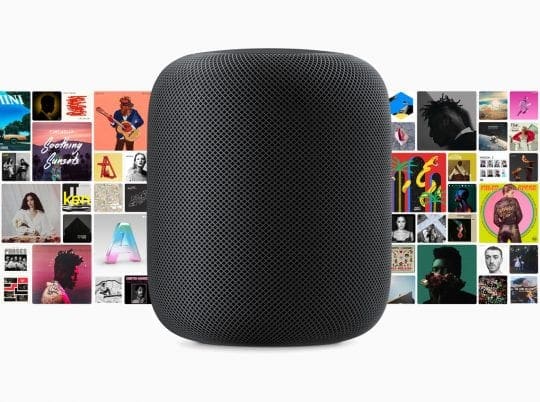
Connect Your HomePod To Your Mac
HomePod is a smart speaker. That means it can handle audio and music playback pretty well on its own.
But that doesn’t mean there aren’t times when playing audio from a Mac through HomePod isn’t useful. If you’re a Spotify user, for example, you’ll need to use AirPlay to stream music to your smart speaker.
There are two ways you can use to send audio to your HomePod speaker.
Note: Before you can use these options, make sure you connect your HomePod and your Mac to the same Wi-Fi network. You’ll also need to be running at least macOS Sierra.
Volume Controls
Turn on Bluetooth, if it’s not already enabled.
Make sure you’ve added volume controls to the menu bar (see above).
Click the volume icon in the top menu bar.
Select the HomePod speaker or speakers you’d like to use.
Once you set it up this way, there are a couple of things you should keep in mind.
For one, all audio played on your Mac will be sent to HomePod. That means every sound — such as Trash emptying or files moving.
Also, except for volume, you’ll need to control music and audio playback from your Mac. You can’t ask Siri to pick or skip songs.
AirPlay via iTunes
In addition to using AirPlay through the menu bar audio controls, you can also stream audio to your HomePod through iTunes.
Truthfully, this method is a bit redundant. But here’s how to do it, if you happen to need it.
Open Tunes.
Play any song, album or artist.
Between the volume bar and the album art, you’ll see a small AirPlay button.
Click on it.
Select the HomePod speaker or speakers you’d like to use.
It’s worth noting that you can send audio to multiple HomePod devices at once with this method. Just select each HomePod you’d like to use
Mike is a freelance journalist from San Diego, California.
While he primarily covers Apple and consumer technology, he has past experience writing about public safety, local government, and education for a variety of publications.
He’s worn quite a few hats in the journalism field, including writer, editor, and news designer.


Write a Comment