While remotely accessing files between Windows systems is relatively easy, the same can’t be said when trying to use a Mac to access a PC. Windows natively uses the Server Message Block Protocol (SMB) for file sharing. Mac also supports SMB, but setting up file sharing with a PC requires proper configuration and setting the correct permissions to make sure the PC is discoverable on the network. Alternatively, you can use a Remote Desktop Client over the internet. We will show you how to do both.
Remote Access Using the Server Message Block (SMB) Protocol
This is the process for file sharing when both systems are connected to the same local network. The two computers discover each other’s IP addresses to create a connection, and then share the files and folders you specify.
Configure File Sharing on Windows
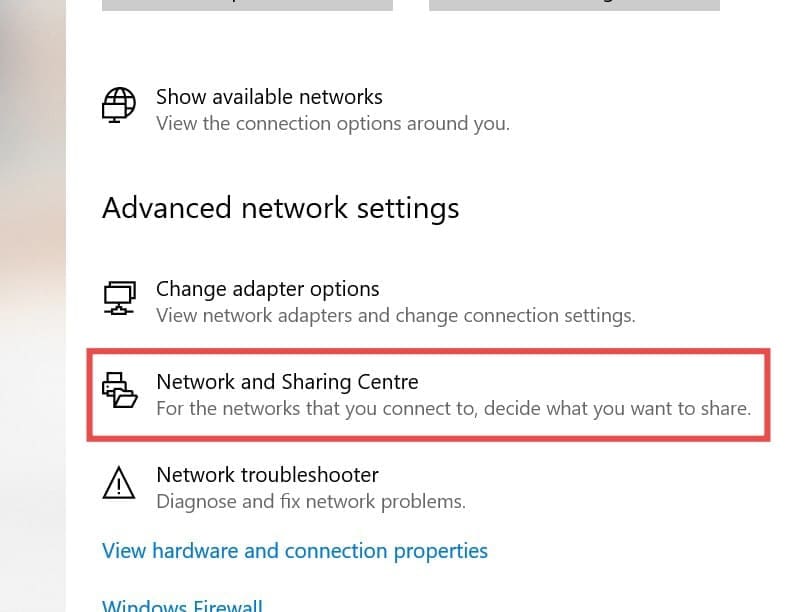
Step 1. On the Windows PC, go to “Control Panel” and then “Network and Sharing Center.”
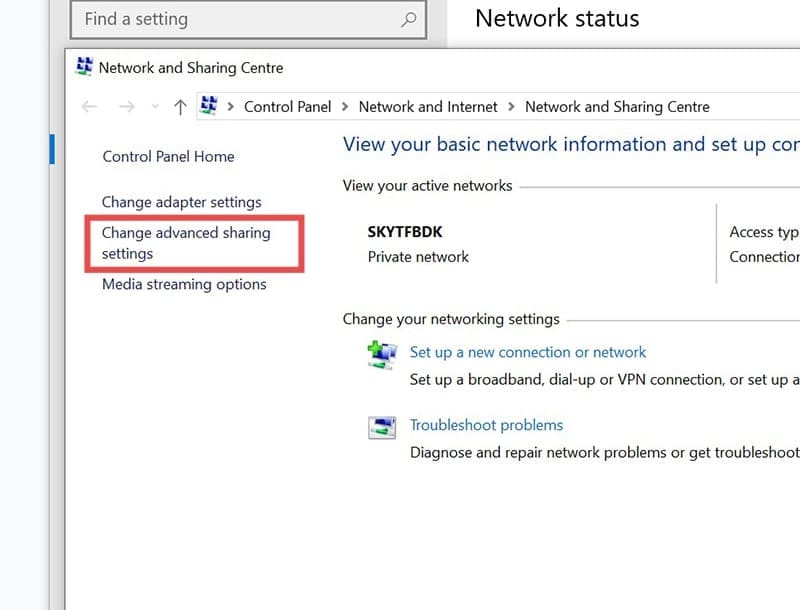
Step 2. Click “Change advanced sharing settings.”
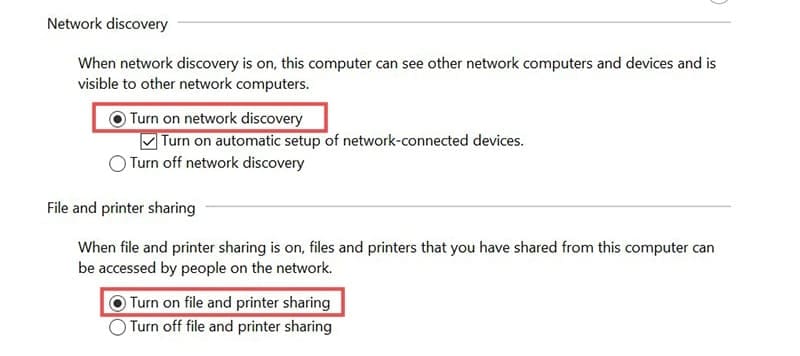
Step 3. Turn on “Network discovery” and “File and printer sharing.”
Share the Folder
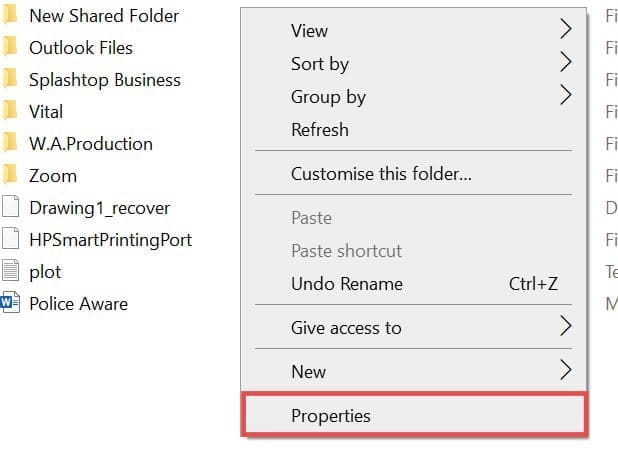
Step 1. Right-click the folder you want to access from your Mac.
Step 2. Select “Properties.”
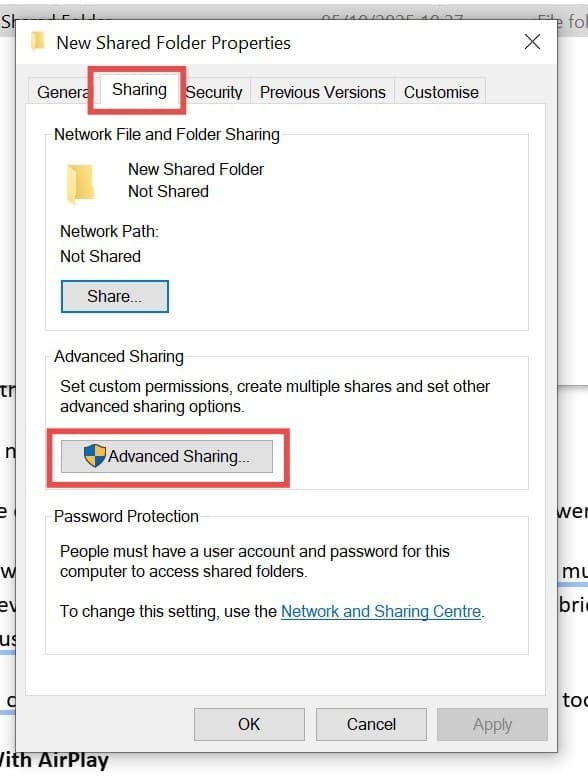
Step 3. Go to the “Sharing” tab.
Step 4. Click “Advanced Sharing” and check the box to “Share this folder.”
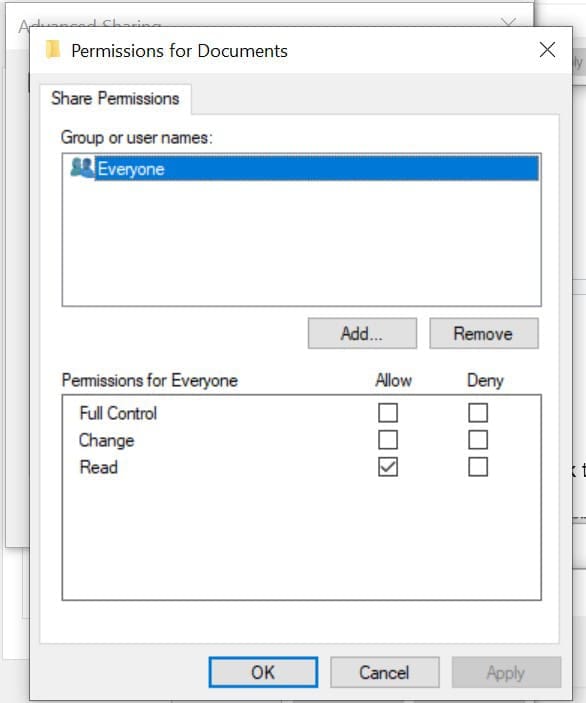
Step 5. Select “Permissions” to set the access level you want to grant.
Step 6. Find and note down the “IPv4 Address” of your PC. Open the “Command Prompt”, type “ipconfig”, and press Enter.
Connect to the Windows PC From Your Mac
Moving over to the Mac computer, you will now need to connect to the PC using the “Finder.”
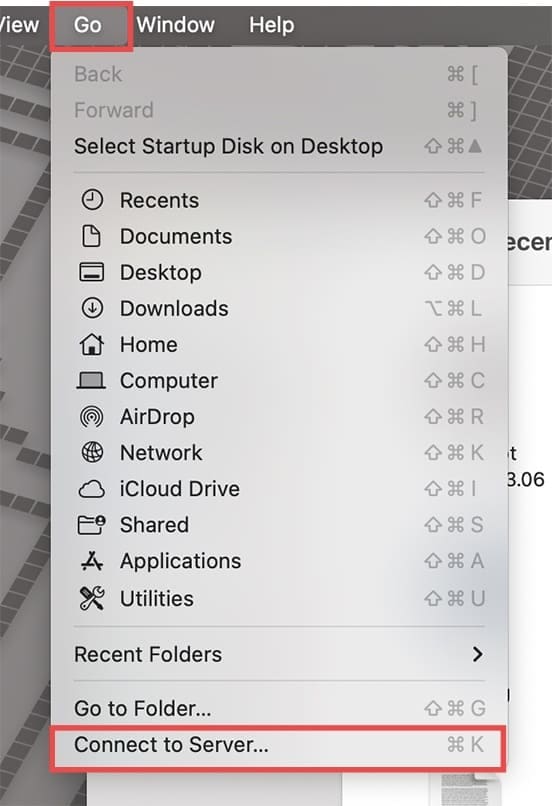
Step 1. On your Mac, open “Finder.”
Step 2. Click “Go” and then “Connect to Server.”
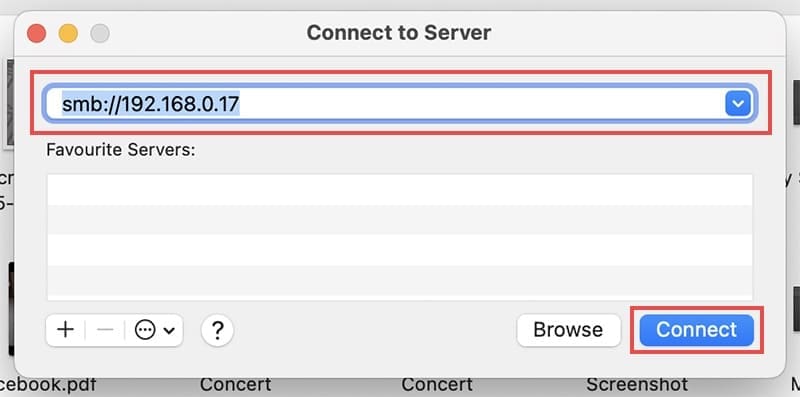
Step 3. Enter the server address in the field, using the SMB protocol, followed by the IPv4 number you noted down previously.
Step 4. Click “Connect.”
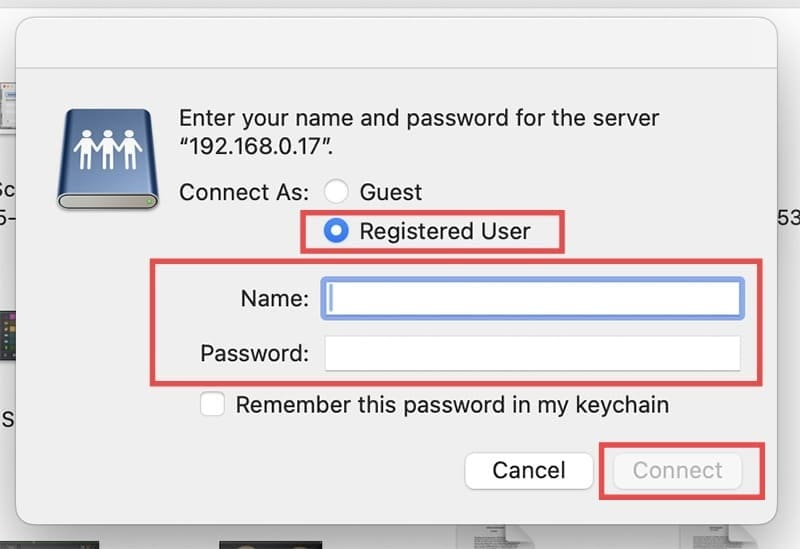
Step 5. When prompted to “Connect As” check “Registered User” and enter the “Name” and “Password” for the Windows user account you shared the folder from.
Step 6. Click “Connect.”
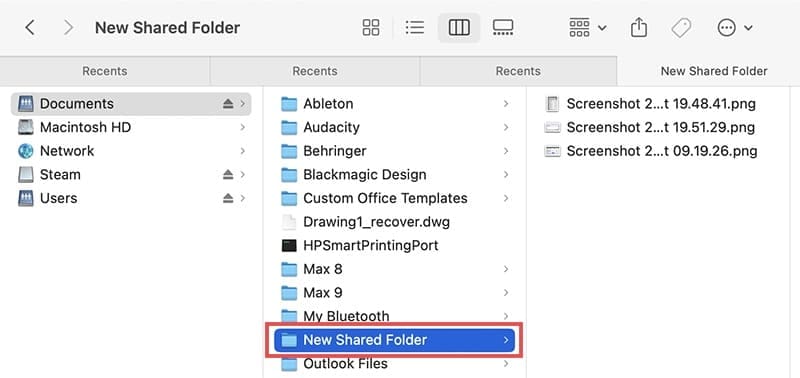
You can now navigate to the shared folder and access its files.
Accessing a PC From a Mac Using a Remote Desktop Client
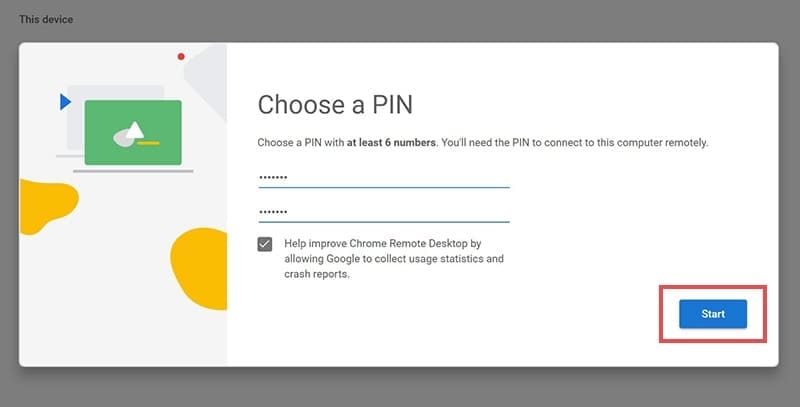
If you needed remote access between two machines that are not on the same local network, you could use a client like “Chrome Remote Desktop.” This process isn’t specific to any operating system and works in either direction, meaning a PC could access a Mac’s files. It’s all done over the internet and allows screen sharing. When using an extension or app like this, you can “take over” and control anything on one machine from the other.
Part 1: Setting Up Remote Access on Your PC (Host)
As an avid gamer, I’ve run into my fair share of error codes and weird faults that have forced me to find fixes to problems I never anticipated. That gave me a passion for sharing those fixes with others so we can all game without feeling like our hardware is rebelling against us.


Write a Comment