In the past, Mac and PC were two very different separate ecosystems without much crossover or interaction potential. However, times have changed, and it’s now possible to bridge connections between Macs and PCs and use them side-by-side.
This guide explores how you can set up screen sharing Mac to PC with several proven tools.
The easiest way to screen share from a Mac to a Windows PC is by using Apple’s AirPlay technology. This is built into the majority of modern Macs. You just have to turn your Windows PC into an AirPlay-compatible device, using a third-party app.
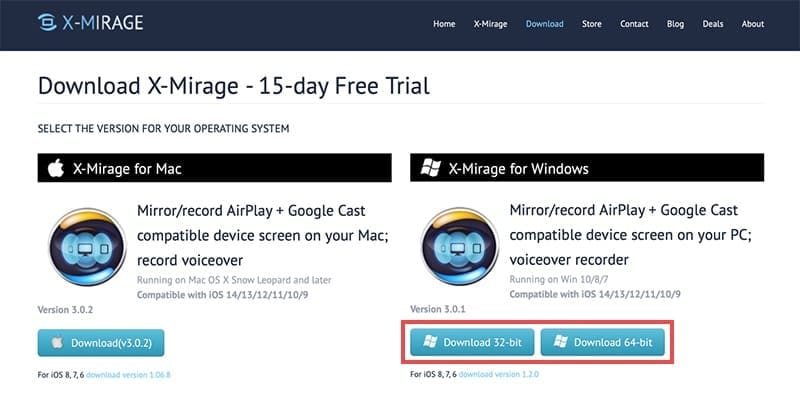
Step 1. Download and install a third-party app to your Windows PC to turn it into an AirPlay receiver. There are many to choose from, like LetsView and ApowerMirror. For the purposes of this guide, we’ll focus on X-Mirage.
Step 2. Ensure your Mac and PC are on the same Wi-Fi network. Then go to “System Preferences,” followed by “Displays,” on your Mac.
Step 3. Check the box marked “Show mirroring options in the menu bar when available.”
Step 4. Click the display icon in the top-right corner of your Mac window, near the time and date. You should see your Windows AirPlay-enabled device show up in the list of devices you can AirPlay to. Select it to start screen sharing.
Screen Sharing Mac to PC With VNC Viewer
You can also use the free app, VNC Viewer, to display your Mac screen on your Windows PC. You’ll need to download that to your Mac before you start.
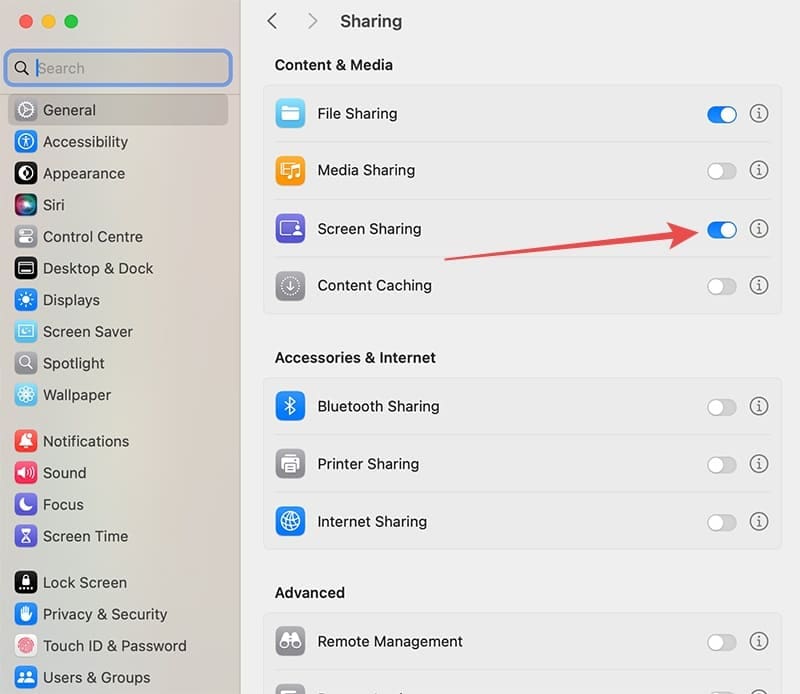
Step 1. On your Mac, go to “System Preferences,” then “Internet and Wireless,” followed by “Sharing.”
Step 2. Check the box next to “Screen Sharing.”
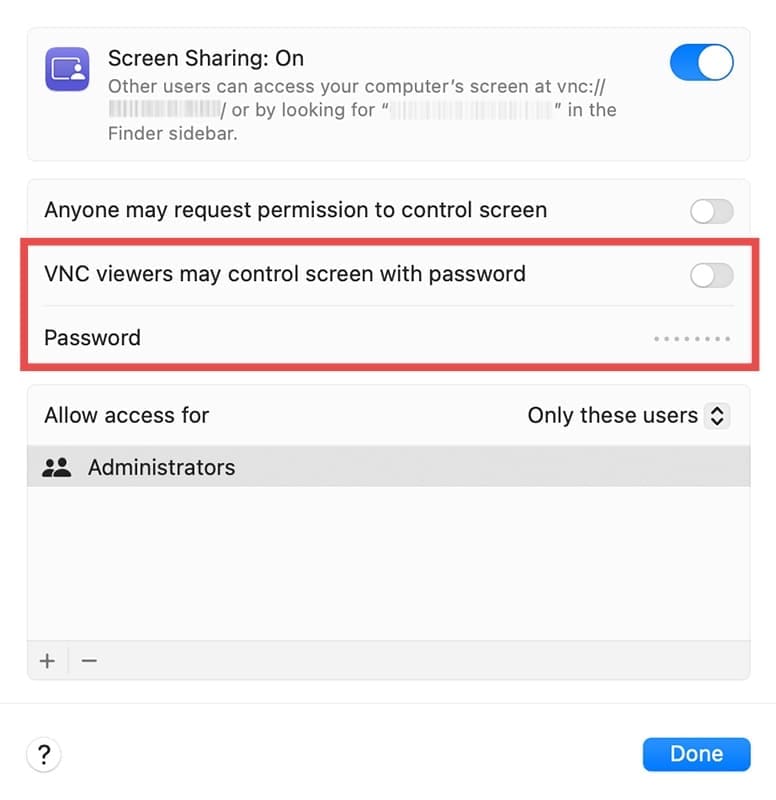
Step 3. Tap on the “i” icon and check the box that says “VNC viewers may control screen with password,” and type a password into the box.
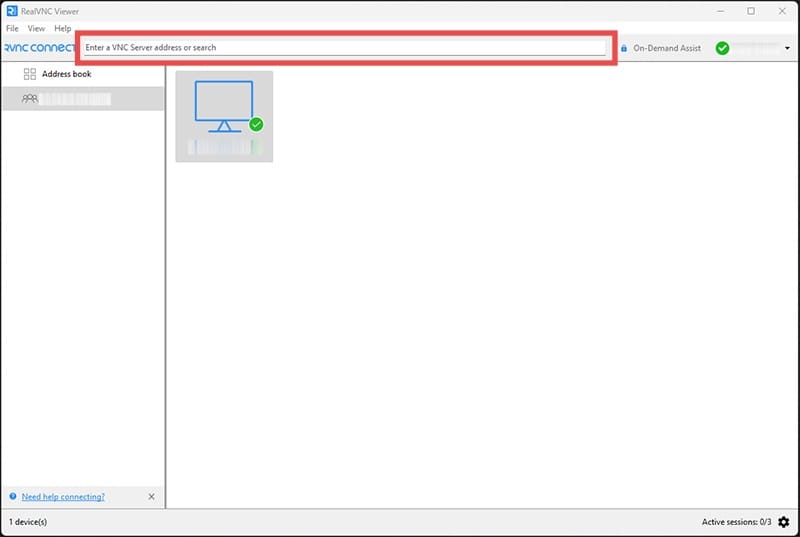
Step 4. Download and open VNC Viewer on your PC.
Step 5. Type in the name of your Mac, or its IP address, in the box labeled “VNC Server.” Then press “Connect.”
Step 6. Check the box labeled “Full Screen Mode,” and click “OK.”
Step 7. You will then need to type in the password you created earlier, plus your usual Mac password, and screen sharing should start.
Screen Sharing Mac to PC With TeamViewer
TeamViewer is another handy app, made with screen sharing in mind across all major platforms. You’ll need to download it both your Mac and PC before starting.
Step 1. Open TeamViewer on your PC and tap the Sign Up button to create your account (or Sign In if you already have an account).
Step 2. Open TeamViewer on your Mac and follow the setup. You’ll be asked to create a password for secure screen sharing and to grant the app permissions regarding screen recording.
Step 3. On the Mac, click on the option labeled “Setup Unattended Access.”
Step 4. Type in your Mac name and password, then select “Finish.”
Step 5. Restart the software, sign in, and then click “Remote Control” in the left side menu.
Step 6. Back on your PC, also click on the “Remote Control” option.
Step 7. On the PC, enter the ID from your Mac in the “Partner ID” box and click “Connect.”
Screen Sharing Mac to PC With Zoom
Lastly, you can also quickly enable screen sharing Mac to PC using Zoom, the video meeting app.
Step 1. Enter a meeting on both your Mac and PC.
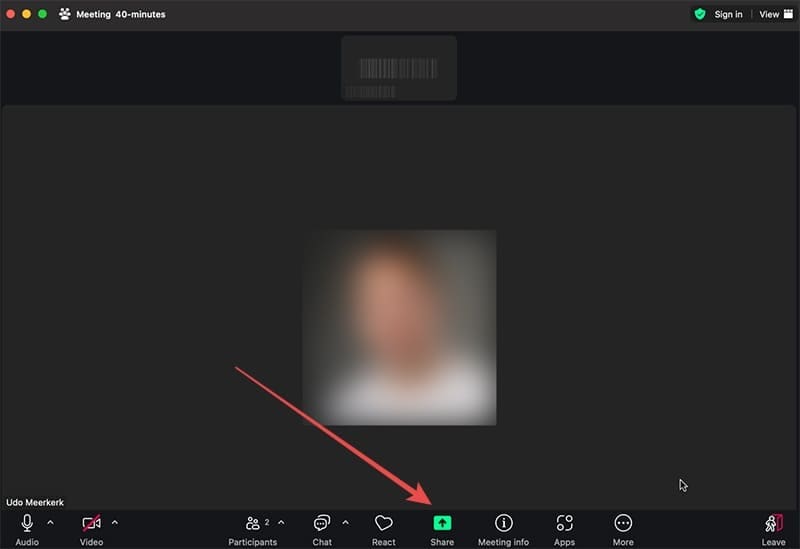
Step 2. On the Mac, click the “Share” button.
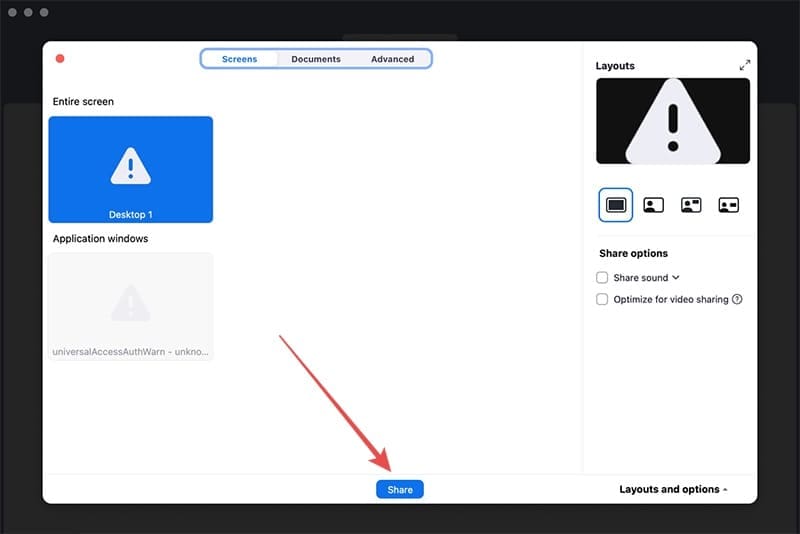
Step 3. Under “Screens”, choose your screen share mode. You can select entire screen to share the whole desktop or specific application windows. Click on “Advanced” and then “Portion of screen” if you want to share just a portion of the screen.
As an avid gamer, I’ve run into my fair share of error codes and weird faults that have forced me to find fixes to problems I never anticipated. That gave me a passion for sharing those fixes with others so we can all game without feeling like our hardware is rebelling against us.


Write a Comment