If you’re familiar with Venmo or PayPal, think of the Apple Cash Card as an even easier and more secure way to send money to friends and family. The only potential caveat is that you’ll need to do so with another iOS user, as this does not currently work on Android. However, after your buddy pays you back for dinner, how are you supposed to get the money back into your account?
If you really need to transfer money from your Apple Cash Card, instead of leaving it in there for future needs, you can transfer it. There are actually two different methods, with the first allowing you to transfer money with Apple Cash Card instantly to your debit card.
Open the Wallet app on your iPhone.
Tap the Apple Cash Card icon.
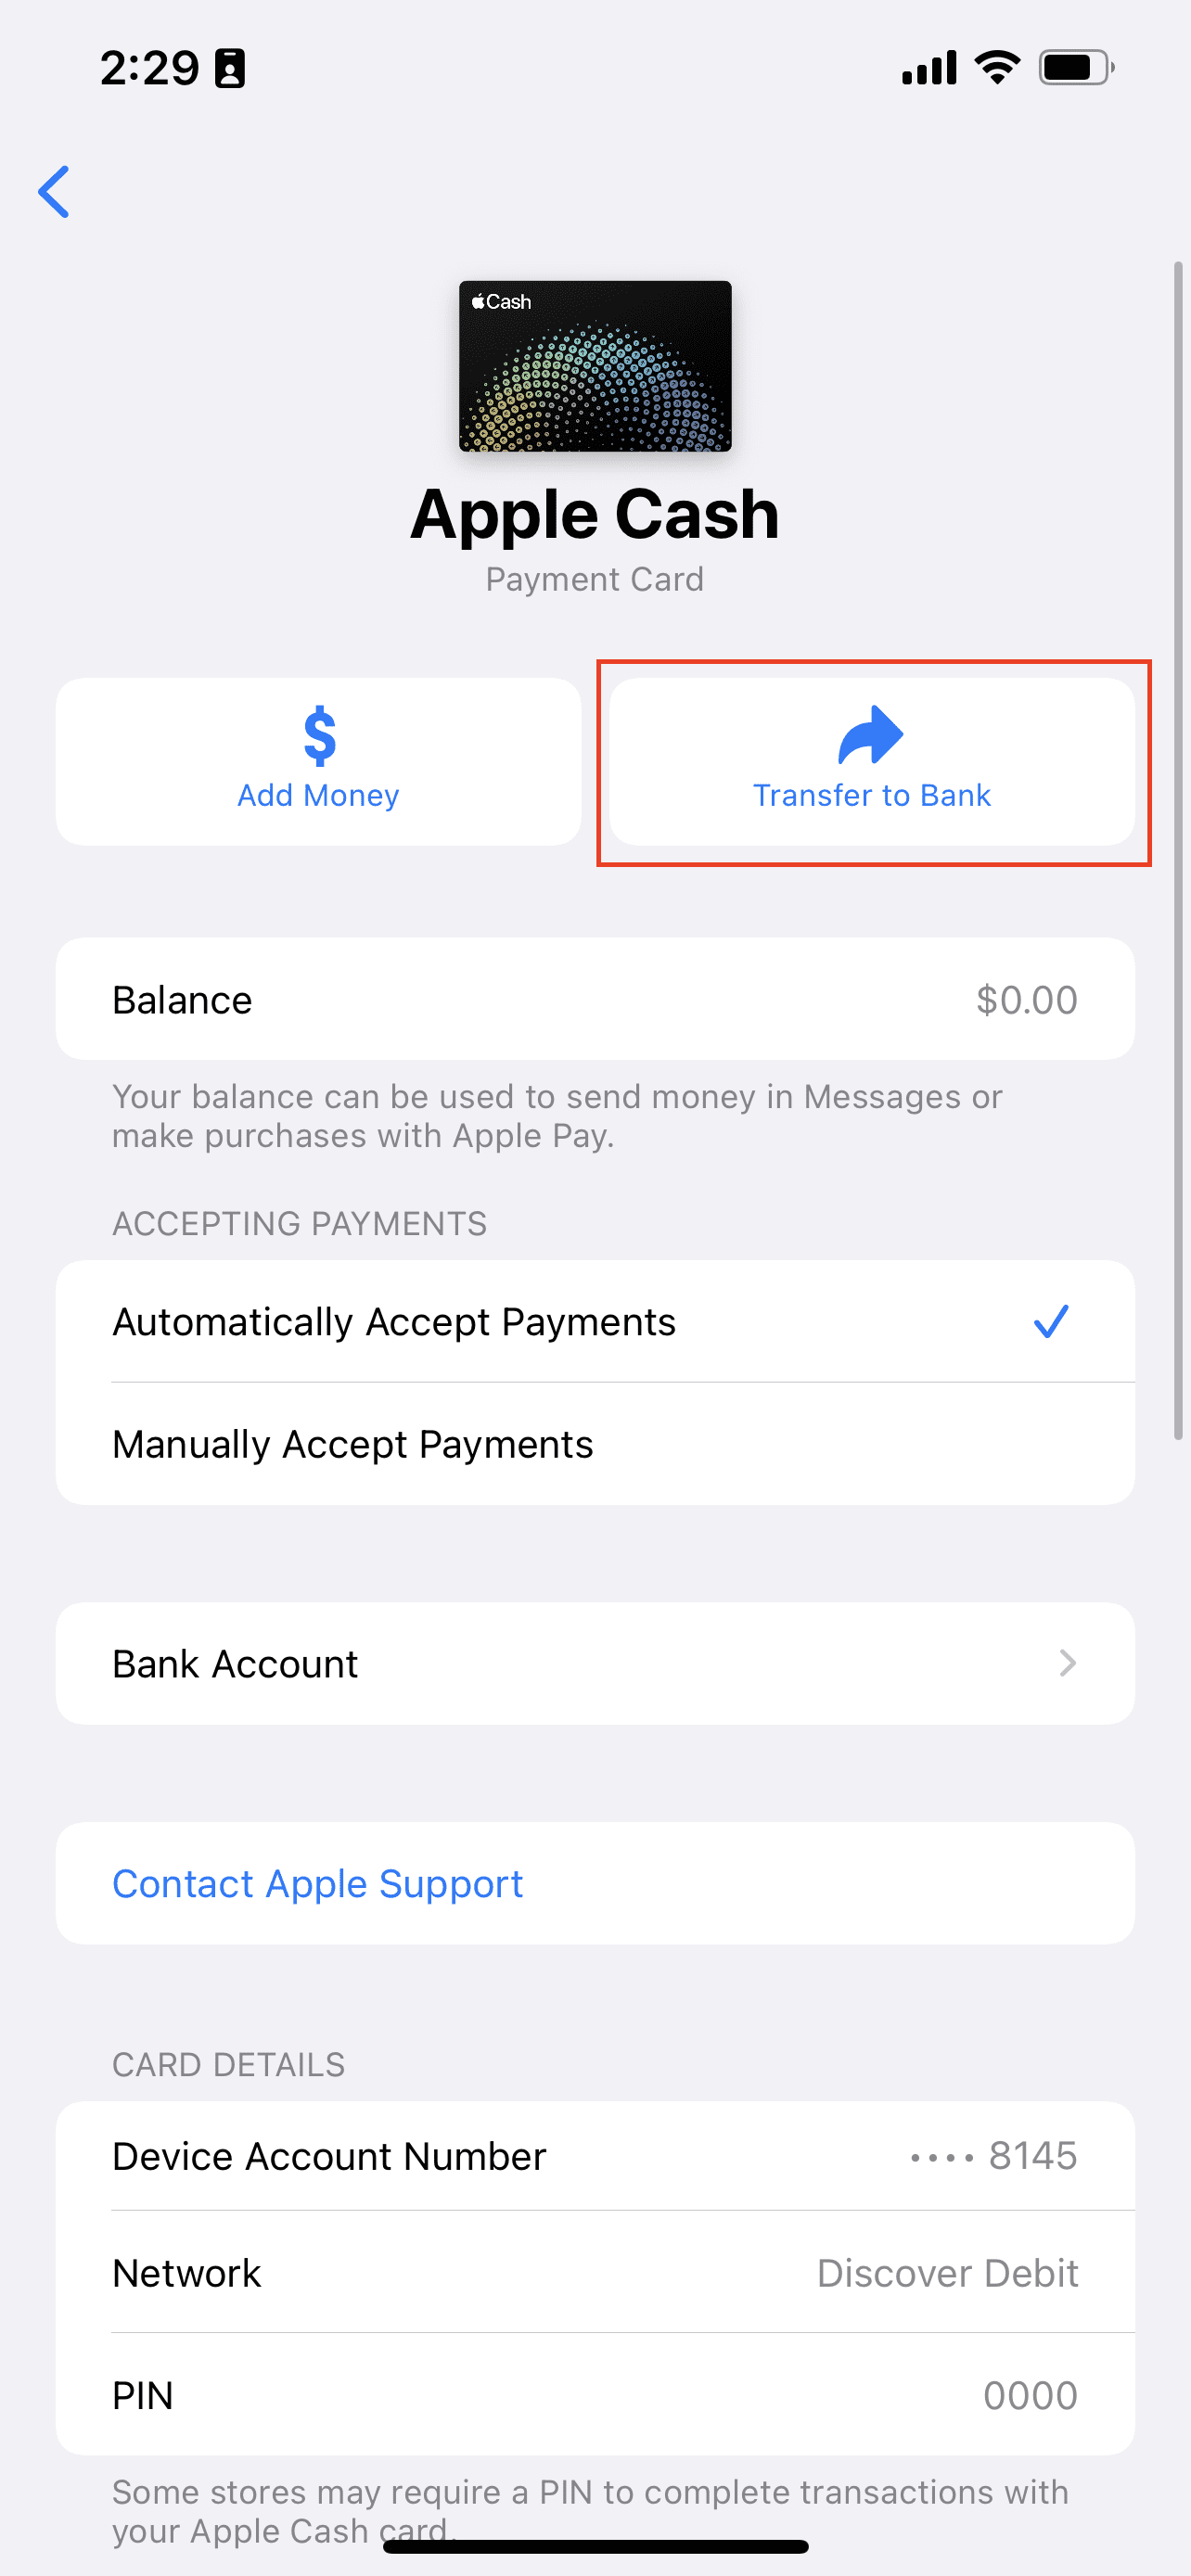
Tap the … button.
Tap Transfer to Bank.
Enter the amount you wish to transfer and tap Next.
Tap Instant Transfer.
If you haven’t added a card already, tap Add Card.
Follow the onscreen instructions to add your debit card.
Tap the > button to select the debit card you want to transfer the funds to.
After the transfer has been started, Apple states it will take up to 30 minutes depending on your bank. However, you’ll notice the balance in your Apple Cash Card drop down, and will receive a notification after the balance is completed.
If you don’t need the money instantly or want to transfer money with Apple Cash Card to a specific bank account instead of your debit card, you can do that too.
Open the Wallet app on your iPhone.
Tap the Apple Cash Card icon.
Tap the … button.
Tap Transfer to Bank.
Enter the amount you wish to transfer and tap Next.
Tap the 1-3 Business Days option.
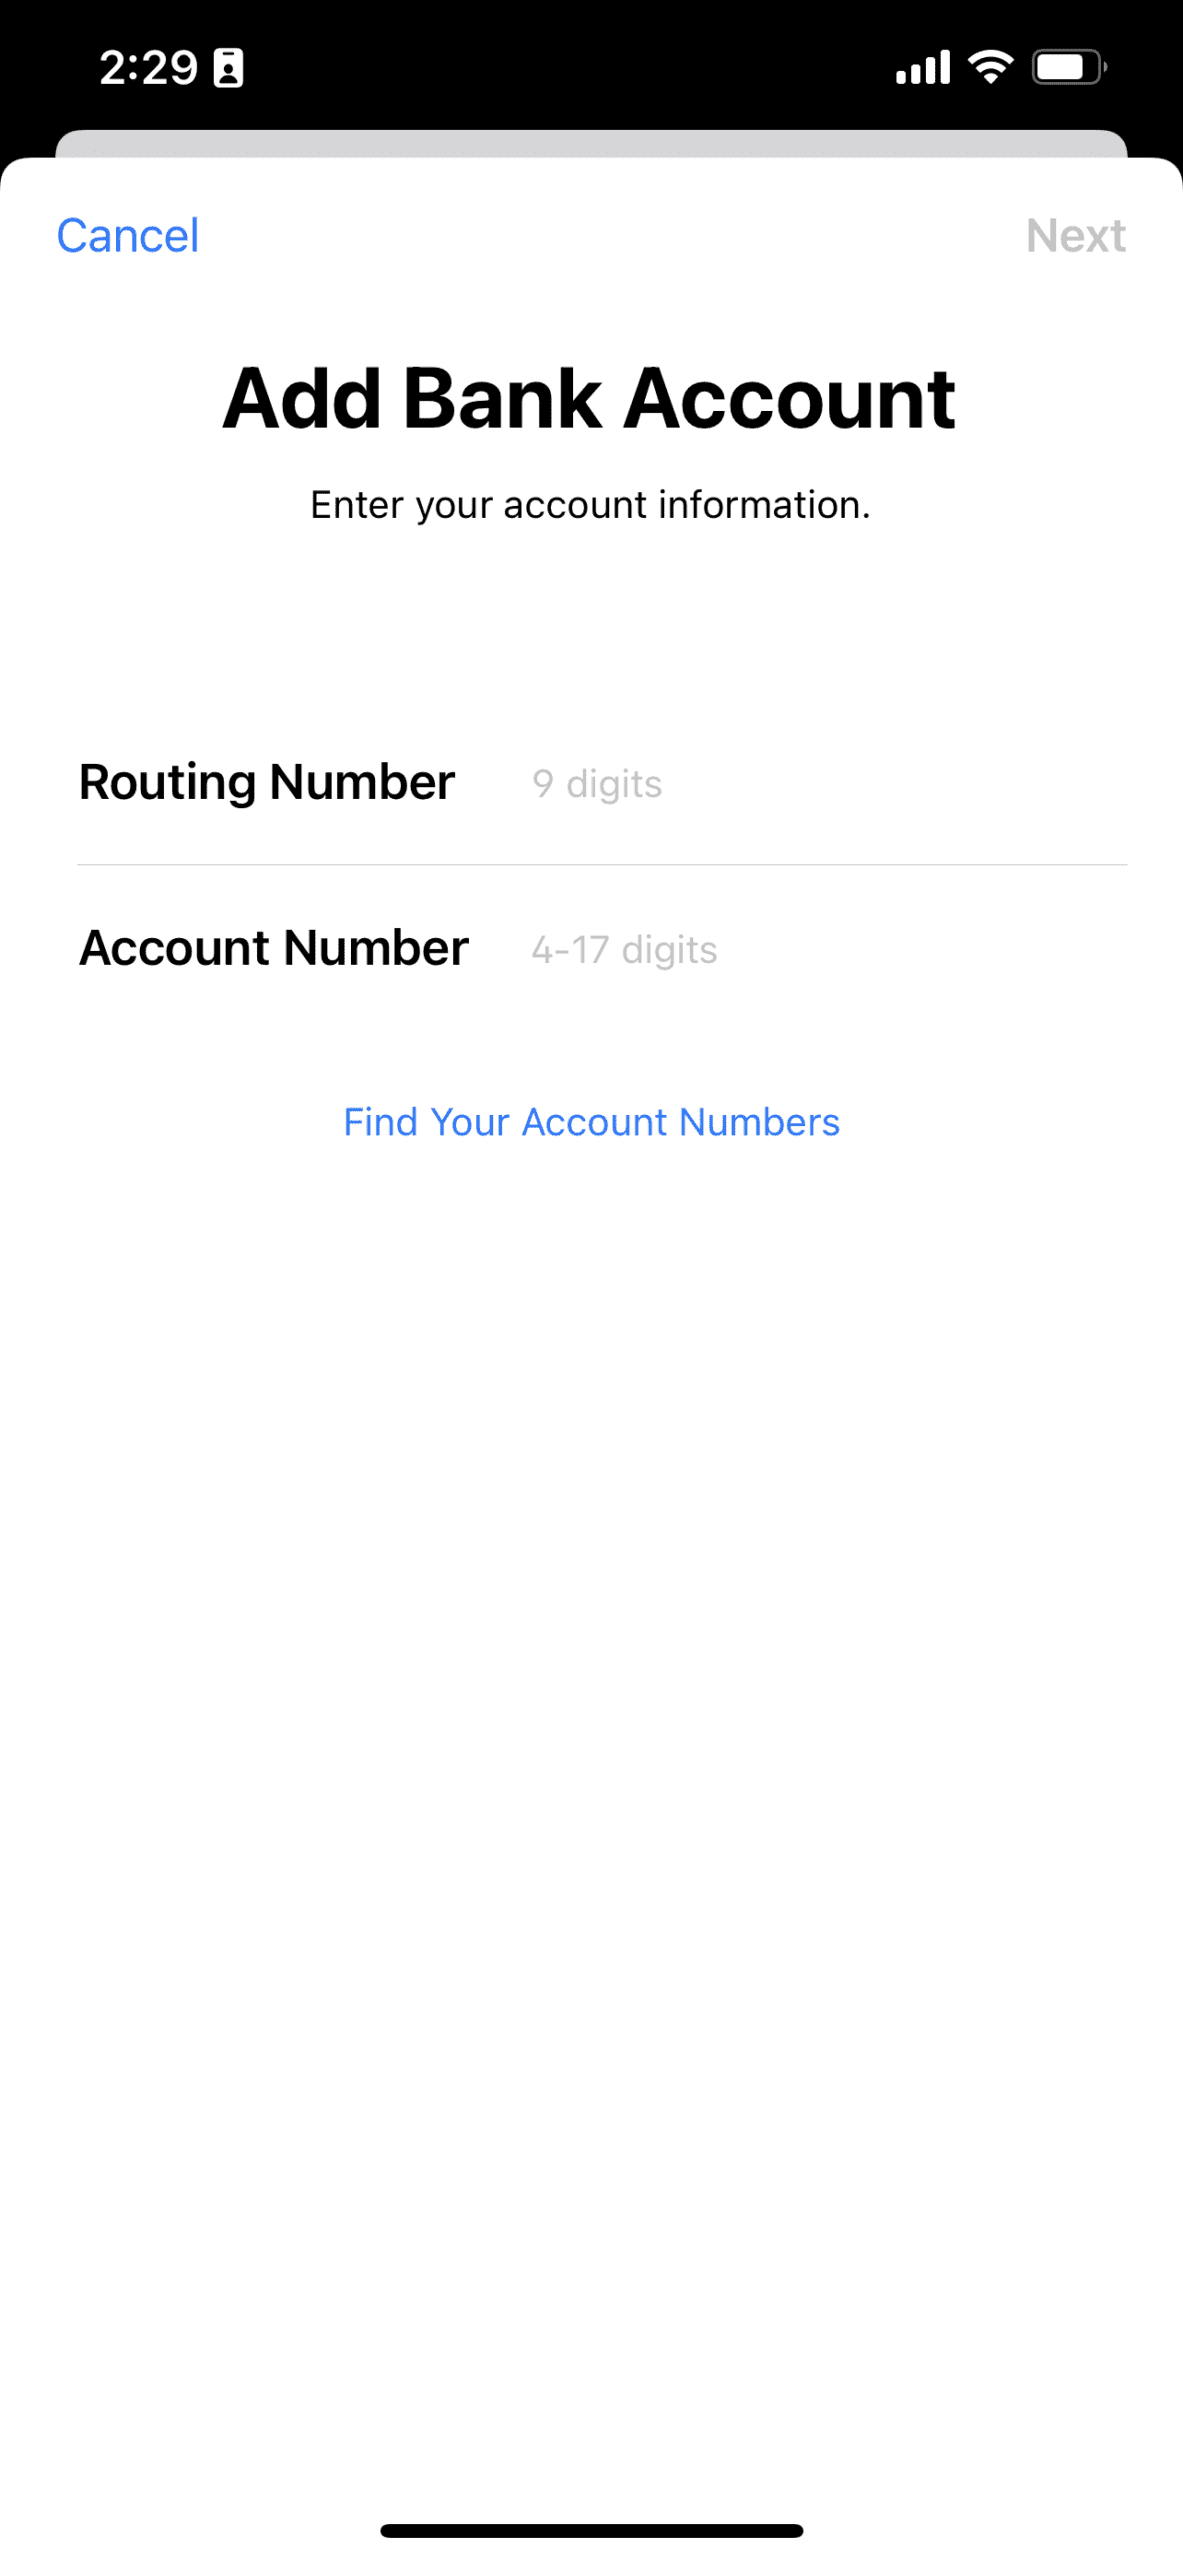
If you don’t have a bank account attached, follow the steps to set one up.
Confirm the transfer using Face ID, Touch ID, or your passcode.
After the transfer has been confirmed, Apple again states that this will take between one to three business days, depending on the time of day and the bank that’s being used.
How to Add Money to Apple Cash Card
Sometimes it’s just nice to have money stashed in different places, and if you use Apple Cash Card frequently, this is a convenient spot. But you don’t have to just wait for someone to send you money. Instead, you can fund your own Apple Cash Card and add money to it yourself.
Open the Wallet app on your iPhone.
Tap the Apple Cash Card icon.
Tap the … button.
Click the Add Money button at the top of the page.
Enter the amount that you wish to add.
Tap the Add button in the top right corner.
Double-click the Side Button to confirm.
After you have finished confirming to add funds to your Apple Cash Card, they should appear immediately. In the event that you don’t have the funds instantly, just wait up to 30 minutes before reaching out to Apple Support or your bank.
How to Update Bank Account Information
It’s not frequent, but sometimes you might find yourself needing to update your bank account information. If that’s the case, you’ll want to make sure you also do so for the Apple Cash Card. Not doing so can result in a bunch of issues when it comes to either sending, or trying to transfer money with with Apple Cash Card. Here’s how you can update or delete your bank account information.
Open the Wallet app on your iPhone.
Tap the Apple Cash Card icon.
Tap the … button.
Tap Bank Account.
Select the bank account that you want to edit.
If you want to delete an attached bank account, tap Delete Bank Account Information and confirm.
Tap next to the routing number or account number to change the information.
Input the new information.
Tap Next.
Once completed, the bank account will be updated, and you can go back to using it the same way that you always did with the old bank account.
Andrew Myrick is a freelance writer based on the East Coast of the US. He enjoys everything to do with technology, including tablets, smartphones, and everything in between. Perhaps his favorite past-time is having a never-ending supply of different keyboards and gaming handhelds that end up collecting more dust than the consoles that are being emulated.


Write a Comment