If you’re like us, you probably get more emails in a day that it can feel overwhelming. In a lot of ways, emails have turned into a worse version of the junk mail that you randomly get when you check the mailbox every day. That’s because pretty much every app and service that you use on the web requires an email address, which opens the floodgates to a plethora of annoying email subscriptions that you didn’t intend to sign up for to begin with.
Having the ability to create an email alias has been around for awhile now, and is different from the Hide My Email feature offered as part of iCloud+. With Apple’s Hide My Email, you are unable to send messages from the generated email address. Meanwhile, if you want to use email alias for iCloud Mail, the created alias can also be used with FaceTime, Messages, and Game Center.
“After you set up a primary iCloud Mail address, you can create up to three @icloud.com email aliases on iCloud.com. After you set up an alias, you can send and receive mail from that alias on iCloud.com and on any device that has Mail turned on in iCloud settings.”
One of the potential pitfalls for those who want to use email alias for iCloud Mail is that you are limited to a total of three email aliases. You can always go back and delete an existing alias if you need to, but you are not able to create any more than that. Meanwhile, Apple removed the previous limit imposed on the Hide My Email functionality. Previously, you were limited to having 100 randomized email addresses, but at the time of this writing, there are no longer any limits.
How to Use Email Alias for iCloud Mail on the Web
Before you can start to use Email Alias for iCloud Mail, you’ll first need to go through the necessary steps to set up the different email aliases that you intend to use. Unfortunately, despite this functionality being around for years, the only way that you can set up email aliases is through the iCloud.com web interface. Here’s how you can set everything up:
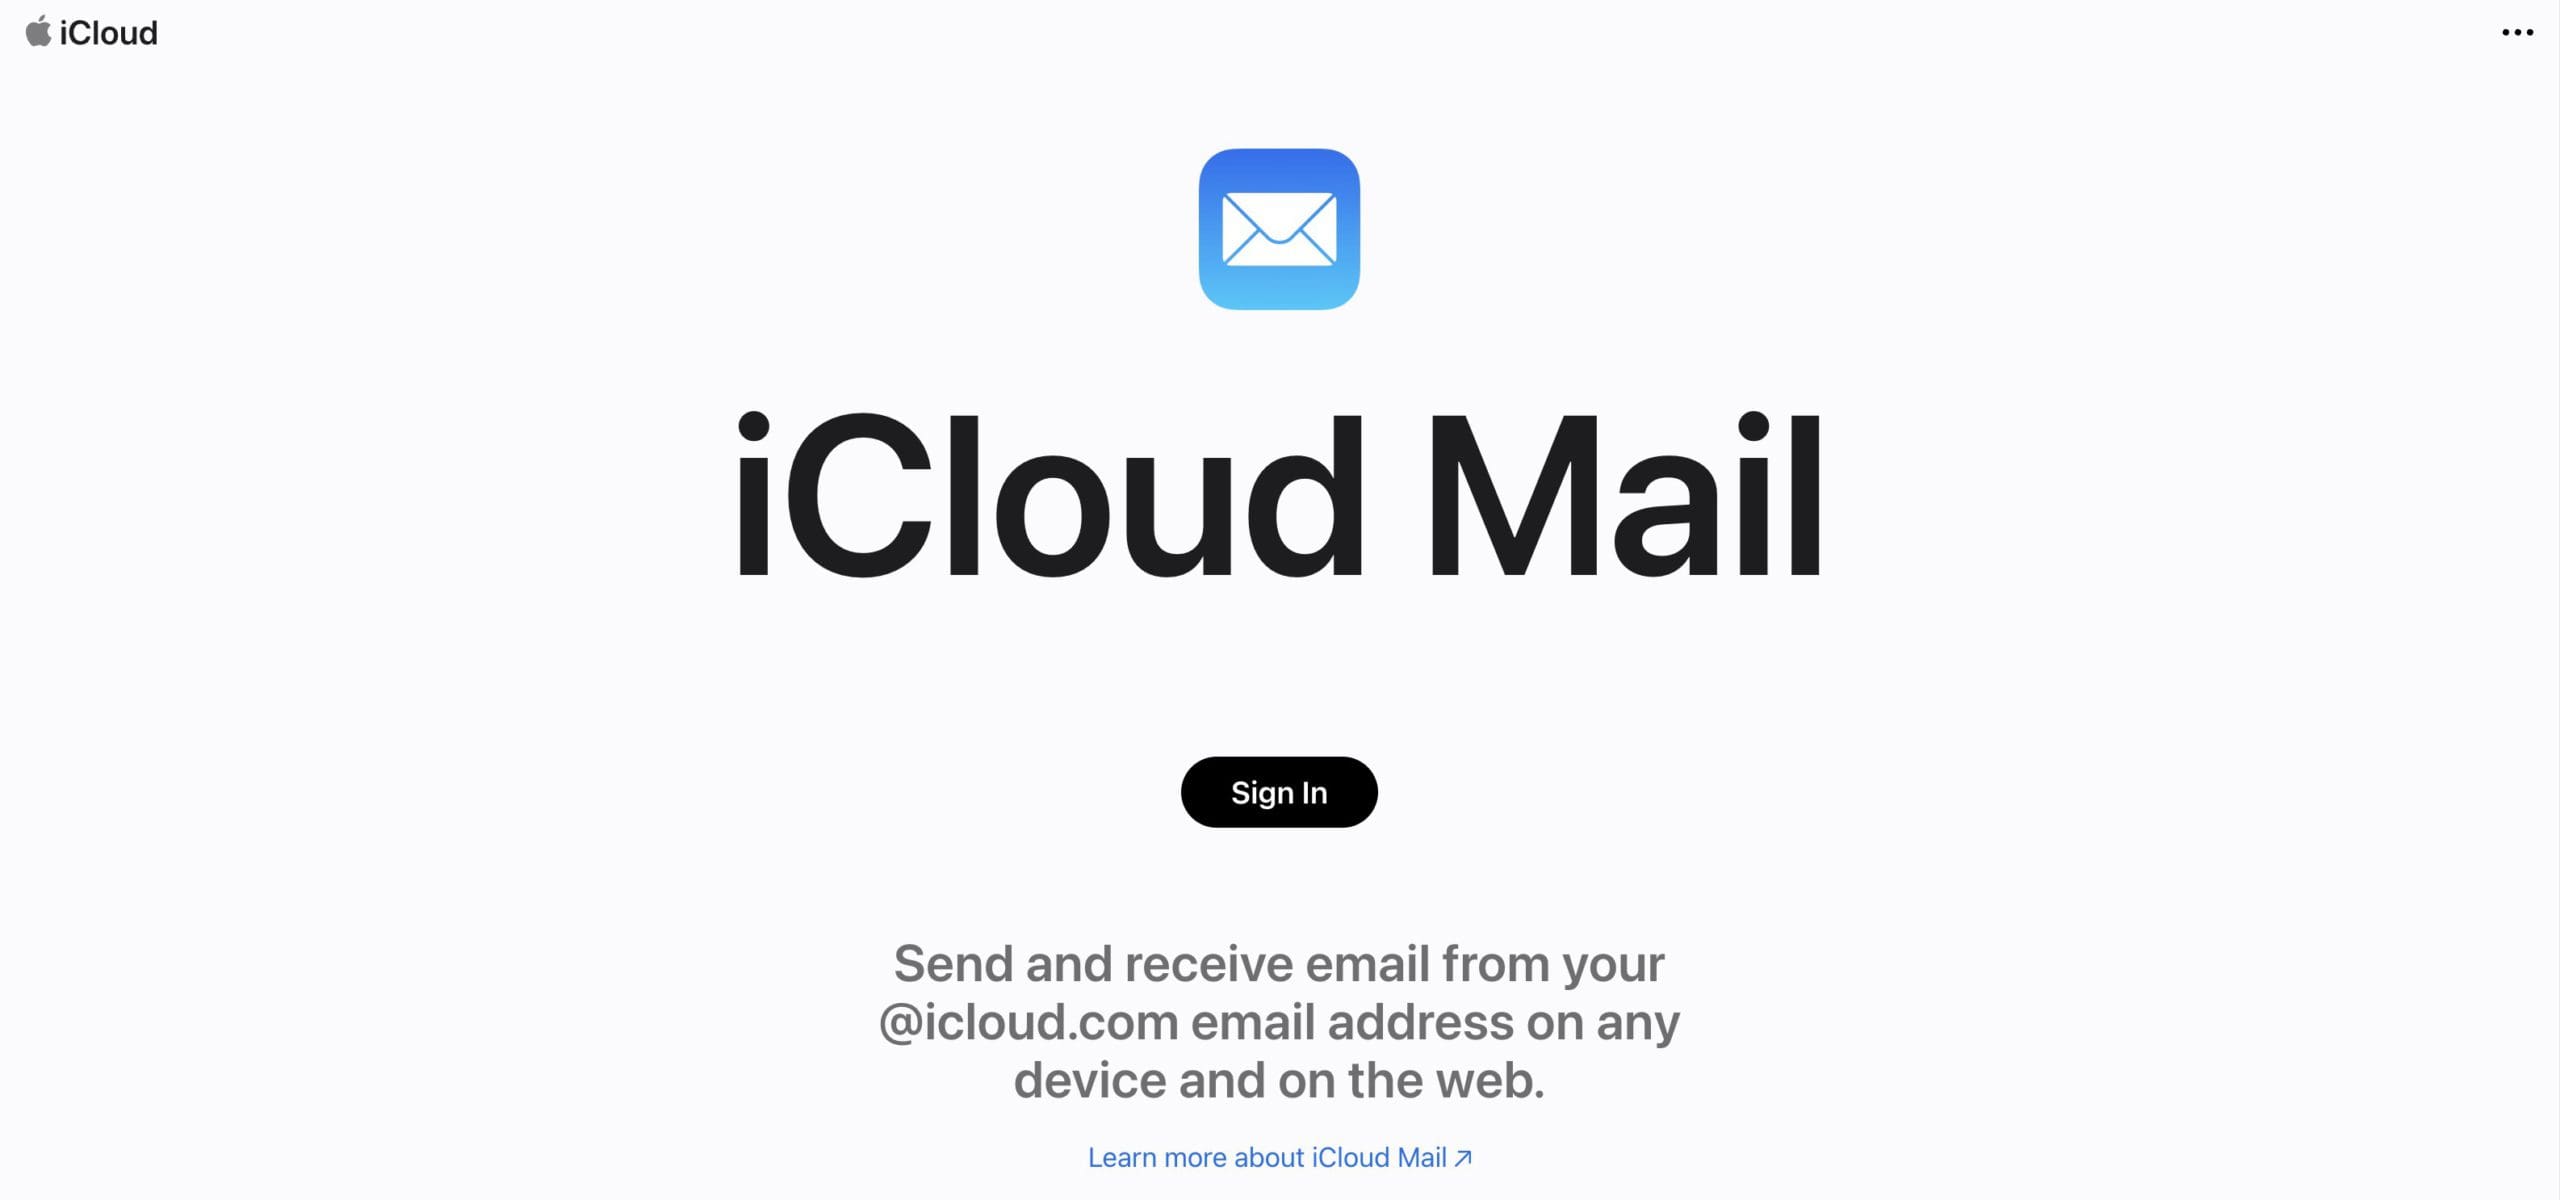
From your browser of choice, navigate to iCloud.com.
Log into the iCloud account that you want to use an email alias for.
Locate and select the Mail icon.
Click the Settings icon at the top of the sidebar on the left.
From the drop-down menu, highlight and select Preferences…
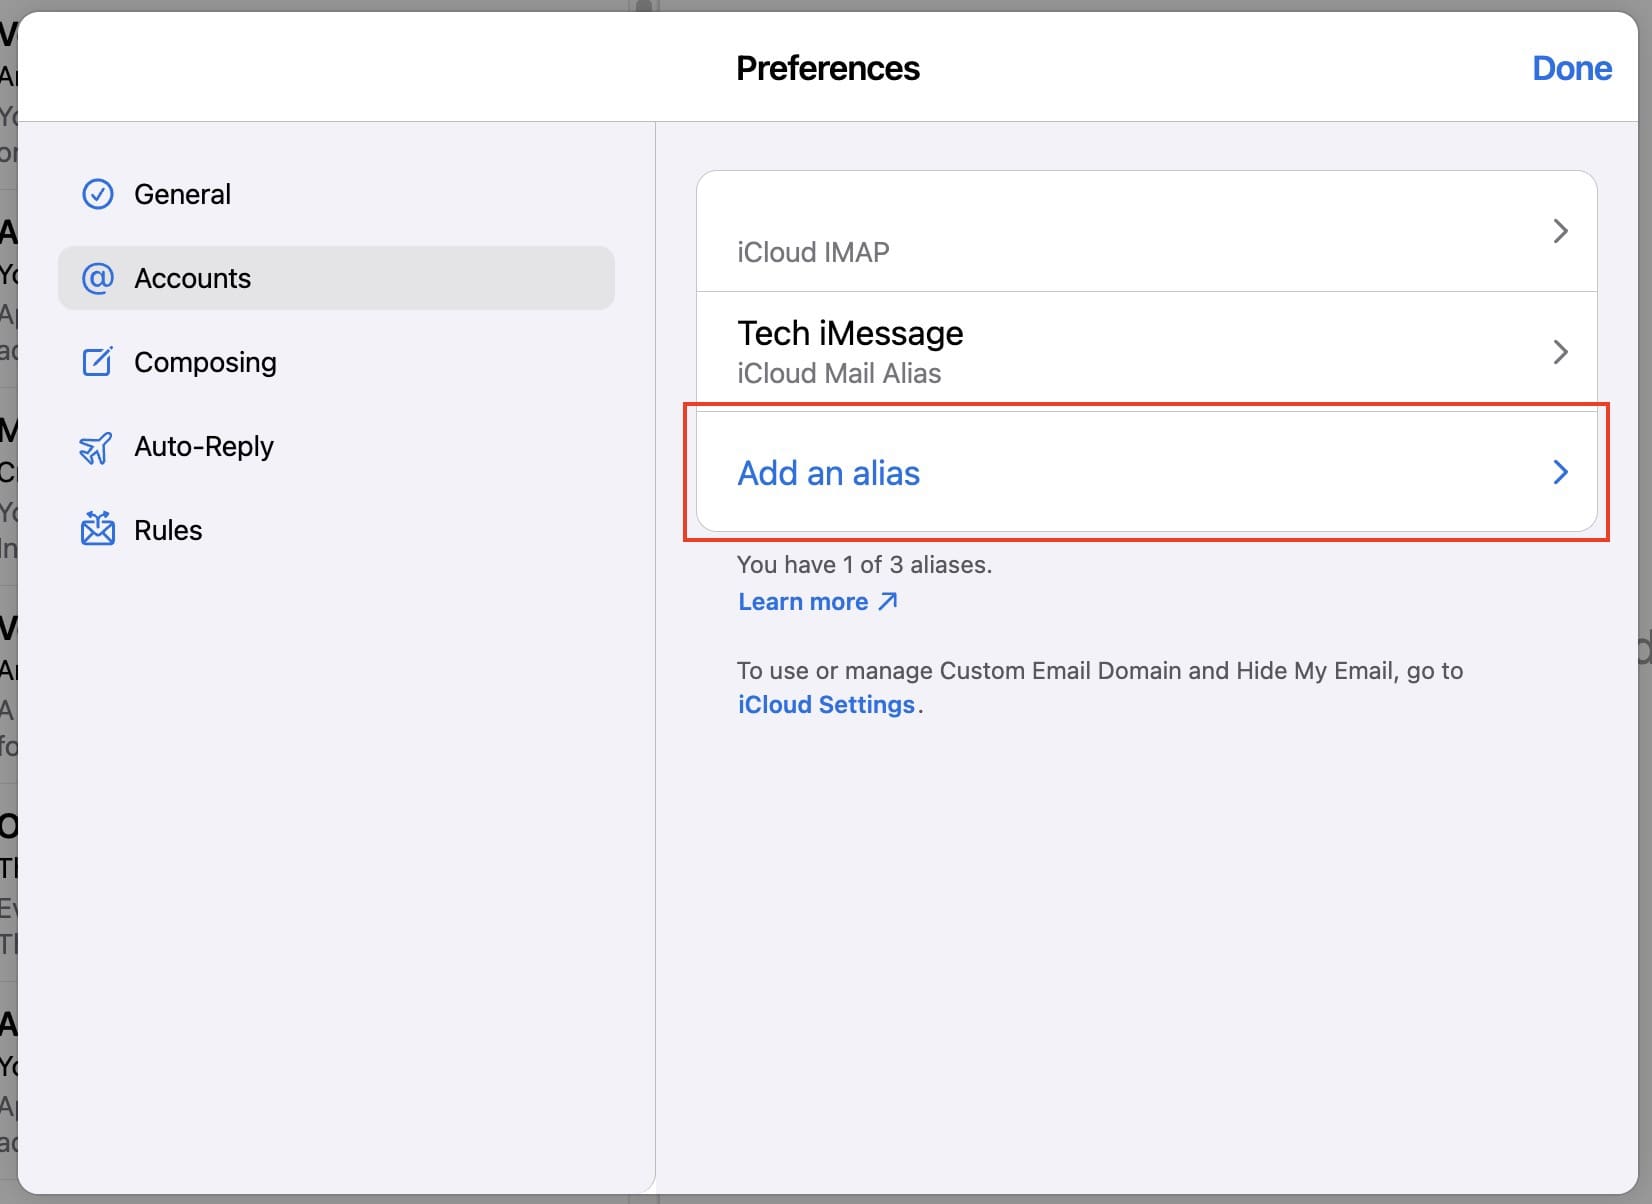
Within the Preferences window, click Accounts on the left side.
Click the Add an alias button.
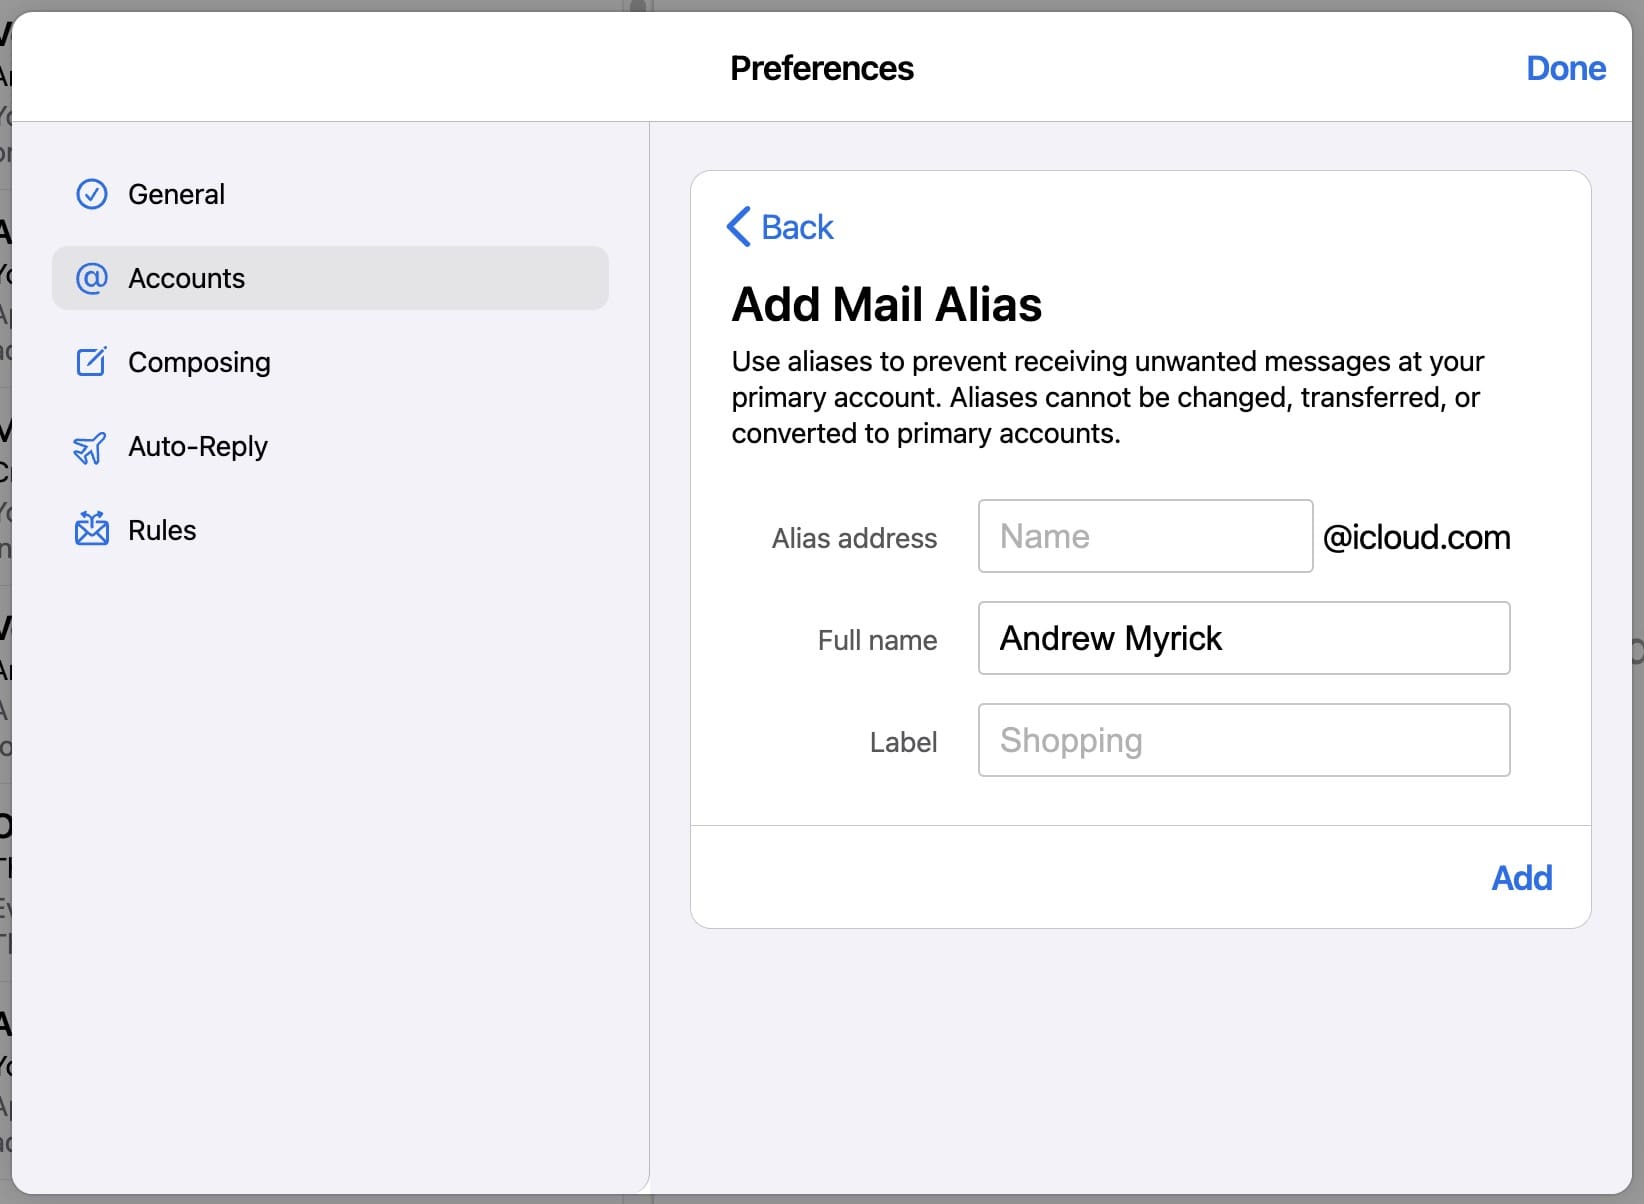
Enter the Alias address. “The text you provide becomes the email address (_alias_@icloud.com). An alias must contain between 3 and 20 characters.”
Enter your Full Name. “The name you provide appears in the From field of the messages you send.”
Add a Label. “Aliases are listed alphabetically by label.”
Click the Add button in the bottom right corner.
When prompted, click the Done button in the top right corner of the Preferences window.
Having the ability to create different email aliases is a nice touch for those who want to keep their emails organized, even if it’s just to have an email for potentially spammy websites. Because if that happens, you can set up a filter in Mail to automatically have any emails addressed to the alias, sent straight to spam or the trash.
How to Use Email Alias for iCloud Mail on iPhone and iPad
Once you have finished setting up your email aliases on the web, then you’ll want to make sure they are available and accessible on your other devices. Here’s how you can use Email Alias for iCloud Mail on iPhone and iPad:
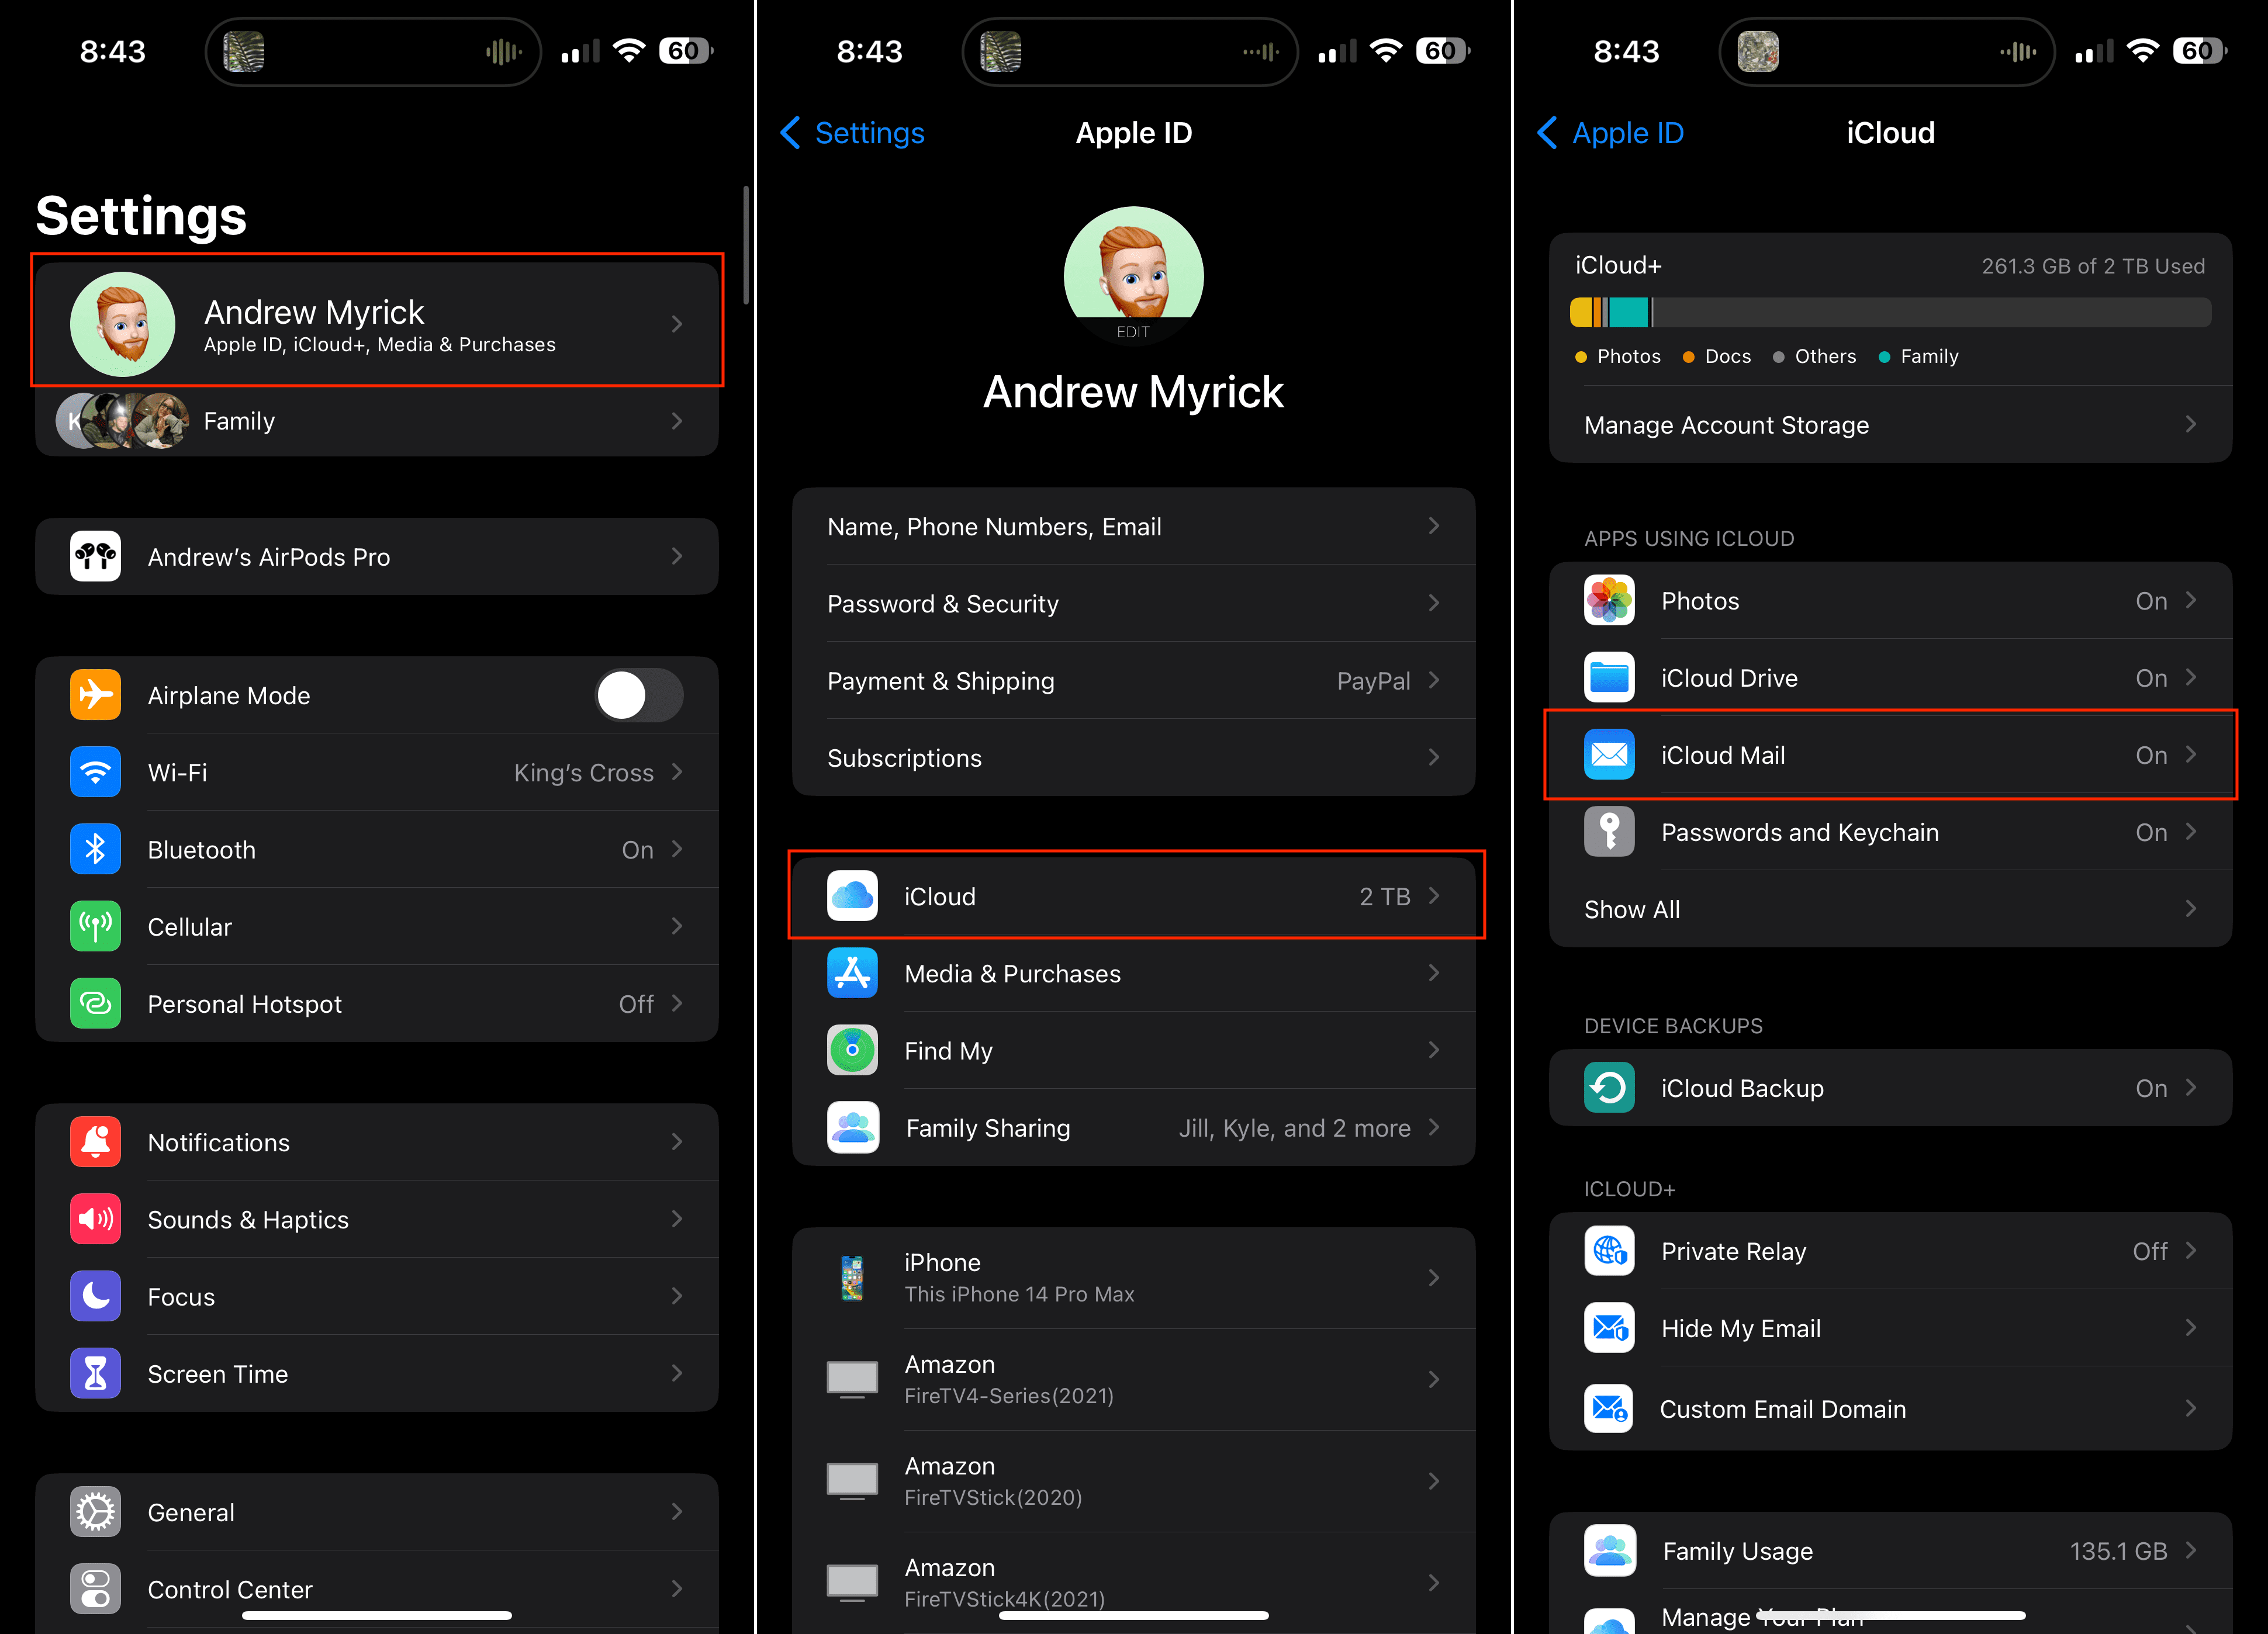
Open the Settings app on your iPhone or iPad.
Tap [Your Name] at the top of the screen.
Scroll down and tap iCloud.
Under the Apps Using iCloud section, tap iCloud Mail.
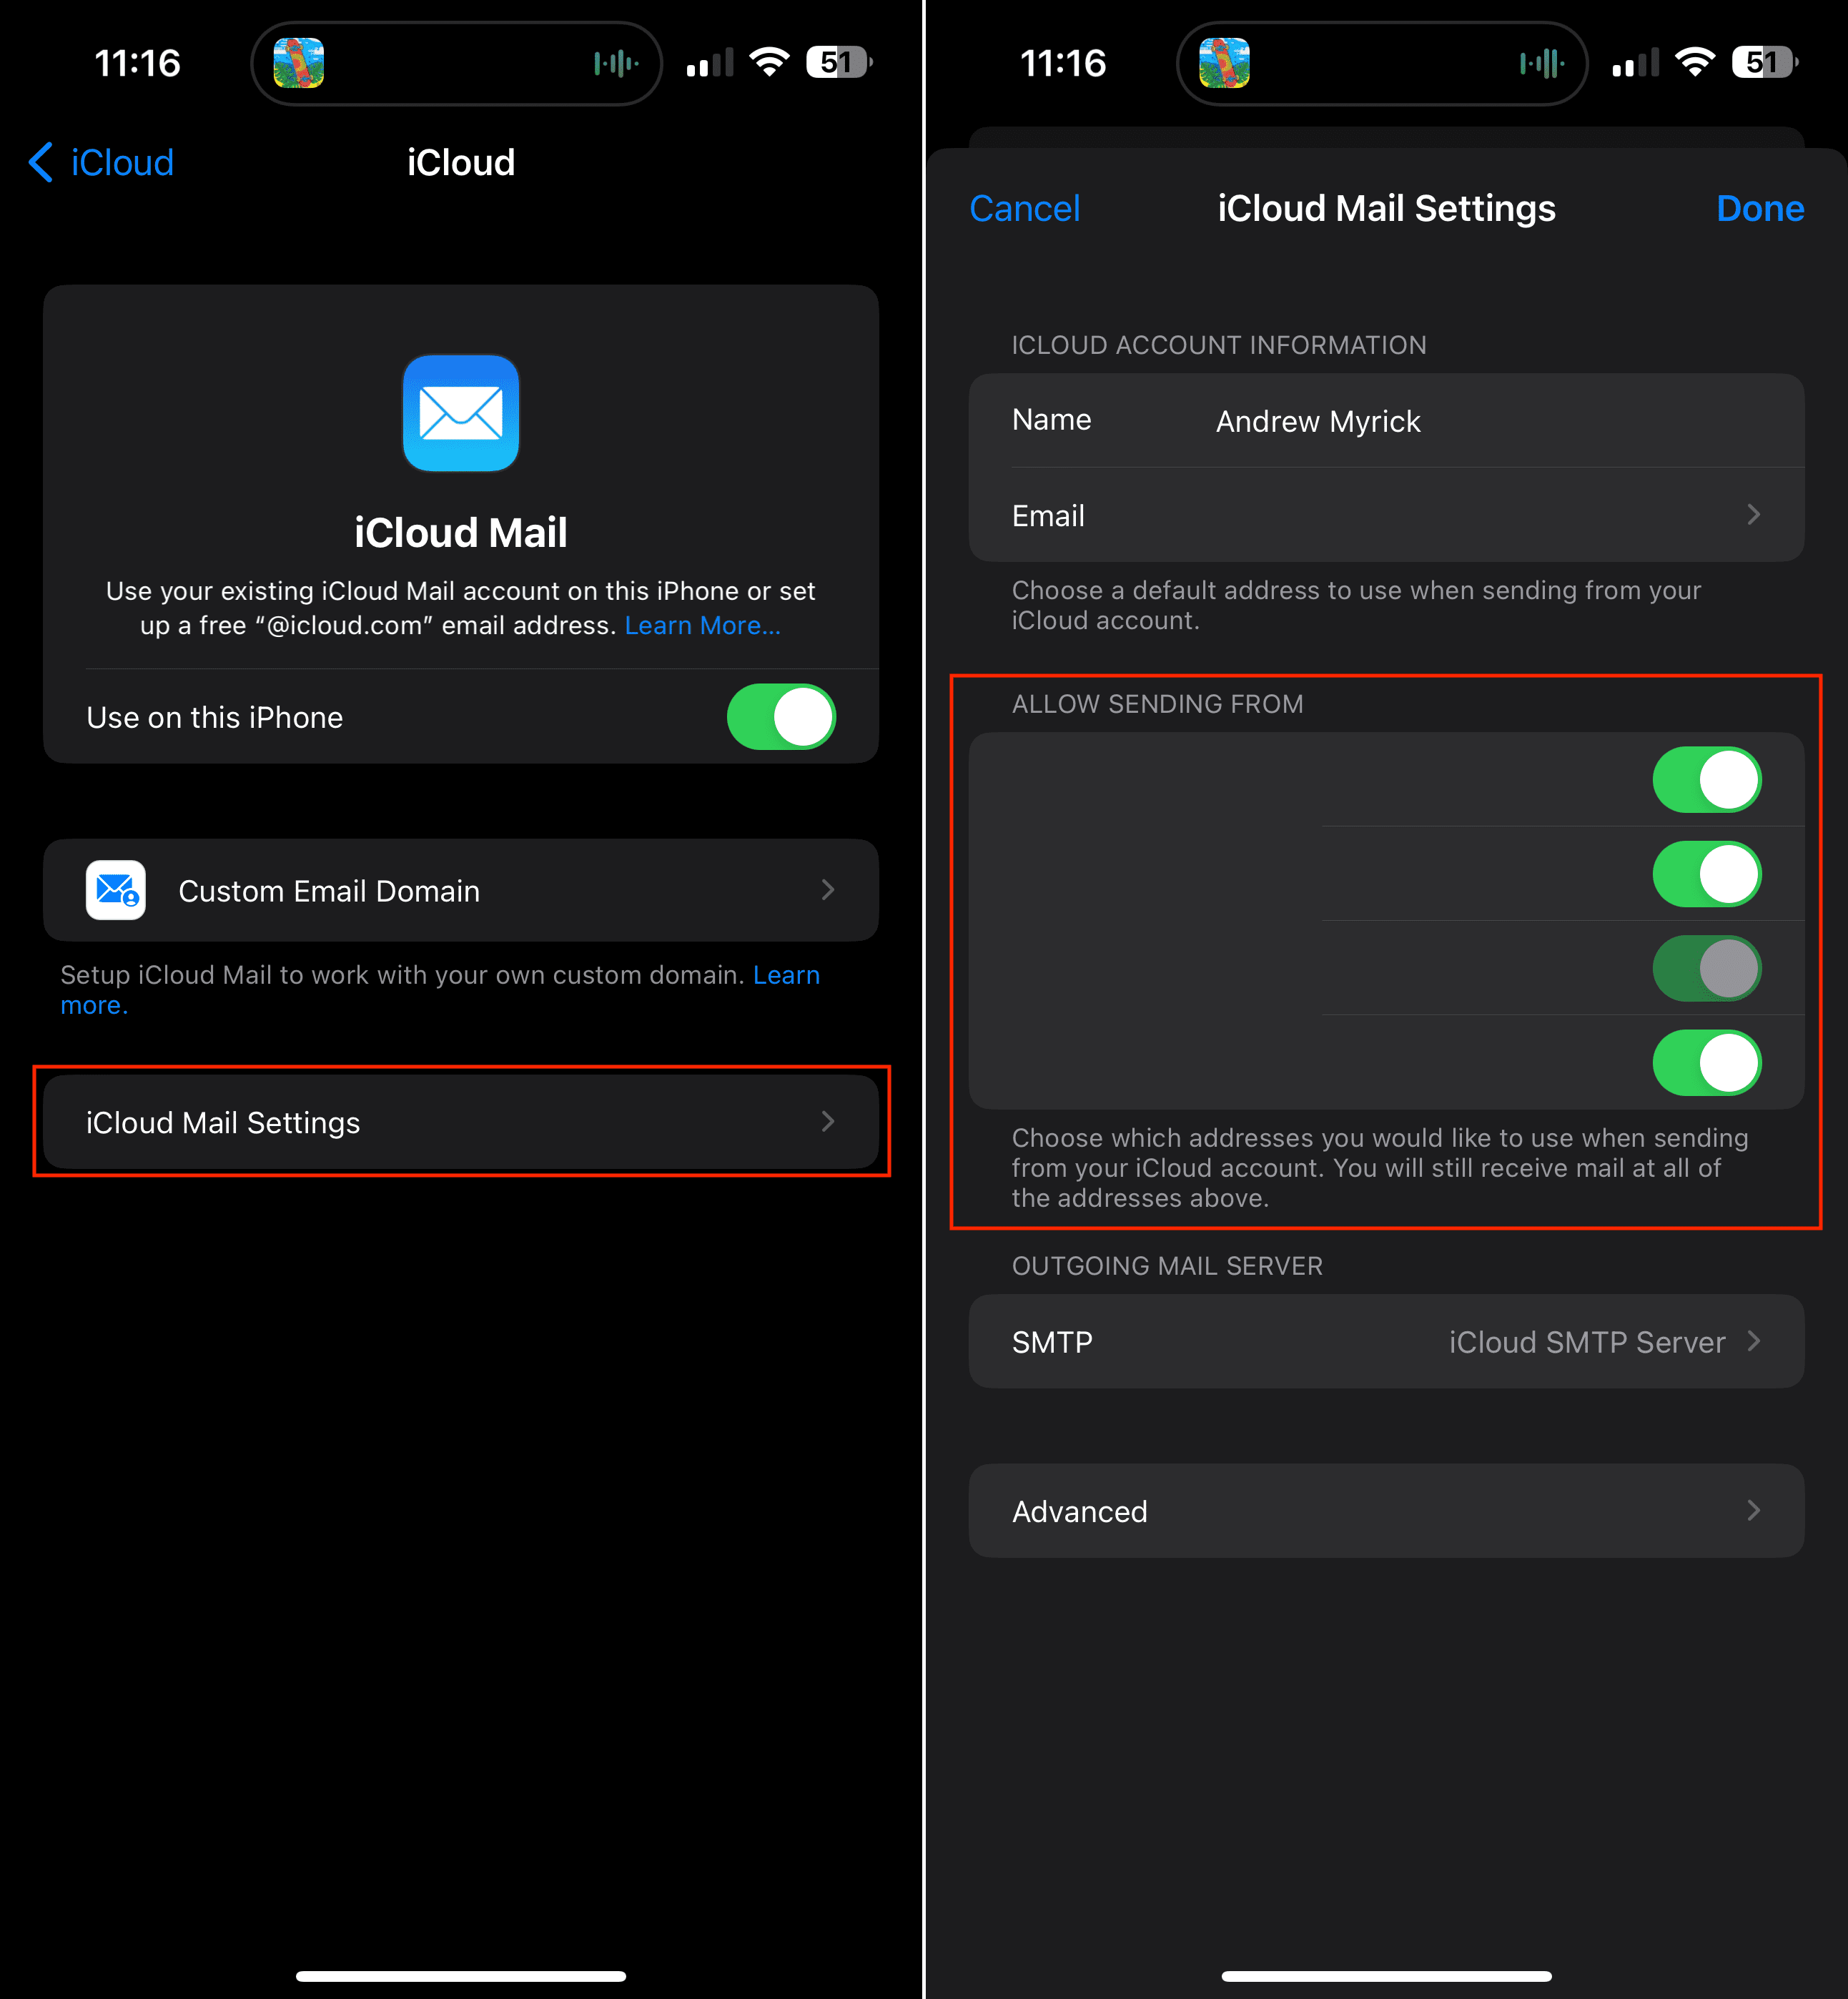
Tap iCloud Mail Settings.
Under the Allow Sending From section, tap the toggle next to the email alias that you want to use.
Tap the Done button in the top right corner.
Going forward, you will be able to use this email alias if you want to join an iMessage chat group. Or if you want to sign into Game Center using a different account from the one attached to your primary iCloud account.
How to Use Email Alias for iCloud Mail on Mac
As is the case with wanting to use email alias for iCloud Mail on iPhone and iPad, you also might want to make sure that the aliases are accessible in Mail on the Mac. Here’s how you can do so:
Open the Mail app on your Mac.
In your Menu Bar, click Mail.
From the drop-down menu, click Settings….
Alternatively, you can press CMD + , when the Mail app is open and in the foreground.
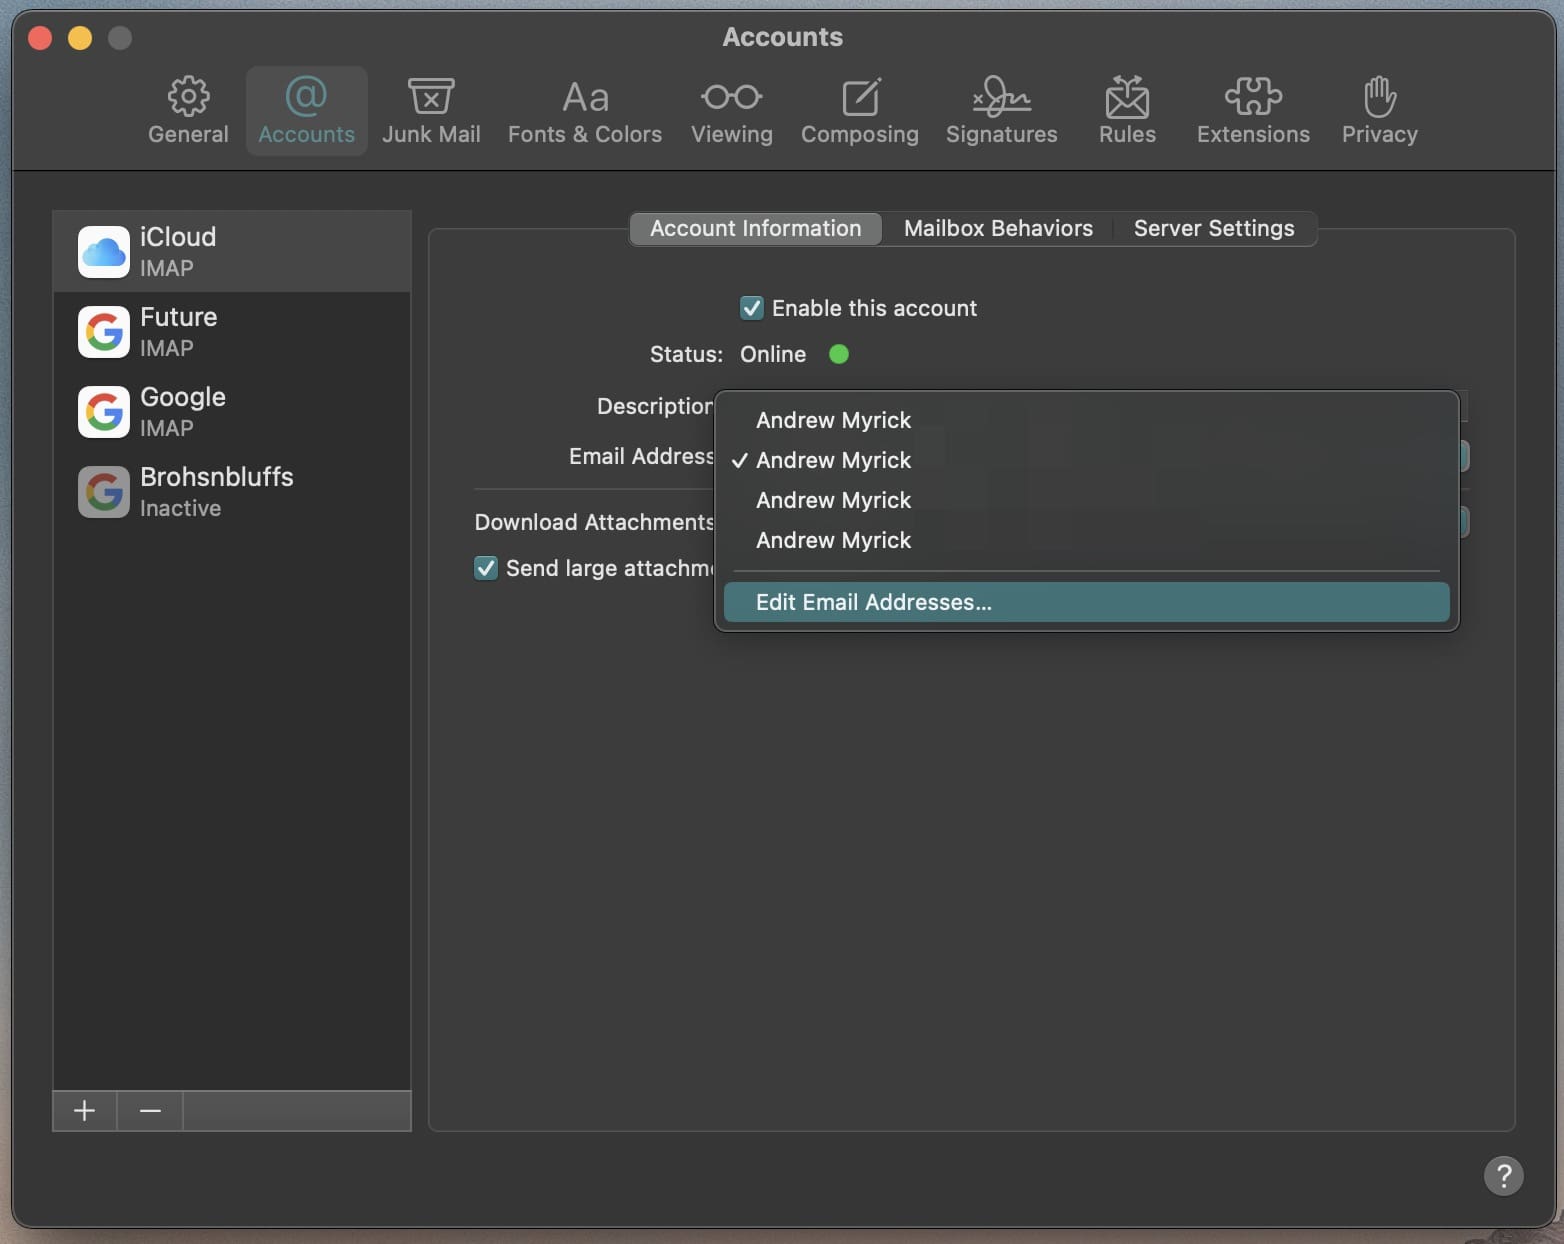
At the top of the Mail Settings window, click Accounts.
If you have multiple email accounts set up, make sure you click iCloud in the sidebar.
Click Account Information on the right side of the window.
Select the email alias that you want to use on your Mac.
From the Account Information settings for iCloud within the Mail app on your Mac, there’s also an “Edit Email Addresses” option. Selecting this will take you to the iCloud.com website within your default browser. From there, sign in with your Apple ID, and you will be taken directly to your iCloud email preferences if you want to edit, customize, or add an email alias.
How to Delete Email Aliases for iCloud Mail
If you find yourself needing to delete an email alias in order to create a different one, or just to clean things up, the steps are pretty straightforward. Here’s how you can delete email aliases for iCloud Mail:
From your browser of choice, navigate to iCloud.com.
Log into the iCloud account that you want to use an email alias for.
Locate and select the Mail icon.
Click the Settings icon at the top of the sidebar on the left.
From the drop-down menu, highlight and select Preferences…
Within the Preferences window, click Accounts on the left side.
Select the email alias that you want to delete.
Click the Delete alias button.
Click the Delete button to confirm.
When prompted, click the Done button in the top right corner of the Preferences window.
Depending on how many email aliases were deleted, you’ll have the ability to set up more aliases to use in conjunction with your iCloud email address. Email aliases, paired with Apple’s Hide My Email, offer a powerful one-two punch for those who are tired of spammy emails just because you signed up for another service or newsletter.
Andrew Myrick is a freelance writer based on the East Coast of the US. He enjoys everything to do with technology, including tablets, smartphones, and everything in between. Perhaps his favorite past-time is having a never-ending supply of different keyboards and gaming handhelds that end up collecting more dust than the consoles that are being emulated.


")

Write a Comment