FileVault helps you encrypt information on a Mac. It works by encoding data on the startup disk so that anyone who is not authorized cannot access that information. Learn how to turn FileVault on below.
How to Turn on FileVault
In order to turn on FileVault, you will need administrator privileges. You can either choose to unlock your startup disk using your iCloud account and password or the system can generate a recovery key for you. Make sure to record this information outside of your Mac so you don’t get locked out. It sounds obvious, but if you’re used to recording and keeping everything on your Mac, it can be a habit that you’ll have to break for recording your access information. There is no way to log in or reset if you lose this information.
To enable FileVault:
Select the Apple icon on the top left of the screen.
Choose System Preferences.
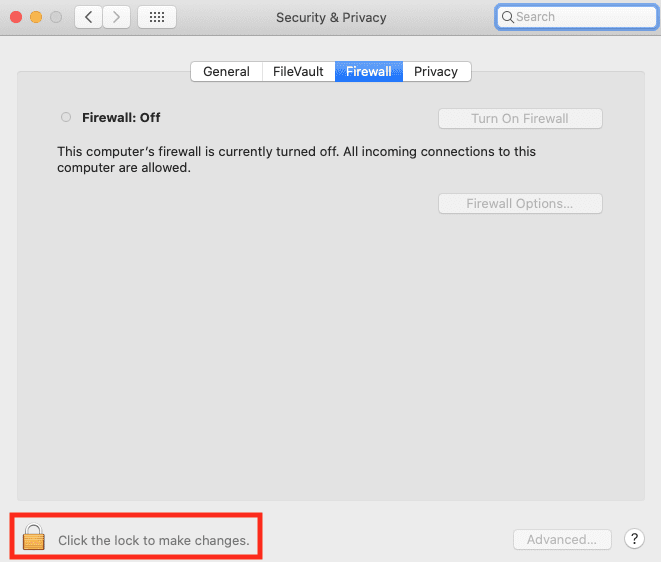
Click Security & Privacy.
Click the lock icon to allow changes. You will be required to enter your administrator name and password.
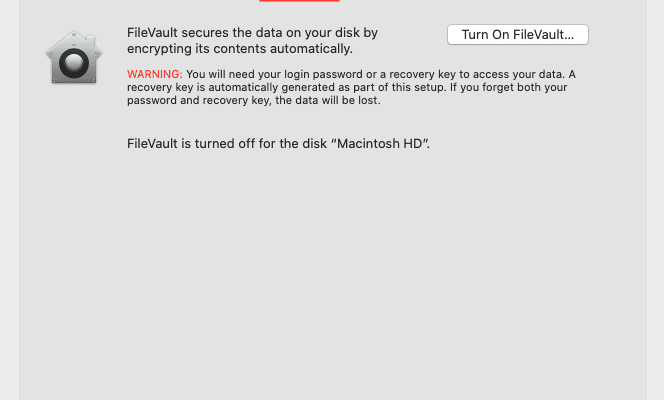
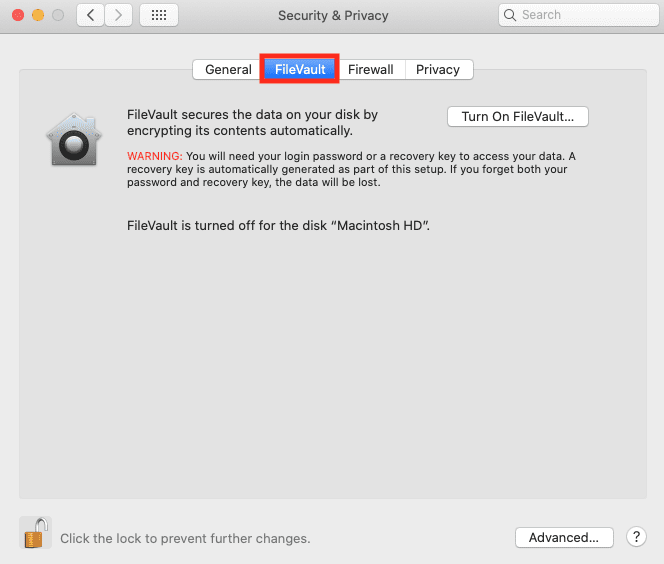
Select FileVault.
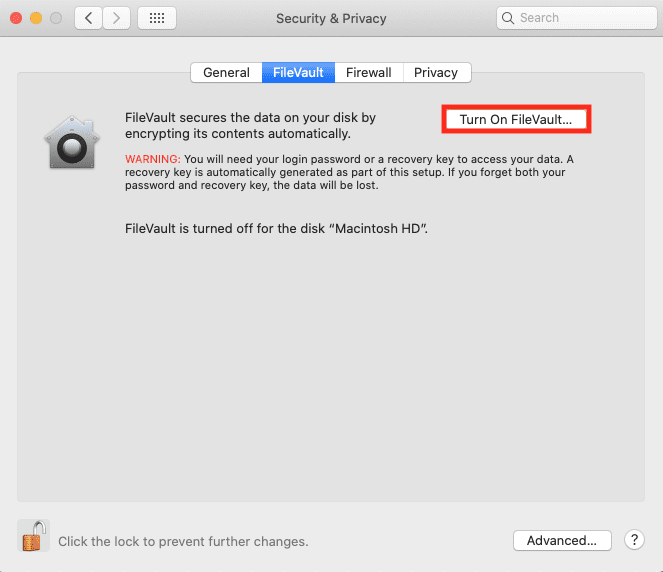
Click Turn On FileVault…
Now you can choose how to unlock your disk. Either click “Allow my iCloud account to unlock my disk” or “Create a recovery key and do not use my iCloud account.”
Click Continue.
Someone using Ventura may have to access the FileVault area by the Apple menu > System Settings > Privacy & Security in the sidebar > FileVault.
Your Mac may have additional users. Their information will also be encrypted and they will have to unlock the disk with their login password. You might see an Enable Users button, click that. Select the user, enter the login password, click OK, and then click Continue.
FileVault may take a long time to fully encrypt. You can still use the computer during that time. Until encryption is complete, you cannot turn FileVault off.
Also, note that FileVault can’t be used with select highly partitioned disk configurations, like RAID.


")
Write a Comment