Maybe you’re planning to switch from a Mac to a PC and want to take your data with you. Or you’re going to be without your Mac for a while (while it’s repaired, for example) and need to use a Windows device in the meantime. Luckily, even though Windows and macOS are different operating systems, it’s not hard to transfer files between them or backup one device to the other.
Method 1. Backup Mac to a Windows PC with an External Hard Drive
If you’re looking for the easiest way to backup Mac to a Windows PC, this is it. Using an external storage device – like a hard drive – you can copy the files you want from your Mac into storage and then move them over to your Windows PC without much hassle.
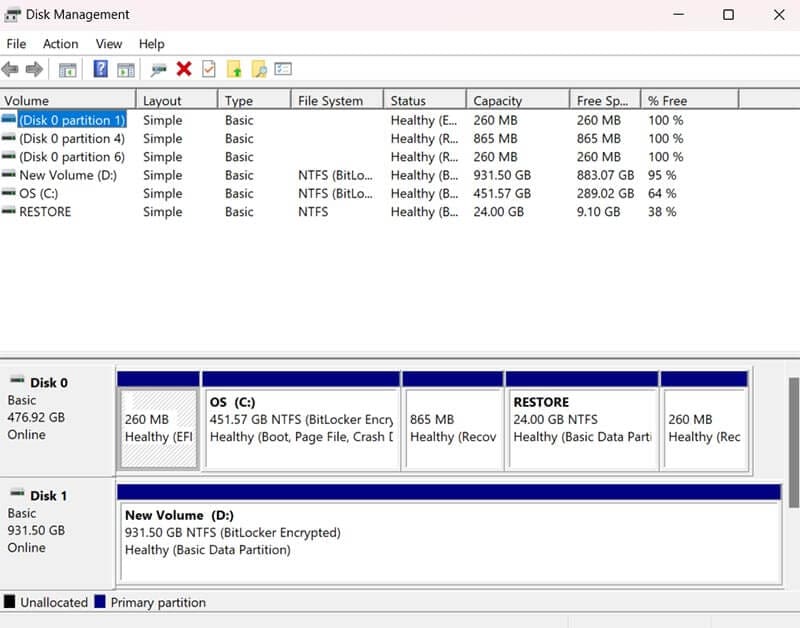
Step 1. Before you start copying anything over, you have to ensure your external drive is formatted in the exFAT format. To do this on Windows, connect the drive, then open the “Disk Management Utility,” which you can find by searching for it in the search bar.
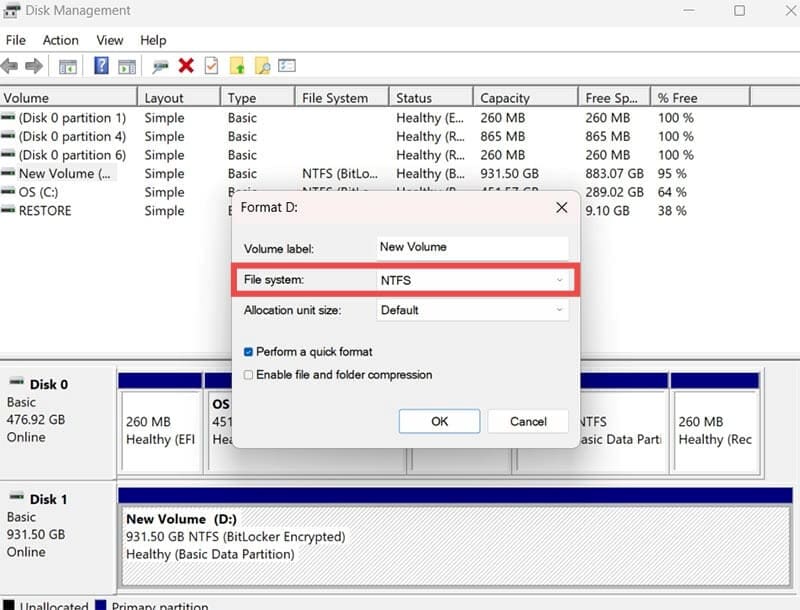
Step 2. Right-click on the drive and click “Format.” A pop-up window will appear, where you can enter a new name for the drive, if you like, and configure some settings. Make sure the “File system” type is “exFAT” and click “OK” to start the process.
Step 3. Connect your formatted drive to your Mac, then use “Finder” to move files onto it. Just copy and paste or drag and drop whatever you wish to backup.
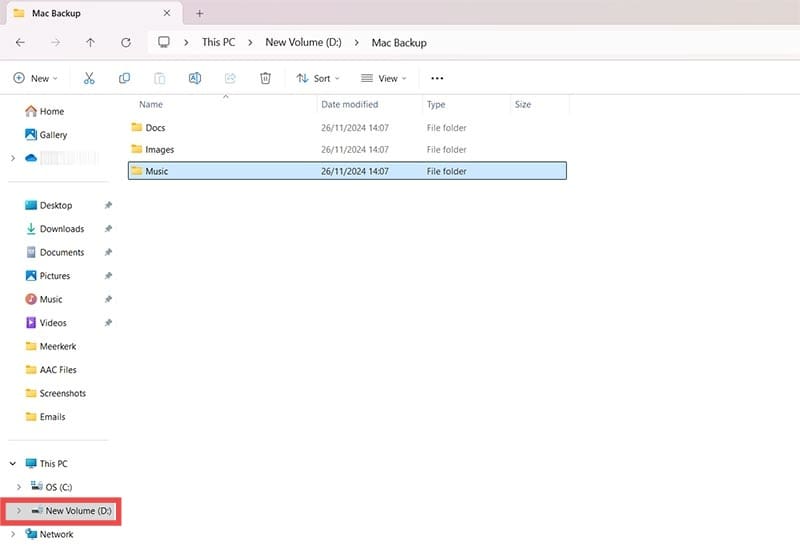
Step 4. Connect the drive to your Windows PC and access it via File Explorer. Then, copy or move the files from the drive to folders on your Windows device.
Method 2. Use a Cloud Storage Service
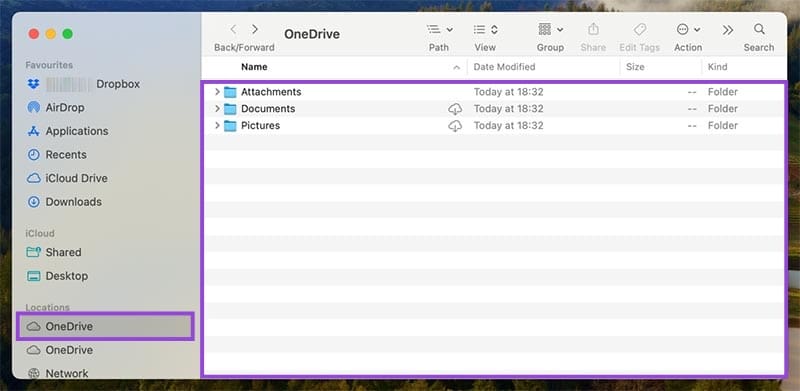
Another option is to transfer files from your Mac to a cloud storage service accessible on both Mac and Windows platforms. Like OneDrive, Google Drive, or Dropbox. They all work reasonably similarly, but these instructions will focus on OneDrive:
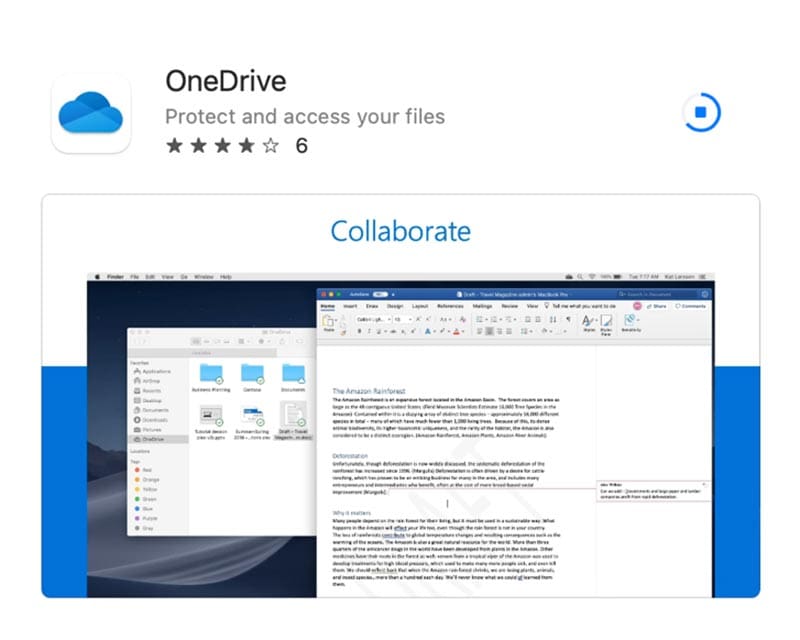
Step 1. Download the OneDrive app on your Mac using the App Store, or log into your online OneDrive account (you’ll need to create one if you haven’t used it before).
Step 2. Use Finder to drag and drop files from your Mac into your OneDrive cloud account.
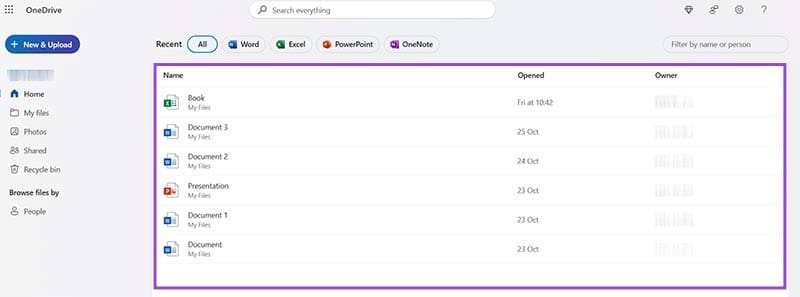
Step 3. On your Windows device, log in using the same OneDrive account credentials, either via the Windows app or the web.
Step 4. You should see all the files from your Mac there in the cloud. You can leave them there and access them as and when needed, or copy the lot onto your Windows PC and sort them into folders, as you prefer.
Method 3. Try a Local Network Transfer
As long as you’ve got the Mac and the Windows PC together in the same place (and on the same network) you can set up a local network transfer to move files from one to the other.
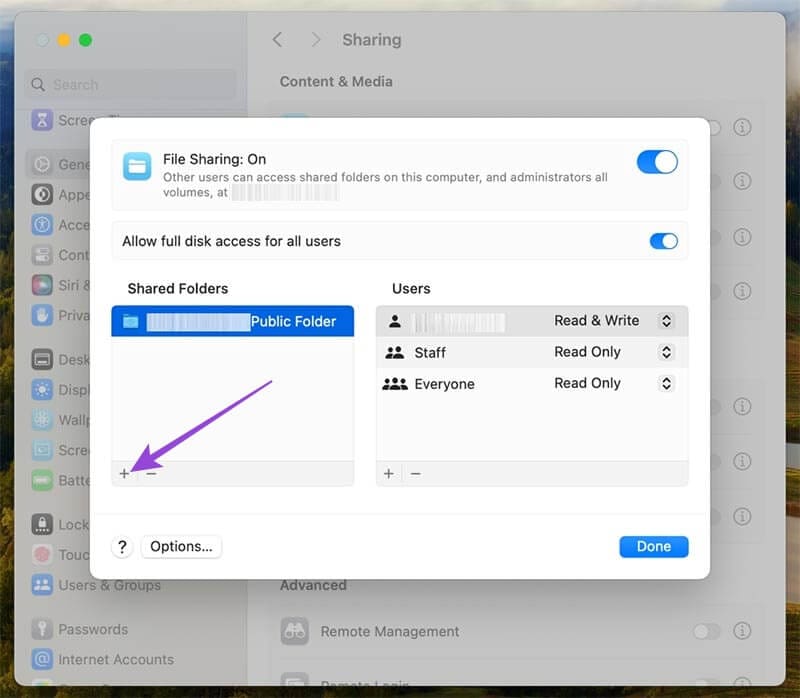
Step 1. On the Mac, go to System Settings > General > Sharing, and check the box next to “File Sharing.”
Step 2. Click on the information icon next to File Sharing and access. Under the “Shared Folders” section, click the “plus” symbol. Add whichever folders you want to back up to the Windows device.
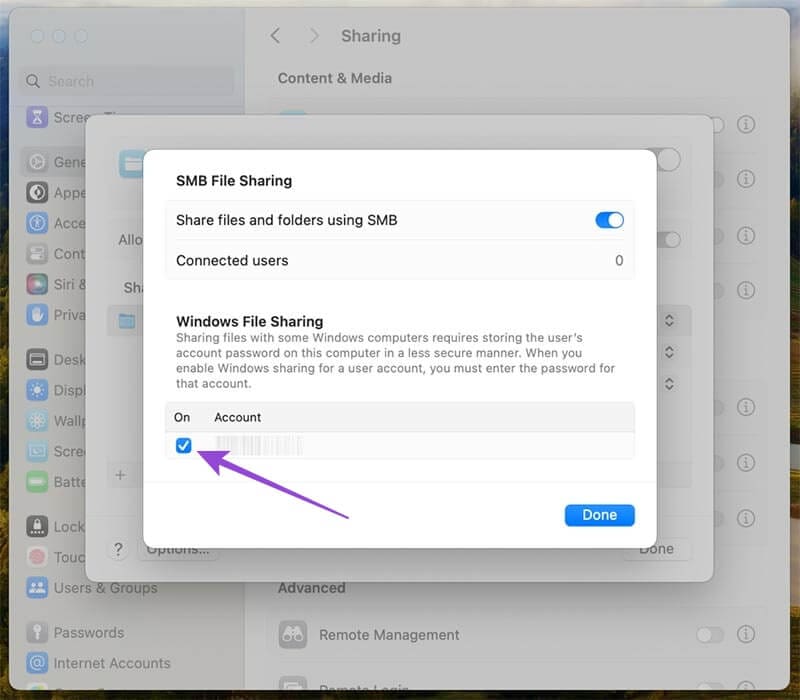
Step 3. Click “Options” to enable SMB sharing.
Step 4. Ensure that your Account username has a checkmark in the box beside it.
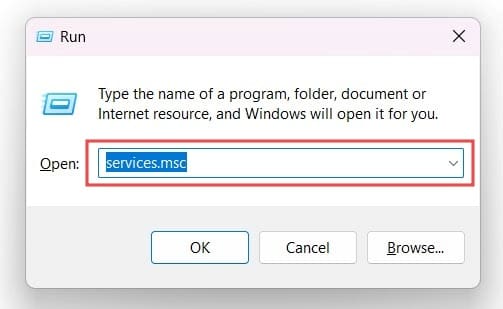
Step 5. Move to the Windows machine and press “Windows” and “R” together to open “Run.”
Step 6. Type in two backslashes, like \\ and then the network address of your Mac. So you should see a final command like \\192.168.1.1 and then press “Enter.”
Step 7. You may be asked to enter a username and password. Select “More Choices,” then “Use a Different Account,” and enter your Mac username and password (the username is whatever name you have on the Home folder in the Finder on your Mac). You should then see a shared folder window pop up with the files from your Mac ready to copy over to the Windows PC.
As an avid gamer, I’ve run into my fair share of error codes and weird faults that have forced me to find fixes to problems I never anticipated. That gave me a passion for sharing those fixes with others so we can all game without feeling like our hardware is rebelling against us.


Write a Comment