Needing to transfer file between iPhone and Mac may seem like a pretty basic concept nowadays, but that’s not the case for everyone. There are plenty of users who need to transfer files back and forth, making them accessible on different devices depending on their needs. Today, we’re taking a look at a few of the most popular ways that you can make your files accessible from any of your devices.
How to Transfer File Between iPhone and Mac: AirDrop
Apple introduced AirDrop to the Mac in OS X Lion, as an easy way to share files between computers without having to use email or even a USB drive. Despite being implemented into the iPhone and iPad with iOS 7, it wasn’t until Apple released Mac OS X Yosemite that you could transfer file between iPhone and Mac using AirDrop.
Nevertheless, this has become the default option for those who want to move files between their Apple devices. Here’s how you can transfer file between iPhone and Mac:
Locate the file that you want to transfer on your iPhone.
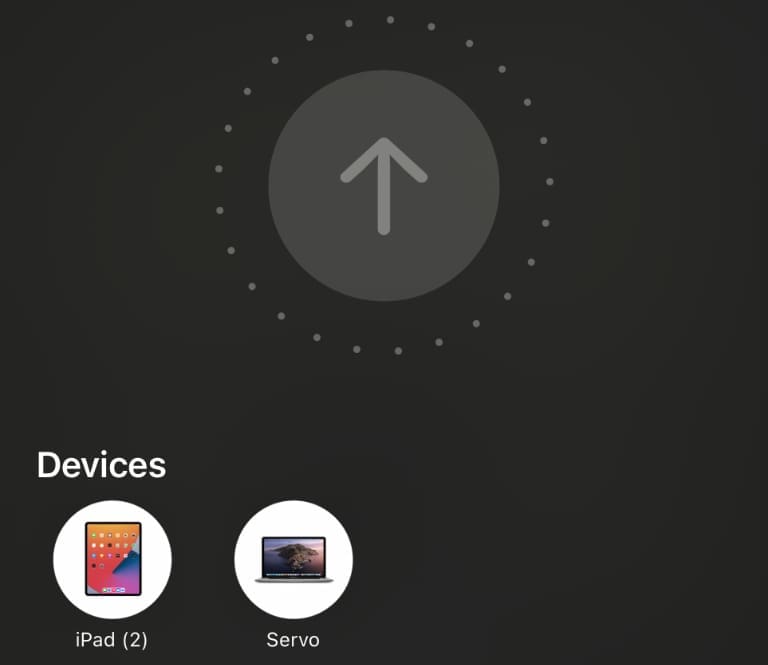
Tap the Share icon.
Tap the name and picture of your Mac.
If your Mac is not listed, tap the AirDrop icon in the second row of options.
Select your Mac from the list of available devices.
Once the file is finished being transferred, you’ll hear a “ping” and see a notification appear in the top right corner of your Mac. From there, all of the files are transferred to the Downloads folder on your Mac. But what if you want to go the “other” way and use AirDrop to transfer files from your Mac to your iPhone? Here’s what you’ll need to do.
Open the Finder app on your Mac.
Locate the file that you want to send to your iPhone.
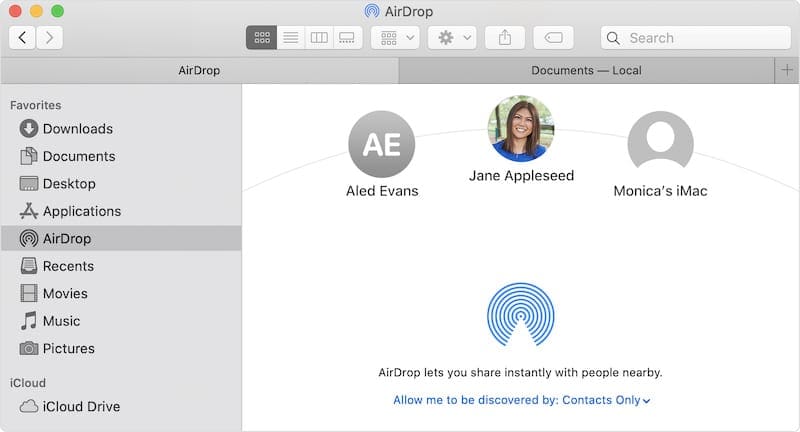
Drag the file over the AirDrop option in the sidebar.
Continue holding until the AirDrop window opens in Finder.
Drop the file on the iPhone that you want to transfer to.
Use AirDrop to transfer file between iPhone and Mac wirelessly.
If you are transferring a photo or video to your iPhone from your Mac, then the file will be opened within the Photos app. However, if you are transferring a different file type or document, then it will appear within the Files app.
How to Transfer File Between iPhone and Mac: Use a USB Cable
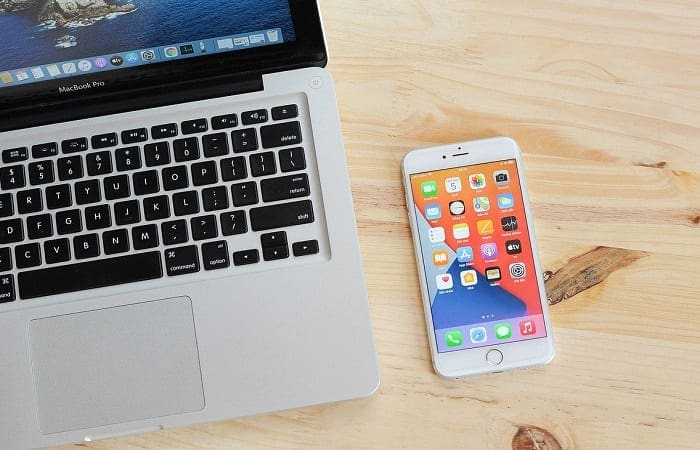
For as long as the iPhone and Mac have been available, we’ve been able to rely on USB cables for transferring files back and forth. However, gone are the days where you have to fiddle around with iTunes and hope that everything works accordingly. Instead, you’ll now access your iPhone from the Finder app on your Mac.
Plug your iPhone into your Mac with a compatible USB cable.
If prompted, enter your iPhone’s lock screen passcode from your iPhone. Then tap the Trust button.
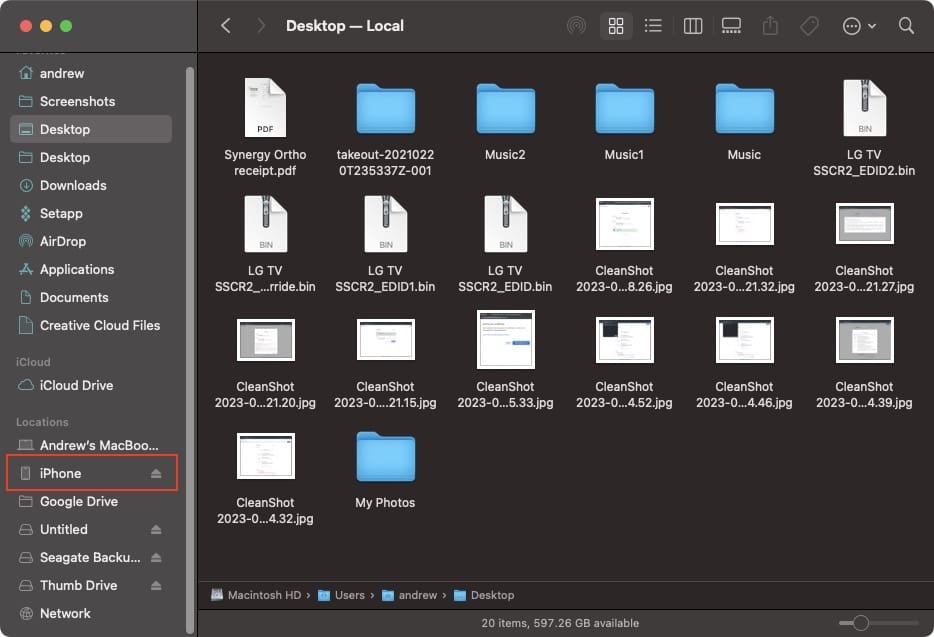
With your iPhone connected, open the Finder app on your Mac.
In the sidebar, under Locations, select your iPhone.
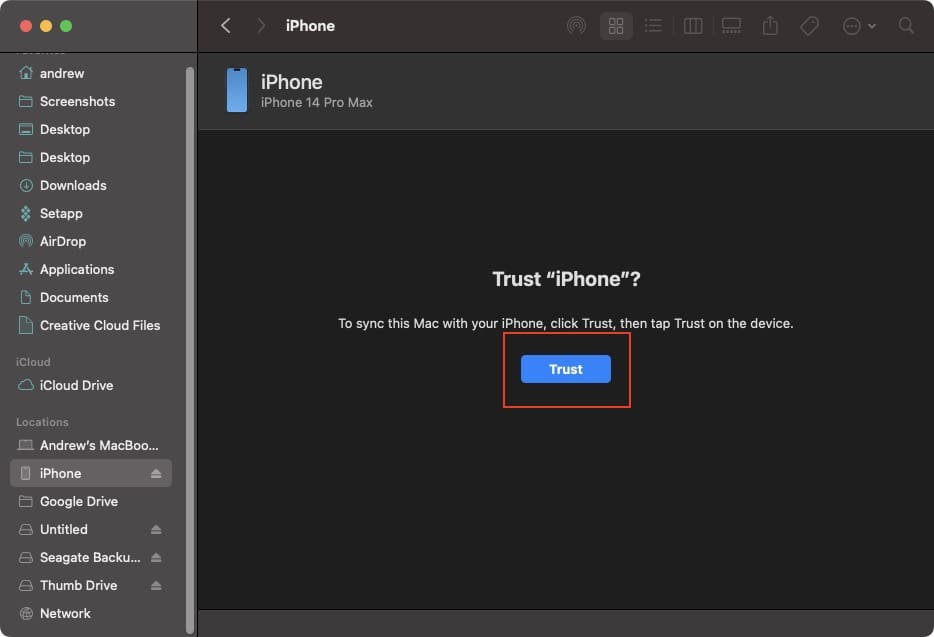
Click the Trust button.
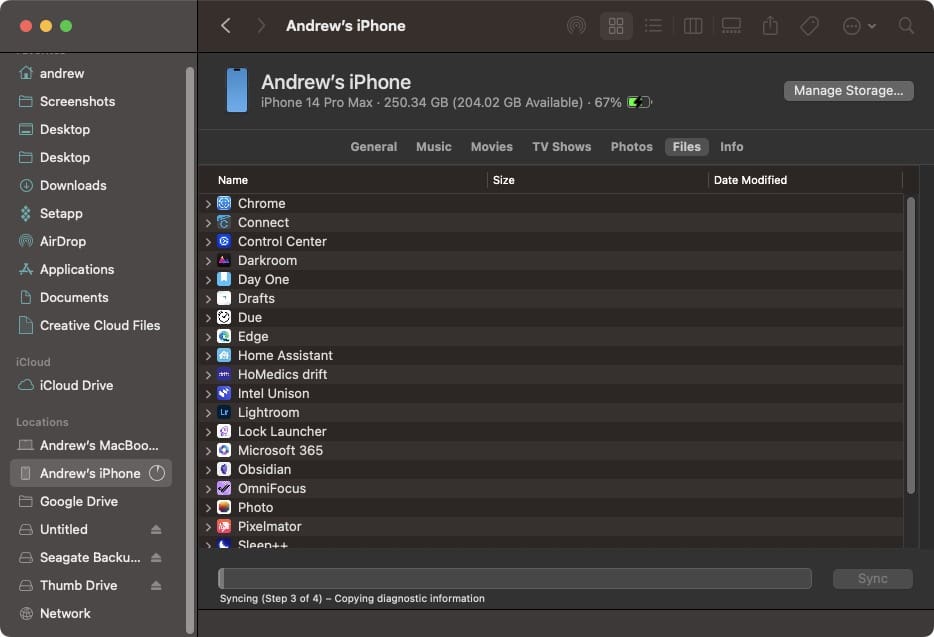
If this is your first time connecting your iPhone to your Mac, wait until the syncing is complete.
Click the Files tab at the top.
Locate the file you want to transfer to your Mac.
Drag and drop the file from Finder to your Desktop (or open a folder in another Finder window.)
As for those who want to transfer file between iPhone and Mac, the same steps above apply, just in reverse. Just locate the file on your Mac, then drag and drop it into the Files tab with your iPhone selected in the Finder app.
How to Transfer File Between iPhone and Mac: Wirelessly
Another option that Apple has implemented for those who want to transfer file between iPhone and Mac is to do so wirelessly. Essentially, it’s a combination of AirDrop and relying on a USB cable. But Apple has made it possible to access your iPhone from your Mac within the Finder app, without needing to actually plug in your device. However, in order to get this to work properly, you’ll first need to make sure the correct settings are enabled and applied.
Plug your iPhone into your Mac with a compatible USB cable.
If prompted, enter your iPhone’s lock screen passcode from your iPhone. Then tap the Trust button.
With your iPhone connected, open the Finder app on your Mac.
In the sidebar, under Locations, select your iPhone.
Click the Trust button.
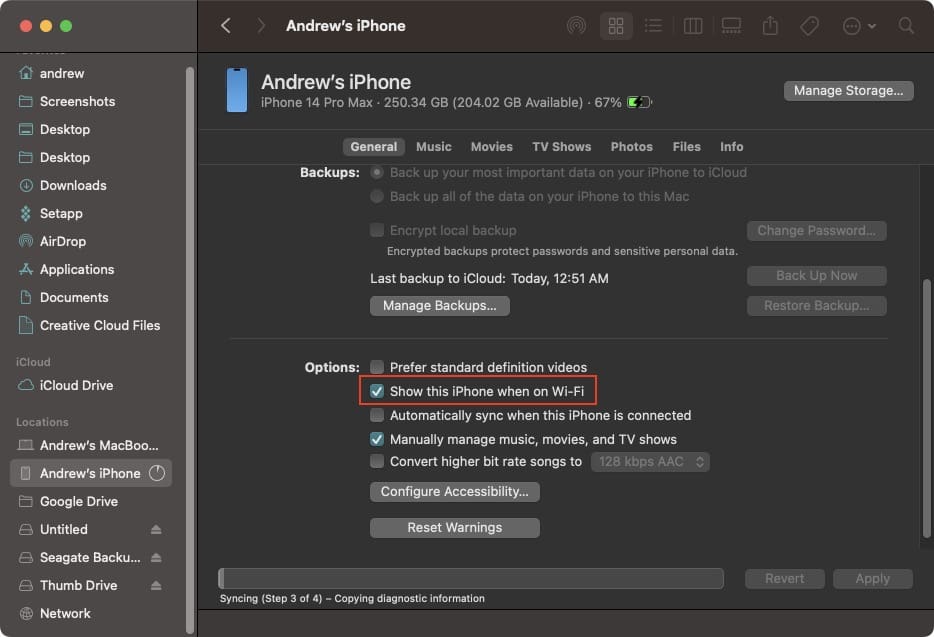
From the General tab, scroll down until you see the Options section.
Click the checkbox next to Show this iPhone when on Wi-Fi.
Click the Apply button in the bottom right corner.
Wait for your iPhone to finish syncing.
Unplug your iPhone.
Now, you’ll be able to transfer file between iPhone and Mac without needing to use AirDrop or trying to find where you put that pesky USB cable. But as a note, this method is just as slow as trying to transfer file between iPhone and Mac using AirDrop.
How to Transfer File Between iPhone and Mac: Cloud Storage
The last option that we’ll touch on is to rely on cloud storage to transfer file between iPhone and Mac. iCloud Drive is the most obvious choice, as it’s already built into both your iPhone and Mac. Plus, with every iCloud account, Apple gives its users 5GB of cloud storage for free. Admittedly, this is not very much, especially if you back up your iPhone to the cloud. Nevertheless, here’s how you can move files using iCloud Drive:
Locate the file that you want to transfer on your iPhone.
Tap the Share icon.
From the Share Sheet, scroll down and tap Save to Files.
Under the Locations section, tap iCloud Drive.
Navigate to the location within iCloud Drive that you want to save the file.
Once located, tap the Save button in the top right corner.
Open the Finder app on your Mac.
Click iCloud Drive in the sidebar on the left.
Navigate to the folder that you saved the file to, from your iPhone.
Of course, iCloud Drive is not the only cloud storage solution that you can use if you want to keep files backed up or transfer them between devices. Below, we have listed some of the most popular alternatives, many of which can also be integrated into the Files on your iPhone, iPad, or Mac.
Best cloud storage for Mac Google Drive (Photo: Courtesy of Google)
Google Drive is likely going to be the most appealing option for many, as Google offers 15GB of cloud storage with every Google account. However, we would argue that Microsoft’s OneDrive is arguably the better value, as it’s the cheapest (and only) option if you want 1TB of cloud storage. It took works seamlessly with your various Apple and Windows devices, which includes integration and being accessible from the Files app on your iPhone or iPad.
Andrew Myrick is a freelance writer based on the East Coast of the US. He enjoys everything to do with technology, including tablets, smartphones, and everything in between. Perhaps his favorite past-time is having a never-ending supply of different keyboards and gaming handhelds that end up collecting more dust than the consoles that are being emulated.


Write a Comment